
Size a Ring at Home? Easy DIY Methods
How to Size a Ring at Home: Easy DIY Methods
Whether you’re shopping for an engagement ring, replacing a lost band, or simply want to know your ring size without visiting a jeweler, sizing a ring at home is entirely possible with the right techniques. Many people feel intimidated by the process, assuming it requires professional equipment or expertise, but the truth is that accurate ring sizing can be accomplished using common household items and a bit of patience. This guide walks you through multiple DIY methods to determine your ring size quickly and accurately.
Ring sizing might seem like a specialized skill, but it’s fundamentally about taking precise measurements and comparing them to standard sizing charts. The challenge lies in measuring accurately—your finger size fluctuates slightly depending on temperature, time of day, and hydration levels. By understanding these variables and using multiple measurement methods, you can confidently determine your correct ring size from home, saving time and money on professional sizing services.

Understanding Ring Sizes and Measurements
Ring sizes vary by country and region, with the most common systems being US/Canada (sizes 3-13 with half and quarter sizes), UK/Australia (A-Z), and European (40-76). In the United States, ring sizes increase by approximately 1.5 millimeters in diameter for each full size increment. Understanding this relationship between circumference and diameter is crucial for accurate home sizing.
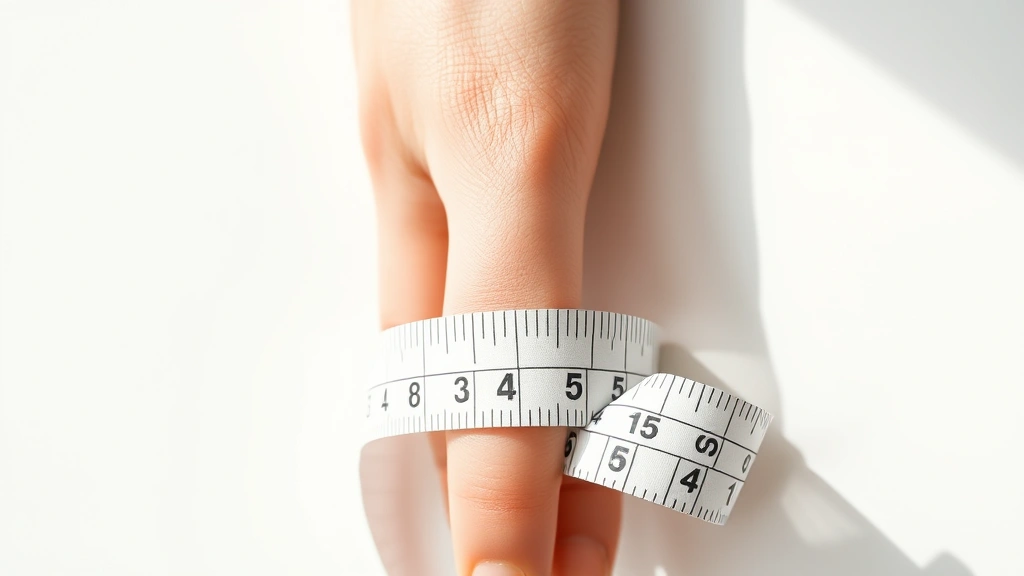
The key measurement you need is your finger’s circumference at the knuckle, which is typically the widest part of your finger where a ring must pass through. Most rings sit just below the knuckle, but the ring must be able to slide over this widest point comfortably. This is why measuring at the knuckle ensures you get a size that works for daily wear and removal.
Ring size charts convert circumference measurements directly to standard sizes. A US size 7 ring, for example, has an inner circumference of approximately 17.35 millimeters (or about 2.24 inches). By measuring your finger’s circumference and comparing it to these standard measurements, you can determine your size without ever visiting a jeweler. Keep in mind that different metals and ring styles may fit slightly differently—wide bands feel tighter than thin bands on the same size finger, which is important to consider when ordering.

Method 1: Using a String or Paper Strip
This is the most accessible method for home ring sizing since you likely have string or paper readily available. Here’s how to execute this technique accurately:
Materials Needed:
- Thin string, dental floss, or paper strip
- Ruler or measuring tape
- Pen or marker
- Ring size conversion chart (available online)
Step-by-Step Process:
- Prepare Your Measurement Tool: Cut a piece of string or narrow paper strip about 6 inches long. Thin materials work better than thick ones because they conform to your finger’s actual circumference without adding bulk.
- Wrap Around Your Finger: Gently wrap the string around your finger at the knuckle, which is the widest part. The string should be snug but not tight—you should be able to slip a fingernail under it. This is the key to accurate measurement.
- Mark the Overlap Point: Using a pen, mark where the string overlaps itself. Make sure the string hasn’t twisted or bunched during wrapping.
- Measure the Length: Remove the string and lay it flat on a ruler. Measure from the end of the string to your marked point in millimeters. This measurement represents your finger’s circumference.
- Convert to Ring Size: Use an online ring size conversion chart to match your circumference measurement to a standard ring size. Most charts include conversions for US, UK, and European sizes.
- Verify with Multiple Measurements: Repeat this process 2-3 times on different days, measuring at different times. Average your results to account for natural finger size fluctuations.
This method is remarkably accurate when done carefully. The main advantage is that string and paper are nearly free and available in every home. The disadvantage is that it requires precision and attention to detail—rushing through the process leads to inaccurate measurements.
Method 2: The Existing Ring Method
If you already own a ring that fits perfectly, you can use it to determine your size without measuring your finger directly. This method is often the most accurate because it’s based on actual ring fit rather than finger measurement.
How to Measure an Existing Ring:
- Select a Reference Ring: Choose a ring that fits comfortably on the finger where you want to wear your new ring. The fit should be snug but allow your finger to move slightly. Avoid rings that are too loose or too tight.
- Measure the Inner Diameter: Place the ring on a ruler or measuring tape and measure the inner diameter (the distance across the inside of the ring from one edge to the opposite edge). Measure in millimeters for accuracy.
- Use a Ring Size Calculator: Online ring size calculators convert inner diameter measurements directly to ring sizes. Simply input your diameter measurement and the calculator provides the corresponding size.
- Account for Ring Width: Keep in mind that wider bands may feel tighter on your finger than narrower bands of the same size. If your reference ring is significantly wider or narrower than your intended new ring, you may need to adjust up or down by half a size.
This method eliminates guesswork about finger measurement because you’re working with an actual ring that already fits. It’s particularly useful when shopping for jewelry online or ordering from retailers that don’t offer easy returns.
Method 3: Printable Ring Sizer Charts
Many jewelers and online retailers offer free printable ring sizer charts that you can use at home. These charts provide actual-size ring outlines that you match against your finger to determine size.
Using Printable Sizing Charts:
- Download and Print Accurately: Find a reputable printable ring sizer chart online and print it on standard 8.5×11 paper. Ensure your printer is set to print at 100% scale—do not allow the printer to shrink or enlarge the page, as this will throw off measurements.
- Check the Scale: Most charts include a reference measurement (usually 1 inch) that you should verify with a ruler before using the chart. If the reference measurement is incorrect, your sizing will be off.
- Test Each Size: Slide your finger into each ring outline on the chart, starting with sizes you think might fit. The correct size should feel snug without being tight—similar to how your reference ring fits if you have one.
- Confirm Your Size: Once you identify the size that fits best, note it and test again to confirm. Repeat this process on different days to ensure consistency.
This method works well because you’re testing actual-size representations of rings rather than relying on measurements alone. The main drawback is that print quality and printer calibration can affect accuracy, so verification is essential.
Method 4: Using a Ruler and Diameter Calculation
For those who prefer a mathematical approach, you can measure your finger’s diameter and convert it directly to ring size using simple calculations.
Step-by-Step Calculation:
- Measure Finger Diameter: Place your finger on a ruler or measuring tape and measure the width at the knuckle in millimeters. This is your finger’s diameter—the straight-line distance across the widest part.
- Convert to Circumference: Use the formula: Circumference = Diameter × 3.14159 (pi). For example, if your finger diameter is 17mm, multiply 17 × 3.14159 = 53.4mm circumference.
- Compare to Size Chart: Look up your circumference measurement on a ring size conversion chart. A circumference of approximately 53-54mm corresponds to a US size 7.
- Account for Comfort: Remember that this measurement is your actual finger size. Many people prefer rings sized slightly larger for comfort during extended wear or to accommodate slight finger swelling.
This mathematical method appeals to people who want to understand the relationship between measurements and sizes. It’s accurate when measurements are precise, but it requires careful ruler work and calculation. This is a great approach when combined with home improvement and measurement techniques you may already be familiar with.
Tips for Accurate Home Ring Sizing
Timing Matters: Measure your finger at the end of the day when it’s slightly swollen from activity and heat. Fingers are smallest in the morning and largest in the evening, so measuring at a consistent time ensures repeatability. Avoid measuring immediately after exercise, very hot showers, or salt consumption, as these can temporarily enlarge your fingers.
Temperature Considerations: Cold temperatures shrink fingers, while warmth causes them to swell. Measure in a room-temperature environment for the most accurate results. If you live in a climate with significant seasonal temperature variations, measure during the season when you’ll wear the ring most often.
Multiple Measurements: Never rely on a single measurement. Measure at least three times on different days, and average your results. This accounts for natural daily fluctuations in finger size and reduces the chance of error from a single bad measurement.
Knuckle Consideration: The knuckle is typically larger than the base of your finger. Ensure your ring size accommodates easy passage over your knuckle while fitting snugly at the base. If your knuckle is significantly larger than your finger base, you may need a slightly larger size.
Use Multiple Methods: If possible, use two or three different methods and compare results. If the string method, the existing ring method, and the printable chart method all indicate the same size, you can be very confident in that size. If results vary, the average of your measurements is usually your best bet.
Professional Verification: Once you’ve determined your size at home, consider having it verified by a jeweler before making a significant purchase. Many jewelers offer free sizing verification and can catch any errors before you invest in an expensive ring.
Common Mistakes to Avoid
Measuring Too Loose: The most common mistake is wrapping the string too loosely around your finger. Your ring must pass over your knuckle, so it needs to be snug enough that it won’t fall off at the base of your finger. If you can slide the string easily, it’s too loose.
Measuring Too Tight: Conversely, measuring too tightly restricts blood flow and gives you an artificially small measurement. Your ring should feel comfortable during extended wear—you shouldn’t feel circulation restriction.
Ignoring Knuckle Size: Many people measure at the base of their finger rather than at the knuckle. This leads to undersizing, which means the ring won’t fit over the knuckle when putting it on or taking it off. Always measure at the widest point of your finger.
Not Accounting for Band Width: A wide band (3mm or more) will feel tighter than a thin band of the same nominal size. If you’re transitioning from thin bands to wide bands, you may need to size up by half a size. Conversely, very delicate thin bands might feel loose if sized for wider bands.
Printer Calibration Issues: If using a printable sizer, failing to print at 100% scale is a critical error. Always verify the reference measurement on the chart before using it. A 5% printer scaling error translates to nearly one full ring size difference.
Single Measurement: Taking only one measurement and ordering based on that single result is risky. Natural finger size variation means that one-time measurement might not represent your typical finger size. Always measure multiple times and average your results.
When you’re ready to purchase, look for retailers that offer hassle-free ring exchanges or size adjustments as a safety net. Even with careful home sizing, having the ability to exchange if needed provides peace of mind.
FAQ
What’s the most accurate home ring sizing method?
The existing ring method is typically most accurate because you’re measuring an actual ring that already fits you. If you don’t have a reference ring, combining the string method with a printable sizer chart and averaging multiple measurements provides excellent accuracy.
Can finger size change over time?
Yes, finger size can change due to weight gain or loss, aging, pregnancy, arthritis, and other health conditions. It’s a good idea to verify your ring size periodically, especially if you haven’t worn rings regularly or if significant life changes have occurred.
Should I size up or down if I’m between sizes?
If you’re between sizes, consider the ring’s width and your typical wear situation. For wide bands or rings you’ll wear daily, size up for comfort. For delicate bands or special occasion rings, size down for a more secure fit. When in doubt, size up—a slightly loose ring is easier to live with than one that’s too tight.
How much does temperature affect ring sizing?
Temperature can cause 1-2% variation in finger size. Cold reduces finger size, while heat increases it. For consistency, always measure at room temperature and similar times of day. If you live in a cold climate, measure during winter; if warm, measure during summer.
What if my knuckle is much larger than my finger base?
If you have a significantly larger knuckle, you have two options: size for easy knuckle passage (larger size) and accept a slightly loose fit at the base, or size for the base and accept that putting on and taking off requires more effort. Many people in this situation prefer the slightly loose option for comfort and convenience.
Can I use an online ring sizer tool instead?
Some online retailers offer interactive ring sizers, but these are less reliable than physical methods because they depend on accurate screen calibration and proper usage. Physical methods (string, existing ring, or printed charts) are generally more trustworthy.
How long does home ring sizing take?
A single measurement takes just a few minutes, but accurate sizing involves multiple measurements over several days. Plan on 15-30 minutes spread across 3-5 days for reliable results. The extra time investment prevents costly sizing errors.
Related Posts

Superscript in Google Docs: Expert Tips

Strikethrough in Excel: Easy Steps for Beginners
