
Make Rosemary Oil at Home: Expert Tips Inside
Make Rosemary Oil at Home: Expert Tips Inside
Creating your own rosemary oil at home is a rewarding DIY project that transforms fresh herbs into a versatile product for cooking, skincare, and aromatherapy. Whether you’re interested in infusing carrier oils with rosemary’s powerful properties or distilling essential oil, this comprehensive guide walks you through proven methods that deliver professional-quality results. Homemade rosemary oil costs significantly less than store-bought versions while giving you complete control over ingredient quality and purity.
Rosemary oil offers remarkable benefits ranging from culinary enhancement to potential hair growth stimulation and mental clarity support. By learning how to make rosemary oil, you’ll unlock a natural product that elevates your wellness routine and kitchen creations. This guide covers everything from selecting the right rosemary to mastering extraction techniques that maximize potency and shelf life.
Understanding Rosemary Oil Types
Before diving into production, it’s essential to understand the two main categories of rosemary oil you can create at home. Infused oils combine fresh or dried rosemary with a carrier oil like olive, coconut, or jojoba oil, creating a milder product perfect for culinary and topical applications. These retain the herb’s beneficial compounds while remaining safe for direct skin application and cooking.
Essential oils represent a more concentrated form requiring steam distillation equipment—a more advanced process discussed later in this guide. Essential oils are potent and typically require dilution before use. Understanding which type suits your needs determines your equipment requirements and final product applications.
Infused oils are ideal for beginners because they require minimal equipment and deliver consistent results within days. Essential oils demand more investment and technical knowledge but provide concentrated benefits. Many home producers start with infusions before advancing to distillation techniques.
Selecting and Preparing Your Rosemary
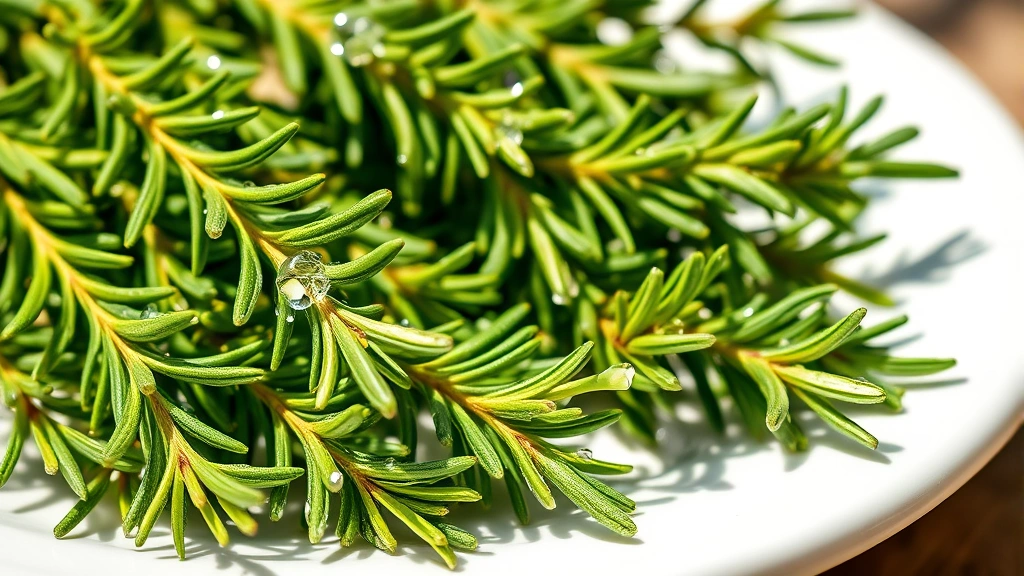
The quality of your starting material directly impacts your finished oil’s potency. Choose fresh rosemary sprigs with vibrant green color and strong aroma—these indicators suggest high essential oil content. Harvest rosemary in mid-morning after dew dries but before afternoon heat, when volatile compounds peak. If purchasing from markets, select bundles with firm stems and no browning or wilting.
Inspect leaves carefully for pest damage, mold, or disease. Rinse fresh rosemary gently under cool water and pat completely dry with paper towels or clean cloth. Any residual moisture introduces bacteria and accelerates spoilage. For cold infusions, some producers prefer slightly wilted rosemary (24 hours air-dried) as it concentrates flavors, though fresh works excellently too.
Dried rosemary offers advantages for extended projects—it’s shelf-stable, concentrates flavors, and works beautifully in infusions. Purchase from reputable suppliers or dry your own by hanging bundles in warm, dark, well-ventilated spaces for 1-2 weeks. Store dried rosemary in airtight containers away from light until ready to infuse.
Cold Infusion Method
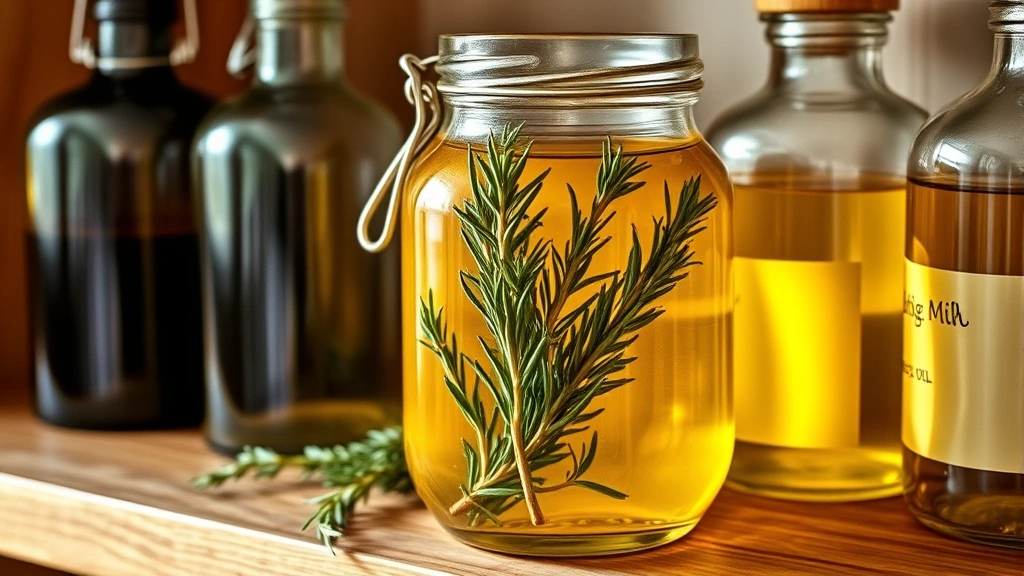
The cold infusion method represents the simplest approach to making rosemary oil at home. This passive technique requires only rosemary, carrier oil, a clean glass jar, and patience. The process preserves delicate aromatic compounds that heat might damage, producing oil with bright, fresh rosemary character.
Cold Infusion Steps:
- Fill a clean glass jar halfway with fresh rosemary sprigs, packing them loosely without crushing
- Pour your chosen carrier oil (olive, light coconut, or jojoba work best) until rosemary is completely submerged, leaving 1-2 inches headspace
- Seal the jar tightly and place in a cool, dark location away from direct sunlight
- Shake the jar gently every 2-3 days to redistribute herbs and oil
- After 7-14 days, strain through fine cheesecloth or coffee filters into a clean jar
- Compost spent rosemary and store finished oil in dark glass bottles away from heat and light
This method typically produces milder oil suitable for salad dressings, massage blends, and gentle skincare applications. The infusion period can extend to 4 weeks for deeper flavor concentration, though most producers find 10-14 days optimal. Cold infusion avoids any risk of heat-damaged compounds, making it ideal for products intended for aromatherapy or direct skin application.
One advantage of cold infusion is energy efficiency—no heating equipment required, reducing your project’s environmental footprint. The method also allows flexibility; you can start multiple jars simultaneously and experiment with different carrier oils to identify your preferred base.
Hot Infusion Technique
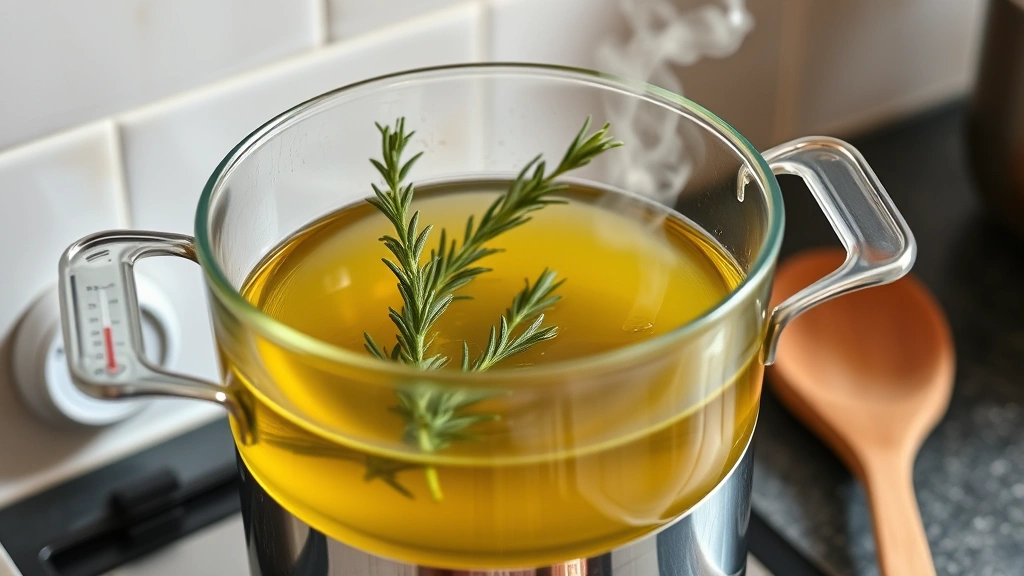
Hot infusion accelerates oil production, delivering results within 24-48 hours while developing deeper, more concentrated rosemary notes. This method applies gentle heat to speed compound extraction, though it requires careful temperature management to prevent quality degradation.
Hot Infusion Process:
- Place your chosen carrier oil in a double boiler setup (glass bowl over pot of simmering water)
- Add fresh rosemary sprigs, keeping oil temperature between 150-180°F (65-82°C)—use a thermometer for accuracy
- Maintain gentle heat for 2-4 hours, ensuring water never boils vigorously
- Remove from heat and let cool to room temperature
- Strain through fine cheesecloth into clean glass bottles
- Store in cool, dark conditions
The double boiler method prevents direct heat exposure that could scorch oil or destroy beneficial compounds. Never use direct flame or allow oil temperature to exceed 180°F, as excessive heat produces rancid, unpleasant flavors. Some producers prefer adding dried rosemary to pre-warmed oil, which reduces infusion time to 30-45 minutes while concentrating flavors.
Hot infusion works particularly well for culinary applications where deeper rosemary intensity enhances dishes. The accelerated timeline makes this method practical for projects with deadlines or when you need oil quickly. However, cold infusion generally produces superior results for aromatherapy and skincare applications where delicate aromatic notes matter.
Steam Distillation Process
Creating true rosemary essential oil through distillation represents advanced production requiring specialized equipment and technical knowledge. Steam distillation separates volatile essential oils from plant material through heat and condensation, producing highly concentrated products.
Steam Distillation Overview:
A basic home distillation setup includes a heat source, distillation flask, condenser, collection vessel, and thermometer. Fresh rosemary is placed in the flask with water, heated until steam rises through the plant material. This steam carries essential oil vapors through a cooling condenser where they transform back to liquid, separating from water in the collection vessel.
The process requires 1-2 hours per batch and produces small essential oil quantities—approximately 0.5-1% of the plant material’s weight. Fifty pounds of fresh rosemary yields roughly 4-8 ounces of essential oil, explaining premium pricing for commercial products. Home distillation demands investment in equipment ($100-500 for quality setups) and careful attention to safety protocols.
Many home producers find commercial-grade distillation equipment unnecessarily expensive for hobby projects. Alternatively, consider purchasing quality essential oil from reputable suppliers and focusing your DIY efforts on creating infused oils, which deliver excellent results with minimal equipment. This approach provides professional-quality products without the technical complexity and startup investment distillation requires.
If pursuing distillation, research extensively, invest in proper equipment from established suppliers, and follow safety guidelines meticulously. Improper technique can produce inferior oils or create fire hazards with flammable vapors.
Storage and Shelf Life
Proper storage dramatically extends your oil’s potency and prevents degradation. Transfer finished oil into dark glass bottles—amber or cobalt blue glass protects against light exposure that oxidizes and degrades oils. Use bottles with tight-sealing caps or dropper tops for convenient dispensing and minimal air exposure.
Store rosemary oil in cool locations maintaining temperatures between 50-70°F. Avoid kitchen cabinets above stoves, sunny windowsills, or warm bathrooms where temperature fluctuations accelerate spoilage. A cool pantry, basement shelf, or wine cooler provides ideal conditions. Some producers refrigerate oils, though this causes cloudiness in coconut oil-based infusions—cloudiness doesn’t indicate spoilage and disappears when oil reaches room temperature.
Properly stored infused oils remain potent for 6-12 months, though peak quality typically lasts 3-6 months. Check oils periodically for off-odors, cloudiness, or sediment indicating spoilage. Oxidized oil develops rancid smells—discard immediately rather than risk using compromised product. Adding vitamin E oil (1-2% by volume) acts as a natural preservative, extending shelf life by several months.
Label all bottles with creation date, rosemary source, carrier oil type, and infusion method. This documentation helps identify which techniques produce superior results and prevents accidentally using expired oils. Clear labeling also ensures household members understand oil composition before use.
Using Your Homemade Oil
Homemade rosemary oil serves countless purposes across culinary, wellness, and household applications. In cooking, drizzle infused oil over finished dishes, use as salad dressing base, or incorporate into marinades for meats and vegetables. The oil’s robust flavor enhances Mediterranean cuisine, roasted potatoes, grilled fish, and artisan breads. For making perfume or personal care products, diluted rosemary oil creates sophisticated fragrances when combined with complementary essential oils.
For topical skincare applications, massage diluted oil onto scalp to potentially stimulate hair growth and improve circulation. Mix with lotion for facial moisturizing, though perform patch tests first to ensure compatibility with your skin type. Some producers create massage blends combining rosemary oil with lavender or eucalyptus for muscle relaxation and aromatherapy benefits.
Household uses include furniture polish, where rosemary oil adds natural fragrance to wood care preparations. Combine with beeswax and carrier oil for homemade furniture wax. Add small quantities to natural cleaning solutions for antibacterial properties and fresh scent. The oil’s versatility makes it valuable for anyone interested in natural product creation—explore how to make perfume to expand applications beyond basic infusions.
Always dilute essential oils before topical application—never apply undiluted to skin. For infused oils applied directly to skin, perform patch tests on small areas first. Pregnant women, nursing mothers, and individuals with specific health conditions should consult healthcare providers before using rosemary products internally or topically.
Visit the FixWiseHub Blog for additional DIY projects and natural product creation guides. You might also explore related content like how to make wine for other home preservation techniques, or check out guides on how to make pink dyes and how to make blue pigments for expanding your natural product creation skills.
FAQ
What’s the best carrier oil for rosemary infusions?
Olive oil offers rich flavor ideal for culinary applications, while jojoba oil works best for skincare due to its similarity to skin’s natural oils. Coconut oil provides light texture and subtle flavor. Choose based on your intended use—culinary projects benefit from olive oil’s taste, while skincare applications prefer jojoba or fractionated coconut oil.
Can I use dried rosemary instead of fresh?
Absolutely. Dried rosemary concentrates flavors and works excellently in both cold and hot infusions. Use approximately one-third the quantity of fresh rosemary since drying concentrates compounds. Dried rosemary produces infusions within 5-7 days using cold methods or 1-2 hours with heat.
How do I know when my infusion is ready?
Taste and smell guide readiness assessment. The oil should exhibit strong rosemary aroma and flavor. Cold infusions typically require 7-14 days, while hot infusions finish in 2-4 hours. Start checking at day 5 for cold infusions and adjust timing based on desired intensity.
Is homemade rosemary oil safe for cooking?
Yes, infused oils made with food-grade carrier oils and culinary rosemary are completely safe for cooking. Ensure all equipment is clean and sterilized before use. Never ingest essential oils unless under professional guidance, as their concentration poses risks.
Why is my oil cloudy?
Cloudiness in coconut oil-based infusions occurs naturally as coconut oil solidifies below 76°F. This doesn’t indicate spoilage. Gently warm the bottle to dissolve cloudiness. If cloudiness appears in olive or jojoba oil, it may indicate water contamination or spoilage—discard if accompanied by off-odors.
Can I reuse rosemary after infusion?
Spent rosemary loses most beneficial compounds during infusion and should be composted rather than reused. Attempting to reinfuse produces weak, inferior oil. Fresh rosemary always delivers superior results.
Related Posts

Superscript in Google Docs: Expert Tips

Strikethrough in Excel: Easy Steps for Beginners
