
How to Slice Brisket? Chef Tips Inside
How to Slice Brisket: Chef Tips for Perfect Results Every Time
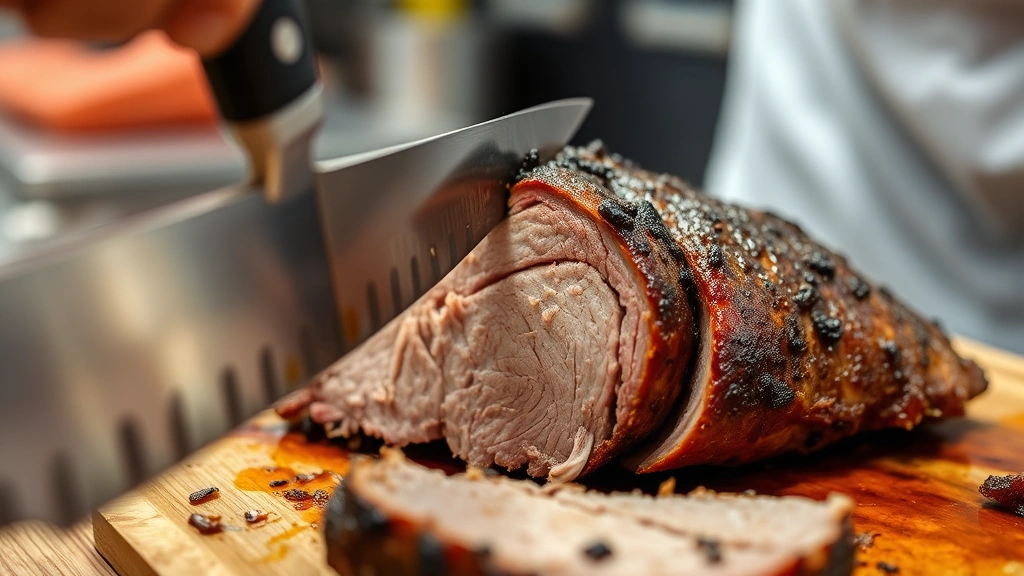
Slicing brisket correctly is one of the most critical steps in serving this beloved cut of meat. Whether you’ve spent hours smoking it low and slow or braising it in the oven, improper slicing can turn a tender, juicy brisket into a tough, stringy disappointment. The key lies in understanding the meat’s grain structure, using the right tools, and applying proper technique.
Brisket is a challenging cut because it contains two distinct muscles—the flat and the point—that run in different directions. This means the grain changes orientation, requiring you to identify and slice against the grain in each section. With the right knowledge and a sharp knife, you’ll create beautiful, tender slices that showcase all your hard work.
Understanding Brisket Structure
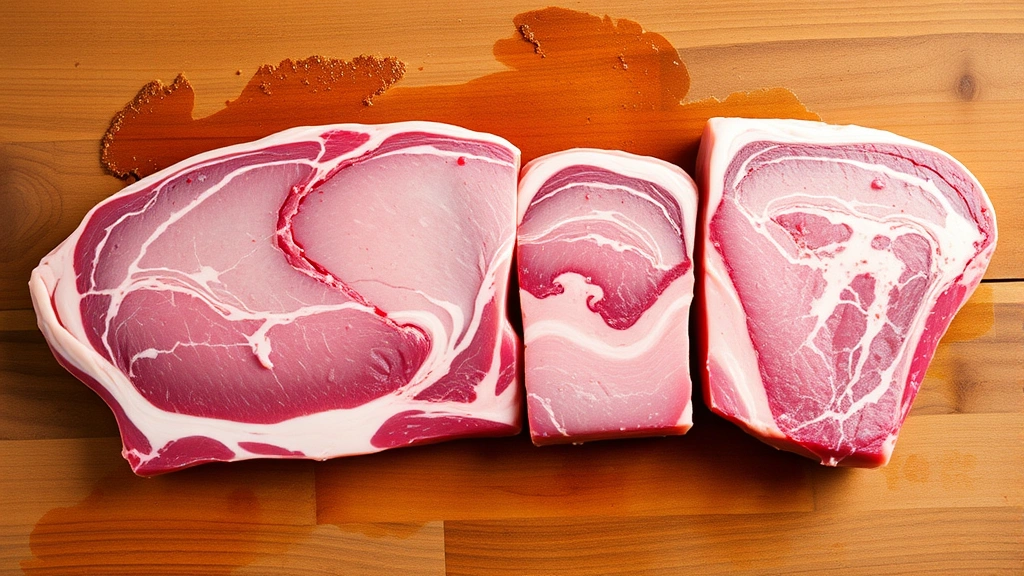
A whole brisket, also called a packer brisket, consists of two distinct muscles: the flat (or first cut) and the point (or second cut). The flat is leaner and has a more uniform grain, making it slightly easier to slice. The point is fattier and has more marbling, which contributes to flavor but also makes slicing trickier because the grain is less uniform.
Understanding these two sections is fundamental to proper slicing. The grain of the flat runs horizontally across the meat, while the grain of the point runs at a different angle. This is why you cannot slice the entire brisket in one direction—you must separate these two muscles and handle each one according to its own grain pattern.
The connective tissue between the flat and point is relatively easy to identify once the brisket is cooked. A thin layer of fat separates them, and you’ll see a natural seam where they meet. Professional butchers and pitmasters always separate these muscles before slicing because treating them as one unit results in slicing with the grain in at least one section, which creates tough, chewy meat.
Essential Tools for Slicing Brisket
Having the right equipment makes the difference between clean, uniform slices and torn, ragged pieces. Here’s what you need:
- Sharp slicing knife: A long, thin-bladed knife (8-10 inches) is ideal. The blade should be sharp enough to glide through meat without requiring pressure. Many professionals use a brisket knife or a long carving knife.
- Knife sharpener: A dull knife is dangerous and produces poor results. Use a honing steel before each slicing session, and sharpen your knife regularly with a whetstone or professional sharpener.
- Cutting board: Use a large, stable cutting board with a groove to catch juices. Wood or plastic boards work well; avoid glass, which dulls knives quickly.
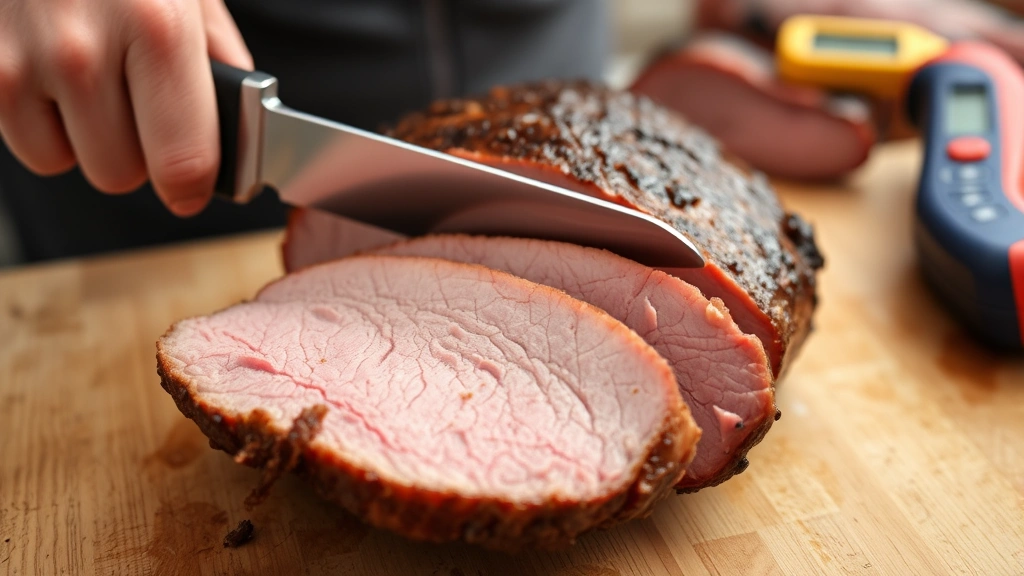
- Meat thermometer: Essential for ensuring your brisket has reached the proper temperature before slicing.
- Serving platter: A warm platter helps maintain the brisket’s temperature during service.
When visiting a DIY home and cooking guide resource, you’ll find detailed recommendations on selecting quality kitchen knives. Many home cooks underestimate the importance of a sharp blade, but it’s absolutely critical for brisket.
Why Temperature Matters Before Slicing
Temperature is crucial for several reasons. A brisket that’s too hot will fall apart and lose its shape when sliced. Conversely, one that’s too cold will be difficult to slice cleanly. The ideal temperature for slicing is between 140°F and 160°F (60-71°C).
After removing the brisket from the smoker or oven, let it rest for at least 30 minutes, but preferably 45-60 minutes. During this resting period, the muscle fibers relax, and the juices redistribute throughout the meat. This resting phase is non-negotiable if you want tender, juicy slices.
If your brisket cools below 140°F, you can gently rewarm it in a low oven (around 275°F) until it reaches the proper temperature. Avoid microwaving, which creates hot spots and uneven heating. The goal is to maintain a gentle, even warmth throughout the meat.
Step-by-Step Slicing Guide
Step 1: Prepare Your Workspace
Place your brisket on a large cutting board with a groove. Ensure your knife is sharp and your workspace is clean. Have paper towels nearby to wipe the blade between cuts, which prevents meat from sticking and gives you cleaner slices.
Step 2: Identify the Two Muscles
Look at the brisket and locate the natural seam between the flat and point. The point is typically thicker and fattier, while the flat is leaner. Run your knife along the seam to separate these two muscles completely. This is the most important step—don’t skip it.
Step 3: Examine the Grain Direction
Once separated, hold each piece and look closely at the grain pattern. The grain appears as fine lines running through the meat. Tilt the meat under good lighting to see the grain clearly. On the flat, the grain typically runs left to right. On the point, it often runs at an angle.
Step 4: Slice the Flat
Begin slicing the flat against the grain, starting from one end. Your knife should be perpendicular to the grain lines. Use a long, smooth slicing motion rather than a sawing motion—this creates cleaner cuts. Aim for slices about ¼-inch thick, though some prefer slightly thicker slices of ⅜-inch.
As you work down the flat, you may notice the grain direction changes slightly. Adjust your angle accordingly to maintain cuts against the grain. This attention to detail separates average brisket from excellent brisket.
Step 5: Slice the Point
The point requires more careful attention because the grain is less uniform. Identify the primary grain direction and slice accordingly. You may need to make multiple cuts from different angles to ensure you’re slicing against the grain throughout. Don’t hesitate to pause and reassess your cutting angle halfway through the point.
Step 6: Arrange and Serve
Place slices on a warm serving platter, slightly overlapping them. If you’re serving the brisket immediately, this presentation maintains the meat’s appearance and warmth. If serving later, cover loosely with foil to keep warm without trapping too much steam.
Identifying and Slicing Against the Grain
This is the most critical skill for perfect brisket slices. When you slice against the grain, you’re cutting through the muscle fibers perpendicular to their length, which shortens them. This creates a tender bite. Slicing with the grain leaves long muscle fibers intact, resulting in a chewy, tough texture.
To identify the grain, look for the fine lines running through the meat. These lines are the muscle fibers bunched together. Proper lighting is essential—position your cutting board near a window or under good kitchen lighting. Some pitmasters even use a flashlight or headlamp to see the grain more clearly.
Your knife blade should be perpendicular to these grain lines. If the grain runs horizontally, your knife should point vertically downward. This perpendicular relationship is what makes the difference between tender and tough brisket.
A common mistake is assuming the entire brisket has the same grain direction. It doesn’t. The flat’s grain runs one way, and the point’s grain runs another. This is why separating the muscles is essential. If you try to slice both muscles in the same direction, you’ll inevitably slice with the grain in at least one section.
When working with the point, you may encounter areas where the grain changes direction within the same muscle. In these cases, you might need to make cuts from multiple angles. Some pitmasters rotate the meat between cuts to accommodate these changes. It’s time-consuming but worth the effort for superior texture.
Common Mistakes to Avoid
Not Resting the Brisket
Jumping straight to slicing after removing the brisket from heat is a major error. The meat needs time to relax and redistribute juices. Skipping this step results in dry, stringy slices that fall apart.
Using a Dull Knife
A dull knife requires pressure to cut, which crushes the meat fibers rather than cleanly separating them. Always use a sharp knife and hone it before slicing. If your knife is dull, take time to sharpen it properly.
Slicing With the Grain
This is the most common and consequential mistake. Always identify the grain direction and slice perpendicular to it. If you’re unsure, stop and reassess your angle before continuing.
Inconsistent Slice Thickness
Varying slice thickness affects how the brisket appears on the plate and how it cooks if you’re reheating it. Aim for consistent ¼-inch to ⅜-inch slices throughout. Some people use a slicing guide or mark their knife with tape to maintain consistency.
Slicing Too Cold or Too Hot
Temperature affects the meat’s structure and how cleanly it slices. Too cold, and it becomes difficult to cut. Too hot, and it falls apart. Aim for that sweet spot of 140-160°F.
Not Separating the Flat and Point
Trying to slice the entire brisket as one piece is nearly impossible to do correctly. Always separate these muscles first and handle each according to its grain direction.
Storage and Serving Tips
If you’re not serving the brisket immediately, proper storage is important for maintaining quality. Place sliced brisket in an airtight container and refrigerate for up to four days. For longer storage, freeze slices in a freezer bag for up to three months.
When reheating, avoid the microwave if possible. Instead, gently warm slices in a low oven (275°F) with a bit of broth or sauce to prevent drying. This preserves the meat’s texture and flavor far better than microwaving.
For a complete meal experience, consider pairing your perfectly sliced brisket with complementary dishes. You might explore recipes like how to make a seafood boil for other entertaining ideas, or learn how to grill pork chops for additional protein preparation techniques.
If you’re serving brisket at a gathering, keep slices warm on a heated platter or in a slow cooker set to low. This maintains quality throughout the meal. Some barbecue restaurants use a warming box that keeps meat at the perfect serving temperature without drying it out.
Consider the presentation as part of the dining experience. Arrange slices slightly overlapping on a warm plate, and drizzle with any pan juices or sauce. This simple presentation showcases your slicing work and enhances the visual appeal of the dish.
For those who enjoy smoking or grilling, maintaining your equipment is equally important. Learn about how to clean grill grates to keep your cooking equipment in top condition for future brisket preparations.
FAQ
What’s the Best Knife for Slicing Brisket?
A long, thin-bladed slicing knife (8-10 inches) is ideal. The thin blade reduces friction, and the length allows you to make long, smooth cuts rather than short, choppy ones. Some professionals prefer a brisket knife, which is specifically designed for this task. Regardless of the type, the knife must be sharp.
How Thick Should Brisket Slices Be?
Most people prefer slices between ¼-inch and ⅜-inch thick. Thinner slices showcase the grain and are more tender, while thicker slices are more substantial and showcase the meat’s texture. Personal preference varies, but consistency is more important than the exact thickness.
Can I Slice Brisket While It’s Still Hot?
It’s not recommended. Slicing meat while very hot causes it to fall apart and lose its shape. Wait until it cools to around 140-160°F, which is warm enough to maintain texture but cool enough to slice cleanly. This usually takes 30-60 minutes of resting.
What If I Slice the Brisket and It’s Tough and Stringy?
This typically indicates you sliced with the grain rather than against it. In the future, take time to identify the grain direction before slicing. If you’ve already made the mistake, you can salvage the brisket by shredding it and using it in tacos, sandwiches, or other dishes where texture is less critical.
Should I Separate the Flat and Point Before or After Slicing?
Always separate them before slicing. These muscles have different grain directions, and slicing them separately ensures you can slice each against its grain. Attempting to slice them together will result in slicing with the grain in at least one section.
Can I Use an Electric Knife to Slice Brisket?
While some people use electric knives, most pitmasters and chefs prefer a sharp manual knife. Electric knives can tear the meat and create an uneven surface. A sharp manual knife gives you more control and produces cleaner cuts. However, if you’re struggling with a manual knife, an electric option is better than struggling and producing poor results.
How Do I Know When Brisket Is Done Cooking?
Use a meat thermometer to check the thickest part of the flat. Most sources recommend 203-205°F for maximum tenderness, though some prefer 195-200°F for a firmer texture. The specific temperature depends on your preference and cooking method.
What’s the Difference Between Slicing and Pulling Brisket?
Slicing creates uniform pieces that showcase the meat’s texture and appearance. Pulling (shredding) breaks the meat into smaller, irregular pieces, which is better for sandwiches or dishes where presentation is less important. Slicing requires more skill but produces more impressive results.
Related Posts

Superscript in Google Docs: Expert Tips

Strikethrough in Excel: Easy Steps for Beginners
