
Program Xfinity Remote: Easy Steps Explained
How to Program Xfinity Remote: Easy Steps Explained
Programming your Xfinity remote doesn’t have to be complicated. Whether you’re setting up a new remote or pairing it with your cable box, this guide walks you through every method available. The Xfinity remote system offers multiple programming options, from automatic pairing to manual code entry, ensuring you can get your remote working in minutes regardless of your technical skill level.
Understanding how to program your Xfinity remote is essential for controlling your TV, cable box, and other connected devices seamlessly. With several straightforward techniques at your disposal, you’ll be able to configure your remote without frustration. This comprehensive guide covers automatic pairing, manual programming with codes, and troubleshooting tips to resolve any issues that might arise during setup.
Understanding Your Xfinity Remote Types
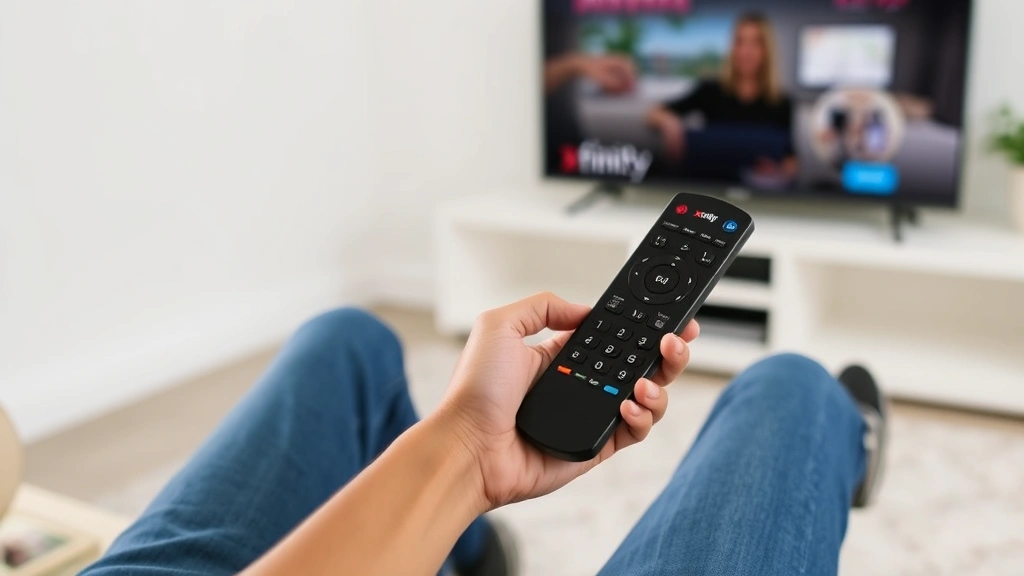
Comcast Xfinity offers several remote models, each with slightly different programming methods. The most common types include the standard Xfinity remote, the XR2 voice remote, and the XR11 voice-activated remote. Before you begin programming, identify which model you’re working with, as this determines the specific steps you’ll follow.
The standard Xfinity remote features traditional buttons and requires manual code entry for most devices. The XR2 remote adds voice control capabilities, allowing you to speak commands directly into the device. The XR11 is the latest model, offering enhanced voice recognition and compatibility with smart home devices. All three models can control your cable box, but additional device programming varies slightly between versions.
Check your remote’s model number, typically found on the back or under the battery compartment. This information helps you access the correct programming instructions and ensures you’re following the right procedure. Understanding your remote type prevents confusion and speeds up the programming process significantly.
Automatic Pairing Method
The automatic pairing method is the fastest way to program your Xfinity remote to your cable box. This process requires no codes and typically completes within seconds. Start by ensuring your cable box is powered on and within six feet of your remote. The remote needs a clear line of sight to the cable box’s infrared receiver for pairing to work correctly.
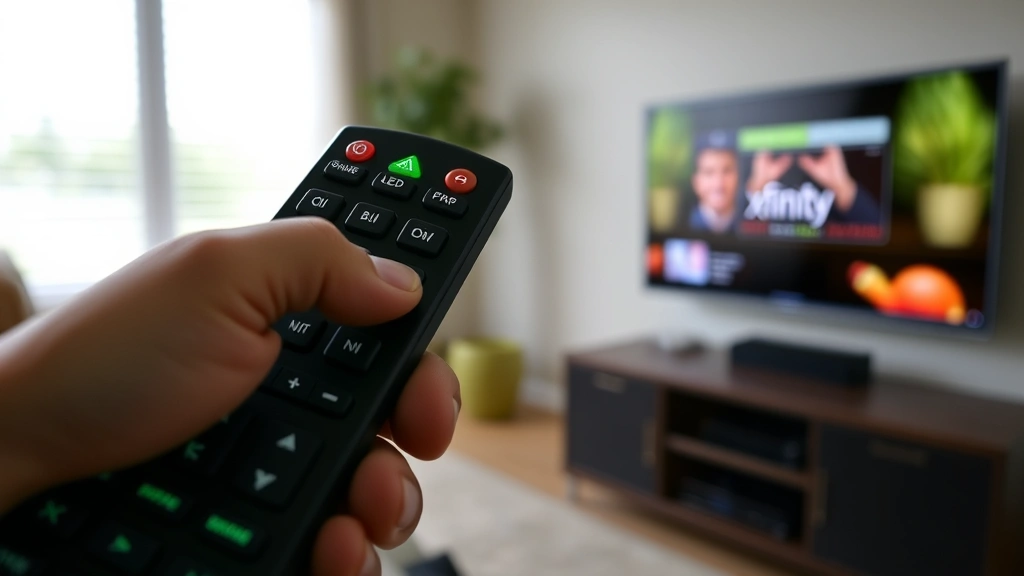
To initiate automatic pairing, hold the Setup button on your remote until the LED light changes from red to green, which usually takes about three seconds. Once the light turns green, release the Setup button. Point your remote at the cable box and press the Select or OK button repeatedly, about once per second. The cable box will respond by displaying a pairing confirmation message on your TV screen.
Continue pressing the Select button until you see the confirmation message disappear or receive a success notification. This indicates that your remote has successfully paired with the cable box. If the pairing fails, ensure the cable box is powered on, check that the remote has fresh batteries, and try again from the beginning. The automatic method succeeds for most users on the first attempt.
Manual Programming With Codes
Manual programming using device codes provides an alternative when automatic pairing doesn’t work or when controlling non-Comcast devices. This method requires you to enter a specific code for your device type. Begin by locating your device code in the Xfinity code list, which you can find in your remote’s instruction manual or on the Xfinity website.
Hold the Setup button until the LED light turns green. Release Setup and enter the three or four-digit code for your device using the number pad. The LED light will blink once for each digit entered. After entering the complete code, press the Power button. If your device powers off, the code worked correctly, and your remote is now programmed.
If the device doesn’t power off, the code was incorrect. Press Setup again to turn off the green light, and try the next code listed for your device type. Some devices have multiple codes available. Continue testing codes until you find the one that works. Once successful, test all the remote buttons to ensure they control your device properly, as some buttons may require additional configuration.
For television programming, you’ll need your TV’s brand and the corresponding code. Common TV brands include Samsung, LG, Sony, Vizio, and TCL, each with multiple code options. The Xfinity remote can store codes for up to four devices simultaneously, allowing you to control your TV, cable box, soundbar, and other equipment with a single remote.
Programming Additional Devices
After programming your primary cable box, you may want to add your television and other devices to your Xfinity remote. The process remains similar to initial setup but requires separate code entry for each device. Before starting, gather all the necessary device codes for the equipment you want to control.
Switch the remote’s device mode by pressing the TV, Cable Box, or Device button, depending on which device you want to program. For example, press TV to switch to television mode. Hold Setup until the LED turns green, then enter the code for your specific TV brand. Test the Power button to confirm the code worked. Repeat this process for each additional device you want to control.
The remote maintains separate settings for each device, so programming your TV won’t affect your cable box controls. You can switch between devices by pressing the corresponding mode button. This flexibility allows you to control multiple pieces of equipment without carrying multiple remotes. Some advanced users even program universal codes that work with various device brands, though brand-specific codes typically offer better reliability.
Troubleshooting Common Issues
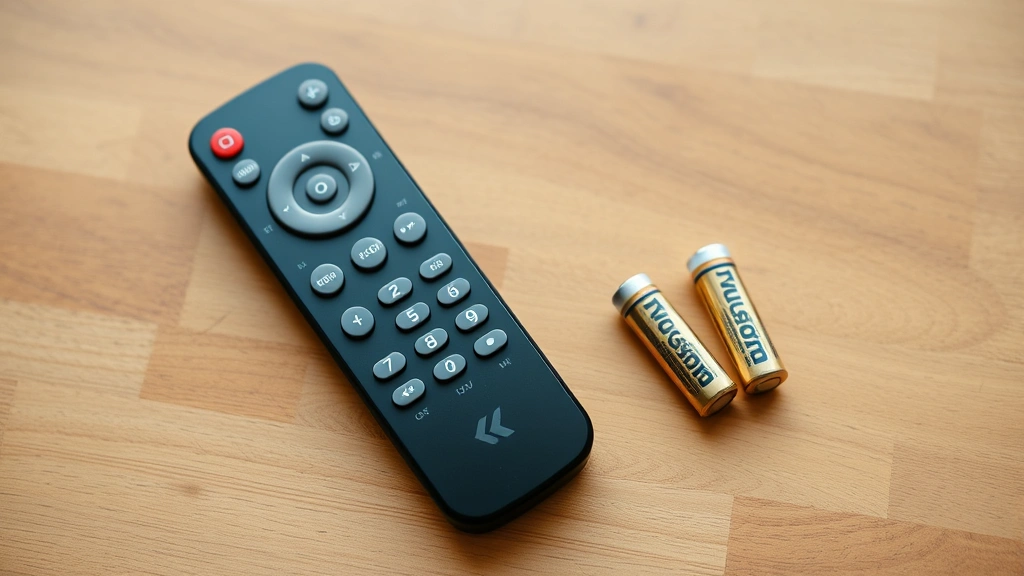
If your Xfinity remote isn’t responding properly after programming, several common issues might be responsible. The most frequent problem involves weak or dead batteries. Replace the batteries with fresh AAA alkaline batteries, ensuring correct polarity with the positive and negative ends aligned properly. Test the remote immediately after battery replacement.
Poor infrared transmission can also prevent your remote from working correctly. The cable box’s infrared receiver may be blocked by objects, or the remote may be pointing in the wrong direction. Clear any obstacles between the remote and cable box, and ensure you’re pointing the remote directly at the device. Move closer to the cable box if the remote still doesn’t respond from your normal viewing distance.
If automatic pairing failed, try the manual code entry method instead. Conversely, if manual codes aren’t working, attempt automatic pairing again. Ensure your cable box is fully powered on and not in standby mode. Some cable boxes require a few seconds to wake up after being in standby, so wait a moment before attempting to program your remote.
Factory reset your remote if programming attempts continue to fail. To reset, hold the Setup button for about 10 seconds until the LED blinks twice. This clears all previous programming, and you can start fresh. After resetting, follow the automatic pairing method first, as this is typically the most reliable approach for initial setup.
For voice remote issues, ensure your microphone isn’t blocked and that you’re speaking clearly. Voice remotes may require additional setup through the Xfinity app or website. Check your internet connection if voice commands aren’t recognized, as voice functionality depends on a stable connection to Comcast’s servers.
Advanced Features and Settings
Once your Xfinity remote is programmed, explore advanced features that enhance your viewing experience. The Xfinity app on your smartphone allows you to control your cable box remotely, even when you’re away from home. This feature requires your cable box and phone to be connected to the same network.
Voice control features on XR2 and XR11 remotes let you search for shows, change channels, and control playback by speaking commands. Train your remote to recognize your voice by completing the voice recognition setup in your account settings. The more you use voice commands, the better the remote learns your speech patterns and preferences.
Customize button functions through your Xfinity account settings if your remote model supports this feature. Some newer remotes allow you to reprogram buttons for quick access to your favorite channels or apps. Access these settings through the Xfinity website or mobile app under remote settings or preferences.
Create favorite channel lists to quickly navigate between your most-watched programming. This feature is particularly useful if you have many channels and want faster access to specific content. Set up parental controls through your remote settings if you want to restrict access to certain channels or content ratings.
For more information about remote-controlled entertainment systems, check out our guides on how to program FireStick remote and how to pair Amazon Fire Stick remote for alternative streaming solutions. If you’re troubleshooting device-specific issues, our article on how to reset FireStick remote provides similar troubleshooting techniques.
Explore the FixWiseHub Blog for additional how-to guides covering various home technology topics and setup procedures.
FAQ
What should I do if my Xfinity remote won’t pair with my cable box?
First, replace the batteries with fresh AAA alkaline batteries. Ensure the cable box is powered on and within six feet of the remote with a clear line of sight. Try the automatic pairing method again, holding Setup until the LED turns green, then pressing Select repeatedly. If this doesn’t work, attempt manual programming using device codes specific to your cable box model. If problems persist, contact Xfinity customer support for hardware troubleshooting.
Can I use one Xfinity remote to control multiple devices?
Yes, the Xfinity remote can control up to four devices simultaneously. Program each device separately by switching the remote’s mode button (TV, Cable Box, etc.) and entering the appropriate device code. The remote maintains separate settings for each device, allowing seamless switching between television, cable box, soundbar, and other equipment.
How do I find the correct code for my TV brand?
Xfinity provides a comprehensive code list in your remote’s instruction manual and on the official Xfinity website. Search for your TV brand and model number to find the corresponding codes. If multiple codes are listed, test them one at a time until you find the code that powers your TV off when pressing the Power button.
What’s the difference between automatic and manual programming?
Automatic programming requires no codes and typically completes in seconds by holding Setup until the LED turns green, then pressing Select repeatedly. Manual programming requires you to enter a specific device code using the number pad. Automatic pairing is faster and usually more reliable, but manual programming provides an alternative when automatic pairing fails.
Can I program an Xfinity remote without the original remote?
Yes, if you don’t have the original remote, you can still program a new Xfinity remote using manual code entry. Obtain the correct device codes for your equipment and follow the manual programming steps. You may also be able to use the Xfinity app as an alternative control method while setting up your new remote.
Why does my voice remote not understand my commands?
Ensure the microphone isn’t blocked and you’re speaking clearly into the remote. Check that your internet connection is stable, as voice functionality requires connection to Comcast’s servers. Complete the voice recognition training in your account settings to help the remote learn your voice. If problems continue, try resetting the remote and repeating the voice training process.
How often should I replace my remote batteries?
Replace batteries when the remote stops responding or becomes sluggish, typically every 6-12 months depending on usage. Use quality AAA alkaline batteries for best performance. Always replace both batteries simultaneously rather than mixing old and new batteries, as this can reduce overall battery life and performance.
Related Posts

Superscript in Google Docs: Expert Tips

Strikethrough in Excel: Easy Steps for Beginners
