
How to Make Over Easy Eggs: Expert Guide
How to Make Over Easy Eggs: Expert Guide to Perfect Breakfast Every Time
There’s something undeniably satisfying about cracking into a perfectly cooked over easy egg—that moment when the runny yolk cascades across your plate is pure breakfast magic. Yet despite its seeming simplicity, mastering the art of cooking over easy eggs eludes many home cooks. The difference between a mediocre egg and an exceptional one often comes down to technique, timing, and understanding the subtle nuances of heat control.
Whether you’re preparing breakfast for yourself or impressing guests with your culinary finesse, learning how to make over easy eggs is a skill worth perfecting. This comprehensive guide will walk you through everything you need to know—from selecting quality ingredients to executing the cooking process with confidence. We’ll explore the equipment you’ll need, common mistakes to avoid, and pro tips that will elevate your egg game from ordinary to extraordinary.
The beauty of over easy eggs lies in their versatility. They work wonderfully on toast, nestled in a breakfast bowl, or served alongside crispy bacon and hash browns. Once you’ve mastered this fundamental cooking technique, you’ll find yourself reaching for it again and again, whether you’re rushing through a weekday morning or leisurely enjoying a weekend brunch.
What Are Over Easy Eggs?
Over easy eggs represent one of the most popular egg preparation methods, sitting comfortably in the middle ground between sunny side up and over medium. The defining characteristic is a fully set egg white with a warm, runny yolk that remains mostly liquid. The “over” part of the name indicates that the egg is briefly flipped during cooking, though the flip is gentle and quick to preserve that precious runny center.
The distinction matters because each cooking method produces a different result. Sunny side up eggs never get flipped and feature a completely runny yolk with a delicate, slightly translucent egg white. Over medium eggs have a yolk that’s mostly set but still slightly jiggly in the very center. Over easy falls between these two, offering the best of both worlds—a yolk that’s liquid enough to create that satisfying flow but not so runny that it feels undercooked.
Understanding this distinction helps you communicate your preferences clearly, whether you’re at a restaurant or cooking for others. It also ensures you’re following the right technique for your desired outcome.

Selecting the Right Ingredients
The foundation of exceptional over easy eggs starts with quality ingredients. You might think an egg is just an egg, but the difference between a mediocre egg and an outstanding one is noticeable from the moment you crack it open.
Choosing Fresh Eggs: Freshness matters tremendously. Fresh eggs have firmer whites and more vibrant yolks. Before you start cooking, take time to know if an egg is bad by performing a simple float test or checking the expiration date. If you’re unsure about your eggs’ quality, tell if eggs are good by cracking one into a bowl—fresh eggs have yolks that stand tall and whites that remain compact rather than spreading thin.
Consider sourcing eggs from local farms or purchasing from stores that prioritize freshness. Pasture-raised eggs often have richer, more golden yolks and superior flavor compared to conventional eggs. The cost difference is minimal, and the taste improvement is substantial.
Butter Selection: For cooking, use unsalted butter so you can control the salt level in your dish. Quality butter with a lower water content will help you achieve better browning and more flavorful results. If butter isn’t your preference, extra virgin olive oil works beautifully and adds a Mediterranean touch to your breakfast.
Seasoning Choices: Keep it simple with kosher salt and freshly ground black pepper. These two ingredients are all you need for exceptional flavor. Some cooks add a pinch of smoked paprika or fresh herbs like chives for extra dimension, but restraint often yields the best results.
Equipment You’ll Need
Having the right tools makes cooking over easy eggs significantly easier and more reliable. You don’t need fancy equipment, but certain items will improve your success rate dramatically.
- Non-stick skillet (8-10 inch): This is your best friend for over easy eggs. Non-stick surfaces prevent sticking without requiring excessive butter, giving you better control over the cooking process. Look for quality non-stick cookware that has proper heat distribution.
- Spatula: A silicone or plastic spatula is ideal for non-stick pans. Metal spatulas can damage the non-stick coating. Choose one with a thin, flexible edge for easy sliding underneath the egg.
- Medium heat source: Whether you’re using an electric or gas stove, the ability to control heat precisely is crucial. Gas stoves offer more immediate control, but electric stoves work fine if you adjust timing accordingly.
- Butter knife or small offset spatula: Some cooks prefer using a butter knife to gently guide the egg white around the pan, ensuring even cooking without flipping too early.
- Plate: Have your serving plate ready and warm before you start cooking. A warm plate keeps your eggs at the ideal temperature longer.
While specialized egg pans exist, they’re not necessary. A standard non-stick skillet serves the purpose perfectly well and offers more versatility for other cooking tasks.
Step-by-Step Cooking Process
Now for the main event—the actual cooking process. Follow these steps for consistent, beautiful over easy eggs every time.
Step 1: Prep Your Pan
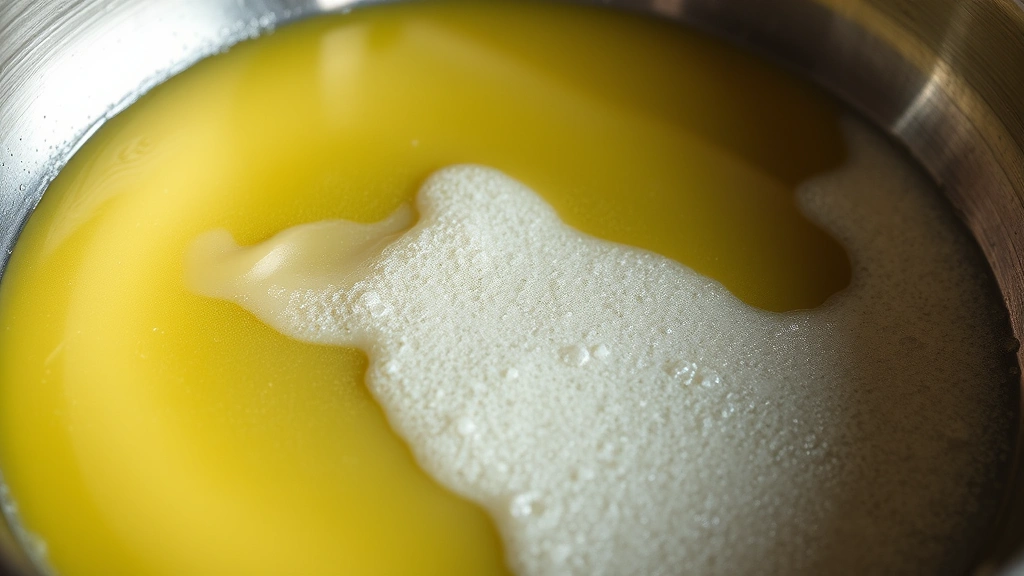
Place your non-stick skillet over medium heat. Allow it to heat for about 30 seconds to one minute. You want the pan hot enough that butter sizzles immediately when added but not so hot that it browns instantly. Test the temperature by adding a small piece of butter—it should melt and foam slightly without browning.
Step 2: Add Fat
Add approximately half a tablespoon of butter to the pan for one or two eggs. The butter should coat the entire bottom surface. Tilt and rotate the pan to ensure even distribution. Some cooks prefer using egg wash techniques for other applications, but for over easy eggs, butter is the traditional choice for superior flavor.
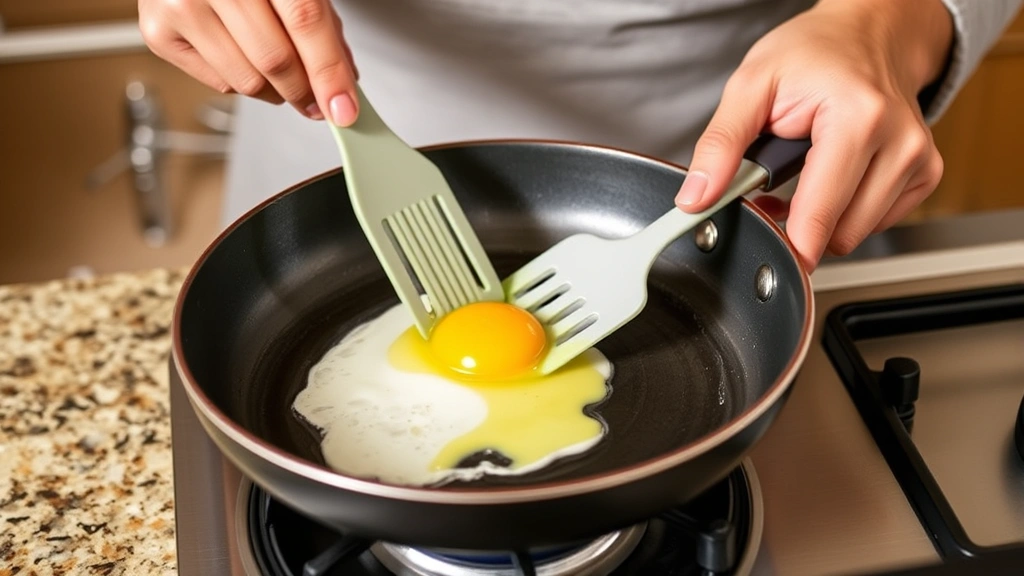
Step 3: Crack and Cook
Crack your egg into a small bowl first—this gives you better control and allows you to remove any shell fragments before they reach the pan. Gently slide the egg into the center of the buttered pan. You should hear a satisfying sizzle as the egg white makes contact with the heat.
Let the egg cook undisturbed for about 30-45 seconds. During this time, the bottom of the white will begin setting. You’ll notice the white around the yolk becoming opaque and firm while the edges might brown slightly—this is exactly what you want.
Step 4: Manage the Cooking Process
Once the bottom white is set but the top is still translucent, you have a decision to make. Some cooks gently push the cooked white toward the yolk to help cook the top portion evenly. Others let it be. Either approach works; it depends on your preference and how much white remains uncooked.
Step 5: The Flip
This is the critical moment. Once the bottom is completely set and the top white is mostly opaque with just a thin layer of translucency remaining, it’s time to flip. Use a confident, smooth motion—hesitation leads to broken yolks. Slide your spatula completely under the egg, ensuring you’ve got solid support, then quickly flip it over in one decisive motion.
Step 6: Cook the Other Side
After flipping, you only need 10-15 seconds on the other side. This brief cooking time sets the top white without cooking the yolk further. You’ll see the top white firm up almost immediately. Some cooks cover the pan with a lid during this final stage to help the top cook through more gently.
Step 7: Plate and Season
Slide your perfectly cooked egg onto your warm plate. Season immediately with kosher salt and freshly ground black pepper while the egg is still hot. The heat helps the seasoning adhere and distribute better than adding it after the egg cools.
Timing and Temperature Mastery
The difference between a perfectly cooked over easy egg and an overcooked one often comes down to just 10-15 seconds. Mastering timing and temperature is what separates casual cooks from those who consistently produce excellent results.
Temperature Control: Medium heat is your sweet spot. Too high, and your butter burns before the whites cook through, or your yolk cooks too much. Too low, and your whites never properly set, remaining rubbery or overly translucent. If you have a thermometer, aim for a pan temperature around 300-325°F, though most cooks simply use visual cues and experience.
Timing Variables: The exact timing depends on several factors: your stove type, pan thickness, egg size, and how much butter you’re using. Large eggs take slightly longer than medium eggs. Cast iron retains heat differently than non-stick aluminum. Gas stoves heat differently than electric coils. These variables mean you should treat timing guidelines as starting points, not absolutes.
Visual Cues Over Clocks: Rather than relying solely on a timer, watch the egg itself. The white around the yolk should transition from clear to opaque to fully set. The yolk should jiggle slightly when you gently shake the pan. These visual indicators are more reliable than time alone because they account for all variables automatically.
The Jiggle Test: Before flipping, gently shake the pan back and forth. The yolk should move freely, indicating it’s still liquid inside. If it doesn’t move at all, you’ve cooked it too long. If it seems to move excessively with the white still translucent, you need more time before flipping.
Common Mistakes to Avoid
Understanding what not to do is just as important as knowing what to do. Here are the most common mistakes that derail home cooks when making over easy eggs.
Mistake 1: Heat Too High
This is the number one culprit behind tough, rubbery eggs with overcooked yolks. High heat causes the bottom to brown excessively while the top doesn’t cook through evenly. Medium heat gives you the control you need for consistent results.
Mistake 2: Flipping Too Early
If you flip before the bottom white is completely set, you’ll break the yolk or create a mess. Wait until the bottom is firm and opaque before attempting the flip. When in doubt, wait an extra 5-10 seconds.
Mistake 3: Flipping Too Late
Conversely, waiting too long means the yolk gets more cooked than you want. The window is relatively narrow—once the top white is mostly opaque with just a thin layer of translucency, it’s time to flip.
Mistake 4: Using Old Eggs
Older eggs have weaker whites that spread thin and cook unevenly. The yolk also sits lower in the white, making it harder to achieve that perfect over easy result. Always prioritize freshness.
Mistake 5: Overcrowding the Pan
Cooking multiple eggs in a small pan drops the temperature and creates steam, which interferes with proper cooking. Cook one or two eggs per pan, or use a larger pan if cooking more.
Mistake 6: Skipping the Warm Plate
A cold plate rapidly cools your eggs, stopping the cooking process prematurely and affecting texture. Warm your plate under hot water or in a warm oven before serving.
Professional Tips for Success
These techniques separate home cooks from professionals who consistently deliver exceptional results.
Tip 1: The Pre-Crack Method
Professional cooks always crack eggs into a small bowl first. This allows you to remove shell fragments, check egg quality, and have better control over placement in the pan. It takes five extra seconds and dramatically improves your success rate.
Tip 2: Room Temperature Eggs
Eggs straight from the refrigerator cook unevenly because the cold center takes longer to heat through. Leave eggs on the counter for 10-15 minutes before cooking for more consistent results. This is particularly important for over easy eggs where yolk temperature is crucial.
Tip 3: Brown Butter Enhancement
For restaurant-quality results, let your butter brown slightly before adding the egg. This develops a nutty, complex flavor that elevates the entire dish. Watch carefully though—brown butter browns quickly and can become burnt butter.
Tip 4: Gentle Lid Cover
After flipping, covering the pan with a lid for the final 5-10 seconds helps the top white cook through more gently without overcooking the yolk. Use a glass lid so you can monitor progress without removing it.
Tip 5: The Tilt Method
Some professional cooks tilt the pan slightly while the egg cooks, using gravity to help uncooked white flow toward the heat. This technique takes practice but dramatically speeds up the process once mastered.
Tip 6: Quality Pan Investment
A quality non-stick pan is worth the investment. Cheap non-stick cookware loses its coating after a few months, leading to sticking and frustration. Mid-range non-stick pans from reputable manufacturers last years and cook more evenly.
Creative Serving Ideas
Once you’ve mastered the cooking technique, explore different ways to serve your over easy eggs. This skill transfers to grilling techniques and other cooking methods, but let’s focus on breakfast applications.
Classic Preparations: Serve over easy eggs on buttered toast, letting the runny yolk soak into the bread. Add crispy bacon, fresh fruit, and coffee for a complete breakfast. This timeless combination remains popular for good reason.
Breakfast Bowls: Layer cooked grains like quinoa or farro with roasted vegetables, then top with your over easy egg. The warm yolk becomes a sauce that brings all elements together beautifully.
Sandwich Station: Create breakfast sandwiches using English muffins, bagels, or croissants. Layer with cheese, vegetables, and your over easy egg. The runny yolk adds moisture and richness.
Avocado Toast: Spread ripe avocado on whole grain toast, season well, then top with your over easy egg. The combination of textures and flavors is sophisticated yet simple.
Hash and Eggs: Serve over easy eggs on top of crispy hash browns or breakfast potatoes. The yolk creates a natural sauce for the starches below.
Shakshuka Inspiration: Poach your over easy eggs in a tomato-based sauce for a Middle Eastern twist. While not traditional shakshuka, this approach borrows the flavor profile and technique.
Frequently Asked Questions
What’s the difference between over easy and sunny side up eggs?
The primary difference is the flip. Over easy eggs are briefly flipped during cooking, while sunny side up eggs never get flipped. This results in over easy eggs having a fully set top white, whereas sunny side up eggs retain some translucency on top. Over easy eggs also have a slightly less runny yolk because the flip cooks it a bit more.
Can I make over easy eggs without flipping?
Technically, yes, though this becomes more of a basted egg preparation. You can cover the pan with a lid and let steam cook the top white instead of flipping. However, you lose the slight cooking of the top that the flip provides, and some people find the steamed texture different from traditional over easy.
How do I know when the yolk is at the right temperature?
The jiggle test is your best indicator. Gently shake the pan before flipping—the yolk should move freely but not excessively. After flipping, the yolk should remain mostly liquid when you gently press it with your spatula. These visual and tactile cues are more reliable than timing alone.
Why do my eggs stick despite using non-stick pans?
Several factors could cause sticking: insufficient butter, pan not hot enough, or using metal utensils that damage the non-stick coating. Ensure you’re using adequate fat, allowing proper preheating, and using appropriate utensils. Also, older non-stick pans lose their coating over time and may need replacement.
Should I cover the pan while cooking over easy eggs?
You don’t need to cover the pan during the initial cooking, but some cooks cover it briefly after flipping to help the top white cook through more gently. This is optional and depends on personal preference and your stove’s characteristics.
Can I make multiple over easy eggs at once?
Yes, but use a larger pan or cook in batches. Crowding the pan drops the temperature and creates steam, which interferes with proper cooking. A 12-inch non-stick skillet can comfortably handle three or four eggs if you have adequate space between them.
What if I break the yolk while flipping?
Don’t worry—it happens to everyone. The egg is still perfectly edible, just no longer technically over easy. Some people prefer broken yolks because they distribute throughout the white, creating a different texture. Consider it a learning opportunity and try again with the next egg.
How can I make my eggs taste more flavorful?
Start with fresh, quality eggs. Use good butter and season generously with kosher salt and fresh pepper right after cooking. Consider browning your butter slightly for nuttier flavor. Some cooks add a tiny pinch of smoked paprika or fresh herbs like chives for subtle flavor enhancement.
Can I make over easy eggs in cast iron?
Absolutely. Cast iron works beautifully for over easy eggs, though it retains heat differently than non-stick pans. Cast iron heats more slowly but maintains temperature extremely well. You may need to adjust your heat level slightly lower than you would with non-stick cookware.
What’s the best butter to use for cooking eggs?
Use unsalted butter so you control the salt level. European-style butter with higher fat content (86% versus standard 80%) cooks slightly differently and some prefer the results. Avoid margarine or butter substitutes—real butter provides superior flavor and performance.
Related Posts

How Long to Boil Lobster Tails: Cooking Guide

How Long to Fly from New York to London? Travel Times
