

Freeze Dry Candy at Home? Expert Tips Inside
How to Freeze Dry Candy at Home: Expert Tips and Techniques
Freeze drying candy at home has become an increasingly popular DIY project for food enthusiasts and creative home cooks. This fascinating preservation technique transforms ordinary sweets into lightweight, crispy delights with intensified flavors and extended shelf life. Whether you’re looking to create unique snacks, preserve seasonal treats, or experiment with texture modifications, freeze drying offers endless possibilities right in your own kitchen.
The process of freeze drying removes up to 98% of moisture from candy while maintaining its nutritional value, color, and flavor profile. Unlike traditional drying methods that use heat and can damage delicate candy structures, freeze drying uses sublimation—a process where frozen water transforms directly into vapor. This means your favorite gummy bears, marshmallows, and fruity candies can achieve a completely new texture while retaining their essential characteristics.

Understanding Freeze Drying Technology
Freeze drying is a sophisticated dehydration method that preserves the structural integrity of delicate foods like candy. The process occurs in three distinct phases: freezing, primary drying, and secondary drying. During the freezing phase, your candy is cooled to extremely low temperatures, typically between -40°F and -50°F, which converts all moisture into ice crystals.
The primary drying phase involves reducing atmospheric pressure around the frozen candy. This pressure reduction causes the ice crystals to sublime—transforming directly from solid to vapor without passing through a liquid state. This is fundamentally different from traditional drying methods and explains why freeze-dried products maintain their original shape and texture so effectively. The secondary drying phase removes any remaining bound moisture, ensuring maximum shelf stability.
Understanding these phases helps you appreciate why home improvement and DIY techniques have expanded into food preservation. Just as precision matters when completing household projects, accuracy is crucial when freeze drying candy. Temperature fluctuations, humidity levels, and timing all significantly impact your final product’s quality.
Equipment You’ll Need for Home Freeze Drying
The most critical piece of equipment for home freeze drying is a dedicated freeze dryer machine. Several manufacturers now produce consumer-grade models designed specifically for home use. Popular brands include Harvest Right, which offers various sizes from small benchtop units to larger models. These machines typically cost between $2,000 and $5,000, representing a significant investment but one that pays dividends for serious enthusiasts.
Essential equipment includes:
- Freeze dryer machine – The primary equipment; ensure it has adequate capacity for your candy batches
- Vacuum pump – Usually included with quality machines; maintains the low-pressure environment necessary for sublimation
- Temperature monitoring thermometer – Helps verify proper freezing and drying temperatures
- Trays and shelves – Come with most machines; use parchment paper to prevent sticking
- Moisture analyzer – Optional but helpful for determining when drying is complete
- Airtight storage containers – Essential for preserving your finished freeze-dried candy
- Desiccant packets – Silica gel packets help maintain low moisture during storage
Before purchasing a freeze dryer, consider your available space and electrical requirements. Most home models require a dedicated 110V or 220V outlet and need proper ventilation. The machine will also require regular maintenance, including vacuum pump oil changes and condenser cleaning. If you’re new to this process, starting with a mid-sized machine allows you to experiment without overwhelming investment.
Best Candies to Freeze Dry
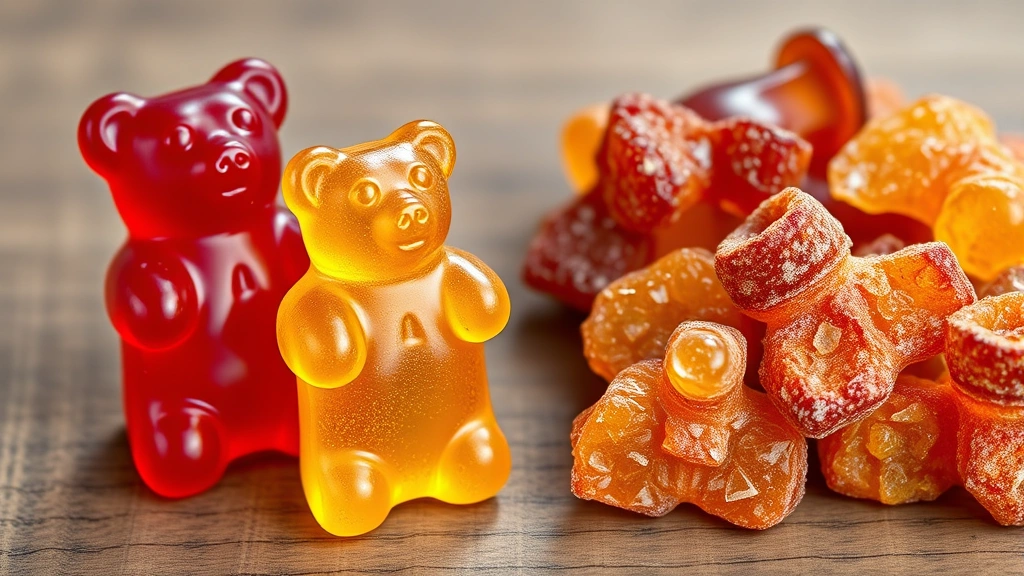
Not all candies are equally suited for freeze drying. The best candidates are those with high moisture content or interesting textural qualities that improve through the process. Gummy candies transform dramatically—they become crunchy, intensely flavored, and surprisingly light. Gummy bears, gummy worms, and fruit-flavored gummies all excel when freeze dried.
Excellent freeze-drying candidates:
- Gummy bears and gummies – Become wonderfully crispy with concentrated flavor
- Marshmallows – Transform into airy, almost weightless confections
- Jelly candies – Develop an interesting crunchy texture
- Licorice – Becomes lighter and develops enhanced flavor complexity
- Fruit leather – Becomes brittle and intensely flavored
- Taffy and saltwater taffy – Develops a unique crumbly texture
- Candy corn – Becomes less dense and easier to chew
- Rock candy – Maintains crystalline structure while becoming lighter
Conversely, some candies don’t freeze dry well. Hard candies like lollipops may become too brittle or lose their appeal. Chocolate-based candies can be problematic because chocolate’s cocoa butter can separate during the process. Caramel and toffee candies may become too sticky or lose their characteristic chewiness.
When selecting candies, prioritize quality ingredients. Organic or premium candies often yield better results because they contain fewer additives and stabilizers that might interfere with the freeze-drying process. Homemade candies can also be excellent choices, giving you complete control over ingredients and moisture content.
Step-by-Step Freeze Drying Process
Step 1: Prepare Your Candy
Begin by arranging your selected candies on the freeze dryer trays in a single layer. Avoid stacking or overcrowding, as proper air circulation is essential for even drying. If you’re concerned about candies sticking to trays, line them with parchment paper or silicone mats. Some freeze dryers come with specialized liners designed to prevent adhesion while allowing sublimation.
For gummy candies, you might want to spread them out with space between each piece. This spacing ensures that moisture can escape evenly from all surfaces. If your candies have a sticky coating, consider lightly dusting them with cornstarch or a similar food-grade powder, which can be brushed off afterward.
Step 2: Initial Freezing
Place the loaded trays into your freeze dryer and initiate the freezing cycle. The machine will gradually reduce temperature to the target level, typically around -40°F to -50°F. This gradual cooling prevents damage to the candy’s structure and ensures that ice crystals form uniformly throughout each piece. The freezing phase typically takes 4-8 hours depending on candy thickness and machine specifications.
During this phase, the machine’s compressor works continuously to achieve and maintain the required temperature. You’ll notice the machine operating at higher power levels. This is completely normal and necessary for proper freeze drying. Don’t interrupt the cycle or open the chamber during this phase.
Step 3: Primary Drying Phase
Once freezing is complete, the machine automatically transitions to the primary drying phase. The vacuum pump activates, gradually reducing atmospheric pressure within the chamber. As pressure drops, the frozen water in your candy begins to sublime. This phase is where most moisture removal occurs and typically lasts 15-24 hours, depending on candy size and moisture content.
During primary drying, you may notice the chamber becoming noticeably cold to the touch, and you might hear the vacuum pump operating. The machine’s temperature sensors monitor conditions continuously, adjusting parameters to optimize the drying process. Many modern freeze dryers include monitoring systems that track progress and alert you when phases are complete.
Step 4: Secondary Drying Phase
After primary drying, the machine enters the secondary drying phase, which removes any remaining bound moisture. During this phase, temperature gradually increases while vacuum pressure is maintained. This phase typically lasts 4-12 hours and is crucial for achieving maximum shelf stability. The temperature increase helps drive off moisture that’s more tightly bound to the candy’s structure.
Some freeze dryers allow you to customize secondary drying parameters based on candy type. Harder candies might benefit from slightly higher temperatures, while delicate gummies require more gentle conditions. Consult your machine’s manual for specific recommendations.
Step 5: Cooling and Removal
Once all drying phases are complete, allow the chamber to return to room temperature before opening. This prevents atmospheric moisture from being reabsorbed by your newly freeze-dried candy. Opening the chamber too quickly can introduce humidity that undoes your careful work. The cooling process typically takes 1-2 hours.
When the chamber reaches room temperature, carefully remove your trays. You’ll immediately notice the dramatic transformation—your candy is now significantly lighter, with a crispy or airy texture depending on the original candy type. Handle the finished products gently, as they may be more fragile than the original candies.
Storage and Shelf Life Considerations
Proper storage is absolutely critical for maintaining your freeze-dried candy’s quality. Freeze-dried products are extremely hygroscopic, meaning they readily absorb moisture from the air. Exposure to humidity can quickly rehydrate your candy, causing it to become sticky and potentially developing mold.
Storage best practices:
- Use airtight containers – Glass jars with tight-sealing lids or vacuum-sealed bags work best
- Include desiccant packets – Silica gel packets actively remove any residual moisture in the container
- Store in cool, dry locations – A pantry or cupboard away from sunlight and heat sources is ideal
- Avoid temperature fluctuations – Consistent temperatures prevent condensation inside containers
- Label with dates – Track when you freeze-dried each batch for reference
- Consider vacuum sealing – For long-term storage, vacuum-sealed bags provide superior protection
When stored properly in airtight containers with desiccant packets, freeze-dried candy can last 6-12 months or even longer. Some enthusiasts report successful storage lasting up to two years, though flavor intensity may gradually diminish. The absence of moisture prevents microbial growth, making freeze-dried candy remarkably shelf-stable compared to fresh or traditionally dried alternatives.
If you notice your freeze-dried candy becoming slightly sticky or soft after storage, it’s likely absorbing atmospheric moisture. Transfer it to a fresh airtight container with new desiccant packets immediately. This usually restores the desired crispy texture. However, if you detect any off-odors or visible mold, discard the batch to prevent health issues.
Troubleshooting Common Issues
Candy Remains Sticky or Wet
If your candy hasn’t achieved the desired crispy texture, it likely hasn’t fully dried. This usually indicates that the secondary drying phase was too short or temperatures were insufficient. For future batches, extend the secondary drying phase by several hours, or consult your machine’s manual about temperature adjustments. You can also try re-running sticky candy through another drying cycle, though this may impact texture.
Uneven Drying Results
Inconsistent drying across your batch typically results from overcrowding or uneven tray arrangement. Ensure adequate spacing between candies and distribute them evenly across trays. Rotate trays midway through the process if your machine allows. Some freeze dryers have hot spots where certain areas dry faster—mapping these areas helps you position candies strategically for more uniform results.
Candy Becoming Rehydrated
If properly dried candy becomes sticky shortly after removal, moisture is being reabsorbed from the air. This indicates inadequate airtight storage or that desiccant packets are saturated. Always store finished products immediately in fresh airtight containers with new desiccant packets. Replace desiccant packets regularly, especially in humid climates.
Excessive Breakage or Crumbling
Some candy becomes very fragile after freeze drying. While this is sometimes desirable, excessive breakage suggests the drying was too aggressive. For future batches, slightly reduce secondary drying temperatures or duration. Also, handle freeze-dried candy more gently than the original products—they’re significantly more delicate.
Strange Flavors or Off-Odors
If finished candy develops unusual flavors or smells, contamination may have occurred. Ensure your machine is clean before each use, and verify that candy ingredients were fresh. Off-odors sometimes indicate that atmospheric moisture entered the chamber during cooling or removal. Always allow complete cooling before opening, and work quickly when removing trays to minimize air exposure.
FAQ
How much does a home freeze dryer cost?
Consumer-grade freeze dryers typically range from $2,000 to $5,000. Smaller benchtop models cost less, while larger capacity machines are more expensive. This represents a significant investment, but frequent users find it justified through the ability to preserve foods year-round.
Can I freeze dry candy without a dedicated machine?
Unfortunately, true freeze drying requires specialized equipment with precise temperature and pressure control. Home freezers and standard ovens cannot achieve the necessary conditions. However, some people experiment with makeshift methods using dry ice and vacuum-sealed bags, though results are inconsistent and unpredictable.
How long does the complete freeze-drying process take?
The entire process typically takes 24-48 hours from start to finish, including all phases and cooling time. Exact duration depends on candy type, quantity, and machine specifications. Plan accordingly when scheduling freeze-drying projects.
What’s the difference between freeze drying and regular dehydration?
Traditional dehydration uses heat, which can damage delicate candy structures and reduce nutritional value. Freeze drying uses cold and pressure, preserving structure, flavor, and nutrients while achieving superior moisture removal. The resulting texture and quality are dramatically different.
Can I freeze dry chocolate candies?
Chocolate is problematic for freeze drying because cocoa butter separates during the process, resulting in grainy texture and poor appearance. Stick with non-chocolate options for best results. Some enthusiasts successfully freeze dry chocolate-covered items if the chocolate coating is thin and the interior is freeze-drying friendly.
How do I know when freeze drying is complete?
Most modern machines indicate completion automatically. You can also check manually by removing a test piece and allowing it to cool completely. It should be crispy and light with no moisture when squeezed. If any tackiness remains, additional drying time is needed.
Is freeze-dried candy safe to eat?
Yes, freeze-dried candy is completely safe when properly prepared and stored. The process removes moisture that would otherwise support microbial growth. Maintain proper storage conditions to prevent rehydration and contamination.
Can I make freeze-dried candy from homemade recipes?
Absolutely! Homemade candies often freeze dry beautifully because you control ingredients and moisture content. Homemade gummies, marshmallows, and fruit candies are excellent candidates. Ensure your homemade candies are properly set and cooled before freeze drying.
What’s the cost per batch to operate a freeze dryer?
Operating costs are relatively modest, primarily involving electricity consumption during the 24-48 hour cycle. Expect to spend $2-5 per batch in electricity depending on your local rates and machine size. Desiccant packets and storage containers represent minimal additional costs.
Related Posts

Superscript in Google Docs: Expert Tips

Strikethrough in Excel: Easy Steps for Beginners
