
Adjust Sprinkler Heads? Expert Tips Inside
How to Adjust Sprinkler Heads: Expert Tips Inside
A well-maintained sprinkler system is the foundation of a healthy, vibrant lawn. However, even the best irrigation systems can develop problems over time—misaligned heads, uneven water distribution, and clogged nozzles are common issues that plague homeowners. The good news is that adjusting sprinkler heads is a straightforward DIY task that requires minimal tools and technical knowledge. Whether you’re dealing with pop-up spray heads, rotor heads, or impact sprinklers, learning how to adjust sprinkler heads will save you money on water bills and ensure every corner of your yard receives adequate hydration.
In this comprehensive guide, we’ll walk you through the entire process of diagnosing sprinkler problems, making precise adjustments, and optimizing your system for maximum efficiency. By the end, you’ll understand how to fine-tune your irrigation setup like a professional landscaper, eliminating dry patches and overwatered areas that waste resources and money.
Understanding Your Sprinkler System
Before you start making adjustments, it’s essential to understand the basic components of your sprinkler system. Most residential irrigation systems consist of a water source (main line), zone valves, pipes, and various sprinkler head types distributed throughout your yard. Each head is designed to deliver water in a specific pattern and distance, creating overlapping coverage zones that ensure uniform watering.
The three primary types of sprinkler heads you’ll encounter are spray heads (fixed or pop-up), rotor heads (which rotate to cover larger areas), and impact sprinklers (the classic oscillating type). Spray heads typically cover a radius of 4 to 15 feet and are ideal for small areas and flower beds. Rotor heads cover larger distances—15 to 50 feet—making them perfect for expansive lawns. Understanding which type you have is the first step toward successful adjustment.
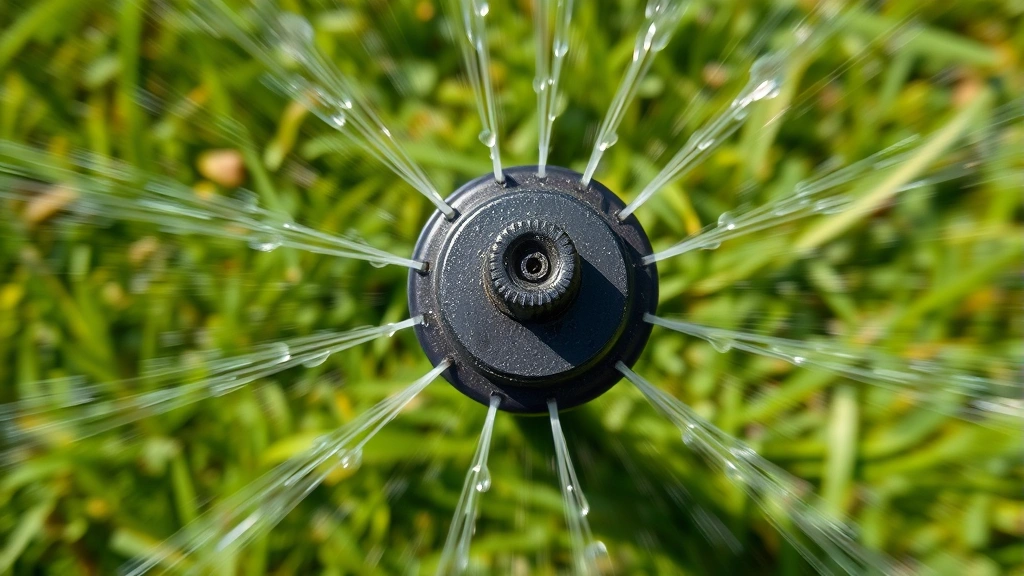
When you notice uneven watering patterns—brown patches alongside soggy areas—it’s usually because sprinkler heads have shifted out of position, become clogged, or are set to deliver water at incorrect angles. Seasonal changes, foot traffic, and soil settling can all cause misalignment. Regular inspection and maintenance prevent these issues from developing into costly water waste and lawn damage.
Tools and Materials You’ll Need
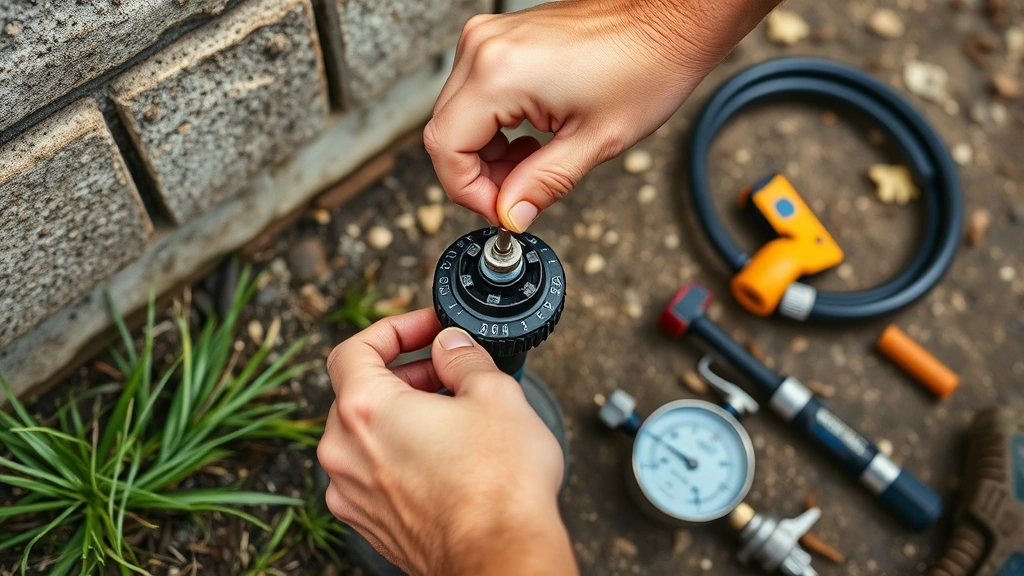
Fortunately, adjusting sprinkler heads doesn’t require an extensive toolkit. Here’s what you should have on hand:
- Flathead screwdriver – for adjusting nozzle angles and spray patterns
- Adjustable wrench or pliers – for tightening loose connections
- Small brush or pipe cleaner – for removing debris from clogged nozzles
- Bucket or container – for testing water output and coverage
- Measuring tape – for determining spray radius and overlap
- Replacement nozzles – optional, for upgrading or replacing worn parts
- Water pressure gauge – helpful for diagnosing pressure-related issues
- Teflon tape – for sealing threaded connections
Most of these items are already in your garage, and any missing pieces are inexpensive to purchase at your local hardware store or home improvement retailer. Having everything ready before you begin will make the adjustment process smooth and efficient.
How to Adjust Pop-Up Spray Heads
Pop-up spray heads are the most common type found in residential yards. They remain flush with the ground when inactive and pop up when the system pressurizes. Adjusting these heads is relatively simple and involves modifying the spray pattern, radius, and direction.
Step 1: Activate the Zone
Start by turning on the specific zone containing the heads you want to adjust. This pressurizes the system and pops up the heads, allowing you to see their spray patterns and make adjustments while water is flowing. This is crucial because you’ll be able to observe coverage in real-time.
Step 2: Inspect the Nozzle
Once the head is elevated, examine the nozzle closely. Look for debris, mineral deposits, or sediment blocking the opening. If you see buildup, carefully clean it using a small brush or pipe cleaner. Be gentle to avoid damaging the precision-engineered nozzle tip. If cleaning doesn’t restore proper flow, you may need to replace the nozzle entirely.
Step 3: Adjust the Spray Pattern
Most pop-up spray heads have an adjustable nozzle that can be rotated to change the spray pattern. You’ll typically find options for full circle (360 degrees), three-quarter circle (270 degrees), half circle (180 degrees), or quarter circle (90 degrees). Use your flathead screwdriver to rotate the nozzle collar counterclockwise to decrease the spray arc or clockwise to increase it. Make small adjustments and observe the water pattern carefully.
Step 4: Modify the Spray Radius
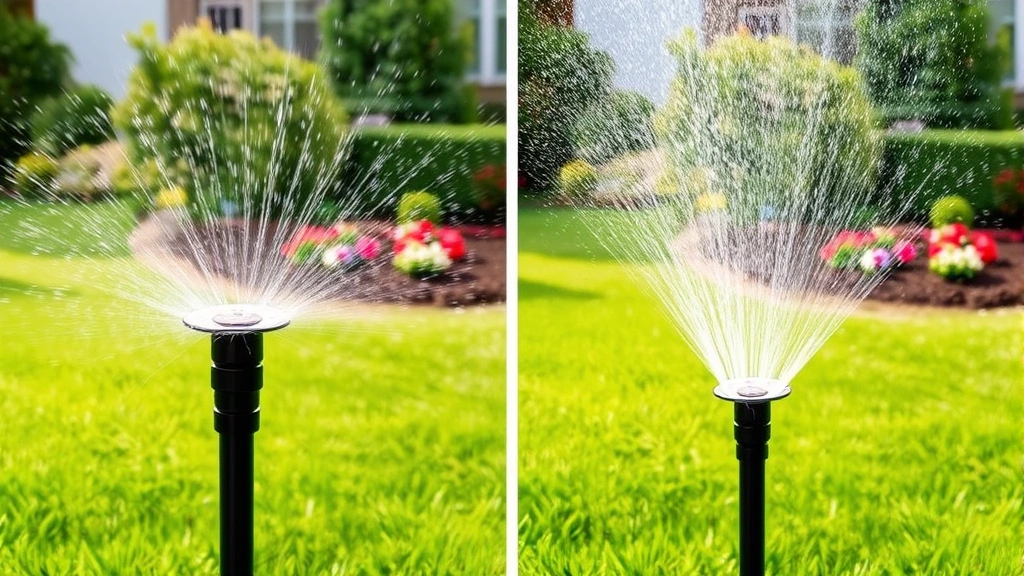
The radius—how far water travels from the head—can usually be adjusted by turning an internal screw or adjusting a flow control valve. Locate the adjustment mechanism (often a small screw on top of the nozzle) and turn it clockwise to reduce radius or counterclockwise to increase it. Make quarter-turn adjustments and test the spray distance. Proper overlap between adjacent heads is critical; typically, you want each head to spray about two-thirds of the distance to the next head.
Step 5: Correct the Direction
If a head is spraying in the wrong direction, you can rotate the entire pop-up body. Gently grasp the head and twist it to point in the desired direction. Some heads have a locking mechanism you’ll need to loosen first. Ensure the head is pointing toward the area that needs water and away from hardscape surfaces like driveways and patios.
Adjusting Rotor Sprinkler Heads
Rotor heads are more sophisticated than spray heads and cover significantly larger areas. They’re ideal for expansive lawns and require different adjustment techniques. Understanding how to adjust sprinkler heads of the rotor variety will help you maximize coverage efficiency across your property.
Understanding Rotor Mechanics
Rotor heads work by using water pressure to spin an internal mechanism that gradually sweeps water in an arc. They’re adjustable for both the starting angle and ending angle of their spray pattern, allowing you to customize coverage precisely. This makes them excellent for irregularly shaped yards.
Adjusting the Starting Angle
With the system running, locate the adjustment screw or dial on the rotor head. Most models have a clearly marked starting position adjustment. Use your screwdriver to rotate this mechanism to where you want the spray pattern to begin. For example, if you want coverage to start at 90 degrees (directly to the right), adjust accordingly. Make small incremental changes—typically one-eighth turn at a time—and observe how the spray pattern shifts.
Adjusting the Ending Angle
Next, adjust the ending angle dial to determine where the spray arc stops. The difference between starting and ending angles determines your total coverage. If you want a 180-degree arc, set the starting angle to 0 degrees and the ending angle to 180 degrees. Some rotors have a single dial that controls both parameters, while others have separate adjustments. Consult your specific model’s documentation for precise instructions.
Fine-Tuning Radius and Flow
Rotor heads typically have radius adjustment mechanisms that control how far water travels. Similar to spray heads, these are usually small screws that require clockwise rotation to decrease radius or counterclockwise to increase it. Additionally, many rotor models include flow control valves that regulate water pressure to the head, allowing you to reduce water output without affecting spray distance. This is particularly useful for water conservation.
Fine-Tuning Water Pressure and Coverage
Optimal sprinkler performance depends heavily on proper water pressure. Too much pressure causes uneven spray patterns and water waste, while insufficient pressure results in poor coverage and dry spots. Learning how to adjust sprinkler heads includes understanding pressure management.
Testing Your System’s Pressure
Use a water pressure gauge (available at any home improvement retailer) to measure your system’s operating pressure. Most residential sprinkler systems function optimally between 30 and 50 pounds per square inch (PSI). If your pressure falls outside this range, you may need to adjust your main valve or install a pressure regulator. This is where consulting This Old House’s sprinkler system reviews can provide valuable guidance on quality equipment.
Creating Proper Head-to-Head Coverage
Sprinkler heads should overlap their coverage zones by approximately 20-30 percent to ensure uniform watering. To test this, place small containers or cans throughout the watering zone and run the system for a set time (typically 15 minutes). Measure the water depth in each container. Consistent depths indicate proper overlap; significant variations suggest misalignment or pressure issues. Adjust individual heads as needed until coverage becomes uniform across the entire zone.
Accounting for Slope and Terrain
Sloped yards present unique challenges for sprinkler adjustment. Water naturally flows downhill, so heads on slopes may require different radius and pressure settings than those on level ground. Additionally, heads placed at the bottom of slopes need shorter radius settings to prevent water runoff. Heads at the top may need increased radius to compensate for water flowing away. Test and adjust each zone independently to account for your property’s topography.
Common Problems and Solutions
Even with proper adjustment, sprinkler systems can develop issues. Here are the most common problems and their solutions:
Problem: Dry Patches in Lawn
Dry patches typically indicate insufficient coverage overlap or misaligned heads. Start by checking if the affected area falls within the spray radius of nearby heads. If not, adjust those heads to increase their radius. If the area is covered, the problem may be clogged nozzles or low pressure. Clean all nozzles and test your system pressure. For detailed guidance, Family Handyman’s sprinkler troubleshooting guide offers comprehensive solutions.
Problem: Overwatered Areas
Soggy, overwatered zones usually result from excessive overlap or heads spraying in unintended directions. Adjust the radius of offending heads downward, or modify their spray pattern to avoid the saturated area. You can also reduce water pressure to those specific heads using flow control valves if your model includes them.
Problem: Clogged or Weak Spray
Mineral deposits, sediment, and debris frequently clog sprinkler nozzles, especially in areas with hard water. Remove the nozzle and soak it in white vinegar for 30 minutes to dissolve mineral buildup. Use a soft brush to gently clean the nozzle tip. If soaking doesn’t work, replace the nozzle with a new one. Prevention is key—install a quality filter on your main line to trap debris before it reaches your heads.
Problem: Uneven Water Pressure Between Zones
If some zones spray weakly while others are powerful, you likely have a pressure issue. Check that all zone valves are fully open. If some valves are partially closed, water will be diverted to other zones. Also inspect for leaks in your main line or supply pipes; even small leaks significantly reduce downstream pressure. A professional irrigation audit may be necessary if you can’t locate the source.
Problem: Heads Not Popping Up
Pop-up heads that fail to elevate usually have debris blocking their internal mechanism or insufficient pressure. Turn off the system and manually push the head up to see if it pops back down (indicating proper spring tension). If it stays up, clean the internal components by carefully disassembling the head and removing any sediment. If pressure seems low, check your main valve and ensure the zone is fully activated.
Problem: Heads Spraying in Wrong Direction
This is the simplest problem to solve. Simply rotate the head to point in the correct direction. If the head won’t turn or seems stuck, apply a small amount of penetrating oil and wait 15 minutes before attempting rotation again. Avoid forcing stuck heads, as you may damage internal components.
FAQ
How often should I adjust my sprinkler heads?
Inspect your system at least twice per year—at the beginning of spring and mid-summer. More frequent inspections are warranted if you notice dry patches or water waste. After heavy rain or foot traffic, quick checks ensure heads haven’t been disturbed.
Can I adjust sprinkler heads while the system is off?
While you can make some adjustments with the system off, it’s much easier and more effective to adjust with the system running. This allows you to observe spray patterns and coverage in real-time, making precise adjustments. Always turn off the system before making any repairs involving disconnection or replacement of parts.
What’s the ideal spray overlap percentage?
Aim for 20-30 percent overlap between adjacent heads. This ensures complete coverage with minimal water waste. Test overlap by placing collection containers in your yard and measuring water depth consistency across the entire zone.
Should I hire a professional to adjust my sprinkler system?
Simple adjustments like changing spray patterns or directions are easily DIY tasks. However, if you’re dealing with complex pressure issues, multiple clogged heads, or suspected leaks in buried lines, professional help from a licensed irrigation technician may be worthwhile. Many areas require licensed professionals for system installation anyway.
How can I reduce water consumption while maintaining lawn health?
Proper head adjustment is the first step. Additionally, install a smart controller that adjusts watering based on weather conditions. Run your system early morning or late evening to minimize evaporation. Consider upgrading to more efficient nozzles designed for water conservation. For more information on system improvements, check out Lowe’s sprinkler head selection.
What’s the difference between adjusting spray heads and rotor heads?
Spray heads adjust coverage pattern (full, three-quarter, half, quarter circle) and radius through simple dial or screw mechanisms. Rotor heads require separate adjustments for starting angle, ending angle, and radius. Rotors are more complex but offer greater precision for large areas.
Can clogged heads damage my sprinkler system?
Yes. Clogged heads cause water to back up in the line, increasing pressure on other heads and potentially damaging valves and pipes. Regular cleaning prevents this issue and extends your system’s lifespan significantly.
What PSI should my sprinkler system operate at?
Most residential systems function optimally between 30-50 PSI. Check your specific sprinkler head manufacturer’s recommendations, as some heads are designed for different pressure ranges. Maintaining proper pressure ensures even coverage and prevents premature head failure.
Related Posts

Superscript in Google Docs: Expert Tips

Strikethrough in Excel: Easy Steps for Beginners
