
Merge 2 Cells in Excel? Expert Instructions
How to Merge 2 Cells in Excel: Expert Instructions
Merging cells in Excel is one of the most fundamental formatting techniques that can transform your spreadsheets from cluttered to professional-looking. Whether you’re creating headers, combining data fields, or organizing information for presentations, knowing how to merge cells efficiently saves time and improves readability. This comprehensive guide walks you through every method available in Excel, from basic merging to advanced techniques that preserve your data.
Cell merging combines multiple adjacent cells into a single larger cell, which is particularly useful for creating centered titles, spanning headers across columns, or organizing complex data layouts. Understanding the different merge options and their implications ensures you maintain data integrity while achieving your desired formatting.
Understanding Cell Merging Basics
Before diving into the mechanics of merging, it’s essential to understand what happens when you merge cells. When two or more cells combine into one, Excel retains the content from the upper-left cell and discards content from other cells being merged. This is why backing up your data before merging is crucial, especially when working with important spreadsheets.
Cell merging is distinct from combining cells in Excel, which typically refers to concatenating data from multiple cells into one cell using formulas. Merging is purely a formatting operation that joins cell boundaries without using formulas.
Excel offers several merge options: merge and center, merge across, merge cells, and unmerge cells. Each serves different purposes depending on your spreadsheet layout and design needs. Understanding these distinctions prevents accidental data loss and ensures you select the appropriate merge type for your situation.
Method 1: Using the Merge Cells Button
The quickest way to merge cells is using the Merge Cells button on the Home tab. This method works in Excel 2010 and later versions across Windows and Mac platforms.
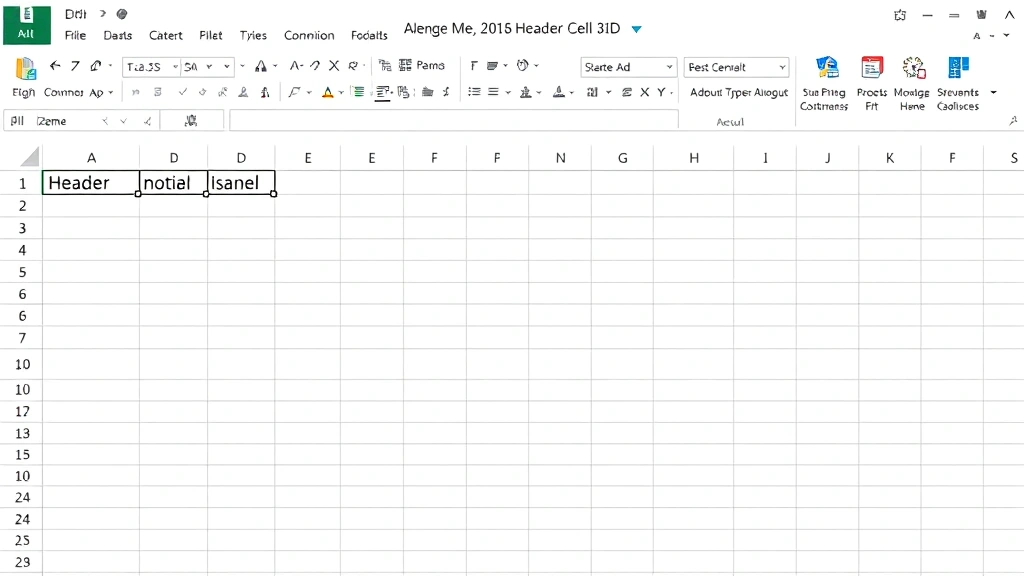
- Select the cells you want to merge: Click on the first cell and drag to the last cell you want to combine. For merging just two cells, click the first cell, hold Shift, and click the second cell.
- Navigate to the Home tab: If you’re not already on the Home tab, click it at the top of the ribbon.
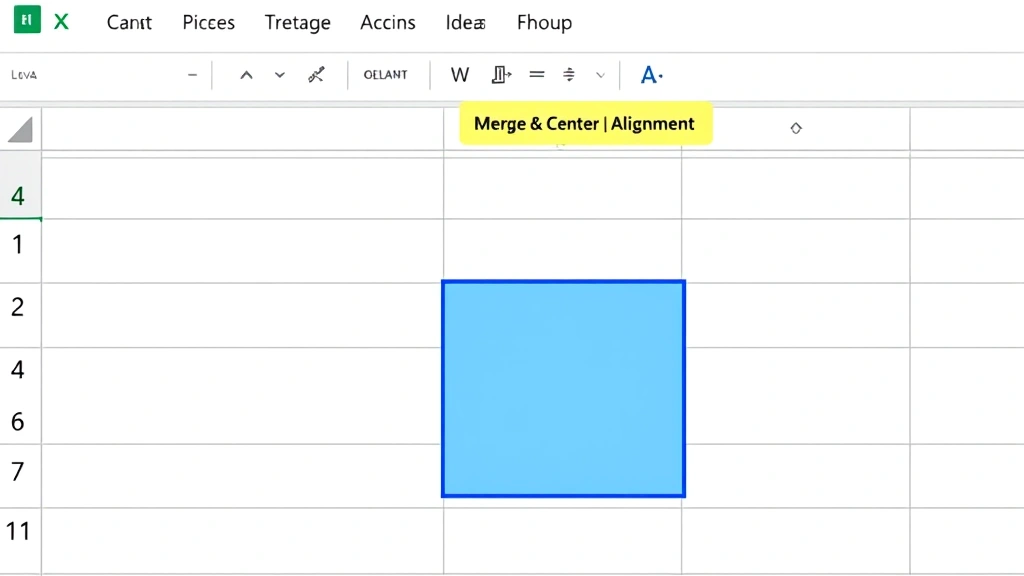
- Locate the Merge & Center dropdown: In the Alignment group, you’ll see the Merge & Center button. Click the small dropdown arrow next to it to reveal merge options.
- Choose your merge type: Select “Merge & Center” to merge and center content, “Merge Across” to merge horizontally while keeping rows separate, or “Merge Cells” for a basic merge without centering.
- Confirm the merge: Excel will merge your selected cells immediately. If cells contain data beyond the first cell, a dialog box may appear warning you about potential data loss.
This method is ideal for quick formatting tasks and is the most intuitive approach for beginners. The visual feedback from the ribbon makes it easy to see which merge option you’re selecting before applying it.
Method 2: Merge Cells Dialog Box
For more control and to access additional merge settings, use the Format Cells dialog box. This method provides comprehensive options and is particularly useful when working with complex spreadsheets.
- Select your cells: Highlight the two cells or range of cells you want to merge.
- Open the Format Cells dialog: Right-click on your selection and choose “Format Cells” from the context menu, or use the keyboard shortcut Ctrl+1 (Windows) or Command+1 (Mac).
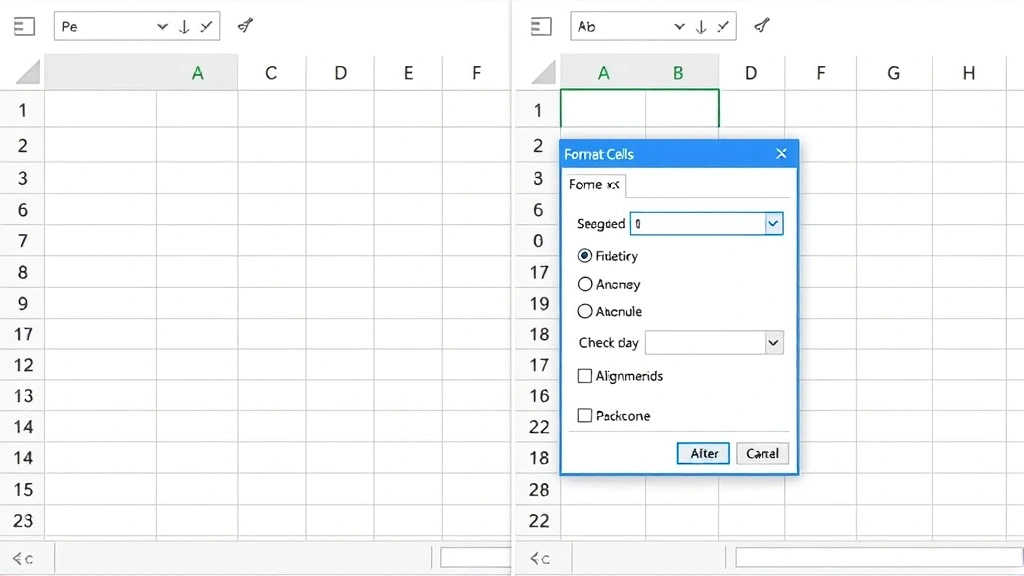
- Navigate to the Alignment tab: In the Format Cells dialog box, click on the “Alignment” tab.
- Check the Merge cells option: Locate the “Merge cells” checkbox in the lower portion of the dialog. Check this box to enable merging.
- Configure alignment settings: While in this dialog, you can set horizontal and vertical alignment options that will apply to your merged cell. This is more efficient than adjusting alignment separately afterward.
- Click OK: Apply your merge and alignment settings by clicking the OK button.
This approach combines merging with alignment formatting in a single operation, making it efficient for creating professional-looking headers or title rows. The dialog box method also allows you to preview how your text will align within the merged cell before applying changes.
Method 3: Using Format Cells Option
Excel also allows merging through the Format menu, which some users find more intuitive than the ribbon interface. This method is consistent across different Excel versions and operating systems.
- Select your cells: Click and drag to select the two cells you want to merge.
- Access the Format menu: Click on “Format” in the main menu bar (this appears as “Format” in Excel on Mac or within the Home tab options in newer Windows versions).
- Choose Merge Cells: Look for “Merge Cells” option in the dropdown menu. Some versions may show this under a submenu.
- Select merge type: Choose from available merge options based on your needs.
- Confirm and format: Once merged, you can adjust text alignment using the alignment buttons on the ribbon.
This traditional menu-based approach works consistently across Excel versions and is particularly helpful if you prefer menu navigation over ribbon icons.
Merging Cells with Data Preservation
One of the most important considerations when merging cells is preserving data from all cells being merged. Unlike standard merging which discards non-first-cell content, you can use formulas to combine data before merging.
To preserve data from multiple cells when merging:
- Create a helper cell: In an empty cell nearby, use the CONCATENATE function or the ampersand operator (&) to combine the content from both cells. For example: =A1&” “&B1 combines cells A1 and B1 with a space between them.
- Copy the result: Once your formula creates the combined text, copy this cell.
- Paste as value: Select where you want the merged content to appear and use Paste Special (Ctrl+Shift+V) to paste only the values, not the formula.
- Delete original cells: Remove the original cells and the helper cell.
- Merge the new cell: Now merge your cell containing the combined data with adjacent cells if desired.
This approach ensures no data is lost during the merging process. It’s particularly important when working with spreadsheets containing critical information that shouldn’t be discarded.
For those working with larger datasets, consider using Excel’s combine cells feature which offers more sophisticated data consolidation options compared to simple cell merging.
Unmerging Cells
Sometimes you need to separate previously merged cells to reorganize your spreadsheet or make edits. Unmerging is straightforward and doesn’t require special preparation.
To unmerge cells:
- Select the merged cell: Click on the merged cell you want to separate.
- Access the Merge & Center dropdown: Go to Home tab and click the Merge & Center dropdown arrow in the Alignment group.
- Click Unmerge Cells: Select “Unmerge Cells” from the dropdown menu. The previously merged cells will instantly separate.
- Retrieve your data: Your original data (from the top-left cell) will remain in the first cell of the now-separated range. Other cells will be empty unless you previously used data combination techniques.
Unmerging is non-destructive to the retained data, making it safe to experiment with different layout configurations. If you’ve used the data preservation method mentioned earlier, all your combined content remains intact in the first cell.
Common Issues and Solutions
Issue: Excel warns about data loss when merging
When you attempt to merge cells containing data in more than one cell, Excel displays a warning dialog. This indicates that content in non-first cells will be deleted. Click “OK” only if you’ve already preserved the data using formulas or copied it elsewhere. If you haven’t, click “Cancel” and use the data preservation method described earlier.
Issue: Text won’t center in merged cell
After merging, text might not appear centered even though you selected “Merge & Center.” This occurs when the cell’s alignment settings were previously modified. Fix this by selecting the merged cell, accessing the Format Cells dialog, and setting both horizontal and vertical alignment to “Center.”
Issue: Merged cells cause sorting problems
Excel cannot sort data ranges containing merged cells. If you need to sort your spreadsheet, split your merged cells first, perform the sort, then re-merge if needed. Alternatively, use freeze rows for header preservation instead of merging.
Issue: Formulas referencing merged cells behave unexpectedly
When you merge cells containing formulas, only the formula in the top-left cell is retained. If other cells contained formulas, they’re deleted. Always copy formula results to a new location before merging, or restructure your spreadsheet to keep calculated cells separate from merged formatting areas.
Issue: Merged cells print incorrectly
If your merged cells don’t print as expected, check your page setup and print preview. Merged cells spanning multiple columns might break across pages. Adjust your print area or page orientation to accommodate merged cell dimensions. Consider using hiding columns as an alternative to merging if printing is problematic.
Best practices for avoiding issues:
- Always backup your spreadsheet before extensive merging
- Use merging primarily for headers and titles, not data cells
- Keep merged cells away from sorting ranges
- Document where merged cells exist for other users
- Test print layouts before finalizing merged cell designs
- Consider using alternative formatting (borders, shading) instead of merging when data organization is complex
FAQ
Can I merge cells vertically and horizontally at the same time?
Yes, you can merge a rectangular range of cells (for example, A1:B2) which merges both vertically and horizontally. Simply select the entire range you want to merge before applying any merge option. Excel will combine all selected cells into one larger cell.
What’s the difference between Merge & Center and Merge Across?
Merge & Center combines all selected cells into one and centers the content both horizontally and vertically. Merge Across merges cells horizontally within each row separately, useful when you have multiple rows and want to merge across columns without merging down rows. Merge Cells performs a basic merge without automatic centering.
Can I merge cells in Excel Online?
Yes, Excel Online supports cell merging through the Home tab. The process is identical to desktop Excel. Select your cells, click Merge & Center dropdown, and choose your merge option. All merge functionalities work the same in the web version.
Why does Excel show an error when I reference a merged cell in a formula?
Excel doesn’t show errors for merged cell references, but formulas referencing merged cells use only the top-left cell value. If you’re experiencing formula errors, verify that the merged cell contains the data your formula expects. You might need to restructure your formula or spreadsheet layout.
Is there a way to merge cells without losing data?
Yes, use the CONCATENATE function or the ampersand operator to combine cell contents into a helper cell before merging. Copy the result and paste it as a value, then merge. This preserves all data from the original cells.
Can I merge cells with different formatting?
When you merge cells with different formatting (colors, fonts, borders), Excel retains the formatting from the top-left cell and applies it to the entire merged cell. Other cells’ formatting is discarded. If you need to preserve specific formatting, take a screenshot or note it before merging.
How do I unmerge cells without losing data?
Simply select the merged cell and choose “Unmerge Cells” from the Merge & Center dropdown. Your data (from the original top-left cell) remains in the first cell of the unmerged range. Other cells become empty, which is why pre-merging data combination is important.
Can merged cells be used in pivot tables?
Merged cells can cause issues with pivot tables. It’s generally recommended to avoid merging cells in source data ranges used for pivot tables. Create your pivot table first, then merge cells in the pivot table output if needed for presentation purposes.
Related Posts

Superscript in Google Docs: Expert Tips

Strikethrough in Excel: Easy Steps for Beginners
