
Crafting a Palm Cross: Simple Steps to Follow
Crafting a Palm Cross: Simple Steps to Follow
Palm crosses are beautiful, meaningful decorations that hold spiritual significance for many people, particularly during Palm Sunday celebrations. Whether you’re crafting these for a religious observance, a craft project, or simply to appreciate the artistry involved, learning how to make a cross using palm fronds is a rewarding skill that requires minimal materials and just a bit of patience. This traditional craft has been passed down through generations and remains popular in communities worldwide.
The process of weaving palm fronds into a cross shape combines simplicity with elegance, making it accessible for crafters of all skill levels. From children to adults, anyone can create a stunning palm cross with fresh or dried palm fronds and a few basic techniques. In this comprehensive guide, we’ll walk you through everything you need to know to craft your own beautiful palm crosses, from selecting the right materials to mastering the folding and weaving techniques that bring them to life.
Understanding Palm Fronds and Materials
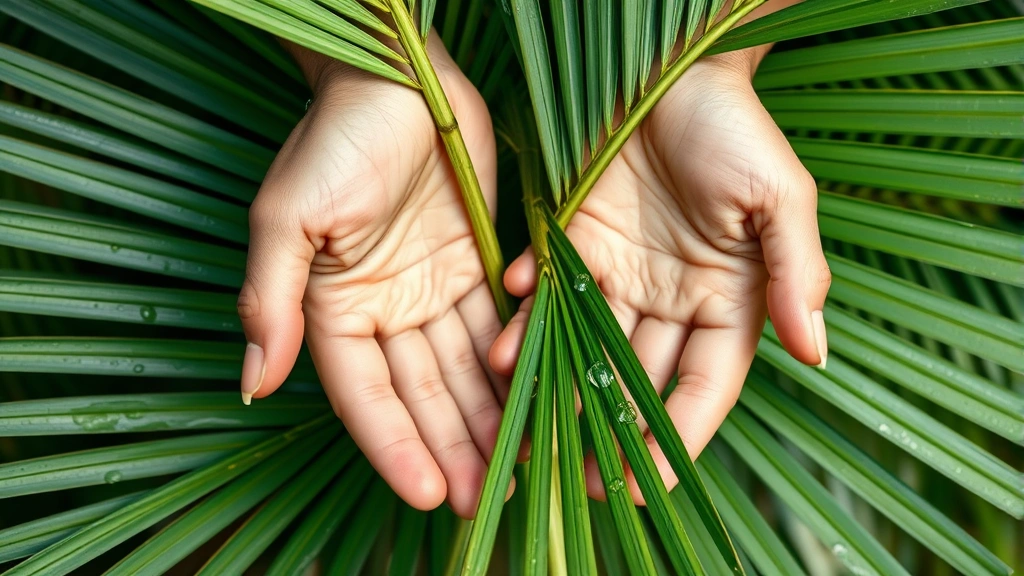
Before you begin crafting your palm cross, it’s essential to understand the materials you’ll be working with. Palm fronds are the elongated, feathery leaves that grow from palm trees, and they’re ideal for this craft because of their natural flexibility and durability. The most commonly used varieties for palm cross crafting include coconut palm fronds, date palm fronds, and areca palm fronds, though any palm species with long, flexible leaves will work.
When selecting palm fronds, look for ones that are still somewhat fresh or have been properly dried. Fresh fronds are easier to work with because they’re more pliable and less likely to crack or break during the folding process. However, dried fronds can also be used—simply soak them in warm water for 15-20 minutes to restore some flexibility before beginning your project. The width of the fronds matters too; ideally, you want fronds that are between half an inch and one inch wide for traditional palm crosses.
Beyond the palm fronds themselves, you’ll need very few additional materials. Most crafters keep on hand scissors or a sharp knife for trimming, and some prefer to have a small bowl of water nearby to keep their fingers moist while working. If you’re planning to create decorative variations or attach embellishments, you might also want to gather thin wire, ribbon, or decorative elements. For storing finished crosses, acid-free paper or tissue paper helps preserve them long-term.
Preparing Your Palm Fronds
Proper preparation of your palm fronds is crucial to successful cross crafting. Start by selecting fronds that are uniform in width and free from significant damage or discoloration. If you’re using fresh fronds straight from a palm tree, gently clean them with a soft cloth to remove any dust or debris. For dried fronds, the soaking process mentioned earlier is essential—this reconditioning allows the fronds to become flexible enough to fold without cracking.
Once your fronds are prepared, trim them to appropriate lengths. For a standard palm cross, you’ll typically need one long frond that serves as the main structure. The length depends on the desired finished size, but most crafters work with fronds between 12 and 18 inches long. If your fronds are longer, simply trim them to your preferred length using sharp scissors or a knife, making clean cuts at a slight angle rather than straight across.
Before you begin folding, it’s helpful to practice with a single frond to understand its natural bending points and flexibility. Gently bend the frond back and forth to identify where it wants to fold naturally. This preparation step prevents surprises when you’re actually constructing your cross and helps you work more confidently through the folding sequences. Keep your fronds in a slightly damp state while working—if they begin to dry out and become brittle, mist them lightly with water from a spray bottle.
Basic Palm Cross Folding Technique
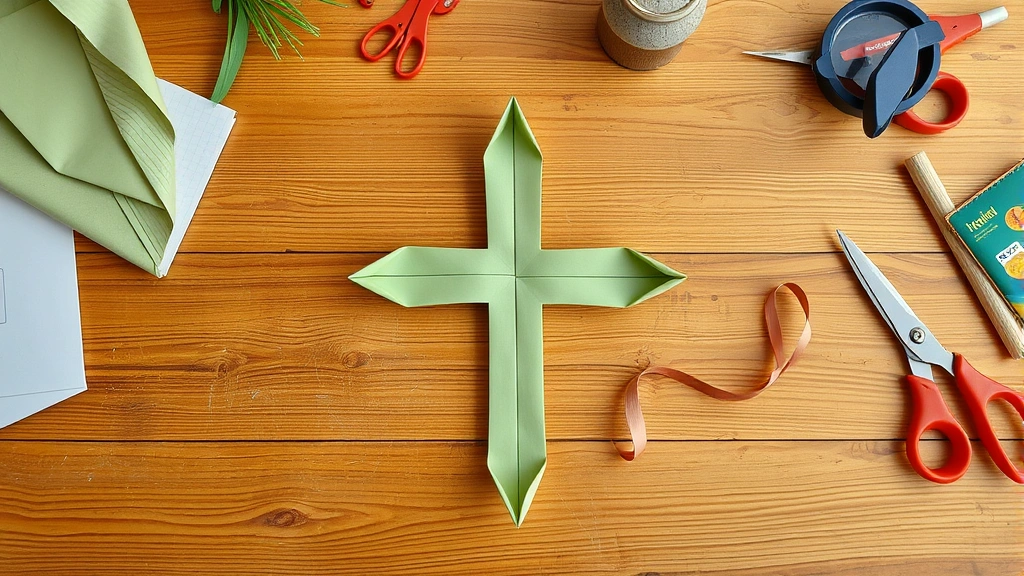
The fundamental technique for creating a palm cross involves a series of strategic folds that transform a single frond into a recognizable cross shape. Begin with your prepared palm frond laid flat on your work surface. The first step is to fold the frond in half lengthwise, creating a crease down the middle. This initial fold is crucial because it establishes the vertical axis of your cross.
Next, unfold the frond and identify the center point. This is where your cross will begin to take shape. Take the top portion of the frond and fold it down toward the center, creating a triangular point at the top. Then fold the bottom portion upward to meet it, creating another triangular point at the bottom. These two folds create the vertical arm of your cross. The key to success is maintaining consistent fold angles—aim for approximately 45-degree angles on each side to create balanced triangular points.
Now comes the crucial step of creating the horizontal arms. Fold the right side of the frond toward the center line, and then fold the left side to meet it. These folds create the horizontal dimension of your cross. As you make these folds, you’ll notice the frond beginning to form a cross-like silhouette. Press down gently on each fold to create crisp creases that help the cross maintain its shape. The beauty of this technique is that it works with the natural properties of the palm frond, using its flexibility to your advantage rather than fighting against it.
If you’re working on other craft projects, you’ll find that understanding basic folding and shaping techniques transfers well across different mediums and applications. The patience and precision required for palm cross crafting develops skills useful in many other creative endeavors.
Weaving the Cross Pattern
Once you’ve mastered the basic folding technique, you can elevate your palm cross by incorporating weaving elements. Weaving adds visual interest and structural integrity to your creation. To weave a palm cross, you’ll need at least two palm fronds—one for the vertical axis and one for the horizontal arms, or you can use multiple fronds for more intricate patterns.
Begin by creating your basic cross shape with your primary frond using the folding technique described earlier. Then take your second frond and prepare it similarly. Position the second frond perpendicular to the first, creating an overlapping intersection in the center. Now comes the weaving part: carefully thread the ends of one frond through the folds and loops created by the other frond. This interlocking pattern creates a three-dimensional quality that’s visually striking.
For a more complex weaving pattern, you can use three or four fronds of varying widths. Layer them carefully, ensuring each frond passes over and under the others in an alternating pattern. This creates a latticed effect at the intersection point of the cross. As you weave, maintain gentle but consistent tension to keep the fronds in their proper positions. The overlapping sections should feel secure but not so tight that you’re stressing the delicate frond material.
Many crafters find that understanding ribbon and fiber manipulation techniques helps them develop better weaving skills with palm fronds. The principles of layering and interlocking materials apply across multiple crafting disciplines.
Advanced Techniques and Variations
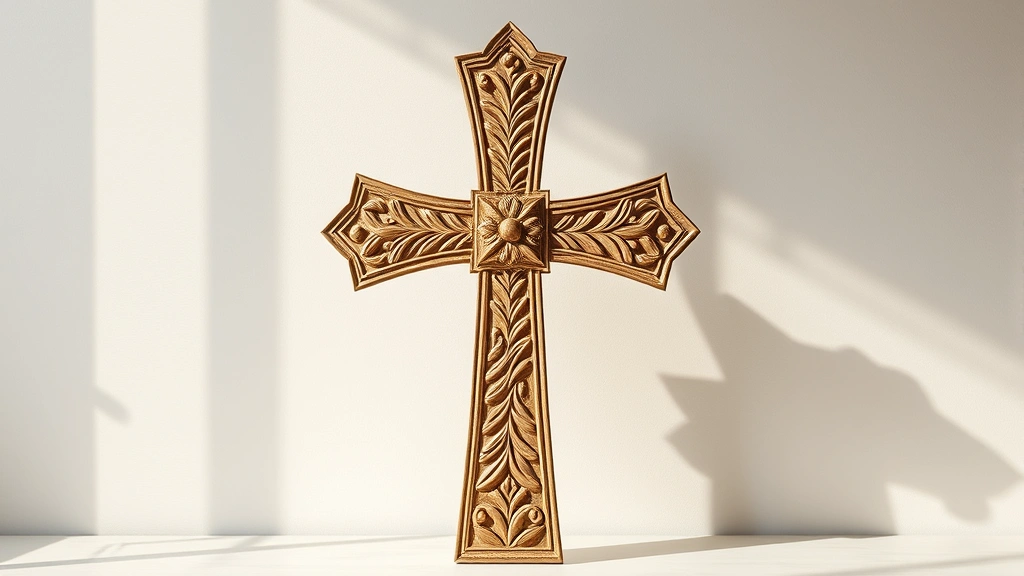
Once you’ve created several basic palm crosses, you may want to explore more advanced variations and techniques. One popular variation is the braided palm cross, which involves splitting the frond into narrower strips and braiding them together before folding into a cross shape. This technique creates an ornate, intricate appearance that’s particularly impressive for special occasions.
Another advanced technique is creating a multi-layered cross by stacking several completed crosses of slightly different sizes. This creates depth and dimension, turning a simple craft project into a striking decorative piece. Some crafters also experiment with curved arm variations, gently bending the arms of the cross into graceful curves rather than maintaining straight lines. This requires careful manipulation and patience, but the results are beautifully organic and flowing.
For those interested in colored variations, you can dye palm fronds using natural dyes or food coloring before crafting. Some traditional methods use tea or coffee to create warm brown tones, while others use plant-based dyes for greens and earth tones. The dyed fronds add visual variety while maintaining the natural aesthetic of the craft. You can also create ombre effect crosses by using fronds that naturally vary in color or by applying dye unevenly.
Consider exploring mixed-media crosses that incorporate other natural materials. Some crafters combine palm fronds with dried grasses, raffia, or thin twine to create textured, layered effects. Others add small beads, shells, or stones at the intersection point. These variations allow you to personalize your palm crosses and make them truly unique expressions of your creativity.
Finishing and Preserving Your Palm Cross
After you’ve completed your palm cross, proper finishing techniques will help it maintain its beauty and structural integrity over time. Begin by gently shaping and adjusting the arms to ensure they’re symmetrical and properly positioned. If any frond edges are rough or frayed, carefully trim them with sharp scissors for a neater appearance. Some crafters prefer to leave the natural, slightly ragged edges as part of the rustic charm of the piece.
To preserve your palm cross, store it in a cool, dry location away from direct sunlight, which can fade the natural color of the fronds. Excessive humidity can cause mold or mildew, while very dry conditions might make the fronds brittle. Ideally, maintain moderate humidity levels in your storage area. If you’re displaying your cross, consider rotating its position periodically to ensure even aging and color development.
For long-term preservation, you can apply a light coat of clear acrylic spray to protect the fronds from dust and minor damage. Test this on a practice cross first, as the spray can slightly darken the fronds. Alternatively, store finished crosses in acid-free tissue paper or boxes designed for archival storage. If you want to maintain your crafted items as you would precious items, treating your palm crosses with similar care ensures they remain beautiful for years.
Some crafters create gift sets of palm crosses, carefully packaging them in decorative boxes with protective padding. When giving palm crosses as gifts, include care instructions so recipients understand how to preserve them properly. This thoughtful touch transforms your handmade craft into a truly special, lasting gift.
Frequently Asked Questions
What type of palm fronds work best for making crosses?
Coconut palm, date palm, and areca palm fronds are ideal because of their flexibility and uniform width. Any palm variety with long, flexible leaves will work, though some are easier to manipulate than others. Fresh fronds are generally easier to work with than dried ones, though dried fronds can be softened by soaking in warm water.
Can I make a palm cross with artificial palm fronds?
Yes, artificial palm fronds can work, though they typically lack the flexibility and natural appearance of real fronds. High-quality silk or fabric palm fronds designed for crafting can produce acceptable results, but they don’t fold as gracefully as natural materials. For the most authentic and beautiful results, real palm fronds are recommended.
How long does a palm cross typically last?
Properly stored palm crosses can last several years. Fresh fronds will gradually dry and may become more brittle over time, but they maintain their shape and appearance remarkably well. Dried fronds that are stored in cool, dry conditions often last even longer. Exposure to sunlight, moisture, and humidity will shorten the lifespan.
Can children make palm crosses?
Absolutely! Palm cross crafting is an excellent activity for children, teaching patience, fine motor skills, and following sequential steps. Adult supervision is recommended when using scissors, but the folding and weaving techniques are simple enough for children as young as five or six years old to manage with guidance.
Where can I source palm fronds for crafting?
Palm fronds can be sourced from local palm trees if you have access to them, or purchased from craft supply retailers. Garden centers and florists often sell palm fronds, especially around Palm Sunday. Online craft suppliers also offer pre-packaged palm fronds specifically prepared for crafting projects. During peak seasons, they may be available at farmers’ markets or botanical gardens.
What’s the difference between a palm cross and a palm frond arrangement?
A palm cross is a structured craft made by folding and weaving palm fronds into a specific geometric shape. A palm frond arrangement is typically a loose, decorative display of palm fronds in a vase or container without specific folding or shaping. Palm crosses are more intentional, artistic creations, while arrangements are more casual and botanical in nature.
Can I paint or decorate a finished palm cross?
Yes, you can add decorative elements to finished palm crosses. Acrylic paint, markers, or watercolors can be applied to the fronds. Some crafters add glitter, beads, ribbons, or other embellishments using craft glue. However, keep in mind that adding paint or heavy decorations may alter the natural appearance and weight of the cross, so approach decoration thoughtfully.
Related Posts

Superscript in Google Docs: Expert Tips

Strikethrough in Excel: Easy Steps for Beginners
