
Clean Your Coffee Maker with Vinegar: Expert Tips
Clean Your Coffee Maker with Vinegar: Expert Tips
A morning cup of coffee is a ritual millions of people cherish, but few realize their beloved coffee maker may be harboring mineral deposits, mold, and bacteria. Over time, water minerals build up inside your machine, affecting both the taste of your coffee and the efficiency of your appliance. The good news? You likely already have the perfect cleaning solution in your kitchen pantry: white vinegar.
Vinegar is a natural, non-toxic, and incredibly effective descaling agent that works wonders on coffee makers of all types. Whether you own a drip coffee maker, French press, or single-serve pod machine, vinegar can restore your appliance to like-new condition without harsh chemicals or expensive commercial cleaners. In this comprehensive guide, we’ll walk you through everything you need to know about cleaning your coffee maker with vinegar, including step-by-step instructions, helpful tips, and answers to common questions.
Why Clean Your Coffee Maker with Vinegar
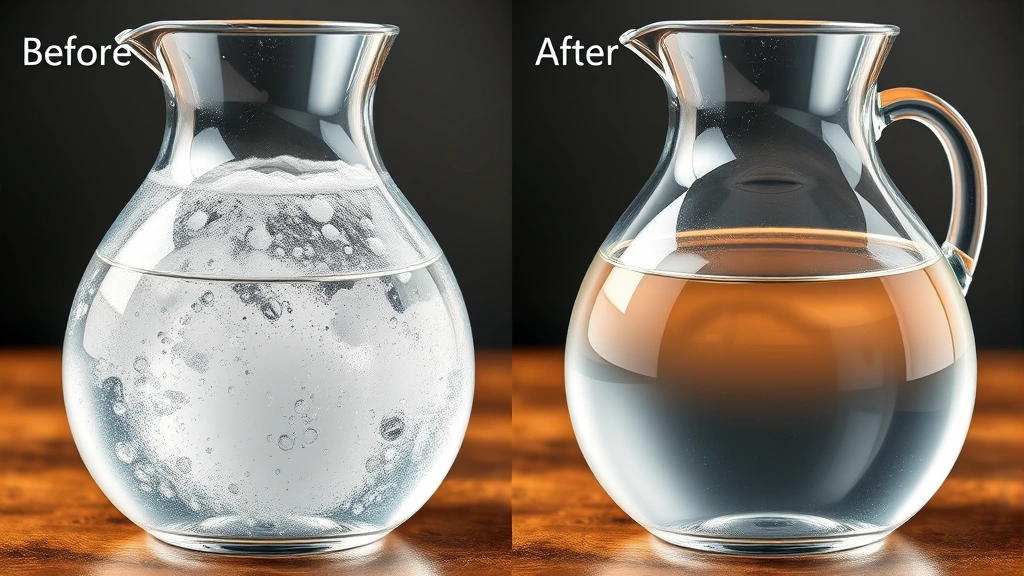
Understanding why vinegar works so effectively for coffee maker cleaning starts with understanding what happens inside your machine. Every time you brew coffee, minerals from your water—primarily calcium and magnesium—accumulate on the heating elements and interior surfaces. This mineral buildup, called limescale, doesn’t just affect performance; it can make your coffee taste bitter and stale.
Vinegar contains acetic acid, which is the perfect pH level to dissolve mineral deposits without damaging your coffee maker’s internal components. Unlike harsh commercial descaling solutions, vinegar is food-safe, affordable, and environmentally friendly. A single bottle costs just a few dollars and can clean your machine multiple times. The acetic acid breaks down limescale chemically, making it far more effective than simple scrubbing alone.
Regular cleaning with vinegar also prevents bacterial growth and mold formation, which thrive in warm, moist environments like coffee makers. By maintaining a clean machine, you’re not only improving the taste of your coffee but also ensuring you’re drinking from a hygienic appliance. Most coffee maker manufacturers recommend descaling every one to three months, depending on your water hardness and usage frequency.
What You’ll Need
Before you start the cleaning process, gather these simple materials:
- White Vinegar: Standard 5% acetic acid white vinegar works perfectly. You’ll need about 2 to 4 cups depending on your machine size.
- Fresh Water: Filtered or distilled water is ideal for the rinse cycles to avoid introducing new minerals.
- Coffee Filters: Keep extras on hand for the cleaning process.
- Soft Cloth or Sponge: For wiping exterior surfaces and the carafe.
- Small Brush: An old toothbrush helps clean tight spaces and the spray head.
- Empty Container: To catch the vinegar solution as it runs through your machine.
You won’t need any special commercial descaling products, expensive tools, or harsh chemicals. This is one of the easiest and most budget-friendly maintenance tasks you can do for your appliance. If you’re interested in other household cleaning projects, check out our guides on how to clean a bong and how to clean battery terminals for similar natural cleaning methods.
How to Clean a Drip Coffee Maker
Drip coffee makers are the most common type found in homes, and they’re straightforward to clean with vinegar. Follow these detailed steps for optimal results:
Step 1: Empty and Prepare
Start by unplugging your coffee maker and allowing it to cool completely if it was recently used. Remove any remaining coffee grounds, the filter basket, and the carafe. Empty any water from the reservoir. This preparation ensures your safety and allows the vinegar to work effectively throughout the machine.
Step 2: Mix Your Cleaning Solution
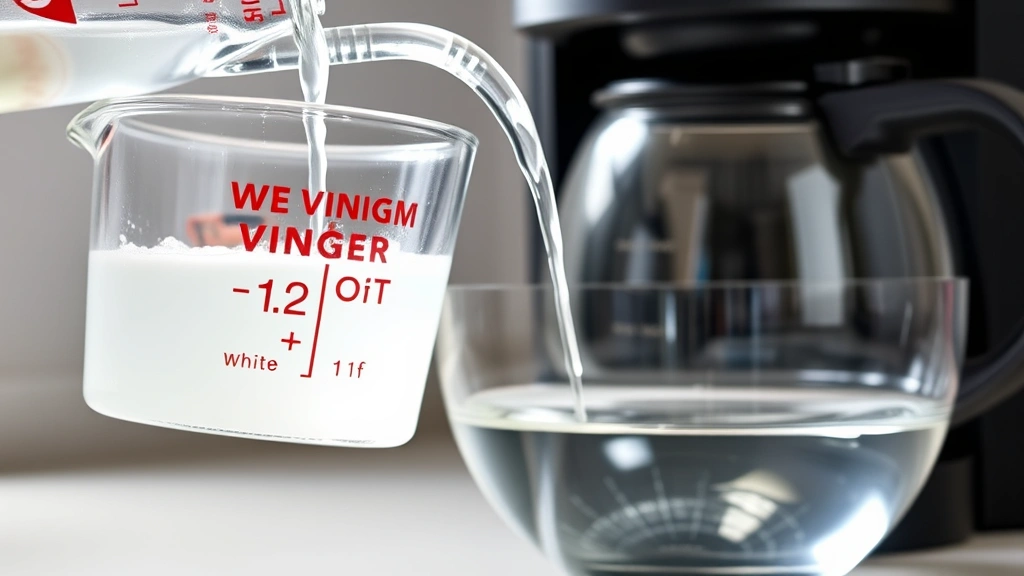
Fill the water reservoir with a 1:1 ratio of white vinegar to water. For a standard 12-cup coffee maker, this typically means 2 cups of vinegar and 2 cups of water. Some people prefer a stronger solution of equal parts vinegar and water, while others use slightly more water for a gentler approach. If your machine has heavy mineral deposits, use the stronger ratio.
Step 3: Run the Vinegar Cycle
Place an empty carafe or container under the coffee maker’s output to catch the solution. Plug in the machine and start a brew cycle, but don’t insert a filter. The vinegar solution will flow through the heating element and internal components, dissolving mineral deposits as it goes. Let the entire solution run through—this typically takes 5 to 10 minutes depending on your machine’s size and speed.
Step 4: Soak and Repeat
Once the first cycle is complete, let the vinegar solution sit in the carafe for about 15 to 20 minutes. This soaking time allows the acetic acid to work on any remaining deposits. Then, pour the solution back into the reservoir and run another cycle. For machines with heavy buildup, you may need to repeat this process two or three times.
Step 5: Rinse Thoroughly
After the vinegar cycles are complete, fill the reservoir with fresh, clean water. Run at least two to three full brew cycles using only water. This rinsing step is crucial—it removes all vinegar residue and ensures your next cup of coffee tastes fresh, not sour. You may notice some vinegar smell during the first water cycle, which is normal.
Step 6: Clean Removable Parts
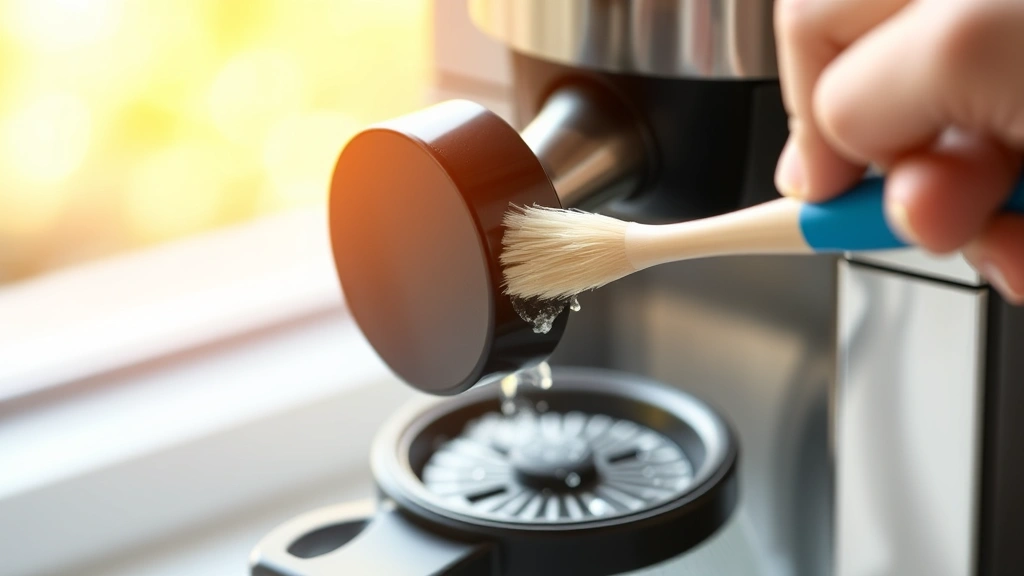
While the machine is running its rinse cycles, soak the carafe and filter basket in a mixture of equal parts vinegar and water for 15 minutes. Use a soft cloth or sponge to wipe away any mineral deposits. Pay special attention to the spray head (the component that distributes water over the grounds), as mineral buildup here can cause uneven brewing. Use an old toothbrush to gently scrub this area.
Cleaning Single-Serve Pod Machines
Single-serve coffee makers like Keurig machines require slightly different cleaning approaches due to their unique design. The good news is that vinegar works just as effectively on these machines as on traditional drip makers.
Descaling the Reservoir: Empty the water reservoir and fill it with a 1:1 mixture of white vinegar and water. Insert a large mug or container under the dispenser to catch the solution. Run the machine through several brew cycles without inserting a pod, allowing the vinegar to flow through the system. Continue until the reservoir is empty.
Soaking the Needle: The needle that punctures the pods can accumulate coffee residue and mineral deposits. If your machine has a removable pod holder, take it apart and soak it in vinegar solution for 15 to 20 minutes. You can also use a thin paperclip to gently clean the needle opening, being careful not to damage it.
Final Rinse: Refill the reservoir with fresh water and run several brew cycles to flush out all vinegar residue. This step is particularly important for pod machines because any remaining vinegar taste will be very noticeable in your next cup of coffee.
For more detailed cleaning techniques on various household items, explore our guide on how to clean an iron, which uses similar descaling principles.
French Press and Pour-Over Cleaning
French press and pour-over coffee makers don’t have heating elements or complex internal systems, making them even easier to clean with vinegar.
For French Press: Fill the carafe halfway with hot water and add one part white vinegar. Stir well and let sit for 15 to 20 minutes. Then, plunge the filter down and up several times to work the vinegar through all components. Empty the solution, rinse thoroughly with fresh water, and plunge again several times. Finally, disassemble all parts and soak them in vinegar solution for 10 minutes before rinsing completely.
For Pour-Over Brewers: Place the brewer on your cup and slowly pour a mixture of equal parts vinegar and hot water through it, just as you would during normal brewing. Let this solution sit in the cup for a few minutes, then pour it back through the brewer. Repeat this process two or three times, then run fresh hot water through several times to rinse.
Maintenance Tips
Keeping your coffee maker clean between deep vinegar cleanings will extend its lifespan and maintain optimal performance. Establish a regular maintenance routine that fits your usage patterns and water quality.
Daily Care: Empty the carafe and filter basket immediately after brewing. Rinse the carafe with hot water and wipe it dry. This prevents coffee oils from oxidizing and becoming rancid, which can affect the taste of future brews. If you’re interested in maintaining other household appliances, check out our comprehensive guide on how to clean a rusty cast iron skillet, which covers similar maintenance principles.
Weekly Cleaning: Once a week, run a cycle with just water to rinse the internal components. This removes any coffee residue that might be accumulating. If you notice slower brewing or weaker coffee, it’s time for a vinegar cleaning even if it hasn’t been three months yet.
Monthly Deep Cleaning: In addition to your regular vinegar cleanings, run a full descaling cycle once a month if you have hard water. Hard water contains higher mineral concentrations, so machines in these areas need more frequent cleaning. You can test your water hardness with inexpensive test strips available at hardware stores.
Storage Considerations: If you’re storing your coffee maker for an extended period, run a vinegar cleaning cycle first, then a thorough water rinse. Store the machine empty and dry to prevent mold and mildew growth. When you’re ready to use it again, run another cleaning cycle before brewing coffee.
Troubleshooting Common Issues
Even with proper cleaning, you might encounter some issues. Here are solutions to common problems:
Coffee Tastes Vinegary: You haven’t rinsed thoroughly enough. Run at least three more cycles with fresh water, ensuring all vinegar residue is removed. If the taste persists, run another full water cycle.
Machine Brews Slowly: Mineral deposits are still present. Run another complete vinegar cleaning cycle, or try using a stronger vinegar-to-water ratio (more vinegar). Let the solution soak longer between cycles.
Vinegar Smell Coming from Machine: This is normal after cleaning and usually disappears after one or two coffee brews. If the smell persists, run additional water cycles. Some people prefer to brew a pot of water and discard it before making their first cup of coffee after cleaning.
Water Leaking During Cleaning: Check that all parts are properly assembled and seated. Some machines have a small hole that can become clogged with mineral deposits. Use a toothpick or thin wire to gently clear it. If leaking continues, consult your machine’s manual or contact the manufacturer.
Buildup Still Visible: For extremely stubborn deposits, try soaking the carafe and removable parts in vinegar solution overnight. You can also increase the vinegar concentration to 2 parts vinegar and 1 part water, though this is rarely necessary.
Cleaning your coffee maker with vinegar is one of the simplest and most effective maintenance tasks you can perform. By following these expert tips and establishing a regular cleaning schedule, you’ll enjoy better-tasting coffee, extend your machine’s lifespan, and ensure you’re brewing from a hygienic appliance. The investment of just a few dollars in white vinegar and 30 minutes of your time will pay dividends in improved coffee quality and appliance performance. Start today, and you’ll notice the difference in your morning cup immediately. For more household cleaning tips and guides, visit the FixWise Hub Blog.
For additional resources on appliance care and cleaning, check out This Old House and Family Handyman, which offer comprehensive guides on home maintenance. You can also find quality vinegar and cleaning supplies at major retailers like Lowe’s and The Home Depot.
Related Posts

Superscript in Google Docs: Expert Tips

Strikethrough in Excel: Easy Steps for Beginners
