

Check Tire Pressure: Expert Tips Inside
How to Check Tire Pressure: Expert Tips Inside
Maintaining proper tire pressure is one of the most critical yet overlooked aspects of vehicle maintenance. Whether you drive a sedan, SUV, or truck, understanding how to check tire pressure can save you money on fuel, extend tire life, and most importantly, keep you safe on the road. Many drivers neglect this simple task, not realizing that underinflated or overinflated tires can lead to poor handling, increased wear, and even blowouts at highway speeds.
Checking your tire pressure takes just a few minutes and requires minimal equipment. By learning the proper technique and establishing a regular checking routine, you’ll ensure your vehicle performs optimally and your tires last longer. This comprehensive guide walks you through everything you need to know about tire pressure monitoring, from understanding PSI to troubleshooting common issues.
Understanding Tire Pressure Basics
Tire pressure is measured in pounds per square inch, commonly abbreviated as PSI. This measurement indicates how much air is inside your tire and how firmly it pushes against the tire walls and road surface. Every vehicle has a recommended tire pressure specified by the manufacturer, which differs from the maximum pressure listed on the tire sidewall itself.
The recommended PSI for your specific vehicle can be found in several locations: on a sticker inside the driver’s door jamb, in your vehicle’s owner’s manual, or on the fuel door. This specification is crucial because it’s calculated based on your vehicle’s weight, suspension, and intended performance characteristics. Using the correct pressure ensures even tire wear, optimal fuel efficiency, and proper handling.
When tires are underinflated, they flex more than intended, generating excess heat and causing faster deterioration. Conversely, overinflated tires create a harder ride and wear more quickly in the center of the tread. Both conditions compromise safety and reduce tire lifespan. Understanding these fundamentals helps you appreciate why checking tire pressure regularly isn’t just maintenance—it’s a safety imperative.
For those interested in maintaining other aspects of vehicle safety and home care, you might also want to explore how to check heart blockage at home, as preventive health care shares the same philosophy as preventive vehicle maintenance.
[IMAGE_1]
Tools You’ll Need
Checking tire pressure requires minimal equipment, and most tools are inexpensive and widely available. Here’s what you’ll need:
- Tire Pressure Gauge: The most essential tool. Available in three types: digital (most accurate and easy to read), analog dial (reliable and affordable), and stick gauges (most portable but less precise)
- Air Pump: Needed if you must add air. Many gas stations have free air pumps; portable electric pumps are also available for home use
- Pen and Paper: Optional but helpful for recording readings to track pressure changes over time
- Vehicle Owner’s Manual: Contains the correct PSI specification for your vehicle
You can purchase a quality tire pressure gauge at any automotive retailer, department store, or online. Prices range from $10 for basic stick gauges to $30+ for digital models. Investing in a digital gauge is worthwhile because they’re easier to read, more accurate, and less prone to user error than analog versions.
If you’re interested in learning about other diagnostic tools and maintenance techniques, the Family Handyman guide on tire maintenance offers additional insights into vehicle care.
Step-by-Step Guide to Checking Tire Pressure
Now that you understand the basics and have your tools ready, follow these detailed steps to check your tire pressure accurately:
- Park on Level Ground: Find a flat, level surface and park your vehicle. Avoid parking on slopes or uneven terrain, as this can affect pressure readings. Turn off the engine and wait at least three hours (or overnight, if possible) before checking. This ensures tire temperature has stabilized, giving you an accurate cold pressure reading.
- Locate the Valve Stem: Each tire has a valve stem—a small rubber or metal protrusion on the wheel rim. It’s typically covered with a small plastic or metal cap. Remove this cap by twisting it counterclockwise and set it aside in a safe place so you don’t lose it.
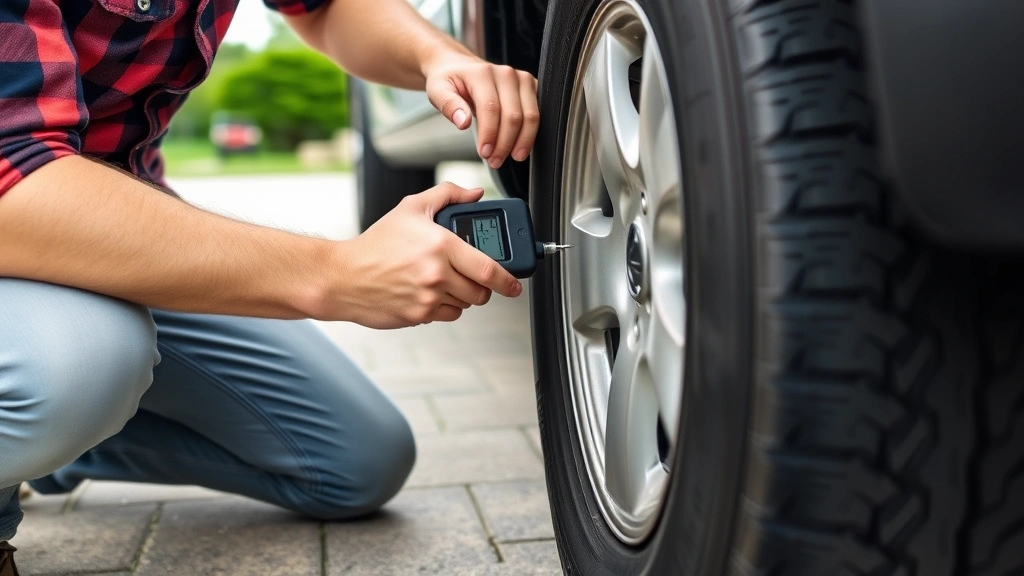
- Position Your Gauge: Press the tire pressure gauge firmly onto the valve stem. You should hear a brief hissing sound as air escapes. Apply steady, even pressure to ensure a good seal between the gauge and the valve stem. This step is crucial for an accurate reading.
- Read the Measurement: Depending on your gauge type, read the pressure displayed. Digital gauges show numbers on a screen, while analog gauges display pressure on a dial, and stick gauges show pressure along a graduated scale. Note the reading.
- Repeat for All Tires: Check all four tires (five if your vehicle has a spare tire that requires monitoring). Write down each reading to compare against the recommended PSI and to track changes over time.
- Replace Valve Caps: After checking all tires, replace the valve stem caps by twisting them clockwise. These caps prevent dirt and moisture from entering the valve stem, which can cause slow leaks.
For a comprehensive understanding of vehicle maintenance beyond tire pressure, visit This Old House, which includes automotive maintenance sections alongside home improvement guidance.
Reading and Interpreting Results
Once you’ve obtained pressure readings for all four tires, compare them to your vehicle’s recommended PSI. Here’s how to interpret your results:
- All Tires at Recommended PSI: Your tires are in perfect condition. No action needed. Recheck in one month or before long trips.
- One or More Tires Below Recommended PSI: This is common and easily remedied. Drive to a gas station or use a portable air pump to add air until each tire reaches the correct pressure. Add air in small increments and recheck frequently to avoid overinflating.
- One or More Tires Above Recommended PSI: This is less common but can occur in hot weather or after driving. Allow tires to cool, then recheck. If still high, you may need to release some air using the small pin inside the valve stem cap or a specialized tool.
- Significant Pressure Difference Between Tires: If one tire is considerably lower than others, you may have a slow leak. Inspect the tire for visible damage, and consider having it professionally inspected.
- All Tires Consistently Low: Check your recommended PSI again. If all tires are uniformly low, you may have checked during hot weather or after highway driving when tires warm up. Recheck after the vehicle has been parked for several hours in cooler conditions.
Tracking your tire pressure readings over weeks and months reveals patterns. If pressure consistently drops in one tire, a slow leak is likely present. Conversely, if all tires drop slightly over time, this is normal and reflects natural air permeation through tire rubber—a phenomenon that occurs even in properly sealed tires.
When and How Often to Check
Establishing a regular checking schedule ensures you catch pressure problems before they affect safety or fuel efficiency. Here’s a recommended timeline:
- Monthly: Check tire pressure at least once per month. This frequency catches most issues before they become serious.
- Before Long Trips: Always check tire pressure before driving more than 200 miles. Proper pressure is essential for fuel efficiency and safe handling on extended journeys.
- Seasonal Changes: Check tires when transitioning between seasons, particularly when moving from fall to winter. Cold temperatures reduce air pressure, often requiring adjustment.
- After Temperature Fluctuations: If your area experiences sudden temperature changes, check your tires within a day or two. Temperature swings of 20°F or more can noticeably affect pressure.
- After Hitting Obstacles: If you hit a pothole, curb, or other road hazard, check tire pressure within a few hours to ensure no slow leak developed.
Many modern vehicles feature tire pressure monitoring systems (TPMS) that alert you when pressure drops significantly. However, these systems typically only warn when pressure is dangerously low—not when it’s merely below optimal levels. Therefore, manual checking remains important for maintaining peak performance.

Common Tire Pressure Problems
Understanding common issues helps you diagnose and resolve tire pressure problems quickly:
Slow Leaks: If one tire consistently loses pressure between checks, you likely have a slow leak. Causes include a small puncture, a faulty valve stem, or a bead leak where the tire meets the wheel rim. Professional tire shops can identify and repair most slow leaks inexpensively.
Rapid Pressure Loss: If a tire loses significant pressure in hours or days, you may have a larger puncture or a severely damaged valve stem. Avoid driving on this tire and have it inspected professionally immediately.
Uneven Pressure Across Tires: If tires have significantly different pressures, check your vehicle’s alignment and suspension. Misalignment can cause uneven tire wear and pressure variations. Visit an alignment shop if this occurs frequently.
Pressure Creep: Some tires gradually gain pressure over time due to temperature increases from friction and sunlight. This is normal, but if pressure increases beyond recommended PSI, allow tires to cool and release excess air.
Seasonal Pressure Drops: Cold weather naturally reduces tire pressure. For every 10°F drop in ambient temperature, tire pressure decreases approximately 1 PSI. Winter often requires adding air to maintain recommended pressure.
If you’re interested in learning about other maintenance and diagnostic procedures, check out our guide on FixWise Hub Blog for additional home and vehicle maintenance tips.
Digital vs. Analog Gauges
Choosing between digital and analog tire pressure gauges depends on your preferences and priorities:
Digital Gauges: These battery-powered devices display pressure on a digital screen, making readings easy to interpret. They typically provide accuracy within 1-2 PSI and are less prone to user error. Digital gauges range from $15-$40 and are ideal for drivers who want quick, reliable readings. Many include backlit screens for nighttime use and memory functions that store previous readings.
Analog Dial Gauges: These mechanical devices display pressure on a calibrated dial and require no batteries. They’re durable, affordable ($10-$20), and reliable when properly maintained. However, they can be harder to read accurately, especially for those with vision difficulties, and they’re more sensitive to how firmly you press them onto the valve stem.
Stick Gauges: The most portable and affordable option ($5-$15), stick gauges display pressure along a graduated scale. They’re extremely compact and convenient for keeping in your glove compartment, but they’re the least accurate and most difficult to read reliably.
For most drivers, a quality digital gauge offers the best balance of accuracy, ease of use, and durability. The small additional investment pays dividends in convenience and reliability. Many automotive retailers, including AutoZone, offer a wide selection of gauges at various price points.
Seasonal Considerations
Tire pressure changes with the seasons, requiring adjustments to maintain optimal performance:
Winter: Cold temperatures significantly reduce tire pressure. As temperatures drop toward freezing, check your tires more frequently—ideally weekly during the coldest months. You may need to add air to maintain recommended PSI. Some drivers slightly overinflate winter tires for better traction in snow, but this should only be done after consulting your vehicle’s manual or a tire professional.
Spring and Fall: These transitional seasons present moderate temperature fluctuations. Check tires at the beginning of each season and make adjustments as needed. Spring checks are particularly important after winter, when tires may have lost pressure.
Summer: Hot weather increases tire pressure naturally. After driving in hot conditions or parking in direct sunlight, tire pressure rises. Wait for tires to cool before checking pressure, as hot readings will be artificially elevated. Never release air from hot tires—allow them to cool first, then check and adjust if necessary.
Understanding these seasonal patterns helps you maintain consistent tire pressure year-round. Regular checking becomes even more critical during seasonal transitions, when temperature swings are greatest.
For those interested in comprehensive vehicle maintenance year-round, exploring resources like Popular Mechanics automotive section provides seasonal maintenance checklists and expert advice.
FAQ
How often should I check my tire pressure?
Check your tire pressure at least once per month, before long trips, and whenever temperatures change significantly. Many experts recommend checking every two weeks for optimal maintenance.
Can I check tire pressure when tires are hot?
Technically yes, but you’ll get inaccurate readings. Hot tires show artificially high pressure because the air inside has expanded. Always check cold tire pressure—after the vehicle has been parked for at least three hours in moderate temperatures.
What’s the difference between the PSI on my tire and my vehicle’s recommended PSI?
The PSI printed on your tire sidewall is the maximum pressure the tire can safely hold. Your vehicle’s recommended PSI, found on the driver’s door jamb or in your manual, is the optimal pressure for your specific vehicle. Always use the recommended PSI, not the maximum.
How much does it cost to add air to my tires?
Most gas stations offer free air for customers. Some may charge $1-$2 if you’re not a customer. Many tire shops also provide free air. Portable electric air pumps cost $30-$100 and pay for themselves after several uses.
Why is my tire pressure light on if my tires look full?
Tire pressure warning lights indicate pressure has dropped below a certain threshold—typically 25% below recommended PSI. Tires may look adequately inflated to the eye but still be underinflated. Always check with a gauge rather than relying on appearance.
Can I drive with slightly low tire pressure?
Driving with slightly low pressure (within 5 PSI of recommended) is generally safe for short distances, but it reduces fuel efficiency and increases tire wear. Maintain recommended pressure for optimal performance and safety.
What causes tire pressure to drop over time?
Natural air permeation through tire rubber causes gradual pressure loss—typically 1-2 PSI per month. Temperature changes, slow leaks, and valve stem issues also contribute to pressure loss. Monthly checking catches these issues early.
Should I adjust tire pressure for towing or carrying heavy loads?
Yes. Many vehicles have higher recommended PSI for loaded conditions, specified in your owner’s manual or on a placard inside the driver’s door. Consult your manual for the correct pressure when towing or carrying significantly heavier loads than normal.
Related Posts

Superscript in Google Docs: Expert Tips

Strikethrough in Excel: Easy Steps for Beginners
