
How to Wash a Baseball Cap: Expert Tips
How to Wash a Baseball Cap: Expert Tips for Long-Lasting Freshness
Your favorite baseball cap has been through a lot—sweaty summer days, dusty baseball games, and that one time you wore it while painting the garage. It’s earned its place in your casual wardrobe, but it’s also earned a proper cleaning. The good news? Washing a baseball cap doesn’t require a trip to the dry cleaners or hours of scrubbing. With the right approach, you can restore your cap to its former glory while keeping it in pristine condition for years to come.
The challenge with cleaning a baseball cap lies in its unique construction. Unlike regular clothing, caps have a structured visor, a delicate bill, and often multiple fabric types all working together. Throw it in the washing machine, and you risk warping the shape. Ignore the stains, and they’ll set permanently. The sweet spot lies in understanding your cap’s material and applying targeted cleaning techniques that address dirt without compromising structure.
Whether your cap is made from cotton, wool, or synthetic materials, this guide will walk you through every method available—from gentle hand washing to machine-friendly approaches. You’ll learn what actually works and what might damage your prized possession.
Understanding Your Cap’s Material
Before you grab a brush and bucket, take a moment to identify what your cap is actually made from. This single step determines everything about how you should proceed. Different materials respond differently to water, soap, and agitation—and using the wrong technique can lead to fading, shrinking, or permanent damage.
Cotton caps are the most forgiving. They’re durable, absorbent, and can handle most washing methods without complaint. If your cap is pure cotton or a cotton blend, you have significant flexibility in your cleaning approach. Wool caps require more delicacy. Wool fibers are prone to felting when exposed to heat and agitation, so gentle hand washing is your best bet. Synthetic materials like polyester sit somewhere in the middle—they’re tough but can fade under harsh conditions.
Check the care tag inside your cap if one exists. Manufacturers often provide specific guidance that overrides general advice. If there’s no tag, look at the cap’s overall construction. Does it feel like premium material or basic cotton? Is the bill reinforced with plastic or cardboard? These details matter.
Also consider any embellishments. Embroidered logos, metal hardware, or decorative stitching might require special care. Embroidery thread can be delicate, and metal pieces can rust or tarnish with improper handling.
Pre-Cleaning Inspection and Preparation
Don’t just dive into washing. Spend five minutes examining your cap like a detective gathering evidence. This preparation phase prevents mistakes and ensures your cleaning method targets the right problem.
Look for specific stains or problem areas. Is the sweatband particularly grimy? Are there visible dirt spots on the front? Does the entire cap look dull and faded? Understanding the scope of the problem helps you decide between a quick spot-clean and a full wash. A cap with only a dirty sweatband might not need complete submersion in water.
Check for any damage. Small holes, loose stitching, or separation between the bill and crown should be noted. These weak points might worsen during washing, so you’ll want to be extra gentle in those areas. If your cap has significant damage, consider repair before washing.
Empty any pockets if your cap has them, and remove any pins, badges, or temporary attachments. These items can get lost or cause problems during washing. If your cap has a removable sweatband, check whether it can be removed for separate cleaning—many can be.
Hand Washing Method: The Gold Standard
Hand washing remains the safest, most controlled way to clean a baseball cap. Yes, it requires a bit more effort than machine washing, but the results justify the work. This method gives you complete control over water temperature, soap concentration, and scrubbing intensity.
What you’ll need: A sink or basin, lukewarm water, mild detergent (dish soap works fine), a soft brush or cloth, and a towel for drying.
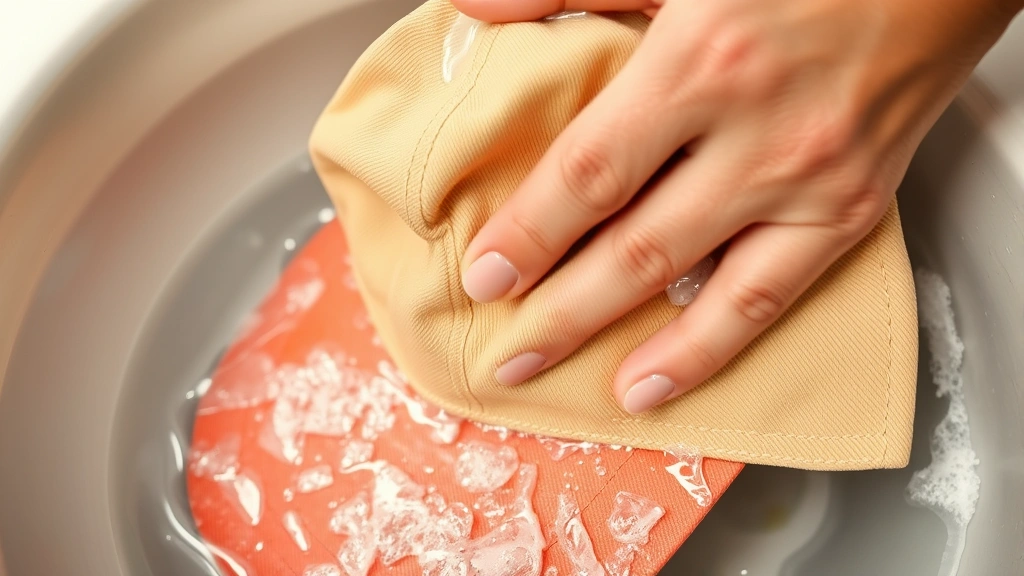
Start by filling your sink with lukewarm water—not hot, which can damage certain materials and set stains. Add a small amount of mild detergent. You’re looking for barely visible suds, not a bubble bath. Submerge your cap and let it soak for 10-15 minutes. This softens dirt and allows soap to penetrate fibers without aggressive scrubbing.
After soaking, focus on the dirtiest areas. The sweatband usually needs the most attention. Use a soft brush or cloth to gently scrub this area in circular motions. For stubborn sweat stains, you can make a paste with baking soda and water and apply it directly to the stained area. Let it sit for 5 minutes before gently scrubbing.
Work on any visible stains using the same gentle approach. If you’re dealing with grease or oil stains, a tiny drop of dish soap directly on the spot before soaking can help break down the oils. For mud or dirt, let it dry completely first, then brush away the dried debris before washing.
Rinse thoroughly under cool running water until all soap residue is gone. Any remaining soap will leave marks and attract more dirt. Keep rinsing until the water runs clear and you don’t see any bubbles.
This approach is similar to how you’d approach washing other types of hats, though caps require special attention to the bill structure to maintain its shape.
Machine Washing: The Convenient Route
If hand washing feels like too much effort, machine washing is possible—but it requires specific precautions. The key is protecting your cap from the aggressive tumbling action of a standard wash cycle.
Use a mesh laundry bag or cap-specific washing cage. These devices protect your cap from direct contact with the drum while allowing water and detergent to circulate. Place your cap inside the bag, then place the bag in your washing machine. This is crucial—washing a cap loose in the machine risks warping the bill and compressing the crown.
Select the delicate or gentle cycle with cold water. Hot water can fade colors and damage certain materials. Use a small amount of mild detergent—less than you’d use for a full load of laundry. Avoid bleach and fabric softener, which can damage the material and compromise the bill’s structure.
Some people worry about machine washing ruining their caps, but countless caps survive the process just fine when proper protection is used. The mesh bag is your insurance policy. That said, if your cap is vintage, rare, or particularly precious, hand washing remains the safer choice.
Skip the dryer entirely. Machine drying is where most cap disasters happen. The heat can warp the bill, shrink the material, and fade colors permanently. Always air dry instead.
Spot Cleaning for Stubborn Stains
Sometimes your cap doesn’t need a full wash—it needs targeted intervention. Maybe there’s a mysterious stain on the front, or the bill has collected grime from being handled constantly. Spot cleaning addresses these issues without subjecting the entire cap to water.
For general dirt and grime: Mix equal parts white vinegar and water. Dip a cloth into the solution and wipe the affected area. The acidity cuts through buildup without harsh scrubbing. This works particularly well on bills and the front of caps.
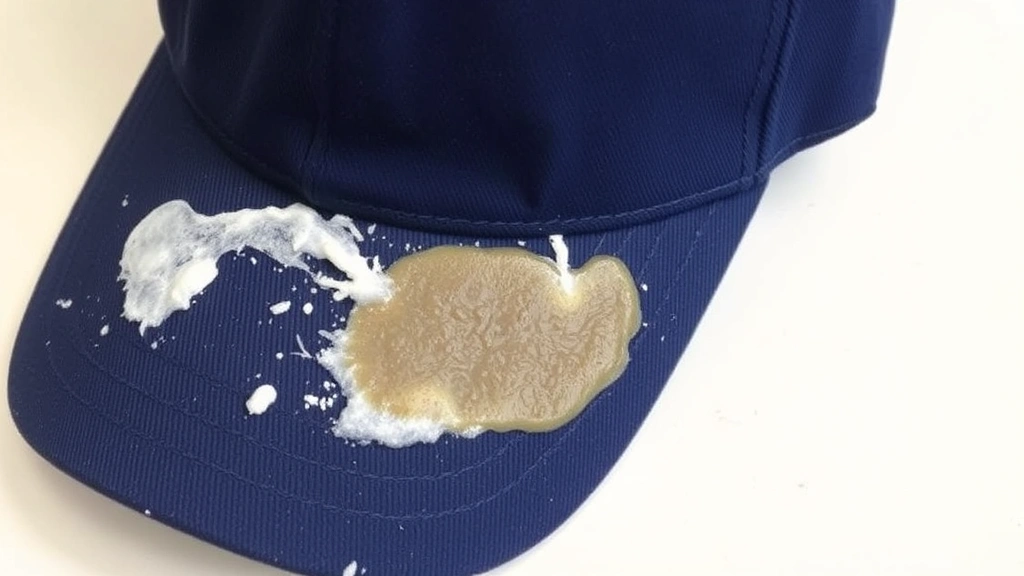
For grease and sweat stains: Sprinkle baking soda directly on the stain and let it sit for 10 minutes. The baking soda absorbs oils and odors. Brush away the powder, then wipe with a damp cloth. Repeat if necessary.
For set-in stains: Make a paste with hydrogen peroxide and baking soda. Apply to the stain, let sit for 15 minutes, then gently scrub with a soft brush. This combination is surprisingly effective on stubborn marks without being too aggressive. Just test it on an inconspicuous area first to ensure it doesn’t bleach your cap’s color.
For odors without visible stains: Sprinkle baking soda inside the sweatband, put the cap in a sealed bag overnight, then brush out the powder. This neutralizes odors without water.
When dealing with delicate materials, remember that understanding how materials respond to different treatments helps prevent accidents. The same principles that prevent unwanted shrinking apply to cap care.
Drying and Reshaping Your Cap
Drying is where many people make their biggest mistake. Tossing a wet cap into the dryer or leaving it crumpled in a heap will ruin its shape faster than you’d think. The right drying process preserves your cap’s structure and ensures it looks as good when dry as it did before washing.
Start by gently squeezing out excess water. Don’t wring or twist your cap—this distorts the fabric and can damage stitching. Simply hold it and let water drip out naturally, then gently squeeze. Pat it with a clean towel to remove more moisture.
Now comes the critical part: reshaping. While your cap is still slightly damp, use your hands to restore its original shape. Gently pull the bill back into its proper curve. Ensure the crown isn’t compressed or stretched. If your cap has a structured crown, you might want to stuff the inside lightly with clean towels while it dries. This prevents the crown from collapsing.
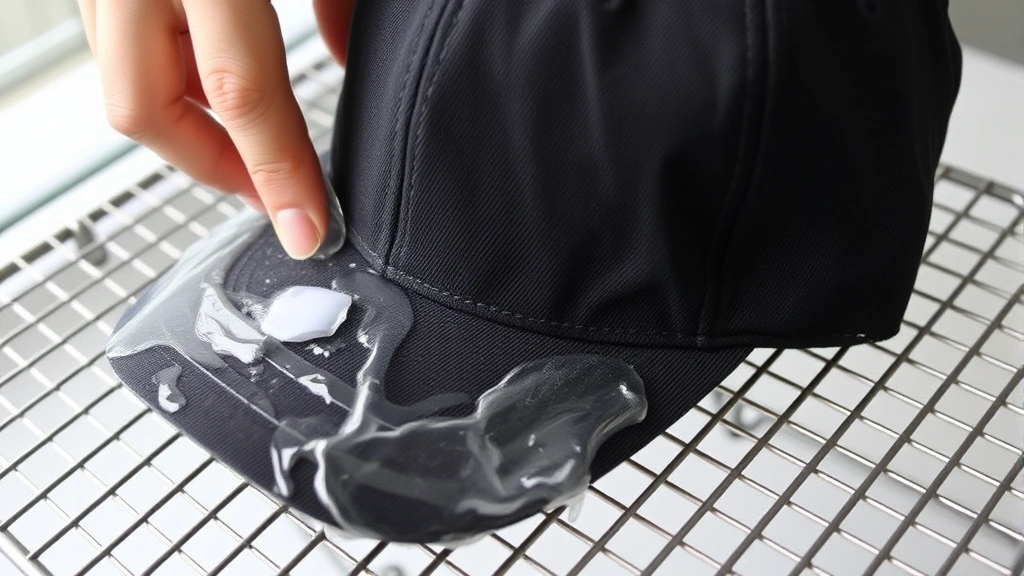
Place your reshaped cap on a clean, dry surface to air dry completely. A wire rack works perfectly because air can circulate underneath. Avoid direct sunlight, which can fade colors, and keep it away from heat sources like radiators or vents. Depending on humidity and fabric thickness, drying takes 24-48 hours. Patience is essential here—rushing the process by using heat will undo all your careful work.
Check on your cap periodically as it dries. If it starts to lose shape, gently re-form it. This active drying approach is more involved than passive air drying, but the results are worth it.
Storage and Maintenance Tips
Once your cap is clean and dry, proper storage keeps it that way. Where and how you store your cap between wears significantly impacts its longevity and appearance.
Storage location: Keep your cap in a cool, dry place away from direct sunlight. Prolonged sun exposure fades colors gradually but relentlessly. A closet shelf or storage box works well. Avoid damp basements or attics where humidity can promote mildew growth.
Storage method: Don’t just toss your cap into a drawer. Stack it with other caps bill-to-crown to save space, or store it upright on a shelf where it can maintain its shape. If you have limited space, a cap rack or hook keeps your cap accessible and properly shaped. Never store a cap while it’s damp or dirty—this creates ideal conditions for mold and mildew.
Between-wear maintenance: You don’t need to wash your cap after every wear. Instead, spot-clean as needed and occasionally brush away surface dirt with a soft brush. Air out your cap after wearing it on a hot day to let sweat dry and odors dissipate. This extends the time between full washes and reduces wear from frequent cleaning.
If you notice odors developing but the cap isn’t visibly dirty, sprinkle baking soda inside and let it sit overnight. This neutralizes smells without requiring a full wash. Understanding fabric care principles also helps you maintain your cap’s appearance—for example, keeping similar materials together prevents color transfer and damage.
Consider applying a fabric protectant spray designed for caps and hats. These products create a barrier that repels water and stains, making your cap easier to clean and extending its life. Apply according to product instructions, usually while the cap is dry.
For long-term storage of vintage or valuable caps, acid-free tissue paper provides additional protection. Stuff the crown gently with the tissue to maintain shape, and wrap the cap loosely. Store in an acid-free box in a climate-controlled environment.
Frequently Asked Questions
Can I put my baseball cap in the washing machine?
Yes, you can machine wash a baseball cap if you use a mesh laundry bag or cap cage to protect it. Use the gentle cycle with cold water and mild detergent. Never machine dry—always air dry instead. Hand washing remains the safest method for valuable or delicate caps.
What’s the best way to remove sweat stains from a cap?
Soak the cap in lukewarm water with mild detergent for 10-15 minutes. Make a paste with baking soda and water, apply it to the sweatband, and let it sit for 5 minutes before gently scrubbing. For set-in stains, a hydrogen peroxide and baking soda paste left on for 15 minutes works well. Always rinse thoroughly with cool water.
How do I prevent my cap’s bill from warping?
Avoid machine drying completely. When hand washing, gently reshape the bill while the cap is still slightly damp. Store your cap bill-down on a shelf or use a cap rack to maintain proper shape. Never fold the bill or store the cap in a compressed space.
Can I use regular laundry detergent on my cap?
Yes, regular laundry detergent works, but use much less than you would for a full load. Mild detergent or dish soap is gentler and equally effective. Avoid bleach, which can damage colors and materials, and fabric softener, which can compromise the bill’s structure.
How often should I wash my baseball cap?
This depends on usage. If you wear your cap daily during hot weather, washing every 2-3 weeks is reasonable. For occasional wear, monthly washing suffices. Focus on spot cleaning between full washes to extend the time between complete cleanings and reduce wear.
My cap has a cardboard bill. Can I still wash it?
Cardboard bills are more delicate than plastic ones. Avoid full submersion and stick to hand washing. Keep the bill out of water as much as possible, or use spot cleaning instead. If water does contact a cardboard bill, reshape it gently while drying. Some newer caps have plastic-lined cardboard bills that are more water-resistant.
What should I do if my cap smells bad but looks clean?
Sprinkle baking soda inside the sweatband and let it sit in a sealed bag overnight. The baking soda absorbs odors without requiring water. Brush out the powder thoroughly. For stubborn odors, a vinegar rinse works—mix one part vinegar with four parts water and rinse the sweatband area, then air dry completely.
Related Posts

How Long to Boil Lobster Tails: Cooking Guide

How Long to Fly from New York to London? Travel Times
