
How to Sign a Check? Simple Steps Explained
How to Sign a Check: Simple Steps Explained
Signing a check might seem straightforward, but there are specific rules and best practices that ensure your check is valid, secure, and processed correctly by your bank. Whether you’re paying bills, settling a debt, or making a purchase, understanding the proper way to sign a check protects your financial security and prevents costly mistakes. This comprehensive guide walks you through every step of the check-signing process, from understanding where to sign to avoiding common errors that could invalidate your check or make you vulnerable to fraud.
A properly signed check is a legal document that authorizes your bank to withdraw funds from your account and transfer them to the payee. The signature line isn’t just a formality—it’s a security feature that verifies you’ve authorized the transaction and takes responsibility for it. Learning how to sign a check correctly ensures your financial documents are legitimate, reduces the risk of check fraud, and keeps your banking transactions smooth and secure.
Understanding Check Basics
Before you sign a check, it’s important to understand what a check is and how it functions within the banking system. A check is a written order instructing your bank to pay a specific amount of money to a designated person or organization from your account. The check contains several critical elements: the date, the payee name, the amount in both numerical and written form, a memo line for reference, and most importantly, your signature.
The signature on a check serves as your authorization for the transaction. It confirms that you’ve reviewed the check details and approve the payment. Banks use your signature to verify that the check is legitimate and that you’re the account holder making the request. This is why your signature on file with the bank must match the signature on the check—any significant discrepancies could cause the check to be rejected or delayed.
Understanding the anatomy of a check helps you recognize where each element belongs and why accuracy matters. The front of the check displays your name and address, your bank’s information, your account number, and routing number. The back of the check has a signature line for endorsement when you’re depositing a check. The front also contains the payee line, amount fields, date field, and the crucial signature line on the bottom right.
Locating the Signature Line
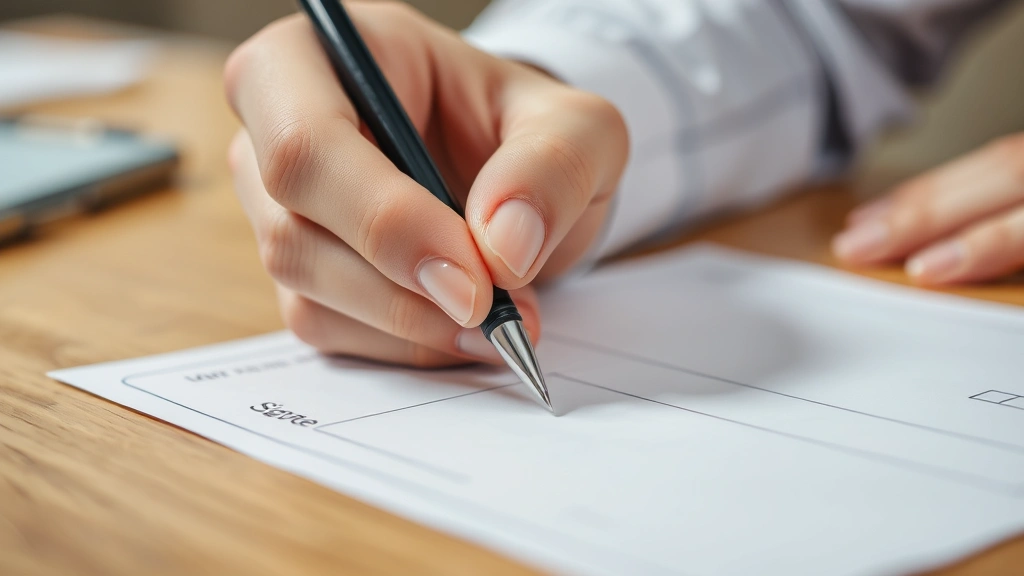
The signature line on a check is always located on the bottom right corner of the check’s front side. This positioning is standardized across nearly all checks in the United States, making it easy to identify once you know where to look. The signature line is typically a blank line with the word “Signature” printed just above or below it, though some checks may simply have a blank line without a label.
On a standard personal or business check, you’ll notice the signature line sits below the memo line (which reads “Memo” or “For”) and to the right of the date field. The line is usually about two to three inches long and provides space for your signature. Some checks have additional security features near the signature line, such as a security watermark or microprinting, which help prevent counterfeiting.
If you’re using checks from your FixWise Hub Blog resources or any reputable financial institution, the signature line will be in this standard location. Familiarizing yourself with this placement ensures you don’t accidentally sign in the wrong spot, which could render the check invalid. Take a moment to examine your checks before signing to confirm you understand the layout.
Step-by-Step Signing Instructions
Step 1: Review All Check Details
Before you even think about signing, carefully review every detail on the check. Verify that the date is correct—checks dated in the future may not be processed immediately, while post-dated checks have specific legal implications. Confirm the payee name is spelled correctly and matches the intended recipient. Check that the numerical amount (in the box on the right) matches the written amount (spelled out on the line below the payee). Any discrepancies between these amounts could cause the check to be rejected by the bank.
Review the memo line to ensure it accurately describes the purpose of the payment. While the memo isn’t legally required, it helps both you and the payee track why the payment was made. Make sure your account has sufficient funds to cover the check amount—writing a check for more than you have available is illegal and can result in significant fees and legal consequences.
Step 2: Use Appropriate Writing Instruments
Always sign your check with a permanent ink pen, preferably black or dark blue ink. Avoid pencils, erasable pens, or light-colored inks that can be easily altered or erased. The permanence of your signature is crucial for security and legal validity. Permanent ink makes it difficult for someone to modify your signature or the check details after you’ve signed it. Banks may reject checks signed with pencil or erasable ink because they don’t meet security standards.
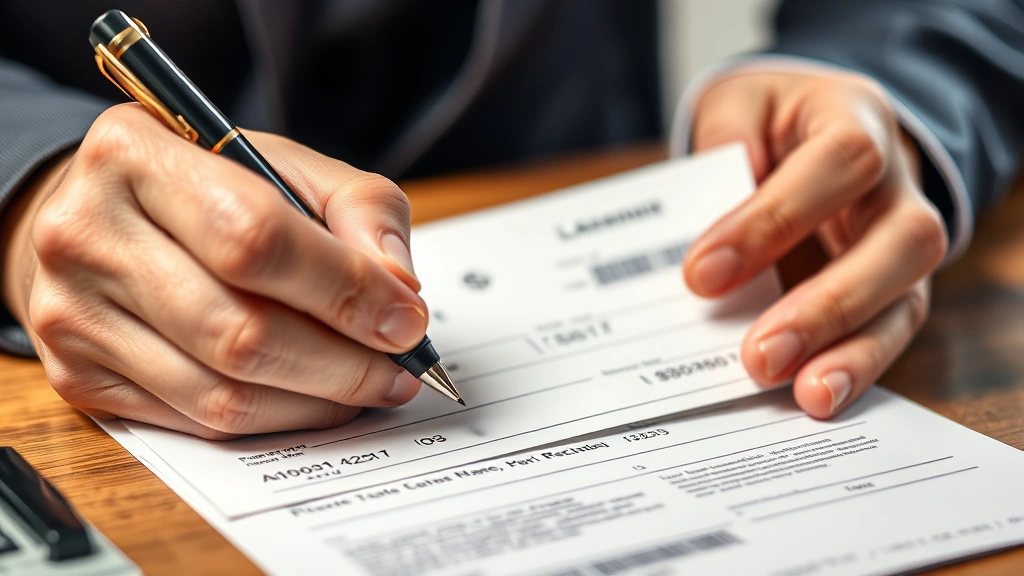
Step 3: Sign with Your Registered Signature
Sign the check exactly as your name appears on your bank account signature card. Your bank has a signature on file from when you opened your account, and the teller will compare your check signature to this reference. If your check signature differs significantly from what’s on file, the bank may question the check’s validity or delay processing. Consistency is key—use the same signature style every time you sign a check.
Your signature should be legible enough to be recognizable as your unique mark, but it doesn’t need to be perfectly neat. What matters is that it matches your registered signature and isn’t obviously forged or drastically different from your usual signature. If you’ve recently changed your signature style significantly, notify your bank to update your signature card on file.
Step 4: Sign Within the Designated Area
Sign directly on the signature line, keeping your signature within the boundaries of the line. Don’t sign above, below, or completely outside the designated area. A signature that’s positioned incorrectly may not be easily visible to bank staff reviewing the check, which could cause processing delays or rejection. The signature line is specifically designed to accommodate standard signature sizes, so staying within this area ensures your signature is properly captured if the check is scanned or imaged.
Step 5: Avoid Alterations and Corrections
Once you’ve signed a check, never cross out, white-out, or alter any information. If you make a mistake on the check before signing it, void it and write a new one. If you notice an error after signing, you must void the check and issue a replacement. Alterations to a signed check raise red flags for fraud and may cause the check to be rejected. Banks view any changes to a signed check as potentially suspicious, even if the changes are innocent mistakes.
If you must make a correction to an unsigned check, initial the change in pen and ensure it’s initialed by you. However, the safest practice is always to void and rewrite rather than correct. This protects you legally and ensures smooth processing.
Common Mistakes to Avoid
One of the most frequent mistakes people make when signing checks is using the wrong type of ink or writing instrument. As mentioned, pencils and erasable pens should never be used. Faded or light-colored inks may also be rejected. Additionally, many people forget to date the check or use an incorrect date, which can cause processing issues. A check without a date is technically invalid and may be rejected by the bank.
Another common error is signing a check before filling in all the required information. Never sign a blank check or a check with incomplete information. This leaves your check vulnerable to fraud—someone could complete the check with unauthorized information after you’ve already signed it. Always fill in the payee name, amount, and date before signing.
Signing checks in the wrong location is another issue that delays processing. Some people sign on the back of the check (which is reserved for endorsement when depositing) or on other parts of the check. Always sign on the front, on the designated signature line in the bottom right corner. If you’re sending secure communications about finances, remember that check details should never be shared via email or unsecured methods.
Inconsistency with your registered signature is also problematic. If you sign your checks very differently each time—sometimes printing your name, sometimes using a cursive signature, sometimes using initials—the bank may question whether the checks are legitimate. Maintain consistency in your signature style across all checks.
Many people also make the mistake of signing checks too small or too large. A signature that’s extremely tiny might not be clearly visible, while one that’s excessively large might extend beyond the signature line. Sign naturally, as you normally would, keeping your signature proportionate to the designated space.
Security Considerations
Check fraud is a serious concern in modern banking, making proper signing procedures essential for protecting your finances. When you sign a check, you’re taking responsibility for authorizing that payment. Signing properly helps prevent unauthorized use of your checks and protects you legally if disputes arise.
Never sign blank checks or checks with incomplete information. If you need to provide a signed blank check to someone (such as for automatic bill payments), ensure you trust them completely and understand exactly what amounts they’re authorized to fill in. This is risky and should be avoided whenever possible. Instead, provide specific checks with exact amounts filled in.
Protect your signed checks from theft or loss. Store blank checks in a secure location, just as you would store other valuable financial documents. If you discover missing checks, contact your bank immediately to report them and request that your account be monitored for fraudulent activity. If your checkbook is stolen, the thief has access to your signed checks, which they could complete with any amount and payee.
Be cautious about where and how you sign checks. Avoid signing checks in public places where someone might see your signature or check details. Don’t leave signed checks unattended or visible to others. When mailing checks, use secure mailboxes or mail directly at the post office rather than leaving checks in your home mailbox where they could be stolen.
Consider using the security features available on modern checks. Many banks offer checks with enhanced security features like watermarks, microprinting, and chemical-reactive paper that changes color if someone attempts to alter the check. These features make it harder for fraudsters to forge or modify your checks. Ask your bank about security-enhanced check options when ordering new checks.
For large payments or transfers, consider alternatives to checks such as electronic bank transfers or certified checks. Electronic transfers provide a clear digital record and don’t involve physical documents that could be stolen or forged. Certified checks, issued by your bank and signed by a bank official, provide extra assurance that the funds are available and legitimate.
Special Circumstances
Signing for a Business or Organization
If you’re signing checks on behalf of a business or organization, you may need to follow specific signing procedures outlined in the business’s bylaws or policies. Some businesses require two signatures on checks above a certain amount as a fraud prevention measure. In these cases, both authorized signatories must sign in the designated area. Ensure you understand your organization’s check-signing authority and procedures before signing business checks.
For business checks, your signature should match the signature you provided to the business bank when the account was opened. Some businesses use stamped signatures or have specific signature requirements for compliance and audit purposes. If you’re responsible for managing financial records and separating payment information, maintaining organized records of who signed which checks is important for accountability.
Power of Attorney Situations
If you’re signing checks as someone’s power of attorney, you should sign your name followed by “as Power of Attorney for [Principal’s Name]” or “Attorney-in-Fact for [Principal’s Name].” This indicates that you’re signing on behalf of someone else with their legal authorization. The principal’s name should also appear on the check. Your bank must have documentation of your power of attorney status on file.
Signing as a Trustee or Executor
When signing checks as a trustee or executor, sign your name followed by your title, such as “as Trustee of the [Trust Name]” or “as Executor of the Estate of [Deceased’s Name].” This clarifies that you’re acting in a fiduciary capacity rather than in your personal capacity. Again, your bank must be informed of your authority and have appropriate documentation on file.
Third-Party Checks
A third-party check is one that’s made out to someone else but that person wants to deposit it into their own account or give it to another party. Banks have become increasingly strict about accepting third-party checks due to fraud concerns. If you receive a third-party check, the original payee may need to sign the back of the check (endorse it) before you can deposit it. Many banks now refuse third-party checks entirely, so verify your bank’s policy before accepting one.
Signing Checks When Traveling
If you need to sign checks while traveling, ensure you have a pen that works reliably and that you’re in a secure location. Never sign checks in public places or leave signed checks unattended in hotel rooms or public spaces. If you’re traveling internationally and need to write checks, ensure they’re written in the currency and format acceptable in your location. Some countries have different check formats and signing requirements.
When you return home, make sure any unsigned checks you wrote while traveling are properly recorded in your check register so you can track your account balance accurately. If you use digital banking tools and applications, you may be able to avoid writing physical checks altogether while traveling by using mobile banking or electronic transfers.
FAQ
What happens if I sign a check with pencil?
Banks typically reject checks signed in pencil because pencil can be easily erased and altered. Permanent ink is required for security and legal validity. If you’ve already signed a check with pencil, void it and write a new check signed with permanent ink pen.
Can I sign a check with a different signature than my usual one?
Your bank has a signature on file from when you opened your account. While minor variations in your signature are normal and expected, significant differences may cause the bank to question the check’s validity or delay processing. Try to keep your signature style consistent across all checks you write.
Is it okay to sign a blank check?
Signing blank checks is risky and should be avoided. A blank check gives whoever possesses it the ability to fill in any payee name and amount. Only sign checks that are completely filled out with the payee name, amount, and date. If you must provide a signed blank check, ensure you trust the recipient completely and understand exactly what they’re authorized to fill in.
What should I do if I make a mistake after signing a check?
Never attempt to correct or white-out information on a signed check. Instead, void the check by writing “VOID” across the front and set it aside. Write a new check with the correct information and sign it properly. Keep voided checks for your records.
Can someone else sign my checks?
Only you or someone with legal authority (such as a power of attorney or authorized business representative) can sign your personal checks. If someone else signs your checks without authorization, it’s considered forgery and is illegal. If you need someone else to sign checks on your behalf, you must establish a legal power of attorney or add them as an authorized signer on your account.
How long are checks valid after signing?
Checks are typically valid for six months from the date written. After six months, a check is considered stale-dated and banks may refuse to honor it. If you write a check and the recipient doesn’t deposit it for several months, they may need to request a replacement check with a current date.
What’s the difference between signing and endorsing a check?
Signing a check (on the front) authorizes payment from your account. Endorsing a check (on the back) is what you do when you’re depositing a check that was made out to you. Endorsement transfers your rights to the check to your bank. The two processes serve different purposes in the check-clearing process.
Should I sign checks in front of witnesses?
While not required for personal checks, having a witness sign a check can provide extra documentation that you intentionally authorized the payment. This is sometimes done for large checks or in business situations where accountability is important. However, witness signatures are not required for check validity.
What if my signature changes due to age or injury?
If your signature changes significantly due to age, injury, illness, or other reasons, notify your bank and update your signature card on file. This prevents checks from being rejected due to signature discrepancies. Bring identification to your bank and provide a new signature sample for their records.
Can I sign a check with just my initials?
Your signature on a check should match your registered signature on file with the bank. If your registered signature is your full name, you shouldn’t sign with just initials. However, if your bank has a signature on file that’s just your initials, you can use that. Consistency with what’s on file is what matters.
Related Posts

Superscript in Google Docs: Expert Tips

Strikethrough in Excel: Easy Steps for Beginners
