
How to Season a Turkey: Expert Techniques
How to Season a Turkey: Expert Techniques for Flavorful Results
There’s an art to seasoning a turkey that goes far beyond sprinkling salt and pepper on poultry. Whether you’re preparing your first holiday bird or you’re a seasoned cook looking to elevate your game, understanding the nuances of turkey seasoning can transform a decent dinner into an unforgettable feast. The key lies not just in what you use, but when you apply it, how you distribute it, and which flavor combinations will sing on your particular palate.
The difference between a bland, forgettable turkey and one that guests rave about for years often comes down to technique. Many home cooks make the mistake of seasoning only the surface, missing the opportunity to infuse flavor throughout the meat. Others rush the process, not allowing adequate time for seasonings to penetrate the bird. This guide will walk you through proven methods that professional chefs and experienced home cooks swear by.
From dry brines to herb butters, from spice rubs to aromatics stuffed inside the cavity, you’ll discover multiple approaches to seasoning that can be mixed and matched based on your preferences and available time. Let’s dive into the techniques that will make your turkey the star of the table.
The Power of Dry Brining
Dry brining is arguably the most transformative technique you can employ when learning how to season a turkey. Unlike wet brining, which can leave your bird waterlogged, dry brining uses salt to break down proteins and allow seasoning to penetrate deep into the meat while the skin remains crispy.
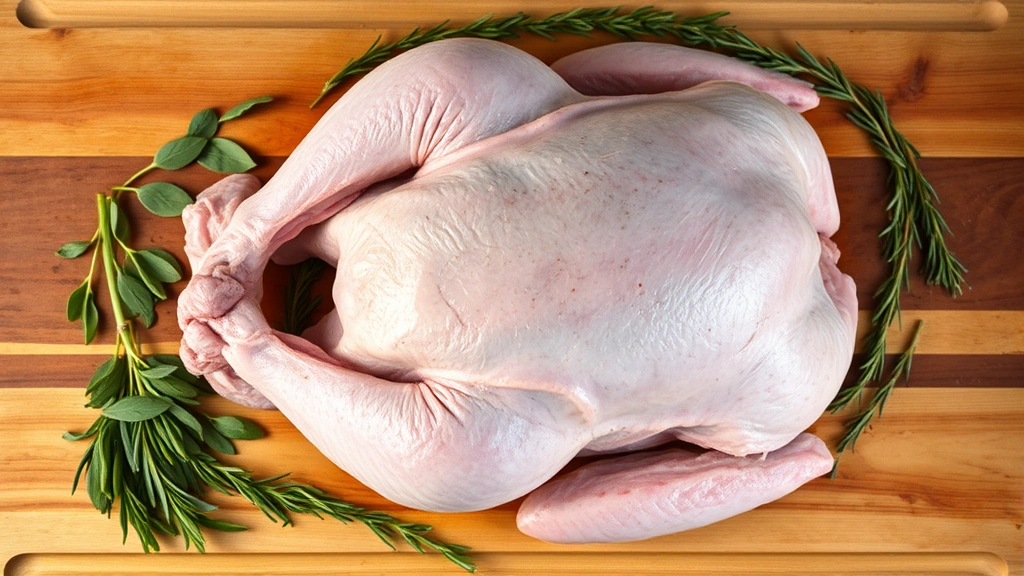
The process begins 24 to 48 hours before roasting. Calculate roughly half a teaspoon of kosher salt per pound of turkey. Combine your salt with any dried herbs you want to use—thyme, oregano, sage, and rosemary work beautifully together. Pat your turkey completely dry with paper towels, then massage the salt mixture all over the bird, making sure to get under the wings, along the thighs, and inside the cavity. The salt will draw out moisture initially, which may seem counterintuitive, but this moisture reabsorbs into the meat, carrying the salt and seasonings with it.
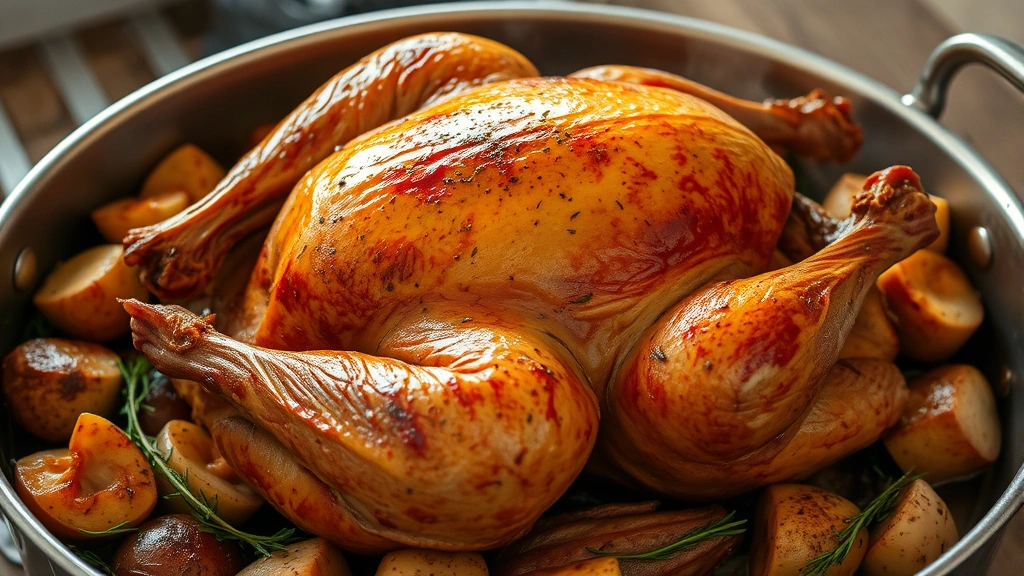
Place your seasoned turkey on a rack in the refrigerator, uncovered, for the full dry brining period. This exposure allows the skin to dry out completely, which is essential for achieving that golden, crispy exterior everyone craves. If you’re planning to smoke a turkey, dry brining becomes even more critical since smoke clings better to dry surfaces.
Creating the Perfect Herb Butter
Herb butter is your secret weapon for infusing flavor directly into the turkey meat. This technique works beautifully in combination with dry brining, or as a standalone method if time is limited. The butter carries fat-soluble flavor compounds that penetrate the meat more effectively than water-based seasonings.
Start with high-quality, softened butter—about one pound for a typical turkey. Mix in fresh herbs: finely minced sage, thyme, rosemary, and parsley create a classic combination that complements turkey’s natural flavors. Add minced garlic, lemon zest, and a pinch of black pepper. Some cooks include a touch of Dijon mustard for depth.
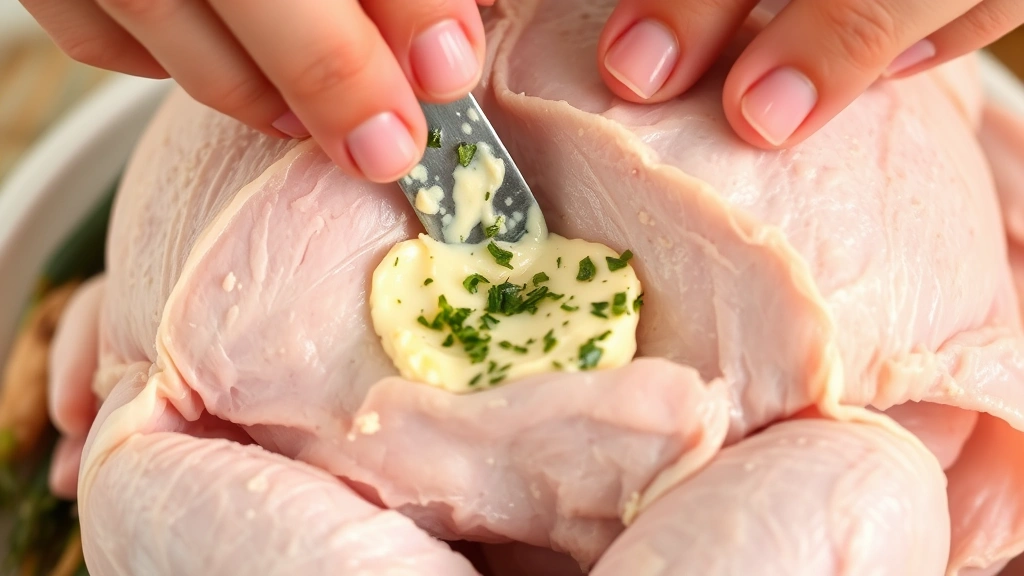
Once your herb butter is combined, the real magic happens. Carefully separate the skin from the breast meat by sliding your fingers between the skin and flesh, creating pockets. Do this gently to avoid tearing the skin. Spread the herb butter under the skin, working it into all the pockets you’ve created. This direct contact with the meat ensures incredible flavor in every bite. Don’t forget to spread some under the thigh skin as well—dark meat especially benefits from this treatment.
You can prepare herb butter days in advance and refrigerate it, or even freeze it for future use. This flexibility makes it one of the most practical techniques for busy cooks.
Building Custom Spice Rubs
A well-constructed spice rub adds complexity and depth that simple salt and pepper cannot achieve. The key to an excellent rub is balance—you want warmth, sweetness, saltiness, and earthiness all working in harmony.
Start with your base: kosher salt and freshly ground black pepper should comprise about half your rub by volume. Add sweet elements like brown sugar or paprika, which also provide color. Incorporate warm spices such as cumin, coriander, and a pinch of cayenne pepper for subtle heat. Don’t overlook dried herbs like oregano, thyme, and marjoram. Some cooks add a small amount of garlic powder and onion powder for savory depth.
Mix your rub thoroughly, breaking up any clumps in the brown sugar. If you’re preparing this in advance, store it in an airtight container away from light and heat. When you’re ready to apply it, pat your turkey dry and coat it generously, paying special attention to crevices and under the wings. Let the rub sit for at least two hours before roasting, though overnight is better.
For those interested in other protein preparations, understanding rub fundamentals translates well—learning how to season salmon employs similar principles of balancing flavors and understanding which spices complement specific proteins.
Filling the Cavity with Aromatics
The turkey’s cavity is prime real estate for flavor development. Aromatic vegetables and herbs placed inside the bird will infuse the meat from within as it roasts, while also contributing to the pan drippings that become the foundation for making brown gravy.
Classic cavity fillings include halved onions, whole garlic cloves, fresh thyme sprigs, rosemary branches, and bay leaves. Some cooks add apple or orange halves for subtle sweetness and acidity. The beauty of cavity aromatics is that they don’t season the turkey through absorption the way salt does—instead, they create an aromatic environment that subtly influences the meat’s flavor through steam and proximity.
Don’t pack the cavity too tightly; you need air circulation for the turkey to cook evenly. Loosely arrange your aromatics so steam can move freely around them. Many cooks stuff the cavity just before roasting to maintain maximum freshness and aromatic potency.
Timing Your Seasoning Strategy
When you apply seasoning matters as much as what you apply. Understanding the timeline ensures your efforts translate into maximum flavor impact.
For optimal results, begin your seasoning strategy 24 to 48 hours before roasting. This allows salt and seasonings to penetrate the meat thoroughly. If you’re dry brining, this extended timeline is essential. If you’re only using a rub or herb butter, you can get away with as little as 4 to 6 hours, though overnight is preferable.
Remove your turkey from the refrigerator about 40 minutes before roasting to allow it to come to room temperature. Cold meat won’t cook evenly, and seasoning penetration is hindered by temperature extremes. During this resting period, any additional seasonings you want to apply—finishing salts or fresh herb garnishes—can be added just before the bird goes into the oven.
Seasoning Under the Skin
Separating the skin from the meat and applying seasonings directly to the flesh is one of the most effective techniques professional chefs employ. This method keeps seasonings in direct contact with the protein that will actually be eaten, rather than relying on seasoning to penetrate from the surface.
Begin with a completely dry turkey. Using your fingers, gently work between the skin and meat, starting at the neck and working toward the thighs. Create pockets by lifting the skin carefully—you’re aiming to loosen the skin without tearing it. Once you’ve created sufficient space, apply your seasoning mixture directly to the exposed meat. This might be herb butter, a paste made from spices and oil, or even a thin layer of mustard combined with herbs.
Work systematically: season the breast meat thoroughly on both sides, then move to the thighs and drumsticks. The thigh meat, being darker and more flavorful, can handle bolder seasonings. Don’t neglect the inner thighs where the legs connect to the body—this area often stays moister and benefits from concentrated seasoning.
Classic and Creative Flavor Combinations
Traditional herb combinations have endured for good reason—they simply work. But understanding the principles behind them allows you to create your own signature seasoning profiles.
Classic Thanksgiving Profile: Sage, thyme, rosemary, and marjoram form the backbone of traditional turkey seasoning. Add black pepper, a touch of nutmeg, and perhaps a hint of clove. This combination is warm, slightly earthy, and complements turkey’s natural flavors without overwhelming them.
Mediterranean Approach: Combine oregano, basil, and thyme with garlic, lemon zest, and a touch of red pepper flakes. This profile brings brightness and vibrancy, especially appealing if you’re planning to serve lighter sides rather than heavy traditional fare.
Smoky and Bold: If smoking your turkey, enhance the natural smoke flavor with smoked paprika, cumin, garlic powder, and a pinch of cayenne. This combination adds depth without competing with the smoke.
Asian-Inspired: Combine five-spice powder, ginger, garlic, and a touch of soy sauce for a departure from traditional seasonings. This works particularly well if you’re planning to serve yum yum sauce alongside or drizzled over carved turkey.
Herb Garden Fresh: If you have access to fresh herbs, finely chop parsley, tarragon, chives, and dill. Mix with softened butter and apply under the skin for a fresh, delicate flavor profile that highlights the turkey’s natural taste.
Injection Methods for Deep Flavor
Marinades and injections offer another avenue for seasoning penetration, particularly useful if you’re short on time. Injectable marinades deliver flavor directly into the meat rather than relying on surface application.
Create an injection marinade by combining melted butter, broth, and your chosen seasonings. Warm the mixture to ensure salt dissolves completely and flavors meld. Common injection ingredients include garlic, Worcestershire sauce, hot sauce, herbs, and spices. Some cooks add apple juice or other fruit juices for subtle sweetness.
Using a meat injector (available at any kitchen supply store), inject the marinade throughout the turkey, focusing on the thickest parts: the breasts and thighs. Make multiple injection points spaced evenly across these areas. Inject slowly, withdrawing the needle slightly as you go to distribute the liquid evenly rather than creating a single large pocket.
Injections work best when combined with other seasoning methods. Use injection as a complement to dry brining or herb butter application, not as a replacement. This layered approach ensures comprehensive flavor development.
Whether you’re grilling burgers, smoking poultry, or roasting any protein, understanding multiple seasoning techniques elevates your cooking. Learning how to grill burgers teaches similar lessons about timing, temperature, and flavor development that transfer beautifully to poultry preparation.
Frequently Asked Questions
How far in advance can I season my turkey?
You can season your turkey up to 48 hours in advance if you’re dry brining. The salt needs time to penetrate the meat, and this extended timeline is actually beneficial. If you’re using only a spice rub or herb butter, you can apply it as little as 4 to 6 hours before roasting, though overnight is ideal. Avoid applying delicate fresh herbs more than a few hours in advance, as they can wilt and lose vibrancy.
Should I season the inside of the turkey?
Absolutely. The cavity benefits from seasoning just as much as the exterior. Fill it with aromatic vegetables and herbs, and consider applying herb butter under the skin in the thigh area. Don’t stuff the cavity with traditional bread stuffing if you want maximum seasoning penetration—cook stuffing separately for better flavor development and food safety.
Can I over-season a turkey?
Yes, though it’s harder than you might think. The key is balance rather than restraint. A turkey can handle aggressive seasoning because it’s a large piece of meat with substantial flavor of its own. The more common mistake is under-seasoning, not over-seasoning. Start with the recommended amounts in recipes, taste your rub or herb butter before applying it, and adjust from there.
What’s the difference between wet brining and dry brining?
Wet brining submerges the turkey in a saltwater solution, which draws out moisture initially, then reabsorbs it along with salt and seasonings. This results in juicy meat but can make the skin soggy. Dry brining uses salt applied directly to the bird, allowing skin to remain crispy while meat becomes tender and flavorful. For most home cooks, dry brining delivers superior results.
Can I combine multiple seasoning methods?
Yes, and in fact, this is encouraged. Use dry brining as your foundation, add herb butter under the skin, fill the cavity with aromatics, and apply a finishing spice rub just before roasting. These methods work synergistically, each contributing different dimensions of flavor that create a more complex, satisfying result than any single method alone.
What if I’m short on time?
If you have only a few hours before roasting, focus on herb butter applied under the skin and a well-constructed spice rub on the surface. These methods deliver maximum impact with minimal prep time. Injections also work well for quick seasoning, though you’ll miss some of the depth that comes from extended dry brining.
Related Posts

How Long to Boil Lobster Tails: Cooking Guide

How Long to Fly from New York to London? Travel Times
