
How to Season a Blackstone: Expert Guide
How to Season a Blackstone: Expert Guide to Perfect Griddle Maintenance
Your Blackstone griddle is about to become your backyard’s most versatile cooking companion, but here’s the thing—it won’t reach its full potential without proper seasoning. Think of seasoning as building a natural non-stick surface that improves with every use. It’s not complicated, but it does require understanding the why behind each step, not just following orders like a cooking robot.
Whether you’re a grilling enthusiast or someone who just discovered that a flat-top griddle can cook literally anything (breakfast pancakes, stir-fries, even grilled cheese for the whole neighborhood), this guide walks you through the seasoning process with clarity and confidence. We’ll cover initial seasoning, maintenance seasoning, and troubleshooting so your griddle performs beautifully for years to come.
Why Seasoning Your Blackstone Matters
Seasoning isn’t some fancy culinary technique reserved for cast iron enthusiasts. It’s a fundamental maintenance practice that transforms your Blackstone griddle from a bare metal surface into a naturally non-stick, rust-resistant cooking platform. Here’s what’s actually happening: when you apply oil and heat it, the oil polymerizes—meaning it bonds to the steel surface at a molecular level, creating layers of protection.
Without seasoning, your griddle faces three major problems. First, food sticks like it owes you money. Second, rust develops faster than you can say “I should have maintained that.” Third, the cooking surface becomes increasingly difficult to manage. With proper seasoning, you get a smooth, naturally non-stick surface that requires minimal oil during cooking, prevents rust formation, and becomes easier to use over time.
The beautiful part? Each cooking session adds to your seasoning layers. Unlike non-stick coatings that degrade, a well-seasoned Blackstone improves with age and use. It’s an investment that pays dividends with every meal you prepare.
Initial Preparation and Cleaning
When your new Blackstone arrives, it’s covered in a factory protective coating—basically industrial wax designed to prevent rust during shipping. You cannot skip this step; cooking on an unsealed griddle is like building a house on quicksand. The coating needs to go.
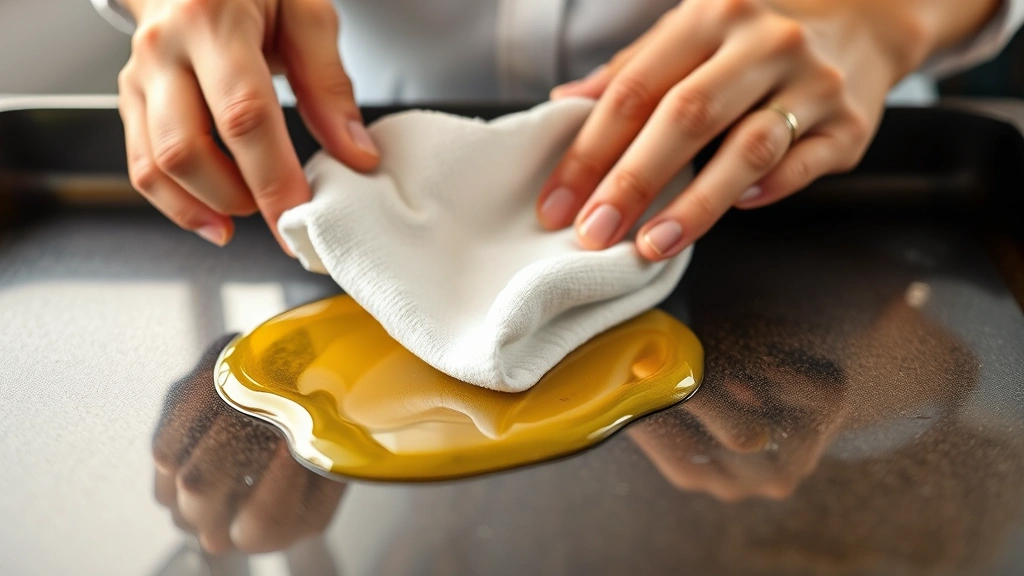
Start by heating your griddle on medium-high for about 15 minutes. This softens the factory coating, making it easier to remove. Then, use paper towels or old cloth rags to wipe the entire surface. You’ll see the coating come off as a gray or brownish residue. Don’t be gentle here; this isn’t the time for delicate movements. Really work those paper towels across the surface, applying firm pressure.
Next, make a paste with a small amount of water and mild dish soap. Using a soft brush or cloth, gently scrub the entire cooking surface. Rinse thoroughly with clean water and immediately dry with paper towels—any standing water invites rust. Some people use vinegar for this initial clean, which works excellently for cutting through factory residue.
Once the surface is completely dry and cool, you’re ready to begin the actual seasoning process. This preparatory step is non-negotiable; skipping it means your seasoning won’t adhere properly, and you’ll be frustrated within weeks.
The First Seasoning Process
Initial seasoning requires commitment and attention. This isn’t a quick five-minute task; plan for 30-45 minutes of active work. You’re essentially building the foundation for all future cooking.
Choose your oil wisely. High smoke-point oils are essential—think avocado oil, grapeseed oil, or refined vegetable oil. These handle the high temperatures needed for proper polymerization. Avoid olive oil or coconut oil; they smoke at lower temperatures and won’t create the durable coating you need. Some people swear by flaxseed oil for superior seasoning, though it requires more layers.
Here’s the step-by-step process:
- Apply a thin layer of oil: Pour a small amount of your chosen oil onto the griddle surface. Using paper towels, spread it across the entire cooking area in thin, even coverage. Think “barely there” rather than “generous coating.” Excess oil creates sticky spots and uneven seasoning.
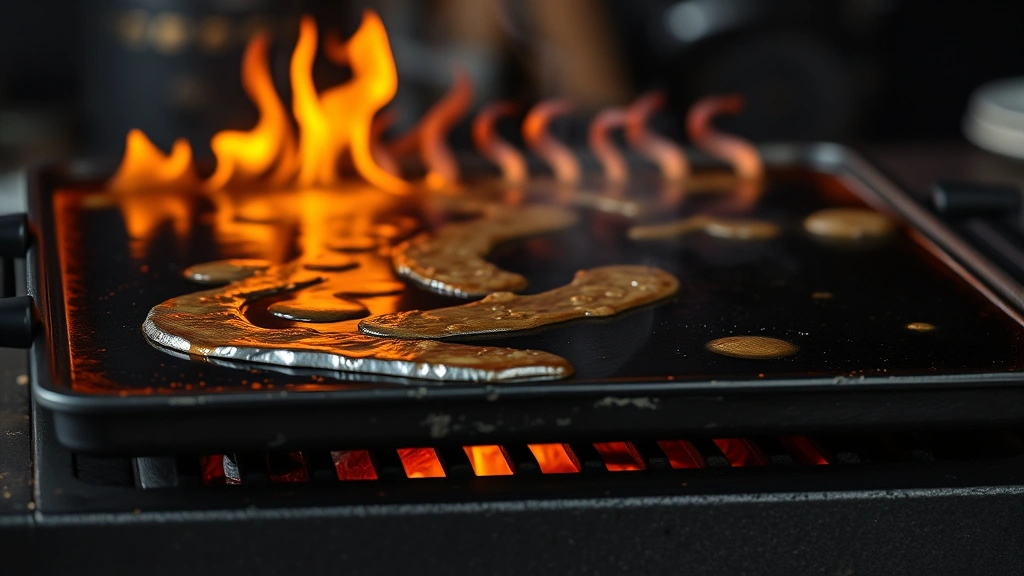
- Heat to the smoke point: Turn the griddle to high heat and let it warm until the oil begins smoking. This is the crucial part—the heat causes the oil to polymerize and bond to the steel. Let it smoke for 3-5 minutes.
- Cool slightly and wipe: Turn off the heat and let the griddle cool for a few minutes. Using clean paper towels, wipe away excess oil until the surface looks almost dry. There should be a barely visible sheen, not a glossy coating.
- Repeat the process: Do this entire cycle 4-6 times during your first seasoning session. Each layer builds on the previous one, creating a stronger non-stick surface.
After completing these layers, let your griddle cool completely before storing it. The seasoning continues to set as it cools, so patience here pays off.
Stovetop Seasoning Method
Not everyone has outdoor space or prefers to season their griddle outside. The stovetop method works excellently for Blackstone griddles with removable tops, though it requires more caution and careful temperature management.
Place your griddle on your stovetop over medium heat. This method takes longer because you’re working with lower temperatures than outdoor grilling, but it’s equally effective. Apply oil in the same thin layers, heating until you see wisps of smoke (not aggressive smoking like outdoors). The process follows the same cycle: heat, cool slightly, wipe, repeat.
The primary advantage? You can control temperature more precisely, reducing the risk of over-seasoning or creating uneven layers. The disadvantage is that your kitchen will smoke a bit, so open windows and turn on your exhaust fan. Some people use their oven instead, setting it to 500°F and placing an oiled griddle inside for 15 minutes per layer, which eliminates smoke entirely.
Regardless of method, consistency matters more than technique. Whether you season outdoors or indoors, applying multiple thin layers beats one thick layer every single time.
Maintenance Seasoning Between Uses
Once your initial seasoning is complete, maintaining it becomes straightforward. Every time you use your griddle, you’re adding micro-layers of seasoning through the natural cooking process. However, intentional maintenance seasoning every 3-4 uses keeps your surface in peak condition.
After cooking and while the griddle is still warm, scrape off food residue using a metal scraper or spatula. This removes debris without stripping seasoning. Then, apply a very light coat of oil to the entire surface using a cloth or paper towel. Let it sit for a minute, then wipe until barely any oil remains visible. This quick maintenance takes two minutes and extends your griddle’s lifespan considerably.
Think about it like this: you wouldn’t neglect brushing your teeth just because you ate healthy food. Same principle applies to griddle maintenance. Small, consistent efforts prevent major problems.
If you’re cooking with fatty foods—burgers, steaks, or anything with significant fat content—you’re getting natural seasoning during cooking. In these cases, you might only need intentional maintenance seasoning weekly rather than after every use. Use your judgment based on how your griddle performs.
One important note: when preparing dishes like garlic butter or brown gravy on your griddle, these fatty preparations naturally contribute to seasoning buildup. Similarly, grilling burgers provides excellent seasoning maintenance through rendered fat. And if you’re making yum yum sauce on your griddle, that oil-based sauce adds protective layers while cooking.
Troubleshooting Common Issues
Sticky or Gummy Surface: This happens when too much oil accumulates without proper heat to polymerize it. Solution: heat your griddle on medium-high for 10-15 minutes to burn off excess oil, then wipe thoroughly. Future prevention: use thinner oil applications and ensure proper heating during seasoning.
Rust Spots Appearing: Rust forms when moisture sits on unseasonedmetal. If you notice rust, don’t panic. Light surface rust wipes away with a paper towel and a bit of vinegar. For stubborn rust, use a metal scrubber or steel wool, then immediately re-season the affected area. Prevent future rust by always drying your griddle completely after cleaning and maintaining consistent seasoning.
Food Still Sticking: Inadequate seasoning or insufficient heat during cooking causes sticking. First, check your seasoning layers—you might need another round of intentional seasoning. Second, ensure you’re heating your griddle properly before adding food. Cold griddle equals sticky food. Let it preheat for 5-10 minutes before cooking.
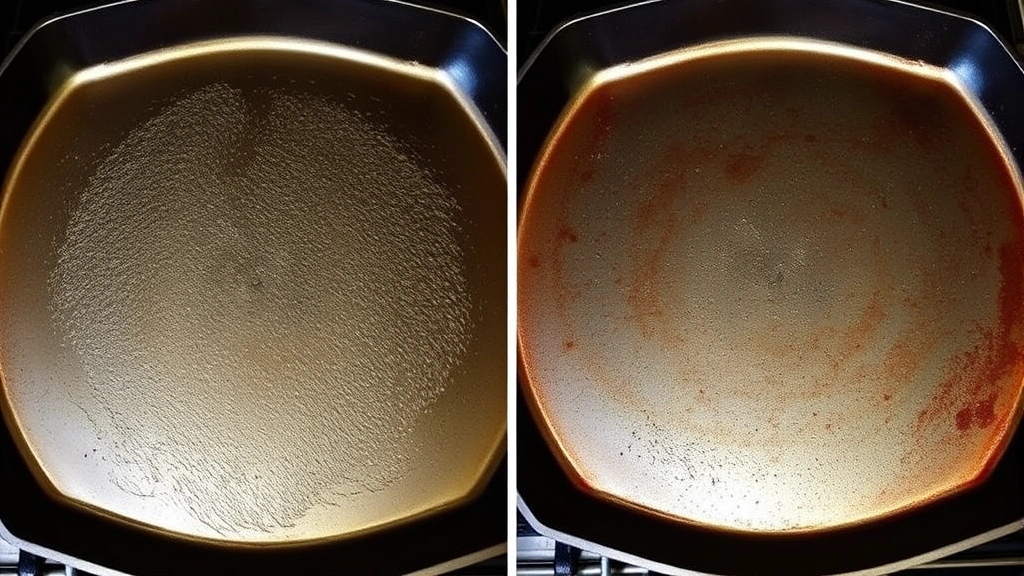
Uneven Seasoning Appearance: Sometimes you’ll notice darker and lighter areas on your griddle. This is normal and doesn’t affect performance, but if it bothers you, apply additional seasoning to the lighter areas. The surface will eventually even out with regular use and maintenance.
Seasoning Peeling or Flaking: This rare issue usually indicates the initial seasoning was applied too thickly or the griddle wasn’t properly cleaned before seasoning. If this happens, strip the griddle back to bare metal using a wire brush, clean thoroughly, and start the seasoning process again with thinner layers.
If you’re having trouble with general metal care, our guide on how to clean stainless steel pans covers similar principles that apply to griddle maintenance and surface protection.
Frequently Asked Questions
How often should I season my Blackstone griddle?
Initial seasoning is a one-time deep process. After that, perform maintenance seasoning every 3-4 uses or weekly, depending on usage frequency. Regular cooking naturally adds seasoning, so you’re not starting from scratch each time. Many experienced users find that intentional maintenance seasoning monthly is sufficient for casual use.
Can I use butter for seasoning instead of oil?
Butter has a lower smoke point than high-heat oils, making it less ideal for initial seasoning. However, butter works fine for maintenance seasoning between uses since you’re not heating it to extreme temperatures. For best results, use butter for cooking (which naturally seasons your griddle) and dedicated high-heat oil for intentional seasoning sessions.
What’s the best oil for seasoning a Blackstone?
Avocado oil, grapeseed oil, and refined vegetable oil are excellent choices. They have high smoke points (450°F+) and create durable seasoning layers. Some people prefer flaxseed oil for superior hardness, though it requires more layers. Avoid low-smoke-point oils like olive oil or unrefined coconut oil.
Can I season my Blackstone in the oven?
Yes, absolutely. Set your oven to 500°F, apply a thin layer of oil to your griddle, place it in the oven for 15 minutes, remove it, wipe away excess oil, and repeat 4-6 times. This method eliminates outdoor smoke and provides excellent temperature control. It’s particularly useful for initial seasoning during winter months.
How long does seasoning take to set?
The polymerization process happens during heating and continues as the griddle cools. Seasoning is immediately functional after cooling, but it continues strengthening over the first few hours and days. After your initial seasoning session, wait at least 12 hours before heavy use to allow the layers to fully cure.
Will my Blackstone seasoning wear off if I clean it?
Gentle cleaning doesn’t strip seasoning—the oil bonds at a molecular level. Aggressive scrubbing with steel wool or harsh chemicals can remove surface layers, but normal cleaning with a scraper and mild soap won’t damage your seasoning. In fact, regular cleaning maintains your griddle better than neglecting it.
Can I use my Blackstone right after seasoning?
Technically yes, but wait at least 12 hours for best results. The seasoning needs time to fully cure and harden. If you’re impatient and cook immediately, you can still use it, but the seasoning might not be as durable as it could be. Plan your initial seasoning for the day before you want to cook if possible.
What if I’ve been using my Blackstone without seasoning?
Don’t worry—it’s never too late. Clean off any rust or buildup, then start the seasoning process fresh. Your griddle will catch up quickly. The first few cooking sessions after seasoning might seem slow, but the surface improves rapidly as you build those protective layers.
Related Posts

How Long to Boil Lobster Tails: Cooking Guide

How Long to Fly from New York to London? Travel Times
