
Crispy Rice Recipe: Chef-Approved Steps
Crispy Rice Recipe: Chef-Approved Steps for Perfect Results
Crispy rice is a versatile culinary staple that transforms simple grains into a delightfully crunchy texture perfect for garnishes, snacks, or standalone dishes. Whether you’re preparing crispy rice treats, Asian-inspired bowls, or gourmet plating elements, mastering the technique requires understanding moisture control, heat management, and timing. This comprehensive guide walks you through chef-approved methods to achieve consistently crispy rice every single time.
The key to perfect crispy rice lies in removing moisture, applying proper heat, and understanding your rice variety. Different cooking methods produce varying results, from stovetop frying to oven-baking techniques. Professional chefs have perfected these methods through years of experimentation, and we’re sharing their secrets so you can replicate restaurant-quality results in your own kitchen.
Understanding Rice Types for Crispy Results
Not all rice varieties crisp equally. Short-grain rice contains more starch and tends to clump, making it ideal for certain applications. Long-grain white rice offers superior crispness due to lower starch content and individual grain separation. Jasmine and basmati rice varieties produce excellent results because they maintain their structure during cooking and frying.
Brown rice requires longer cooking times and contains more oils, which can affect crispness differently than white varieties. Arborio rice, traditionally used for risotto, contains excessive starch and won’t achieve the desired crispness you’re targeting. For optimal results, professional chefs recommend using long-grain white rice, jasmine rice, or basmati varieties. When you’re making caramel popcorn or other crispy snacks, similar principles about grain selection apply.
The age of rice matters significantly. Older rice (stored for 6-12 months) has lower moisture content and crisps more easily than fresh rice. Many Asian markets specifically sell aged rice for this reason. If using fresh rice, plan extra drying time to achieve comparable results.
Preparation and Moisture Removal
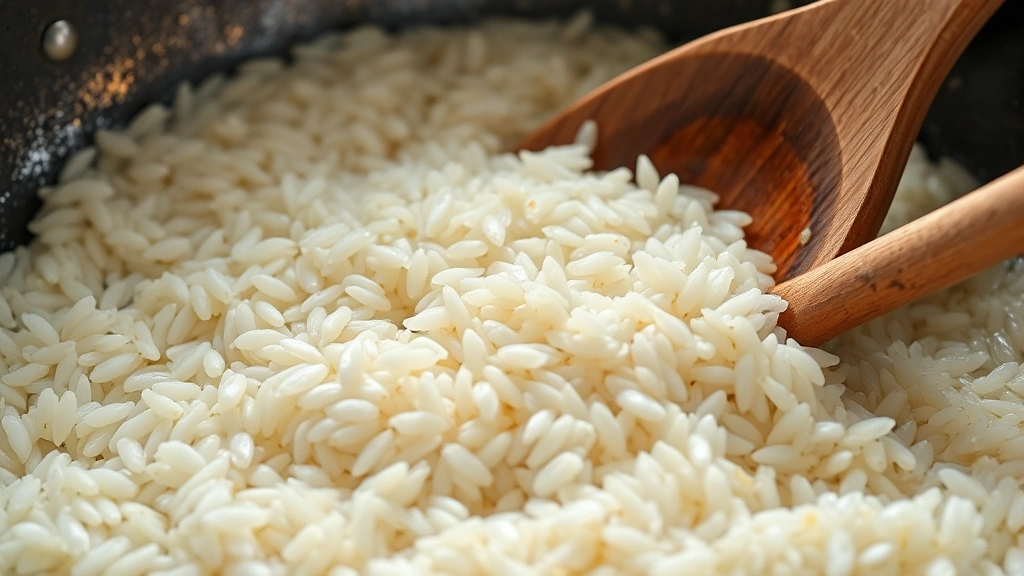
Moisture is the enemy of crispness. Begin by rinsing your rice thoroughly under cold water to remove excess starch, which improves individual grain separation. Use a fine-mesh strainer and rinse until the water runs clear. This step prevents clumping and promotes even cooking.
After rinsing, spread rice on a clean kitchen towel or paper towels in a single layer. Allow it to air-dry for 15-30 minutes at room temperature. For faster drying, place rice in a low oven (200°F) for 10-15 minutes, stirring occasionally. The goal is reducing moisture content to approximately 10-12% before cooking.
Some chefs use a dehydrator set to 135°F for 20-30 minutes for precise moisture control. This method works exceptionally well if you’re preparing large batches. Another professional technique involves spreading dried rice on a baking sheet and placing it in a 250°F oven for 5 minutes before cooking, which further reduces residual moisture.
Never skip this preparation phase. Properly dried rice crisps in minutes, while wet rice becomes chewy or soggy regardless of cooking method. This foundational step separates amateur attempts from chef-quality results.
Stovetop Frying Method
The stovetop method offers excellent control and produces consistently crispy rice. Heat 2-3 tablespoons of neutral oil (vegetable, canola, or peanut oil) in a large skillet or wok over medium-high heat. Wait until the oil shimmers and reaches approximately 350°F—test by dropping a single grain of rice into the oil; it should sizzle immediately without burning.
Add your prepared rice gradually, spreading it across the hot surface. Avoid overcrowding the pan; work in batches if necessary. The rice should make immediate contact with the hot oil and begin crisping within 30-60 seconds. Stir constantly using a wooden spoon or spatula, breaking up any clumps.
Continue cooking for 3-5 minutes total, stirring frequently. The rice should transition from white to golden-brown as it crisps. Listen for the distinctive crackling sound—this auditory cue indicates proper moisture evaporation and crisping. Remove rice from heat when it reaches light golden color; it continues crisping slightly as it cools.
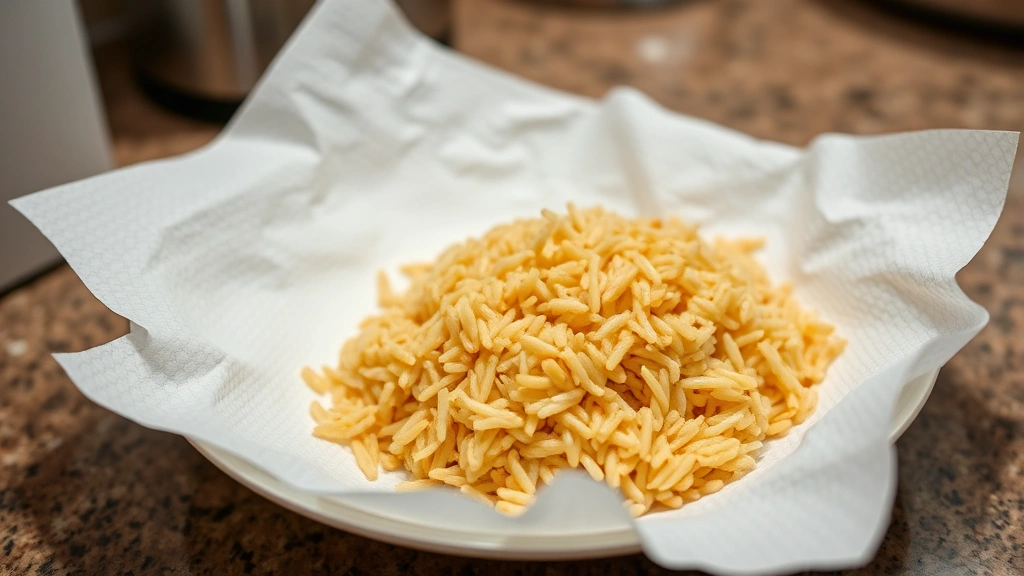
Transfer finished rice to a paper towel-lined plate immediately to absorb excess oil and cool. Spread it in a single layer for even cooling and to prevent steam from re-moistening the rice. Professional chefs emphasize this cooling step as crucial for maintaining crispness.
The stovetop method works beautifully for smaller batches (2-4 cups cooked rice) and allows real-time texture monitoring. It’s ideal for immediate use in dishes like crispy rice treats or as garnishes.
Oven-Baking Technique
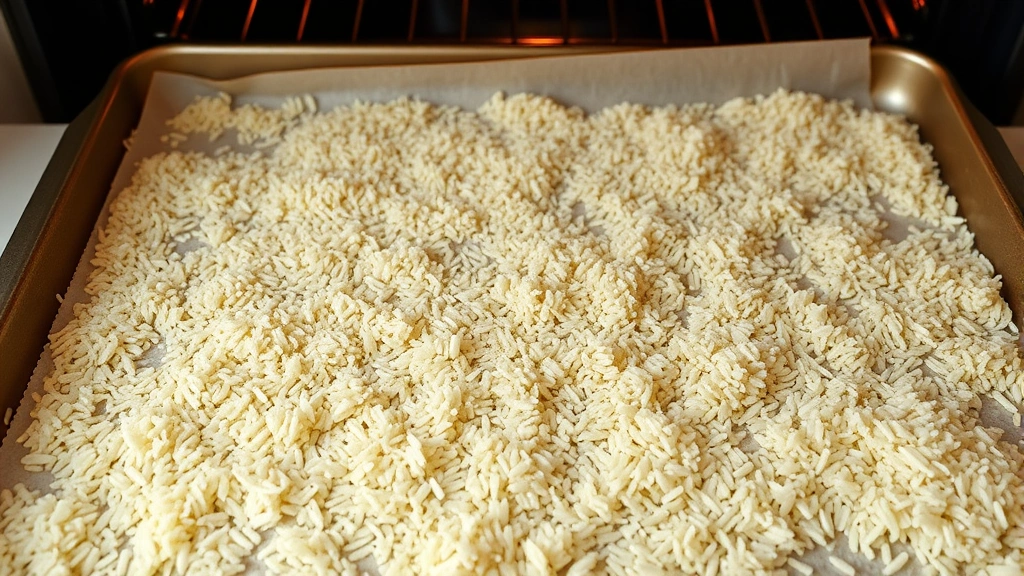
For larger quantities and hands-off cooking, oven-baking delivers impressive results. Preheat your oven to 325°F and line a large baking sheet with parchment paper. Spread prepared, dried rice in a thin, even layer—no more than ½-inch thick.
Drizzle rice lightly with oil (approximately 1 tablespoon per 2 cups rice) and toss gently to coat every grain. Excessive oil creates greasiness rather than crispness; use restraint. Spread rice back into a single layer and place in the preheated oven.
Bake for 15-25 minutes, stirring every 5 minutes to ensure even cooking and prevent burning. The rice should gradually turn from white to pale golden. Professional chefs monitor this process carefully, as oven temperatures vary. Start checking at the 12-minute mark.
Remove rice when it reaches light golden color and listen for the crackling sound as you stir. The rice will continue crisping as it cools, so avoid over-baking. Transfer to a cooling rack or paper towel-lined plate immediately.
This method works exceptionally well when preparing crispy rice for clear ice decorative presentations or large-batch snack production. The oven’s consistent heat distributes evenly, producing uniform crispness throughout.
Deep-Frying for Maximum Crispness
Deep-frying produces the crispiest texture possible and is the method used in professional kitchens for premium results. Heat 2-3 inches of neutral oil in a heavy-bottomed pot or deep fryer to exactly 350°F. Use a deep-fry thermometer for accuracy—temperature control is critical.
Working in small batches (approximately ½ cup rice per batch), carefully add dried rice to the hot oil. The rice will immediately begin frying and making crackling sounds. Use a slotted spoon or spider strainer to stir occasionally, preventing clumping and ensuring even cooking.
Fry for 2-3 minutes until rice turns light golden-brown. Remove rice with a slotted spoon and drain immediately on paper towels. The rice cools and crisps rapidly—this is the most dramatic crisping method.
Safety considerations are paramount with deep-frying. Never leave hot oil unattended, keep a fire extinguisher nearby, and never use water to extinguish oil fires. Use a splatter screen if desired to contain spattering. When you’re making butterbeer or other recipes requiring careful temperature control, similar precision applies.
Deep-fried rice achieves maximum crispness and remains crispy longer than other methods. This technique is perfect for upscale presentations or when crispness longevity matters.
Seasoning and Flavor Enhancement
Season crispy rice while still warm, as hot rice absorbs flavors more effectively. Basic salt works, but professional chefs use sophisticated seasoning blends. Try combining sea salt with white pepper, garlic powder, or dried herbs.
For Asian-inspired variations, mix salt with toasted sesame seeds, nori powder, or furikake seasoning. Lime zest and chili powder create vibrant Latin-inspired flavors. Parmesan cheese and Italian herbs offer Mediterranean appeal.
Apply seasonings immediately after cooling begins, before rice completely hardens. Use your fingers to sprinkle evenly across the surface, tossing gently to distribute. Avoid liquid seasonings like soy sauce or fish sauce, which reintroduce moisture and compromise crispness.
For sweet applications, toss warm crispy rice with melted butter and brown sugar, or drizzle with honey and sprinkle with cinnamon. These options work beautifully for dessert presentations or breakfast applications.
Storage and Maintenance
Crispy rice’s greatest challenge is maintaining crispness during storage. Cool rice completely before transferring to airtight containers. Room-temperature storage works best; refrigeration introduces condensation that softens rice.
Store in glass containers with tight-sealing lids or food-grade plastic containers with removable air-tight seals. Silica gel packets placed in containers absorb ambient moisture and extend crispness. Replace packets every 3-4 days if long-term storage is needed.
Properly stored crispy rice maintains optimal texture for 3-5 days at room temperature. For longer storage, freeze in airtight containers for up to 3 months. Thaw at room temperature and briefly refresh in a 300°F oven for 3-5 minutes if crispness diminishes.
Never store warm rice in sealed containers, as trapped steam re-moistens the rice and creates chewy texture. Always allow complete cooling before sealing.
Troubleshooting Common Issues
If rice isn’t crisping properly, moisture is the culprit. Extend the initial drying phase and ensure oil temperature reaches 350°F minimum. Cooler oil produces greasy rather than crispy results.
Burnt rice indicates excessive heat or cooking duration. Lower temperature by 25°F and reduce cooking time by 1-2 minutes. Burnt rice is salvageable if only edges are affected—break into smaller pieces and use as garnish.
Chewy rice suggests insufficient drying before cooking or reabsorption of moisture during cooling. Implement longer drying times and ensure rice cools uncovered in a single layer.
Uneven crispness indicates inconsistent heat distribution or overcrowding during cooking. Work in smaller batches and stir more frequently. Ensure rice spreads in a single layer, not piled.
Greasy rice results from excessive oil or insufficient heat. Reduce oil quantity and verify temperature with a thermometer. Pat finished rice with paper towels to remove excess oil.
Visit This Old House for additional kitchen techniques, or check Family Handyman for comprehensive home cooking guidance. The FixWiseHub Blog offers additional recipe resources and cooking tips.
FAQ
How long does crispy rice stay crispy?
Properly stored crispy rice maintains optimal crispness for 3-5 days at room temperature in airtight containers. Exposure to air or humidity softens rice gradually. For extended storage, freeze for up to 3 months and refresh before serving.
Can I use leftover cooked rice?
Yes, but results differ from using uncooked rice. Leftover rice contains more moisture and requires thorough drying before cooking. Spread on baking sheets and dry in a 200°F oven for 20-30 minutes before proceeding with your chosen cooking method.
What oil temperature is ideal?
Professional chefs recommend 350°F for optimal results. This temperature is hot enough for rapid moisture evaporation and crisping without burning. Use a deep-fry thermometer for accuracy—variations of even 25°F significantly impact results.
Can I make crispy rice without oil?
Air-frying produces crispy rice with minimal oil. Preheat an air fryer to 375°F, add lightly dried rice in a single layer, and cook for 8-10 minutes, shaking the basket every 3 minutes. Results are nearly as crispy as deep-fried rice with significantly less oil.
Why does my rice clump together?
Insufficient rinsing before drying leaves excess starch that causes clumping. Rinse rice thoroughly under cold water until water runs clear. Additionally, ensure rice is completely dry before cooking, as any residual moisture promotes sticking.
Is white rice better than brown rice for crispness?
Yes, white rice crisps more effectively due to lower starch and oil content. Brown rice’s outer bran layer and higher oil content produce different texture characteristics. For maximum crispness, use long-grain white rice or jasmine varieties.
Can I season rice before cooking?
Liquid seasonings like soy sauce or fish sauce should be avoided before cooking, as they reintroduce moisture. Dry seasonings like salt, spices, and herbs can be mixed in before cooking or applied immediately after cooling begins for best flavor absorption.
What’s the difference between crispy and crunchy rice?
Crispy rice shatters delicately when bitten, producing fine texture. Crunchy rice maintains more structural integrity and produces louder, more pronounced sounds. Both terms describe similar textures, though professional chefs distinguish based on specific applications and desired mouthfeel.
Related Posts

Superscript in Google Docs: Expert Tips

Strikethrough in Excel: Easy Steps for Beginners
