

Freeze Excel Columns: Expert Tips & Tricks
How to Freeze a Column in Excel: Expert Tips & Tricks
Working with large spreadsheets can be overwhelming, especially when you need to reference column headers or important data while scrolling through hundreds of rows. One of the most powerful features Excel offers is the ability to freeze columns, which keeps specific columns visible on screen while you navigate through the rest of your data. This feature is essential for anyone managing complex datasets, financial reports, or inventory lists.
Whether you’re a spreadsheet novice or an experienced data analyst, mastering the freeze panes feature will dramatically improve your productivity and reduce errors caused by losing track of which row or column you’re viewing. In this comprehensive guide, we’ll walk you through every method to freeze columns in Excel, explore advanced techniques, and share professional tips to optimize your workflow.
Understanding Freeze Panes in Excel
Before diving into the mechanics of freezing columns, it’s important to understand what freeze panes actually does and why it’s so valuable. When you freeze a column or row, Excel creates a visual divider that keeps that section locked in place while the rest of the spreadsheet scrolls freely. This is particularly useful when working with large datasets and complex spreadsheets where headers and identifiers need to remain visible at all times.
The freeze panes feature works by creating a split in your worksheet. Anything to the left of the frozen column or above the frozen row remains stationary, while everything else scrolls normally. This prevents the common frustration of losing track of what data you’re viewing, especially in financial reports or inventory management systems where accuracy is critical.
Excel’s freeze functionality is available in virtually all modern versions, including Excel 2019, Excel 2021, Microsoft 365, and even Excel Online. The process is straightforward once you understand the basic principles, and mastering this skill will save you countless hours of manual navigation and reference checking.
How to Freeze a Single Column
Freezing a single column is the most common use case and the easiest to execute. Follow these step-by-step instructions:
- Open your Excel spreadsheet and locate the column you want to freeze. Typically, this is the first column containing identifiers, names, or reference numbers.
- Click on the column header letter of the column immediately to the right of the column you want to freeze. For example, if you want to freeze column A, click on the column B header.
- Navigate to the View tab in the Excel ribbon at the top of your screen.
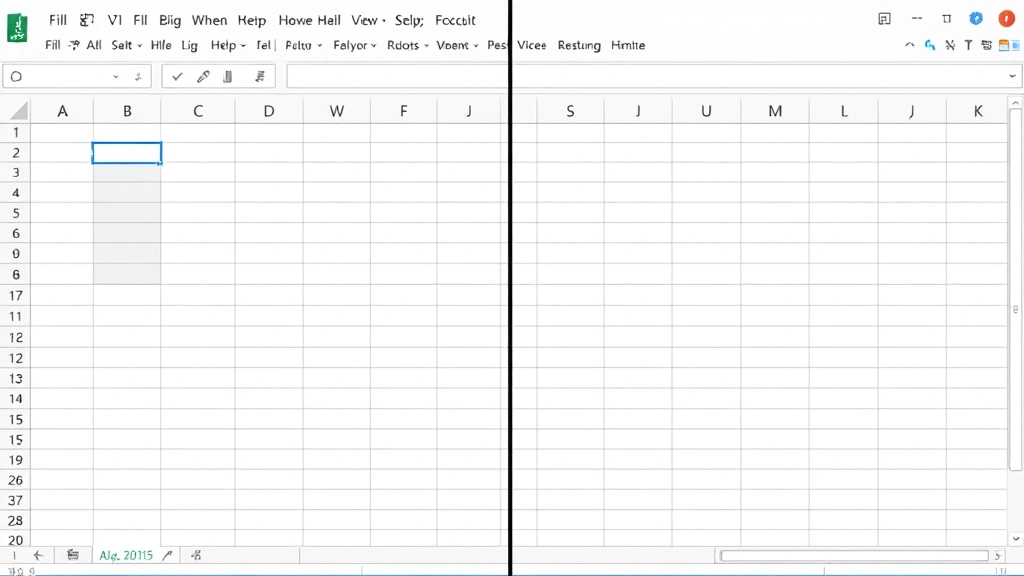
- Click on “Freeze Panes” and select “Freeze Panes” from the dropdown menu. The first option will freeze everything to the left of your selected column.
- Verify the freeze by scrolling horizontally. You should see a thin line indicating where the freeze occurs, and column A should remain visible while other columns scroll.
This method works perfectly for spreadsheets where you need to keep an ID column, product name column, or employee name column visible while reviewing data in other columns. The freeze persists even when you save and close the file, so your colleagues will see the same frozen view when they open the document.
Freezing Multiple Columns
Sometimes a single column isn’t enough. Many professional spreadsheets require freezing multiple columns to maintain context. Here’s how to freeze more than one column:
- Identify all columns you want to keep visible. For instance, you might want to freeze columns A, B, and C in a customer database containing ID, Name, and Account Number.
- Click on the first cell of the column immediately to the right of your last frozen column. If freezing columns A, B, and C, click on cell D1.
- Go to the View tab and select “Freeze Panes” from the dropdown menu.
- Test your freeze by scrolling right. All columns to the left of your selection should remain fixed in place.
When freezing multiple columns, remember that Excel freezes everything to the left of your selected cell. This means if you want columns A through D frozen, you must click on cell E1 before applying the freeze. The visual indicator (a slightly thicker border line) will show exactly where the freeze boundary is located.
Professional tip: When working with complex data management tasks, consider limiting frozen columns to the essential reference information. Too many frozen columns can actually reduce productivity by leaving less screen space for the data you’re actively reviewing.
Freezing Both Rows and Columns
Advanced spreadsheet users often need to freeze both rows and columns simultaneously. This is particularly common in financial modeling, inventory tracking, and data analysis where you need both column headers and row identifiers to remain visible. Here’s the process:
- Select the cell at the intersection of where you want your freeze to occur. For example, if you want to freeze row 1 and columns A-B, click on cell C2.
- Open the View tab in the ribbon menu.
- Click “Freeze Panes” and select the first option (“Freeze Panes”) from the dropdown.
- Verify by scrolling both horizontally and vertically. You should see the frozen rows and columns remain stationary while the rest of the data scrolls.
This dual-freeze approach is invaluable when creating master data lists, financial statements, or any spreadsheet with significant dimensions. Imagine a quarterly sales report with months across the top and product categories down the side—freezing both ensures you always know which product and which month you’re viewing, eliminating confusion and potential errors.
Advanced Freeze Techniques
Unfreezing Columns
When you need to remove a freeze, the process is equally simple. Navigate to the View tab and click “Freeze Panes,” then select “Unfreeze Panes.” This removes all active freezes in your worksheet and returns to normal scrolling behavior. You can do this even if you’ve frozen both rows and columns—one “Unfreeze” command removes everything.
Adjusting Frozen Sections
If you’ve frozen the wrong columns or need to adjust your freeze, simply unfreeze and start over. Excel doesn’t allow partial adjustments to an existing freeze; you must remove the current freeze and create a new one. This is actually beneficial because it prevents accidental modifications to your freeze settings.
Split View vs. Freeze Panes
Excel also offers a “Split” feature, which is different from Freeze Panes. While both allow you to view different parts of your spreadsheet simultaneously, Split creates moveable dividers that scroll with your data, whereas Freeze Panes keeps sections stationary. For most users, Freeze Panes is more appropriate, but Split can be useful for comparing data side-by-side.
Using Freeze Panes in Excel Online
If you’re using Excel Online or Excel for Mac, the process is nearly identical. Navigate to the View menu, find Freeze Panes, and follow the same selection procedures. The main difference is that some menu options may be arranged slightly differently depending on your device and browser.

Troubleshooting Common Issues
Freeze Panes Option Appears Grayed Out
If you can’t click the Freeze Panes option, you may have a filtered range or protected sheet. Check that your sheet isn’t password-protected and that you haven’t applied any data filters that might be restricting the feature. Remove filters temporarily if needed.
Frozen Columns Scroll When They Shouldn’t
This typically means the freeze wasn’t applied correctly. Unfreeze all panes and carefully reselect the correct cell before reapplying the freeze. Remember: click on the cell to the right of (and below) the section you want frozen.
Freeze Settings Don’t Save
Excel automatically saves freeze pane settings when you save your file. If settings aren’t persisting, ensure you’re saving the file in a proper Excel format (.xlsx or .xlsm), not as a PDF or text file. Some cloud sync delays might also cause temporary display issues.
Performance Issues with Large Frozen Sections
Freezing very large sections of your spreadsheet can occasionally cause minor performance lag, especially with thousands of rows of data. If you experience slowdowns, try limiting your frozen columns to essential reference information only.
Best Practices for Spreadsheet Management
To maximize the effectiveness of freeze panes in your workflow, follow these professional best practices:
- Freeze strategically: Only freeze the columns and rows that contain essential reference information. Too many frozen sections reduce your available viewing area.
- Document your structure: When sharing spreadsheets with colleagues, include instructions about which sections are frozen and why, especially if you’re freezing both rows and columns.
- Use consistent formatting: Make frozen sections visually distinct using background colors or borders so users immediately recognize what’s stationary.
- Test before sharing: Always verify your freeze settings work correctly before distributing the file to others. Open it fresh and scroll through to confirm everything works as intended.
- Combine with other features: Freeze panes works beautifully alongside other Excel features like data validation and conditional formatting to create powerful, user-friendly spreadsheets.
- Consider your audience: If users are unfamiliar with freeze panes, they might be confused by the seemingly immobile columns. Provide guidance or create a template they can reference.
- Regular updates: If you frequently modify your spreadsheet structure, periodically review whether your current freeze settings still make sense for your data.
Professional spreadsheet designers understand that freeze panes is more than just a convenience feature—it’s a critical tool for data accuracy and user experience. When implemented correctly, it prevents costly errors and significantly improves workflow efficiency across teams and departments.
For those managing large-scale data operations, combining freeze panes with other Excel features like proper data organization techniques creates a comprehensive system for managing complex information. Whether you’re building financial models, tracking inventory, or analyzing customer data, mastering freeze columns is an essential skill that pays dividends throughout your career.
FAQ
Can I freeze more than four columns?
Yes, absolutely. Excel allows you to freeze as many columns as you want. Simply click on the cell in the column immediately to the right of your last frozen column, then apply the freeze. The limitation is practical rather than technical—freezing too many columns reduces your viewing area for actual data.
What’s the difference between freezing and splitting?
Freezing keeps a section stationary while the rest scrolls. Splitting creates two independent scrollable panes. Freeze Panes is typically more useful for keeping headers visible, while Split is better for comparing distant sections of the same data.
Will my freeze settings transfer if I share the file?
Yes, freeze pane settings are saved within the Excel file itself. When you share the spreadsheet with colleagues, they’ll see the same frozen columns and rows you set up, assuming they open it in Excel or a compatible program.
Can I freeze columns in Google Sheets?
Google Sheets has a similar feature called “Freeze” under the View menu. The process is nearly identical to Excel, though the interface looks slightly different. You select rows or columns and click View > Freeze to apply the same functionality.
How do I freeze panes in Excel for Mac?
The process is the same: go to View, click Freeze Panes, and select your desired option. Mac versions of Excel have the same freeze functionality as Windows versions, with only minor menu layout differences.
Is there a keyboard shortcut for freezing columns?
Excel doesn’t have a built-in keyboard shortcut for freeze panes, though you can create custom shortcuts through Excel’s macro system. For most users, the View menu method is the quickest approach.
What happens to frozen columns when I sort or filter data?
Frozen columns remain frozen during sorting and filtering operations. The data within those columns sorts along with the rest of your spreadsheet, but the columns themselves stay in their frozen position on screen.
Can I print a spreadsheet with frozen columns?
Yes, but be aware that Excel’s print settings may not honor your freeze panes exactly as they appear on screen. Test your print preview before printing to ensure frozen columns appear as intended in your printed output.
Related Posts

Superscript in Google Docs: Expert Tips

Strikethrough in Excel: Easy Steps for Beginners
