
How to Flush a Water Heater: Expert Guide
How to Flush a Water Heater: Expert Guide to Extending Tank Life
Your water heater works quietly in the background, delivering hot showers and clean dishes without much fanfare. But like any hardworking appliance, it needs regular maintenance to perform at its best. Over time, sediment and mineral deposits accumulate at the bottom of your tank, reducing efficiency, increasing energy costs, and potentially shortening the lifespan of your unit. Flushing your water heater annually is one of the most effective preventive maintenance tasks you can perform—and surprisingly, it’s something most homeowners can handle themselves.
Think of flushing your water heater like changing your car’s oil. Just as checking engine oil keeps your vehicle running smoothly, draining sediment keeps your water heater efficient and reliable. The process might sound intimidating, but with the right preparation and clear instructions, you’ll have it done in about an hour.
In this guide, we’ll walk you through everything you need to know about flushing your water heater, from preparation to completion. Whether you’re dealing with a conventional tank or preparing for a more complex system overhaul, you’ll find the expertise and confidence to tackle this project yourself.
Why Flushing Your Water Heater Matters
Water contains minerals like calcium and magnesium. When you heat water, these minerals settle to the bottom of your tank as sediment. This buildup is more pronounced in areas with hard water, where mineral content is naturally higher. Over months and years, this sediment layer thickens, creating several problems.
First, sediment acts as an insulator between the heating element and your water. Your heater has to work harder to reach the desired temperature, consuming more energy and driving up your utility bills. Second, the sediment can cause corrosion and deterioration of the tank itself. Third, sediment can accumulate around the drain valve, making future maintenance difficult or impossible. In worst-case scenarios, heavy sediment buildup contributes to tank failure and expensive replacement costs.
Regular flushing removes this buildup before it becomes problematic. Most manufacturers recommend flushing your water heater at least once annually, though homes with harder water might benefit from flushing twice yearly. This simple maintenance task can extend your tank’s life by several years and keep your energy bills in check.
Signs Your Water Heater Needs Flushing
Some telltale indicators suggest your water heater is due for a flush:
- Discolored or rusty water: If your hot water appears brown, yellow, or reddish, sediment has likely accumulated significantly
- Strange noises: Popping, crackling, or rumbling sounds indicate sediment buildup heating and shifting
- Reduced hot water supply: Your tank holds less usable hot water when sediment occupies space
- Longer heating times: Your water takes noticeably longer to reach desired temperature
- Leaks around the drain valve: Sediment can prevent the valve from sealing properly
- Higher energy bills: Increased utility costs suggest your heater is working inefficiently
If you’re experiencing any of these issues, flushing should be your first troubleshooting step. It’s far simpler and cheaper than replacing a water heater or dealing with unexpected leaks.
Tools and Materials You’ll Need
Gather these items before starting your project:
- Bucket: A 5-gallon bucket to catch water (you might need multiple buckets)
- Garden hose: Long enough to reach from your drain valve to a drain or outside
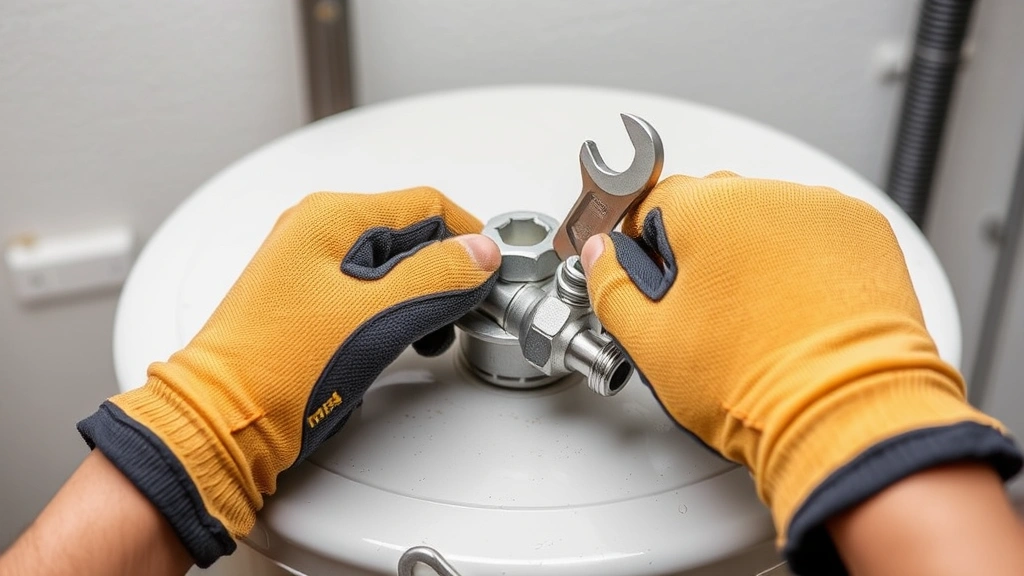
- Adjustable wrench: For loosening connections if needed
- Screwdriver set: For various fasteners
- Towels or rags: To absorb spills
- Work gloves: To protect your hands from hot water
- Safety glasses: To protect your eyes from splashing
- Flashlight: To see clearly, especially if your heater is in a dark basement
- Vinegar (optional): For stubborn sediment in the drain valve
- Cleaning brush (optional): For cleaning the drain valve if it becomes clogged
Having everything ready before you start prevents frustrating mid-project trips to the hardware store. This preparation step is similar to how you’d organize materials before tackling other home maintenance tasks—much like the preparation involved in changing transmission fluid in your vehicle.
Preparation Steps
Proper preparation ensures the process goes smoothly and safely. Start by locating your water heater’s power source. For electric units, turn off the breaker at your electrical panel. For gas units, set the thermostat to the pilot setting or turn off the gas supply valve. Wait at least 30 minutes for the water inside to cool enough to handle safely—you don’t want to work with scalding hot water.
Next, locate the cold water inlet valve at the top of your heater (usually labeled with blue). Turn this valve clockwise to shut off cold water supply to the tank. You should turn it until it stops naturally; don’t force it or you might damage the valve.
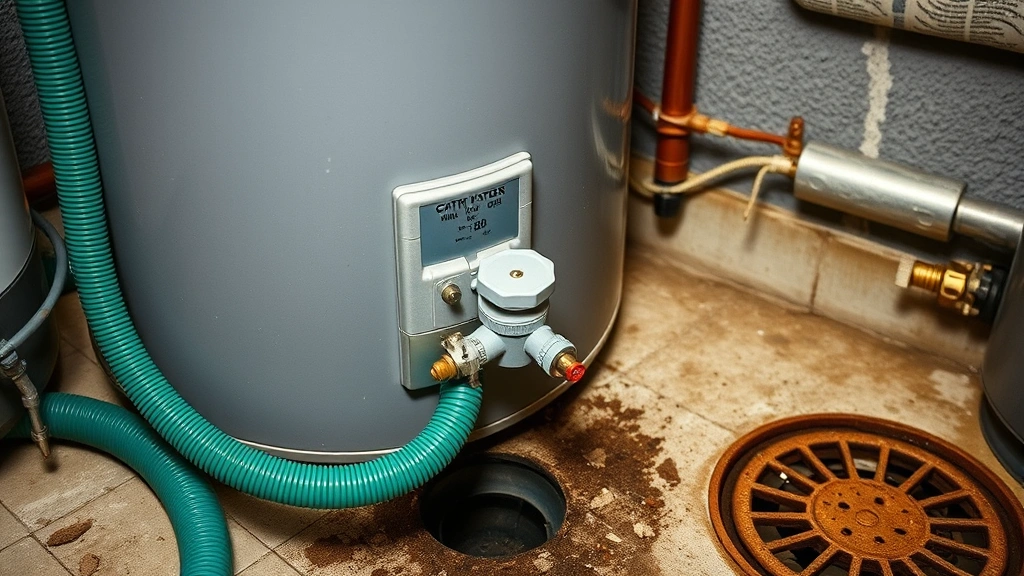
Now locate the drain valve, typically found near the bottom of the tank. This is where water will exit. Attach your garden hose to the drain valve. If you don’t have a hose, you’ll need to use buckets, but a hose makes the process much neater. Direct the hose toward a floor drain, basement drain, or outside where the water can safely drain.
Open a hot water tap somewhere in your home—a sink or shower works fine. This allows air to enter the tank as water drains, preventing a vacuum that would slow drainage. Leave this tap open throughout the flushing process.
Let the water cool for about 30 minutes before proceeding. This is non-negotiable for safety. Testing the temperature at a nearby tap confirms it’s safe to work with.
The Flushing Process Step-by-Step
Step 1: Open the Drain Valve
Slowly open the drain valve by turning the handle counterclockwise. Start slowly because the initial water that comes out might be quite hot. If the valve is stuck, apply some penetrating oil and wait a few minutes before trying again. Never force a stuck valve—you could damage it permanently. Sometimes gentle rocking motions work better than brute force.
Step 2: Let Water Drain
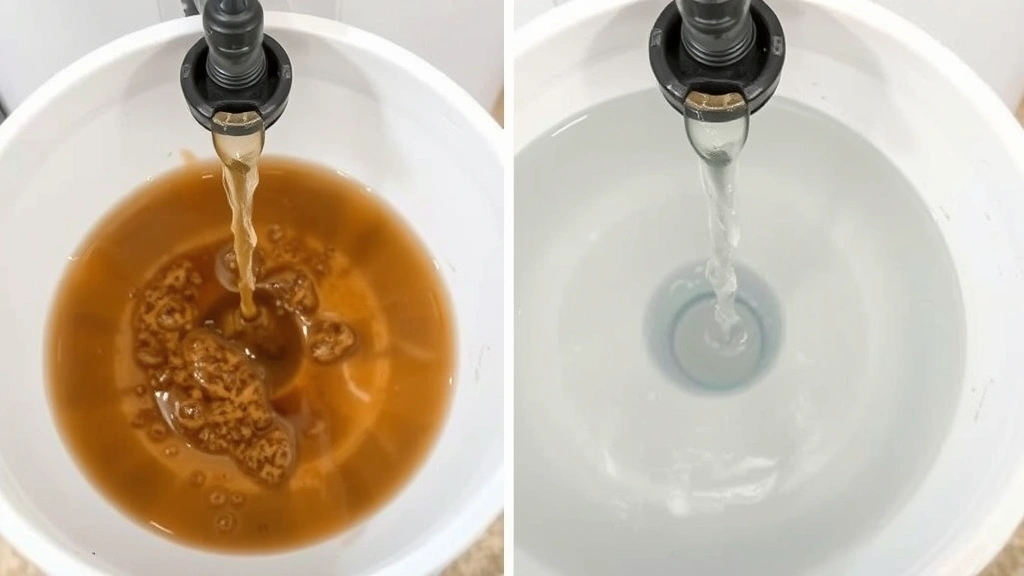
Allow water to flow through the hose for several minutes. Initially, you’ll see sediment-filled water that looks cloudy or discolored. Continue draining until the water runs relatively clear. This can take anywhere from 15 to 45 minutes depending on sediment buildup. Don’t rush this stage; thorough draining is what actually accomplishes the flushing.
Step 3: Check the Drain Valve
If water stops flowing or slows to a trickle before you’ve drained most of the tank, sediment might be clogging the drain valve. Close the valve and try flushing it by opening it again with more force, or use a small brush or wire to clear any debris. Some homeowners soak the valve area with vinegar to dissolve mineral deposits. If the valve remains stuck, you may need to replace it—a relatively inexpensive part that’s worth having on hand.
Step 4: Refill the Tank
Once you’ve drained the tank sufficiently, close the drain valve. Now turn the cold water inlet valve counterclockwise to reopen it. You’ll hear water entering the tank. Leave the hot water tap open in your home so air can escape as the tank refills. You should see water flowing from that tap, and eventually it will run clear as the tank fills completely.
Step 5: Restore Power and Settings
For electric water heaters, flip the breaker back on once the tank is full. For gas units, return the thermostat to your desired temperature setting or turn the gas back on. If you turned off the gas supply valve, reopen it. Allow 30-45 minutes for the water to reheat before testing.
Step 6: Test Your System
Check a hot water tap to confirm everything is working properly. The water should run hot as usual. If you notice any leaks around connections or the drain valve, tighten them gently. If leaks persist, you might need to replace a valve seal or fitting.
What to Do After Flushing
After successfully flushing your water heater, you might notice improvements immediately. Water should be clearer, heating should be faster, and you might hear fewer strange noises. Some homeowners report noticing energy bill reductions within the first month after flushing, particularly if their heater had significant sediment buildup.
Mark your calendar to repeat this process in 12 months. For homes with especially hard water, consider flushing every six months. Keeping a maintenance log helps you stay on track and provides valuable information if you ever need to troubleshoot issues or speak with a plumber.
If you encounter problems during flushing—such as valves that won’t open or close, persistent leaks, or an inability to drain the tank—don’t hesitate to call a professional plumber. Attempting to force stuck components could cause damage requiring expensive repairs. A service call is far less costly than replacing your entire water heater.
Regular flushing pairs well with other home maintenance routines. Just as you’d maintain your plumbing by learning how to unclog a shower drain or keeping your dishwasher clean, water heater maintenance is part of responsible home ownership. These preventive measures collectively protect your home’s systems and save money long-term.
Safety Considerations
Water heaters operate at temperatures around 120-140°F (49-60°C), hot enough to cause serious burns. Never rush the cooling period before starting work. If you’re unsure whether water has cooled sufficiently, test it carefully with your hand or a thermometer before proceeding.
Always ensure proper ventilation, especially with gas water heaters. Never block or obstruct air vents. If you detect a gas smell at any point, stop immediately and contact your gas company—don’t attempt to troubleshoot further.
Wear safety glasses and gloves throughout the process. Even though you’ve allowed the water to cool, unexpected splashing can occur. Work in a well-lit area, and don’t hesitate to use a flashlight to see clearly.
If your water heater is in an attic or confined space, ensure adequate ventilation and be aware of your surroundings. Falls and head injuries are common in tight spaces. Take your time and work carefully.
For those comfortable with electrical work and interested in learning more about home systems, understanding how to wire a 3 way switch provides insight into your home’s electrical infrastructure, though water heater flushing doesn’t require this knowledge.
If you’re working on an older home or have concerns about your specific water heater model, consult the manufacturer’s instructions or contact a professional. Different heater models sometimes have unique requirements or considerations.
Frequently Asked Questions
How often should I flush my water heater?
Most manufacturers recommend annual flushing. If you live in an area with hard water (high mineral content), consider flushing twice yearly. Monitoring your water quality and heater performance helps you determine the ideal schedule for your specific situation.
Can I flush my water heater without turning off the power?
No. Always turn off the power supply before flushing. For electric heaters, flip the breaker. For gas heaters, set the thermostat to pilot or turn off the gas valve. This prevents the heating element from activating while the tank is empty or partially empty, which can damage it.
What if my drain valve won’t open?
Apply penetrating oil and wait 15-20 minutes. Try opening it again with gentle, steady pressure. If it still won’t budge, don’t force it—you risk breaking the valve. In this case, you may need to replace the drain valve, which is a relatively simple repair. Contact a plumber if you’re uncomfortable doing this yourself.
How long does flushing take?
Plan for 1-2 hours total, including cooling time, draining, refilling, and reheating. The actual active work takes about 30-45 minutes, but you’ll spend time waiting for water to cool and heat.
Will flushing fix all my water heater problems?
Flushing addresses sediment-related issues like discolored water, noise, and reduced efficiency. However, if your heater has other problems—like a failed heating element or thermostat issues—flushing won’t fix those. If problems persist after flushing, contact a professional.
Is it normal for water to look discolored after flushing?
Yes, initially. The first water from the tap after flushing might appear slightly discolored as remaining sediment particles clear the lines. This should clear within a few hours. If discoloration persists for days, you might have a different issue requiring professional attention.
Can I flush my tankless water heater the same way?
No. Tankless water heaters require a different flushing procedure involving descaling solution and special equipment. Consult your manufacturer’s instructions or hire a professional for tankless heater maintenance.
What should I do with the water that drains from my heater?
The drained water typically goes down a floor drain or outside through a garden hose. Check local regulations regarding disposal, though in most cases, this water is safe to drain normally. If the water appears heavily contaminated or you have concerns, contact your local water utility for guidance.
Related Posts

How Long to Boil Lobster Tails: Cooking Guide

How Long to Fly from New York to London? Travel Times
