
How to Descale Keurig with Vinegar: Expert Guide
How to Descale Keurig with Vinegar: Expert Guide
Your Keurig coffee maker has become your morning ritual, that faithful machine that delivers a perfect cup in seconds. But lately, you’ve noticed the brew tastes slightly off, or perhaps the machine takes longer to dispense your coffee. Welcome to the world of mineral buildup—a silent saboteur that affects millions of coffee lovers annually. The good news? Descaling your Keurig with vinegar is one of the simplest, most cost-effective maintenance tasks you can perform, and we’re about to walk you through it like a pro.
Mineral deposits accumulate inside your Keurig whenever you use tap water, which contains calcium and magnesium. Over time, these minerals create scale buildup that reduces efficiency, affects water temperature, and can even damage internal components. The beauty of vinegar is that it’s acidic enough to dissolve these deposits without harming your machine, and it costs mere pennies compared to commercial descaling solutions.
This guide will transform you from a coffee maker novice into someone who understands exactly why descaling matters, when to do it, and how to execute the process flawlessly. Let’s brew up some knowledge.
Why Descaling Your Keurig Matters
Descaling isn’t just about maintaining your machine’s appearance—it’s about preserving its functionality and your health. When mineral deposits accumulate inside your Keurig, they create several problems. First, they reduce water flow, meaning your machine works harder and takes longer to brew. This puts unnecessary strain on the heating element and pump, potentially shortening your machine’s lifespan significantly.
Second, scale buildup affects temperature regulation. Your water might not reach optimal brewing temperature, resulting in under-extracted coffee that tastes weak or bitter. Third, these mineral deposits can harbor bacteria and mold in the harder-to-reach areas of your machine. By performing regular descaling, you’re not just improving taste—you’re ensuring your coffee is brewed safely.
The environmental benefit deserves mention too. When you maintain your Keurig properly, you extend its life by years, reducing electronic waste. Plus, using vinegar instead of commercial descalers means fewer chemicals entering our water systems.
Signs Your Keurig Needs Descaling
Your Keurig will communicate its needs if you know what to listen for. The most obvious sign is slower brewing times. If your machine used to complete a brew cycle in 90 seconds but now takes two minutes or longer, mineral buildup is likely the culprit. Another telltale indicator is the descaling alert light—many modern Keurigs have this built-in feature that illuminates when the machine detects excessive scale.
Pay attention to your coffee’s taste. If your usually delicious morning brew suddenly tastes flat, acidic, or off in any way, descaling often restores the proper flavor profile. Some users notice unusual gurgling or sputtering sounds during brewing, which indicates water struggling to flow through mineral-clogged pathways.
Discolored water or visible white particles in your cup are red flags that shouldn’t be ignored. Additionally, if you haven’t descaled in over three months, it’s time regardless of symptoms. Regular preventative descaling is far easier than troubleshooting a malfunctioning machine later. Think of it like brushing your teeth—consistent maintenance prevents major problems.
Materials You’ll Need
The beauty of vinegar descaling is its simplicity. Here’s everything you’ll gather before starting:
- White vinegar – Standard 5% acidity vinegar works perfectly. You’ll need approximately 16 ounces (one cup)
- Fresh water – Filtered or distilled water is ideal for the rinse cycles; tap water will do in a pinch
- Empty mug or cup – Must fit under your Keurig’s brew outlet to catch liquid
- Paper towels or clean cloth – For wiping down external surfaces
- Optional: small brush – A soft bottle brush helps clean the needle that punctures K-Cup pods
- Optional: descaling solution alternative – If you prefer commercial options, check out how to clean coffee maker for additional methods
That’s genuinely it. No fancy equipment required. If you want to explore other coffee brewing methods that require their own cleaning protocols, you might be interested in learning how to make French press coffee, which offers a manual alternative to pod-based brewing.
Step-by-Step Descaling Process
Step 1: Prepare Your Machine
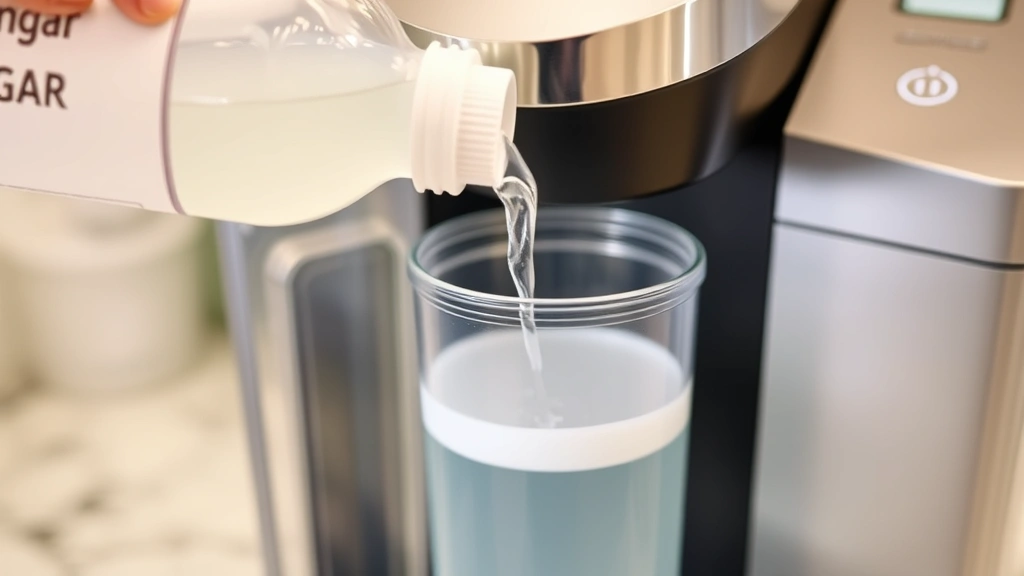
Start by powering off your Keurig and unplugging it from the electrical outlet. This is non-negotiable for safety. Remove the water reservoir and empty any remaining water. Rinse the reservoir thoroughly under running water to remove loose particles and sediment. Refill it with white vinegar—about 16 ounces is the standard amount. This concentration is strong enough to dissolve mineral deposits without damaging internal components.
Step 2: Position Your Catch Container
Place an empty mug or large cup under the brew outlet. You’ll be running liquid through your machine, and you need somewhere for it to go. Unlike regular brewing, this liquid shouldn’t go into your cup collection—it’s essentially cleaning solution mixed with dissolved minerals.
Step 3: Run the Descaling Cycle
Plug your machine back in and turn it on. Select the largest brew size available on your model. Press the brew button and allow the cycle to run completely. The vinegar will flow through the internal pathways, dissolving mineral deposits as it goes. You’ll notice the liquid coming out might appear discolored or cloudy—that’s the minerals being dissolved, which is exactly what you want to see.
Continue running brew cycles with the vinegar solution until the reservoir is empty. Most machines require 4-6 brew cycles using the full vinegar reservoir. Don’t rush this process. Let each cycle complete fully before starting the next one.
Step 4: The Waiting Period
Once you’ve run through all the vinegar, turn off your machine and let it sit for 15-30 minutes. This allows the acidic solution to penetrate stubborn mineral deposits in areas that might not have been reached during active brewing. It’s like giving your machine a spa treatment—let it relax and work its magic.
Step 5: Rinse Thoroughly
This step cannot be overstated in importance. Refill the reservoir with fresh water—preferably filtered or distilled water. Run the machine through multiple brew cycles using only water. You’re essentially flushing out all remaining vinegar and dissolved minerals. Most experts recommend running at least 4-6 water-only cycles, but some prefer 8-10 cycles to be absolutely certain no vinegar taste remains.
You’ll know you’re done rinsing when the dispensed water runs clear and smells purely like water, with no vinegar odor whatsoever. This is crucial because any remaining vinegar will affect your coffee’s taste.
Step 6: Clean the Needle
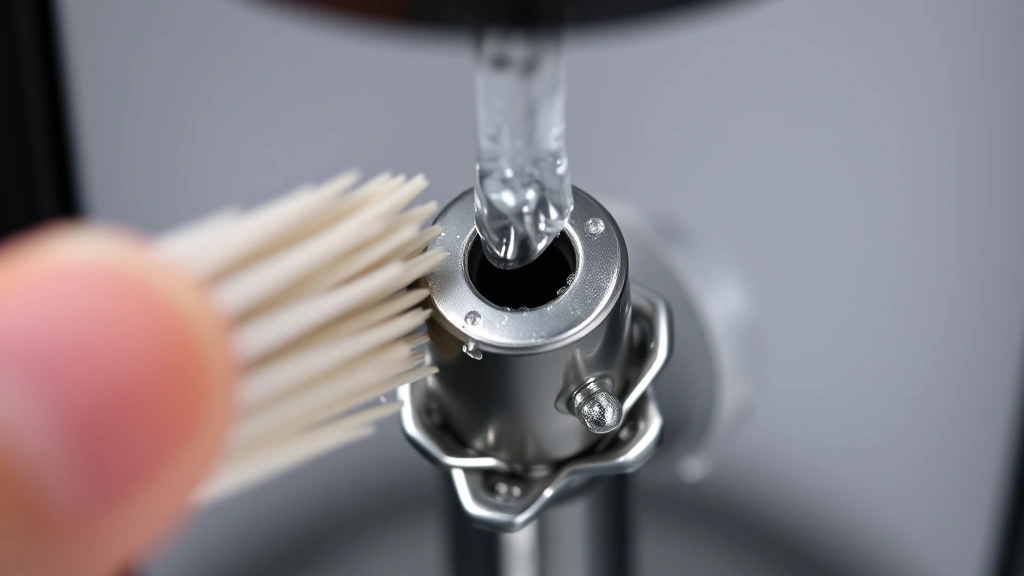
While your machine is still off, locate the exit needle—the small metal spike that punctures K-Cup pods. This area can accumulate coffee grounds and mineral deposits. Gently run a small soft brush (or even a toothpick very carefully) under running water to dislodge any debris. Some Keurig models have removable exit needles, so check your manual. Never use excessive force, as these components are delicate.
If you’re curious about alternative brewing methods that offer their own maintenance requirements, how to use a French press might interest you, as manual coffee makers have different cleaning needs but often last longer than automatic brewers.
What to Do After Descaling
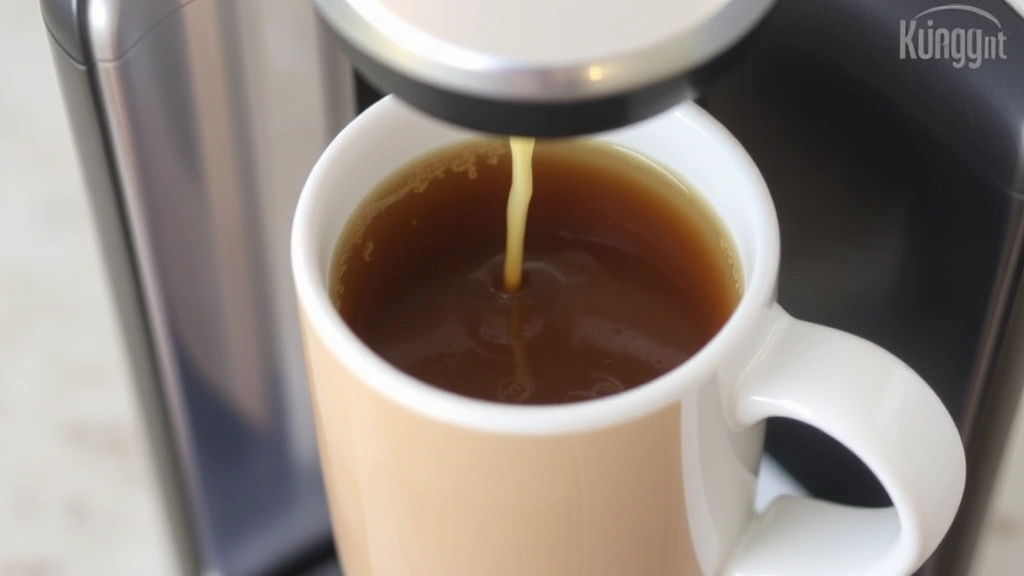
Once you’ve completed the descaling process and thoroughly rinsed your machine, it’s time to test your work. Brew your first cup post-descaling using your preferred K-Cup pod. Pay close attention to the brewing time—it should be noticeably faster than before. The flavor should taste pure and rich, without any vinegar undertones or metallic notes.
If you detect even a hint of vinegar taste, run 2-3 additional water-only cycles. This is rare after proper rinsing, but it’s better to be thorough. Some users like to brew and discard their first cup just to be safe, which is a perfectly reasonable precaution.
Clean the exterior of your machine while you’re at it. Wipe down the water reservoir, the drip tray, and the exterior casing with a damp cloth. This isn’t part of the descaling process, but it’s an excellent opportunity for overall maintenance. If you’re interested in learning about cleaning other household appliances, check out our guide on how to clean humidifier, which uses similar descaling principles.
Document Your Descaling Date
Mark your calendar or set a phone reminder for three months from today. Consistent descaling every three months (or every 150 brew cycles, whichever comes first) keeps your machine running optimally. If you live in an area with particularly hard water, you might need to descale more frequently—perhaps every 6-8 weeks.
Prevention and Maintenance Tips
Use Filtered Water
The single best way to reduce mineral buildup is using filtered water in your Keurig’s reservoir. Filtered water contains fewer minerals, meaning less scale develops over time. This one change can extend the time between descaling sessions and significantly improve your coffee’s taste. A simple pitcher filter costs just a few dollars and pays for itself through extended machine life.
Empty the Reservoir Regularly
If you don’t use your Keurig daily, empty the water reservoir after each use. Stagnant water can promote mineral precipitation and bacterial growth. Fresh water daily means a fresher machine and better-tasting coffee.
Store Properly During Extended Periods
If you’re taking an extended vacation or won’t be using your Keurig for weeks, empty the reservoir completely and run water through the system one final time before storage. This prevents mineral concentration and mold growth during dormancy.
Consider Water Hardness Testing
If you’re unsure about your water’s mineral content, pick up an inexpensive water hardness test kit from any hardware store. Understanding your water’s mineral content helps you determine optimal descaling frequency. Hard water requires more frequent maintenance.
Monitor Brew Times Regularly
Make a mental note of how long your brew cycles typically take. A sudden increase in brew time is your machine’s way of saying it needs attention. Catching this early prevents more serious issues down the line.
For those interested in exploring different coffee preparation methods that might require less frequent maintenance, how to clean retainers teaches similar gentle cleaning principles applicable to delicate coffee equipment.
External Link Resources
For additional guidance, consult This Old House’s coffee maker reviews for machine recommendations and maintenance best practices. Family Handyman offers comprehensive coffee maker cleaning guides covering various brands. Home Depot’s appliance section provides replacement parts and official cleaning solutions. Check your specific Keurig support page for model-specific recommendations and warranty information.
Frequently Asked Questions
Can I use apple cider vinegar instead of white vinegar?
While apple cider vinegar contains acidity, white vinegar is specifically recommended for descaling coffee makers. Apple cider vinegar can leave residue and affect flavor more noticeably. Stick with standard 5% white vinegar for best results and to maintain your warranty.
How often should I descale my Keurig?
Most manufacturers recommend descaling every three months or after 150 brew cycles, whichever comes first. If you have hard water or brew multiple times daily, you might need to descale every 6-8 weeks. Monitor brew times as your indicator.
Is vinegar descaling as effective as commercial descaling solutions?
Absolutely. Vinegar’s acidity effectively dissolves mineral deposits just as well as commercial solutions. The main difference is cost—vinegar costs pennies while commercial solutions run $8-15 per bottle. Both work equally well for standard mineral buildup.
Will vinegar damage my Keurig?
No. Vinegar is gentle enough for regular use and won’t harm internal components. Keurig’s official customer support acknowledges vinegar as a safe descaling method. The key is thorough rinsing afterward to prevent vinegar taste in your coffee.
What if my Keurig won’t brew after descaling?
This usually indicates incomplete rinsing or air pockets in the system. Refill the reservoir with fresh water and run 5-10 more brew cycles without a K-Cup to flush the system. If the problem persists, check that the water reservoir is properly seated and that no vinegar solution remains.
Can I descale a Keurig Mini or K-Duo using this method?
Yes. Keurig’s entire product line uses similar internal mechanisms. Use the same vinegar-to-water ratio and follow identical steps. However, smaller models like the Mini might require less vinegar—approximately 8 ounces instead of 16. Check your specific model’s manual for exact recommendations.
Is it safe to drink coffee immediately after descaling?
Only after thorough rinsing. If you’ve properly run 6-10 water-only cycles after the vinegar, your machine is safe. If you’re uncertain, brew and discard one cup before making your morning coffee.
What causes that strange smell during descaling?
The vinegar-mineral combination creates a distinctive odor as deposits dissolve. This is completely normal and indicates the descaling is working. Proper rinsing eliminates this smell entirely.
Related Posts

How Long to Boil Lobster Tails: Cooking Guide

How Long to Fly from New York to London? Travel Times
