
How to Clean a Coffee Maker: Expert Guide
How to Clean a Coffee Maker: Expert Guide to Perfect Brewing
Your morning coffee ritual depends on one essential appliance—and chances are, it’s overdue for a serious cleaning. Most people brew their coffee daily without realizing that mineral buildup, old coffee oils, and bacteria are accumulating inside their machines, gradually degrading both taste and performance. A clean coffee maker isn’t just about hygiene; it’s about preserving the integrity of your morning cup and extending the lifespan of your equipment.
The good news? Cleaning your coffee maker is straightforward, requires minimal supplies, and takes less than an hour. Whether you own a drip machine, espresso maker, or single-serve pod brewer, we’ll walk you through professional-grade cleaning methods that baristas and appliance manufacturers recommend. Think of this guide as your coffee maker’s spa day—it deserves the attention.
Regular maintenance transforms your coffee maker from a potential health hazard into a reliable brewing companion. Let’s explore exactly how to do it right.
Why Regular Cleaning Matters
Coffee makers accumulate three main culprits over time: mineral deposits, coffee residue, and mold. Hard water mineral buildup (primarily calcium and magnesium) creates a layer inside your heating element and tubes, forcing the machine to work harder and heat water less efficiently. This is similar to how you might need to descale a kettle to maintain optimal performance.
Old coffee oils oxidize and turn rancid, creating a bitter taste that no amount of fresh beans can fix. Meanwhile, the warm, damp environment inside your coffee maker is an ideal breeding ground for mold and bacteria—particularly in the water reservoir and filter basket. Studies have shown that coffee makers can harbor more bacteria than a toilet seat, a fact that should motivate immediate action.
Regular cleaning extends your machine’s lifespan, improves coffee flavor, and eliminates health risks. Most manufacturers recommend cleaning your coffee maker weekly and descaling monthly, depending on your water hardness. The investment of thirty minutes per month pays dividends in cup quality and appliance longevity.
Essential Cleaning Supplies
You probably already have most of what you need at home. Here’s the professional cleaning arsenal:
- White vinegar – Your primary descaling agent (the acidity dissolves mineral deposits)
- Baking soda – A gentle abrasive for scrubbing without scratching
- Dish soap – For degreasing coffee oils
- Water – Filtered water is ideal for rinsing
- Soft-bristled brush – For reaching tight spaces
- Clean microfiber cloths – Lint-free drying
- Pipe cleaners or thin brushes – For internal tube access
Optional but helpful: commercial coffee maker cleaning tablets designed for your specific machine type. Brands like Cafiza offer specialized formulations, though vinegar works just as effectively for most machines.
Deep Cleaning Drip Coffee Makers
Drip coffee makers are the most common household type, and they’re incredibly easy to clean thoroughly. Here’s the step-by-step process:
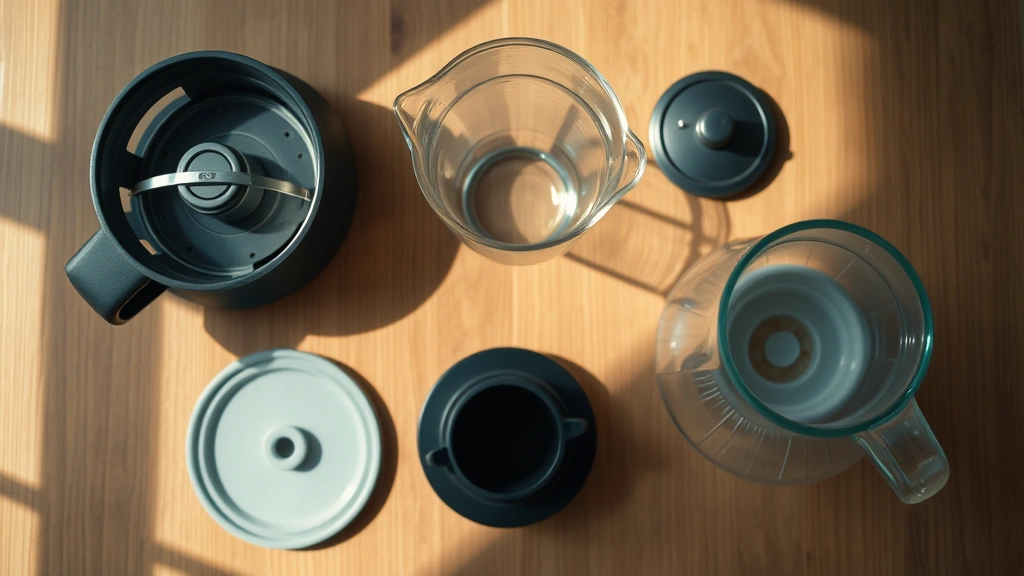
Step 1: Disassemble Everything
Unplug your machine and remove all removable components—the carafe, filter basket, and water reservoir. Check your manufacturer’s manual for any additional pieces that can come apart. Soak the carafe and filter basket in hot, soapy water for fifteen minutes while you work on the main unit.
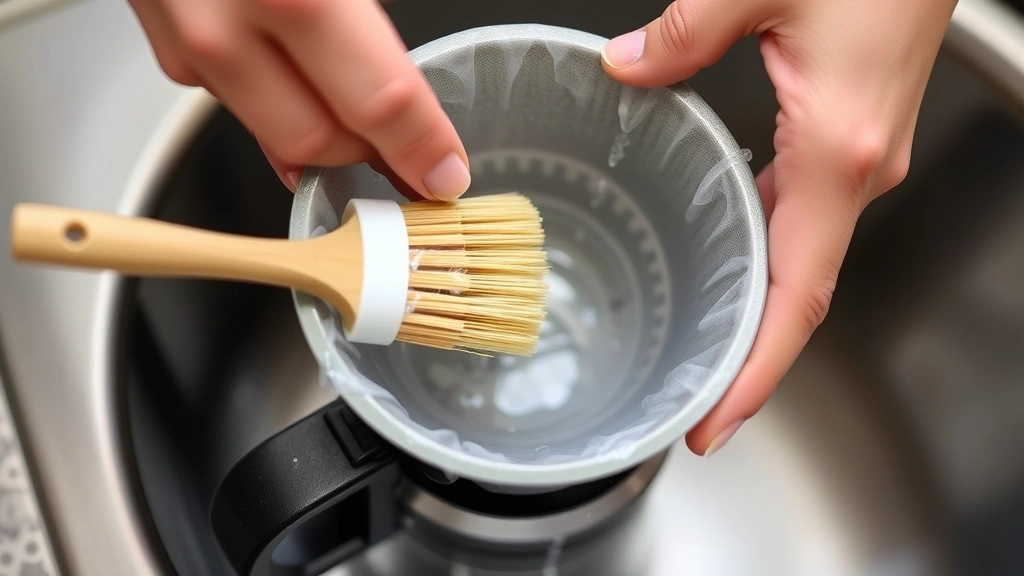
Step 2: Clean the Carafe and Filter Basket
Scrub the glass carafe with baking soda and a soft cloth to remove coffee stains and residue. Pay special attention to the bottom where buildup accumulates. Rinse thoroughly with warm water. For the filter basket, use an old toothbrush to scrub every crevice, then rinse until water runs clear. This step alone dramatically improves your next brew.
Step 3: Wipe the Water Reservoir
The reservoir is where mold often hides. Use a damp cloth to wipe the interior surfaces, then a dry cloth to eliminate moisture. If you notice visible mold (usually black or green spots), create a solution of one part vinegar to four parts water and wipe thoroughly. Allow to air dry completely before reassembling.
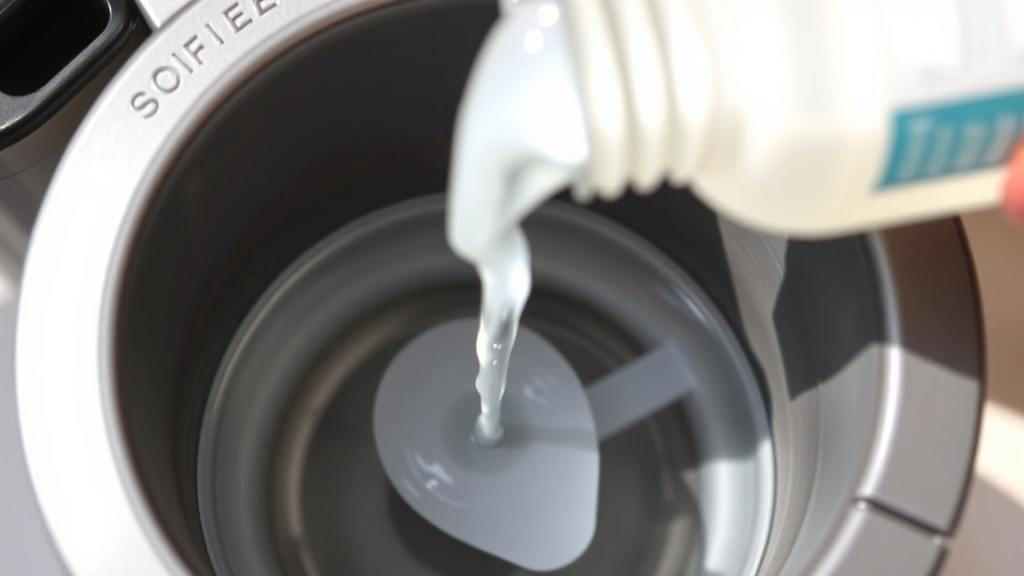
Step 4: Run a Vinegar Cycle
Fill the water reservoir with equal parts white vinegar and water. Place an empty carafe on the warming plate (no filter needed). Turn on the machine and let it run halfway through the brewing cycle, then turn it off and let it sit for thirty minutes. This allows the vinegar solution to work on the internal heating element and tubes. Resume brewing until the reservoir is empty.
Step 5: Rinse Thoroughly
Fill the reservoir with fresh, filtered water and run two complete brewing cycles, discarding the water each time. This removes all vinegar residue. Your machine should no longer smell like vinegar after this step.
The Descaling Process
Descaling is distinct from regular cleaning—it’s a monthly deep treatment specifically targeting mineral deposits. If you live in an area with hard water, you might need to descale every two weeks.
The process is similar to the vinegar cycle described above but requires more patience. Use the same one-to-one vinegar-to-water ratio, but this time, run the entire cycle and let the machine sit for an additional hour with the solution inside. The extended contact time allows the acetic acid to dissolve stubborn mineral buildup that regular cleaning misses.
After the long soak, run the brewing cycle until the reservoir is empty. Then refill with fresh water and run two complete cycles as before. If your water is particularly hard, run a third water-only cycle to ensure complete vinegar removal.
You’ll know descaling is working when you notice improved water flow and faster brewing times. If your machine previously brewed slowly, this restoration of speed is remarkably satisfying. It’s the same principle behind how you’d clean a dishwasher to restore its spray arm pressure—removing mineral buildup restores function.
Cleaning Other Coffee Maker Types
Single-Serve Pod Brewers
These machines need attention too. Remove and wash the water reservoir, drip tray, and K-cup holder weekly with hot soapy water. Monthly descaling is crucial since water flows through a narrow needle that clogs easily. Run a descaling solution through the machine following the manufacturer’s instructions (most brands sell their own descaling kits). Never use vinegar in pod brewers unless the manual explicitly approves it, as some machines have internal components that vinegar can damage.
Espresso Machines
Espresso makers require more frequent cleaning due to the pressure involved. Purge the group head (the part where the portafilter attaches) by running water through it without the portafilter for five seconds before and after each shot. Soak the portafilter and basket in hot water with espresso cleaning powder (like Cafiza) for fifteen minutes daily. Deep clean the group head weekly using a specialized blind basket (no holes) filled with cleaning powder, running the machine for five seconds, backflushing, and repeating until the water runs clear.
French Press Cleaning
French press maintenance is refreshingly simple since there’s no heating element to worry about. After brewing, rinse the carafe immediately with hot water to prevent coffee from hardening. Weekly, soak all glass and metal components in hot soapy water for ten minutes, then scrub with a soft brush. If you’re curious about brewing techniques, our guide on how to make French press coffee covers the best practices, and we also have detailed instructions on how to use a French press correctly.
Moka Pots and Stovetop Brewers
These aluminum or stainless steel brewers need gentle care. Never soak for extended periods or use harsh scrubbers that damage the finish. Rinse all components immediately after brewing with hot water. Monthly, fill the lower chamber with equal parts vinegar and water, assemble, and heat until you hear the first hiss, then cool completely before disassembling and rinsing thoroughly.
Weekly Maintenance Tips
Prevention is far easier than remediation. Implement these habits to keep your coffee maker in pristine condition:
- Empty the water reservoir daily – Stagnant water breeds bacteria. Dump any remaining water after each use and allow the reservoir to air dry.
- Use filtered water – This dramatically reduces mineral buildup. Even a simple pitcher filter makes a difference compared to tap water.
- Clean the filter basket immediately after brewing – Don’t let wet grounds sit; they promote mold growth.
- Wipe the exterior weekly – A quick damp cloth removes dust and prevents buildup on visible surfaces.
- Store with the lid off – Allow air circulation inside the reservoir and carafe to prevent moisture accumulation.
- Replace water filters monthly – If your machine has built-in filters, replace them on schedule to maintain water quality.
These simple steps are as important as major cleaning sessions. Think of them as brushing your teeth daily versus getting a dental cleaning annually—both matter, but daily habits prevent problems.
If you’re interested in maintaining other household appliances with similar dedication, check out our comprehensive guide on how to clean washing machine components, which follows similar maintenance principles.
Frequently Asked Questions
Can I use apple cider vinegar instead of white vinegar?
White vinegar is preferable because it’s more acidic (about 5% acetic acid) and contains fewer impurities. Apple cider vinegar works but leaves more residue and can impart flavor if not rinsed thoroughly. Stick with distilled white vinegar for best results.
How often should I descale my coffee maker?
Monthly descaling is standard for most households using tap water. If you have very hard water (over 200 ppm of minerals), descale every two weeks. If you use filtered or softened water, monthly should suffice. Your machine’s performance will tell you when it needs descaling—slower brewing is the primary indicator.
Is vinegar safe for all coffee makers?
Most drip and French press machines handle vinegar perfectly. However, some pod brewers and certain espresso machines have internal components sensitive to vinegar. Always check your manufacturer’s manual before using vinegar. When in doubt, use the brand’s recommended descaling solution.
What’s that white film on my carafe?
That’s mineral deposits from hard water. Soak the carafe in equal parts vinegar and water for thirty minutes, then scrub with baking soda and a soft cloth. This removes the film without scratching the glass.
Can I put my coffee maker parts in the dishwasher?
Most carafes, filter baskets, and removable parts are dishwasher-safe, but hand washing is gentler and extends their lifespan. Never put the main unit or heating element in the dishwasher. Check your manual for specific recommendations.
Why does my coffee still taste bitter after cleaning?
Ensure you’re running at least two full water-only cycles after vinegar cleaning to remove all acetic acid residue. Also, check that your vinegar solution ratio was correct (one-to-one) and that you let it sit long enough. If the taste persists, your beans might be stale or over-extracted—try fresh beans and adjust brewing time.
Is mold in my coffee maker dangerous?
Yes, mold can trigger allergic reactions and respiratory issues, particularly for people with sensitivities. If you notice mold, clean immediately with a vinegar solution and ensure proper drying between uses. If mold returns frequently, your machine’s design may trap moisture—consider upgrading to a model with better ventilation.
Related Posts

How Long to Boil Lobster Tails: Cooking Guide

How Long to Fly from New York to London? Travel Times
