
How to Charge a Car Battery: Expert Guide
How to Charge a Car Battery: Expert Guide
There’s nothing quite like the sinking feeling when you turn the key and hear nothing but silence. A dead car battery is one of those frustrating situations that catches most drivers off guard, usually at the worst possible time. The good news? Knowing how to charge a car battery is a skill that takes maybe thirty minutes to learn and can save you hundreds in towing fees and roadside assistance calls.
Whether you’re dealing with a battery that’s slowly losing its charge or one that’s completely dead, understanding the charging process puts you back in control. This guide walks you through everything from identifying the problem to safely bringing your battery back to life, plus some practical tips to prevent this headache from happening again.
Let’s dive into the details and get your vehicle running smoothly once more.
Signs Your Car Battery Needs Charging
Before you can fix a problem, you need to recognize it exists. A dying battery usually announces itself through several telltale signs that range from subtle to impossible to ignore. The most obvious indicator is when your engine won’t turn over at all—you’ll hear rapid clicking sounds or absolutely nothing when you turn the key. This is your battery screaming for help.
Other warning signs include dimmer-than-usual headlights, especially when you’re idling at a red light. If your interior lights feel weak or your dashboard lights appear faded, your battery is likely struggling. Some vehicles will even display a battery warning light on the dashboard, which is essentially your car’s way of politely telling you to pay attention. If you’re experiencing these issues, it might also be worth checking your engine oil level, as battery problems sometimes coincide with other maintenance needs.
Slow cranking—when the engine turns over sluggishly but eventually starts—is another classic sign. This typically means your battery is weakening but hasn’t completely given up yet. If you notice this behavior, charging your battery sooner rather than later can prevent a complete failure.
Tools and Materials You’ll Need
Gathering the right equipment before you start makes the entire process smoother and safer. Here’s what you should have on hand:
- Battery charger: You have options here, from basic trickle chargers to smart multi-stage chargers. A quality charger from Home Depot offers reliability and various charging speeds.
- Safety glasses: Battery acid is no joke, so protect your eyes.
- Work gloves: Preferably rubber or nitrile to protect your skin from corrosion and acid.
- Wrench or socket set: For disconnecting battery terminals if needed.
- Baking soda and water: For cleaning corrosion off terminals (a simple but effective solution).
- Wire brush: To scrub away corrosion buildup.
- Jumper cables: Helpful if you’re planning to jump-start instead of using a charger.
- Another vehicle: Only necessary if you’re choosing the jump-start method.
Having everything organized and within reach prevents frustrating mid-project trips to the garage or hardware store. It also reduces the chance of making mistakes when you’re not scrambling to find supplies.
Safety Precautions Before You Start
Car batteries contain sulfuric acid and can produce hydrogen gas, which is highly flammable. This isn’t meant to scare you—it’s meant to make sure you respect the process. Taking a few minutes for safety considerations could prevent serious injury.
Always work in a well-ventilated area, preferably outdoors. If you’re in a garage, open all doors and windows. Never smoke or create sparks near the battery, and keep away from open flames. Remove any metal jewelry that could accidentally bridge the terminals and cause a short circuit. This is especially important when handling the battery or terminals.
Before you begin, make sure your vehicle’s ignition is completely off. If you’re using a charger, plug it into an outlet before connecting it to the battery terminals. This prevents sparks from occurring when you make the connection. Similarly, when you’re finished charging, disconnect the charger from the outlet first, then remove the cables from the battery.
If your battery is cracked, leaking, or swollen, don’t attempt to charge it. This indicates internal damage, and charging a damaged battery can be dangerous. In these cases, replacement is your only safe option. If you need to disconnect your car battery for any reason, follow proper procedures to avoid electrical damage to your vehicle.

Step-by-Step Charging Instructions
Now for the actual process. This is where things get straightforward and manageable.
Step 1: Prepare Your Vehicle
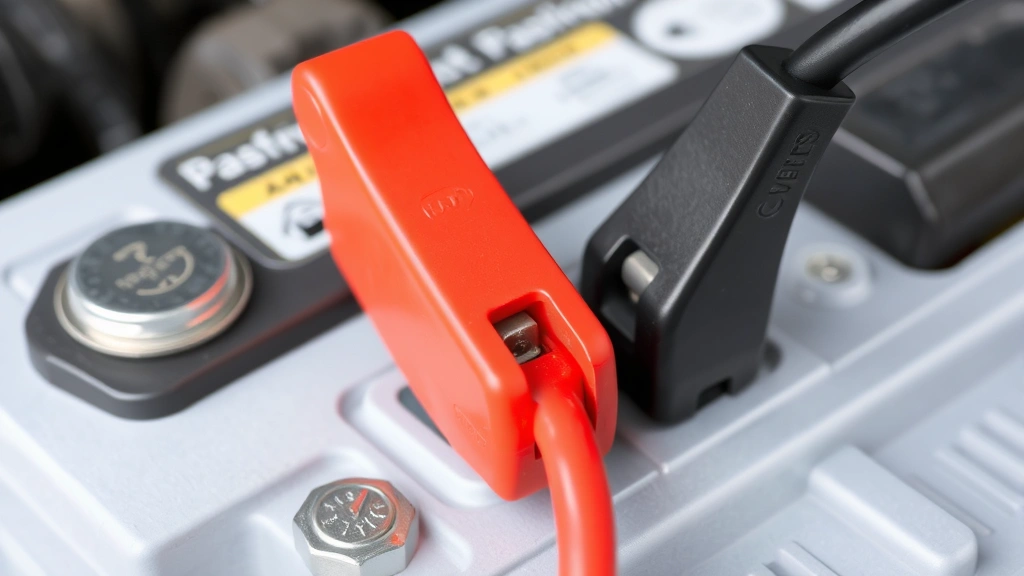
Pop the hood and locate your battery. It’s typically a rectangular plastic case with two terminals—a positive terminal (usually red or marked with a plus sign) and a negative terminal (usually black or marked with a minus sign). Before touching anything, visually inspect the battery for cracks, leaks, or visible damage. If you spot any of these issues, stop here and replace the battery instead.
Step 2: Clean Corroded Terminals (If Needed)
Battery terminals often develop a white, blue, or green crusty buildup called corrosion. This buildup can interfere with charging. If you see corrosion, mix baking soda with water to create a paste, then scrub the terminals with a wire brush. Rinse with clean water and dry thoroughly with a cloth. This simple step can significantly improve charging efficiency.
Step 3: Connect the Charger
Take your charger and connect the red clamp to the positive terminal first. Then connect the black clamp to the negative terminal. The order matters here—always connect positive before negative to minimize the risk of sparks. Make sure the clamps are firmly attached and won’t slip off during the charging process.
Step 4: Set Charging Parameters
Most modern chargers have settings for charging speed and voltage. If you’re unsure about your battery’s specifications, check your vehicle’s owner’s manual or look for markings on the battery itself. For a standard 12-volt car battery, select the appropriate voltage setting. Start with a slower charging rate (around 2-10 amps) for a standard charge, which is gentler on the battery.
Step 5: Plug In and Monitor
Once everything is connected properly, plug the charger into a wall outlet. The charger should have indicators showing it’s actively charging. Some chargers will show the charging progress, while others simply display that power is flowing. This is a good time to step back and let the charger do its work. Don’t leave it completely unattended for extended periods, but you don’t need to hover over it either.
Step 6: Disconnect Safely
When charging is complete (your charger will indicate this), unplug the charger from the wall outlet first. Then remove the black clamp from the negative terminal, followed by the red clamp from the positive terminal. This reverse order prevents sparks just like the initial connection did.
Using a Battery Charger vs. Jump Starting
You have two main options for getting your battery charged: using a dedicated battery charger or jump-starting your vehicle with another car. Each method has distinct advantages and situations where it works best.
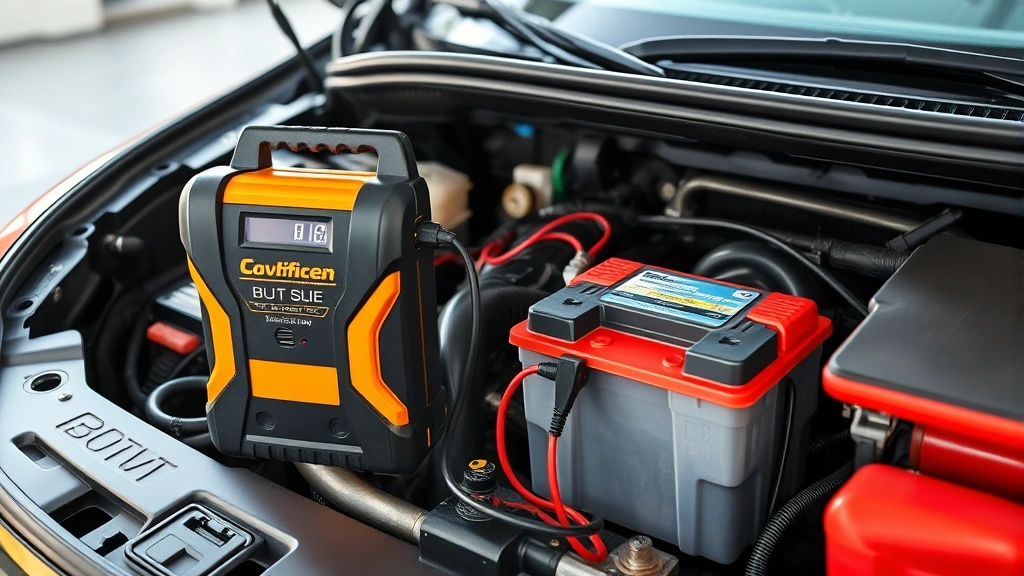
Battery Charger Method
A battery charger is the slower but more thorough approach. You connect it directly to your battery and let it do the work over several hours. The advantage here is that it fully restores your battery’s charge without requiring another vehicle. Family Handyman offers detailed guidance on charger selection and use, making it easier to choose the right equipment. This method is ideal if you’re not in a rush and want to ensure a complete charge. It’s also safer for older batteries that might not handle the rapid charge from a jump-start.
Jump-Starting Method
Jump-starting uses another vehicle’s battery to provide temporary power to start your engine. Once your engine is running, your alternator takes over and charges your battery while you drive. This is faster than a charger and requires only another car and jumper cables. However, it doesn’t fully charge your battery—it just gives you enough charge to start the engine. You’ll need to drive for at least 20-30 minutes to allow the alternator to properly recharge the battery.
Jump-starting works best when you’re stranded and need to get mobile quickly. However, if your battery is severely depleted or damaged, jump-starting might not be possible. In those cases, a charger is your only option.
When to Choose Each Method
Use a battery charger when: you have time, you want a complete charge, or your battery is old and sensitive. Use jump-starting when: you need immediate mobility, another vehicle is available, or you’re in a pinch and don’t have access to a charger. Some drivers keep both options available—a charger at home and jumper cables in their vehicle—for maximum flexibility.
Charging Times and Best Practices
Charging time varies dramatically based on your charger’s amperage and your battery’s capacity. A standard car battery (typically 50-60 amp-hours) charged at 2 amps will take roughly 24-30 hours. Bump that up to 10 amps, and you’re looking at 5-8 hours. Fast chargers can do the job in 1-2 hours, but they’re harder on the battery long-term.
Here’s the practical reality: most people use a slow charger overnight or a moderate charger during the day. This gives a good balance between speed and battery health. This Old House provides excellent timing recommendations for different charger types.
Best Practices for Optimal Results
- Charge in a cool, dry location: Extreme temperatures affect charging efficiency. Room temperature is ideal.
- Don’t charge a frozen battery: If your battery is frozen, let it thaw before attempting to charge. Charging a frozen battery can cause it to explode.
- Use the right amperage: Lower amperage (2-5 amps) is gentler and better for battery longevity. Higher amperage charges faster but can damage older batteries.
- Check the battery periodically: If you’re using a manual charger without automatic shutoff, check on it every few hours to avoid overcharging.
- Keep terminals clean: Dirty terminals reduce charging efficiency, so keep them clean throughout the process.
Many modern chargers have smart technology that automatically adjusts the charging rate and stops when the battery is fully charged. If you’re investing in a charger, these features are worth the extra cost because they eliminate guesswork and protect your battery from overcharging.
When to Replace Instead of Charge
Sometimes charging isn’t the answer. If your battery repeatedly loses charge quickly or won’t hold a charge at all after being fully charged, it’s time for replacement. A battery that’s more than 3-5 years old is also approaching the end of its lifespan, and repeated dead battery episodes are a sign that replacement is imminent.
Visual inspection tells you a lot. If you see cracks, bulges, or leaks, replacement is mandatory. A battery that’s cracked or leaking is a safety hazard and won’t hold a proper charge anyway. Similarly, if the battery terminals are severely corroded or damaged beyond cleaning, the battery itself is likely compromised.
Testing Before You Decide
Before you spend money on a new battery, have it tested. Many auto parts stores offer free battery testing that shows whether your battery is truly dead or just needs charging. This simple test prevents unnecessary replacement and saves you money. If the test shows your battery is failing, you’ll have confirmation that replacement is necessary.
As you’re considering battery health, it’s also a good time to think about your overall vehicle maintenance routine. Just like how you might rotate your tires regularly, regular battery maintenance extends its life. This includes keeping terminals clean and ensuring your vehicle’s alternator is functioning properly.
Preventing Future Battery Drain
The best way to deal with a dead battery is to prevent one from happening in the first place. A few simple habits can significantly extend your battery’s life and reduce the likelihood of unexpected failures.
Regular Maintenance
Keep battery terminals clean and free of corrosion. Every few months, pop the hood and visually inspect the battery. If you see buildup, clean it with baking soda and water. This takes five minutes and prevents charging problems down the road.
Minimize Parasitic Drain
Parasitic drain occurs when electrical components draw power from the battery even when the engine is off. Common culprits include leaving lights on, using electronics without the engine running, or having faulty alternators that don’t properly recharge the battery while driving. Turn off all lights and accessories before shutting down your vehicle. If you notice your battery draining quickly despite proper charging, have your alternator tested.
Drive Regularly
Your alternator charges your battery while you drive. If your vehicle sits unused for weeks, the battery naturally loses charge. Try to drive your vehicle at least weekly, preferably for 20-30 minutes to give the alternator adequate time to recharge the battery fully.
Avoid Extreme Temperatures
Cold weather reduces battery efficiency, and heat accelerates battery degradation. Park in a garage when possible, especially during extreme weather. If you live in a cold climate, consider a battery warmer. If you’re in a hot climate, ensure your battery is properly ventilated.
Monitor Battery Age
Most batteries last 3-5 years. If yours is approaching that age and you’re experiencing issues, consider proactive replacement before it completely fails. It’s far easier to replace a battery on your schedule than to deal with a sudden failure. You might also want to review your tire replacement schedule while you’re planning vehicle maintenance, as both are important for reliability.
Proper maintenance of your vehicle’s electrical system, including regular checks of your battery and ensuring your alternator functions correctly, goes a long way. If you’re doing other maintenance work, like changing transmission fluid, take a moment to inspect your battery while you’re under the hood.
Frequently Asked Questions
How long does it take to charge a car battery?
Charging time depends on your charger’s amperage and the battery’s capacity. A 2-amp charger takes 24-30 hours for a standard battery. A 10-amp charger takes 5-8 hours. Fast chargers can complete the job in 1-2 hours but may reduce battery lifespan if used repeatedly.
Can I charge my car battery while it’s still in the vehicle?
Yes, you can charge your battery in the vehicle. Make sure the engine is off and keep the hood open for ventilation. Connect the charger to the battery terminals just as you would if the battery were removed. Always connect the positive terminal first, then the negative terminal.
Is it safe to leave a battery charger connected overnight?
Modern smart chargers with automatic shutoff are safe to leave overnight. They stop charging once the battery is full and won’t overcharge. However, basic chargers without this feature should be monitored and disconnected once charging is complete to avoid damage.
What’s the difference between a trickle charger and a regular battery charger?
A trickle charger delivers a very small amount of power (usually 1-2 amps) continuously, making it ideal for maintaining a battery’s charge over long periods. A regular charger delivers more power (typically 5-10 amps or more) and charges faster. Trickle chargers are better for long-term storage, while regular chargers are better for restoring a dead battery.
Can I jump-start my car if the battery is completely dead?
In most cases, yes. As long as the battery has some residual charge, jump-starting should work. However, if the battery is severely damaged or frozen, jump-starting might not work and could be dangerous. If jump-starting fails after a few attempts, use a battery charger instead.
Should I disconnect the negative terminal before charging?
You don’t need to disconnect the battery before charging, but some people prefer to disconnect the negative terminal for safety. This prevents potential electrical issues. If you choose to disconnect, remove the negative terminal first, then connect your charger with its clamps directly to the battery posts.
How do I know when my battery is fully charged?
Most chargers have indicator lights showing the charging status. When the light turns green or the charger displays 100%, your battery is fully charged. Some chargers automatically shut off when charging is complete. If your charger doesn’t have indicators, check the battery with a multimeter—a fully charged 12-volt battery should read around 12.6 volts.
Can extreme cold prevent my battery from charging?
Yes. Batteries charge much more slowly in cold temperatures, and extremely cold batteries (below freezing) shouldn’t be charged until they’ve thawed. Cold reduces the chemical reactions inside the battery that allow charging to occur. If your battery is frozen, bring it indoors and let it warm up before attempting to charge.
Related Posts

How Long to Boil Lobster Tails: Cooking Guide

How Long to Fly from New York to London? Travel Times
