

Crafting Homemade Heavy Cream to Boost Your Cooking Skills
Heavy cream is a culinary staple that elevates countless dishes with its rich, velvety texture and luxurious mouthfeel. Whether you’re whipping up a decadent sauce, creating fluffy whipped cream, or adding depth to soups and desserts, knowing how to make heavy cream at home can be a game-changer for your cooking repertoire. This essential skill not only saves you from last-minute grocery runs but also gives you complete control over the quality and freshness of your ingredients.
Understanding the fundamentals of heavy cream creation opens up a world of culinary possibilities. From emergency substitutions when you’re out of store-bought cream to customizing fat content for specific recipes, mastering homemade heavy cream techniques will significantly boost your confidence and versatility in the kitchen. Let’s explore the various methods, ingredients, and expert tips that will transform your cooking skills.
Understanding Heavy Cream: The Foundation
Heavy cream, also known as heavy whipping cream, contains between 36-40% milk fat, making it the richest dairy cream available for culinary use. This high fat content is what gives heavy cream its characteristic thickness, stability when whipped, and ability to enhance both sweet and savory dishes. The fat molecules create the luxurious mouthfeel that makes heavy cream indispensable in professional kitchens and home cooking alike.
The science behind heavy cream lies in the fat globules suspended in the liquid. These globules are what allow the cream to thicken when whipped, as air gets trapped between them, creating volume and structure. Understanding this principle is crucial when learning how to make heavy cream at home, as you’ll need to replicate this fat-to-liquid ratio using readily available ingredients.
Commercial heavy cream undergoes pasteurization and homogenization processes that ensure safety and consistency. When making heavy cream at home, you’re essentially combining ingredients to achieve a similar fat content and texture. The FDA standards for heavy cream provide guidelines that help us understand what we’re trying to achieve in our homemade versions.
The Butter and Milk Method
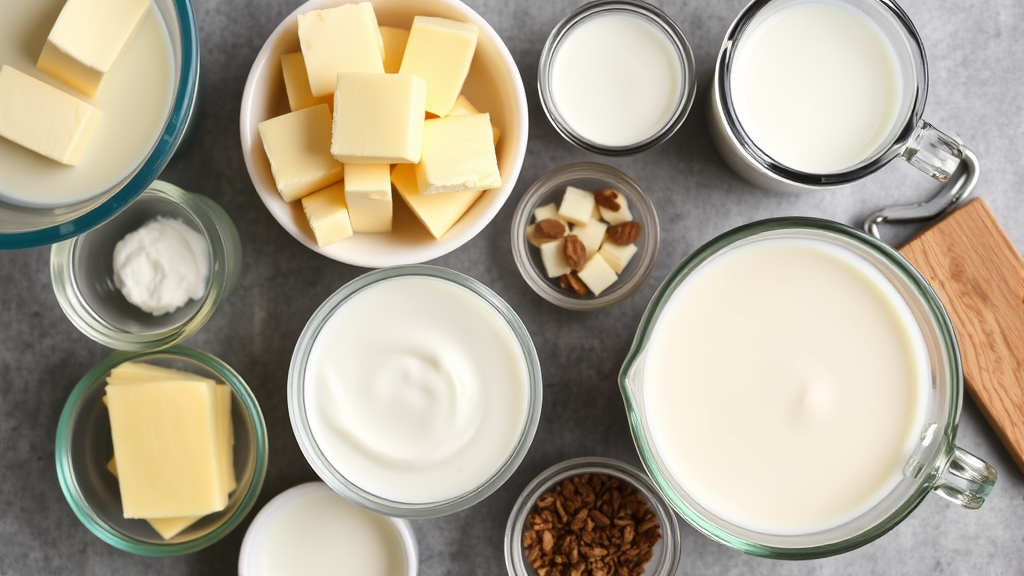
The most popular and effective method for making heavy cream at home involves combining butter with milk. This technique works by incorporating the fat from butter into milk, essentially recreating the fat percentage found in commercial heavy cream. You’ll need unsalted butter and whole milk for the best results, as the fat content in whole milk provides a better base than lower-fat alternatives.
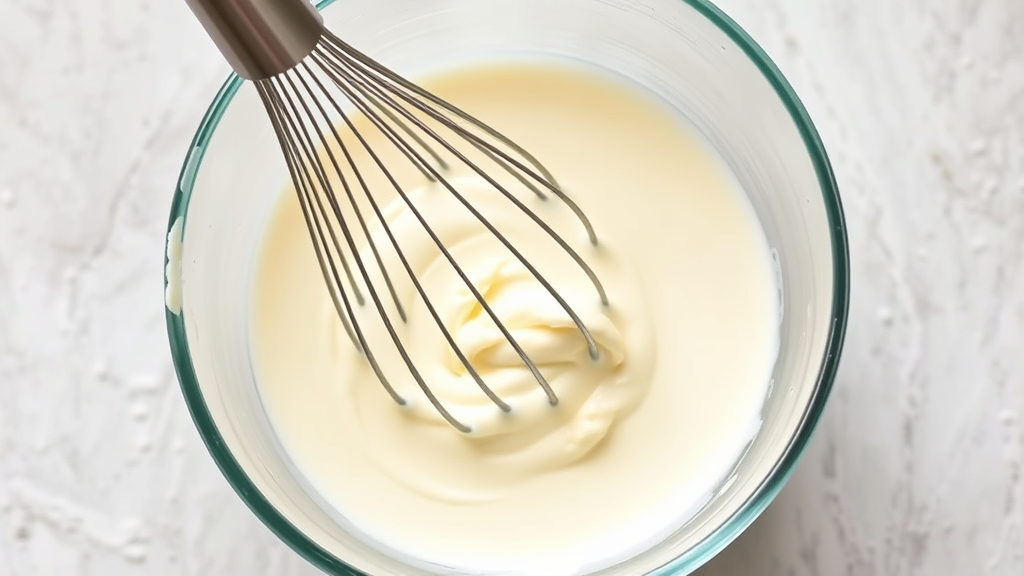
To execute this method, start by melting ¼ cup of unsalted butter completely. Allow it to cool slightly but remain liquid. In a separate container, warm ¾ cup of whole milk to room temperature. Slowly pour the melted butter into the milk while whisking continuously. The key is to create an emulsion that prevents the butter from separating and floating to the surface.
Continue whisking vigorously for 2-3 minutes until the mixture becomes smooth and uniform. The resulting cream should have a consistency similar to store-bought heavy cream. This method typically yields about one cup of heavy cream substitute that works well in most recipes, though it may not whip as effectively as commercial heavy cream due to the different fat structure.
For optimal results, use a hand blender or immersion blender to ensure proper emulsification. The mechanical action helps break down the butter particles and distribute them evenly throughout the milk, creating a more stable and consistent product. Just like when learning how long to steam broccoli for perfect texture, timing and technique are crucial for success.
Whole Milk and Butter Technique
An alternative approach involves using softened butter rather than melted butter, which can sometimes produce better results for specific applications. This technique requires patience but often yields a more stable emulsion that closely mimics the behavior of commercial heavy cream in cooking applications.
Begin by allowing your butter to reach room temperature, making it soft and pliable but not melted. Use a ratio of 3 tablespoons of softened butter to 1 cup of cold whole milk. Place both ingredients in a food processor or high-speed blender and process for 30-60 seconds until completely smooth and well-incorporated.
The advantage of this method is that the cooler temperature helps maintain the fat structure better, resulting in cream that can be used more successfully in applications requiring whipping. The texture tends to be smoother and more consistent than the melted butter method, though both techniques produce usable results for most cooking purposes.
This technique works particularly well when you need heavy cream for recipes that require heating, such as cream-based soups or sauces. The emulsion remains more stable under heat, preventing separation that might occur with other homemade cream methods. It’s as reliable as knowing how long to boil chicken breast for perfect results every time.
Alternative Methods and Substitutions
While butter and milk combinations are the most common methods for making heavy cream, several alternative approaches can work depending on your dietary needs and available ingredients. Each method has its own advantages and specific use cases that make them valuable additions to your culinary toolkit.
One effective alternative involves using coconut cream for those following dairy-free diets. Chill a can of full-fat coconut milk overnight, then scoop out the thick cream that separates at the top. This natural coconut cream can substitute for heavy cream in many recipes, though it will impart a subtle coconut flavor that works wonderfully in desserts and some savory dishes.
Another option is combining evaporated milk with melted butter. Mix ½ cup of evaporated milk with 2 tablespoons of melted butter, whisking thoroughly to create an emulsion. This method produces a lighter consistency than traditional heavy cream but works well in cooking applications where extreme richness isn’t required.
For emergency situations, you can even create a lighter cream substitute using whole milk and a small amount of flour or cornstarch. While this won’t provide the same fat content as true heavy cream, it can work as a thickening agent in soups and sauces. According to USDA food safety guidelines, always ensure proper food handling when creating these substitutions.
Professional Tips and Techniques
Mastering the art of homemade heavy cream requires attention to detail and understanding of how different factors affect the final product. Temperature control is perhaps the most critical aspect – ingredients that are too hot or too cold can prevent proper emulsification and result in separated or grainy cream.
Always start with high-quality ingredients for the best results. Use fresh, unsalted butter and whole milk with at least 3.25% fat content. The quality of your starting ingredients directly impacts the flavor and performance of your homemade cream. Store-bought butter varies in water content, so European-style butters with higher fat content often produce superior results.
Emulsification technique makes a significant difference in the final product’s stability and texture. Whether using a whisk, blender, or food processor, maintain consistent motion and avoid stopping mid-process, as this can cause the emulsion to break. If separation does occur, try adding a small amount of warm milk while whisking vigorously to re-establish the emulsion.
Consider the intended use when choosing your method. For applications requiring whipping, the softened butter technique typically performs better. For cooking applications where the cream will be heated, either method works well, but the melted butter approach often integrates more easily into hot dishes. Understanding these nuances is as important as knowing how to tell if eggs are bad for food safety in your kitchen.
Storage and Usage Guidelines
Proper storage of homemade heavy cream is essential for maintaining quality and safety. Unlike commercial heavy cream that undergoes pasteurization, your homemade version has a shorter shelf life and requires more careful handling. Store your homemade cream in a clean, airtight container in the refrigerator and use within 3-4 days for optimal quality and safety.
Always give homemade cream a good stir before using, as separation is natural and expected. The fat and liquid components may separate during storage, but a quick whisk will re-emulsify the mixture. If the cream develops an off smell, unusual texture, or any signs of spoilage, discard it immediately.
When using homemade heavy cream in recipes, keep in mind that it may behave slightly differently than commercial varieties. It may not whip to the same volume as store-bought cream, and the flavor might be slightly different due to the butter content. However, it works excellently in most cooking applications, from cream soups to pasta sauces.
For best results in baking, allow homemade cream to come to room temperature before incorporating it into batters or doughs. Cold cream can cause butter to solidify and create lumps in your mixture. This attention to detail extends to other cooking techniques, much like when you’re learning how to make jello shots where temperature and timing matter significantly.
Troubleshooting Common Issues
Even experienced cooks encounter challenges when making heavy cream at home. Understanding common problems and their solutions will help you achieve consistent results and troubleshoot issues as they arise. The most frequent problem is separation, where the butter and milk refuse to stay combined or separate after initial mixing.
If your cream separates during the mixing process, the temperature differential between ingredients is usually the culprit. Ensure both butter and milk are at similar temperatures – room temperature works best for most methods. If separation occurs, try adding a tablespoon of warm milk while whisking vigorously to encourage re-emulsification.
Grainy texture often results from butter that was too cold or milk that was too hot. The key is achieving the right balance where the butter can incorporate smoothly without solidifying into chunks. If you encounter graininess, try warming the mixture slightly while whisking, or strain it through a fine-mesh sieve to remove any butter particles.
Another common issue is cream that’s too thin or too thick for your intended purpose. Adjust consistency by adding more milk for thinner cream or more butter for increased richness. Remember that homemade cream may never achieve the exact consistency of commercial varieties due to differences in processing and stabilizers used in manufactured products.
According to research from Cornell University’s food science department, emulsion stability depends heavily on proper technique and ingredient ratios, confirming the importance of following tested methods carefully.
Frequently Asked Questions
Can homemade heavy cream be whipped like store-bought cream?
Homemade heavy cream can be whipped, but it may not achieve the same volume or stability as commercial heavy cream. The fat structure is different due to the manufacturing process, so expect slightly less volume and shorter holding time. For best whipping results, ensure your cream is well-chilled and use the softened butter method rather than melted butter.
How long does homemade heavy cream last in the refrigerator?
Homemade heavy cream should be used within 3-4 days when stored properly in the refrigerator. Unlike commercial cream that’s pasteurized, homemade versions have a shorter shelf life. Always store in an airtight container and check for signs of spoilage before use, including off odors or unusual texture changes.
What’s the best ratio of butter to milk for making heavy cream?
The most effective ratio is approximately 1:3 – one part butter to three parts milk. Specifically, use ¼ cup melted butter with ¾ cup whole milk, or 3 tablespoons softened butter with 1 cup milk. This ratio creates a fat content similar to commercial heavy cream while maintaining proper consistency for most culinary applications.
Can I use salted butter to make heavy cream?
While unsalted butter is preferred for better flavor control, salted butter can be used if necessary. Keep in mind that this will add sodium to your cream, which may affect the taste of delicate recipes. If using salted butter, you may want to reduce or eliminate additional salt in your final dish to compensate.
Why does my homemade cream separate when heated?
Homemade cream may be less stable than commercial varieties when heated because it lacks the stabilizers and homogenization process used in manufacturing. To prevent separation, heat gently and avoid boiling. Add the cream toward the end of cooking time and stir constantly. If separation occurs, remove from heat and whisk vigorously.
Can I freeze homemade heavy cream?
Freezing homemade heavy cream is not recommended as it will likely separate upon thawing due to the different fat structure compared to commercial cream. The texture will become grainy and may not re-emulsify properly. It’s best to make only the amount you need for immediate use within the 3-4 day refrigeration period.
What milk alternatives work best for dairy-free heavy cream?
For dairy-free alternatives, coconut cream works exceptionally well and provides similar richness and fat content. Cashew cream made from soaked cashews and water also creates a neutral-flavored substitute. These alternatives work well in most recipes, though they may impart subtle flavors and behave differently when heated or whipped.
Related Posts

How Long to Boil Lobster Tails: Cooking Guide

How Long to Fly from New York to London? Travel Times
