
Speed Up Video on iPhone: Expert Tips & Tricks
Speed Up Video on iPhone: Expert Tips & Tricks
Whether you’re creating social media content, editing home improvement tutorials, or simply want to condense lengthy recordings, speeding up video on your iPhone is an essential skill. Apple’s built-in tools make this process straightforward, and you don’t need expensive third-party software to achieve professional results. This guide walks you through every method available, from the native Photos app to advanced editing options.
Video speed adjustment has become increasingly important for content creators documenting DIY projects, home repairs, and renovation work. When you’re filming a time-lapse of painting a room or installing fixtures, the ability to control playback speed transforms raw footage into engaging, shareable content. We’ll explore multiple approaches so you can choose the method that best fits your workflow.
Using the Photos App to Speed Up Video
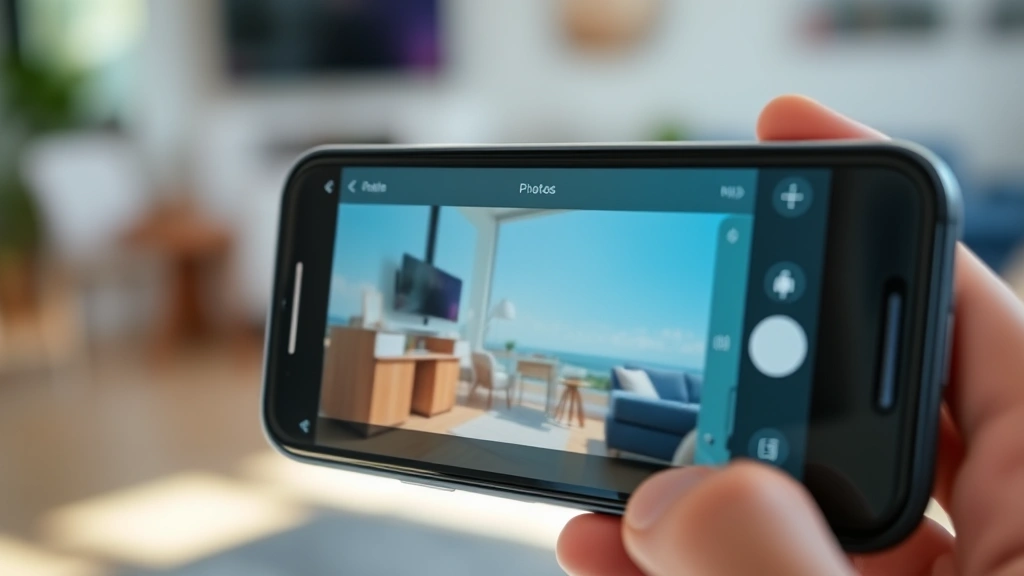
The simplest way to speed up video on iPhone is through the native Photos app, which comes pre-installed on every iOS device. This method requires no additional downloads and works with any video you’ve recorded or imported. Open the Photos app, locate your video, and tap Edit in the top right corner. You’ll see a timeline appear at the bottom of your screen showing the full duration of your clip.
Once in edit mode, look for the speed icon—it typically displays as a speedometer or circular arrow symbol. Tap this icon to reveal speed options ranging from 0.5x (half speed) to 2x (double speed). Most users find that 1.5x speed works well for home improvement documentation, as it’s fast enough to be engaging without making actions appear jerky or unnatural. Select your desired speed, and the app immediately applies the adjustment to your preview.
One advantage of using the Photos app is that you can trim your video simultaneously. Use the timeline handles to remove unwanted sections before adjusting speed, creating a polished final product in minutes. After making your adjustments, tap Done to save changes. The original video remains unchanged, and your edits are saved separately in your library.
The Photos app approach works exceptionally well for quick edits of DIY documentation, similar to how you might film how to install a garbage disposal or other home maintenance tasks. For more complex projects requiring multiple speed adjustments within a single video, you’ll want to explore additional tools.
iMovie: Advanced Speed Control Options
For users needing more sophisticated speed controls, iMovie provides professional-grade editing capabilities while remaining accessible to beginners. This free Apple app offers variable speed adjustment, meaning you can speed up certain sections while keeping others at normal speed. Create a new project in iMovie and import your video by tapping the Create Project button and selecting Movie.
Once your video appears in the timeline, tap it to select it, then tap the speed icon (usually represented by a rabbit or speedometer). iMovie displays a range of preset speeds: 0.25x, 0.5x, 1x (normal), 1.5x, 2x, and beyond. Unlike the Photos app, iMovie allows you to create multiple clips from a single video and apply different speeds to each segment. This capability is invaluable when you want to slow down detailed work, like precision soldering, while accelerating less critical portions.
To apply variable speeds, split your video at the points where you want speed changes to occur. Tap your video in the timeline and select Split where you want the division. Each segment can then receive its own speed adjustment. For example, when documenting a how to solder copper pipe project, you might slow down the actual soldering section to 0.5x while accelerating the setup and cleanup at 2x.
iMovie also includes slow-motion effects and the ability to reverse video, giving you creative options beyond simple speed adjustment. The timeline interface provides visual feedback showing exactly where speed changes occur, making it easy to fine-tune your edits. When satisfied with your work, export your project by tapping Share and selecting your desired resolution and quality settings.
Third-Party Apps for Video Speed Adjustment
The App Store offers numerous specialized video editing applications that provide even more granular control over playback speed. Apps like Adobe Premiere Rush, CapCut, and InShot have become popular among content creators for their intuitive interfaces and powerful features. These applications typically offer speed adjustment with decimal precision, allowing you to set speeds like 1.25x or 1.75x for more nuanced control.
CapCut has gained particular popularity due to its free tier with comprehensive features. Open CapCut, import your video, and navigate to the speed controls in the editing panel. You can adjust speed for the entire clip or create speed curves that gradually transition between different speeds. This smooth acceleration and deceleration creates professional-looking effects that simple preset speeds cannot achieve.
Adobe Premiere Rush caters to users already invested in Adobe’s Creative Cloud ecosystem. It synchronizes with desktop versions of Premiere Pro, allowing you to start editing on your iPhone and continue on your computer. The app includes keyframe animation for speed, enabling you to create complex speed effects where your video smoothly transitions between different playback rates.
When selecting a third-party app, consider whether you need batch processing (speeding multiple videos simultaneously), advanced color correction, or integration with other editing software. Many apps offer free versions with watermarks, so test them before committing to paid subscriptions. Visit This Old House’s video library to see how professional home improvement creators handle video pacing.
Creating Time-Lapse Effects
Time-lapse is essentially extreme video speed adjustment, condensing minutes or hours of footage into seconds. This technique works beautifully for documenting lengthy home projects, painting jobs, or construction work. Your iPhone has a built-in time-lapse mode in the Camera app that automatically captures frames at intervals, but you can also create time-lapse effects from existing video using speed adjustment.
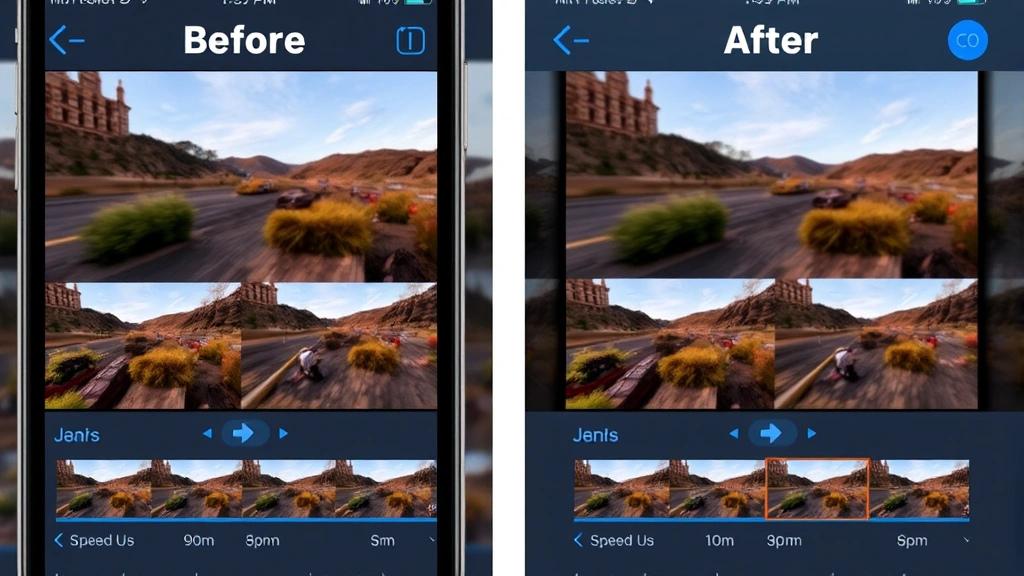
To create a time-lapse effect from recorded video, use iMovie or a third-party app to speed your footage to 4x, 6x, or even higher. The exact speed depends on how long your original recording is and how condensed you want the final result. A 10-minute painting session at 6x speed becomes a satisfying 90-second video showing the entire transformation. Start with 2x speed and gradually increase until you achieve the effect you want.
Professional home improvement documentation often uses time-lapse for tasks like how to fix a toilet that keeps running, where showing every minute of troubleshooting would bore viewers. By accelerating the diagnostic and adjustment portions while keeping critical steps at normal speed, you maintain clarity while improving viewer engagement.
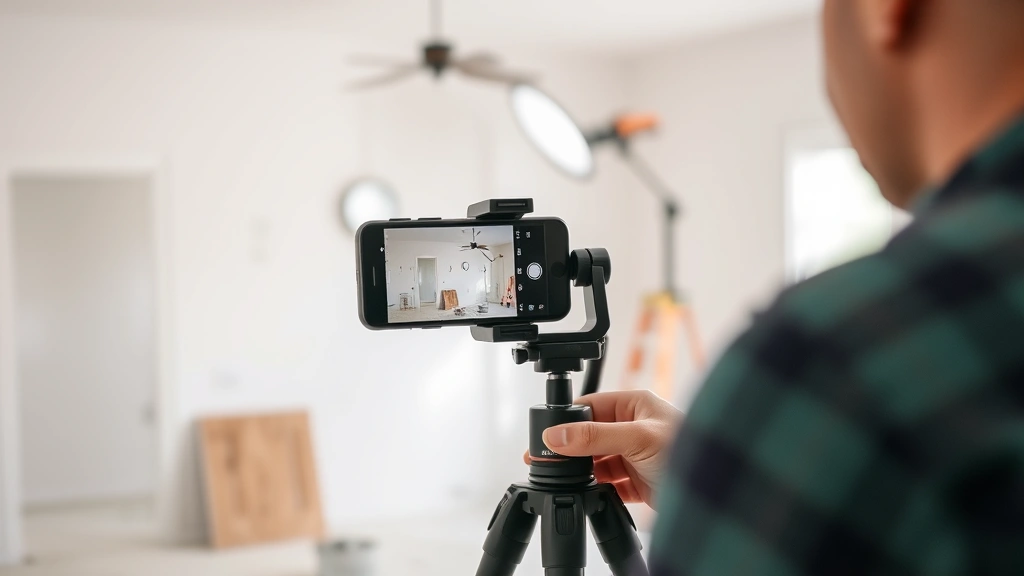
When shooting content specifically for time-lapse, maintain consistent lighting and camera position. Any shadows or angle changes become more noticeable when video plays at high speed. Use a tripod or stable mounting solution to keep your footage steady. The smoother your original video, the more professional your time-lapse effect will appear.
Exporting and Sharing Your Edited Videos
After adjusting your video speed, exporting in the correct format ensures compatibility across platforms. The Photos app automatically saves your edits to your library without requiring explicit export. Simply exit edit mode, and your changes persist. However, if you’re using iMovie or third-party apps, you’ll need to export your final product.
In iMovie, tap the Share button and select your destination. Choose File if you want to save to your Photos library, or select social media platforms like YouTube, Instagram, or TikTok for direct uploads. Resolution options typically include 720p, 1080p, and 4K. For social media, 1080p offers an excellent balance between quality and file size. For archival or professional use, export at the highest available resolution.
When exporting from third-party apps, similar options apply. CapCut and Adobe Premiere Rush offer direct social media integration, automatically formatting your video for each platform’s specifications. This saves time and ensures your video displays optimally on Instagram Stories, TikTok, YouTube Shorts, and traditional feeds. Pay attention to aspect ratio—vertical videos work best for Stories and TikTok, while horizontal videos suit YouTube and standard feeds.
Before finalizing your export, preview your complete edited video. Watch it at full speed to ensure all transitions feel natural and no speed changes appear jarring. Check that audio remains synchronized with video, especially if you’ve used variable speeds. Some apps include audio adjustment tools to keep sound synchronized when video speed changes significantly.
Consider creating multiple exports at different speeds if you’re unsure which pacing works best. Upload different versions to your FixWiseHub Blog or social media channels and monitor engagement to determine which pacing resonates with your audience. This data-driven approach helps refine your video editing strategy over time.
FAQ
Can I undo speed adjustments after saving?
Yes, if you edited through the Photos app or iMovie, your original video remains unchanged. Your edits are saved separately, and you can always open the original and create new edits with different speeds. If you exported a video from a third-party app, you’ll need to re-import and re-edit the original source file.
What’s the maximum speed available on iPhone?
The Photos app supports speeds up to 2x, while iMovie extends to approximately 2x as well. Third-party apps often offer higher speeds, sometimes reaching 4x or beyond. For extreme time-lapse effects, some apps allow speeds of 10x or more, though these require careful preview to ensure the result looks intentional rather than accidental.
Does speeding up video affect audio?
Yes, when you increase video speed, audio plays faster and higher-pitched, similar to rewinding a cassette tape at fast speed. Most apps include options to mute audio or adjust it separately. If you need audio to remain at normal speed while video accelerates, you may need to remove audio, speed the video, then add a separate audio track at normal speed.
Can I speed up only part of a video?
The Photos app applies speed to the entire video. iMovie and third-party apps allow variable speed by splitting videos into segments and applying different speeds to each. This gives you complete control over pacing throughout your video.
What’s the best speed for DIY tutorial videos?
Most DIY content works well at 1.5x speed, maintaining natural appearance while reducing viewer fatigue. Critical steps should remain at 1x speed, while setup, cleanup, and waiting periods can be accelerated to 2x or beyond. Test different speeds with your audience and adjust based on feedback and engagement metrics.
How do I maintain video quality when speeding up?
Speed adjustment doesn’t inherently reduce quality—it’s a playback rate change. Export at the highest resolution available on your device and app. Avoid excessive compression during export, and ensure your original recording is high-quality before applying speed adjustments. Poor source material becomes more noticeable at faster speeds.
Related Posts

Superscript in Google Docs: Expert Tips

Strikethrough in Excel: Easy Steps for Beginners
