
Merging Cells in Excel: Quick How-To Guide
Merging Cells in Excel: Quick How-To Guide
Merging cells in Excel is one of the most practical formatting techniques you’ll use when organizing data, creating headers, or designing professional spreadsheets. Whether you’re building a budget tracker, a project timeline, or a simple inventory list, knowing how to merge 2 cells in Excel can dramatically improve your spreadsheet’s appearance and readability. This guide walks you through every method—from the basic ribbon approach to keyboard shortcuts—so you can merge cells confidently and efficiently.
Cell merging combines multiple adjacent cells into a single larger cell, which is particularly useful for creating centered titles, multi-line headers, or organized data sections. The process is straightforward once you understand the available options and potential pitfalls. By the end of this guide, you’ll be merging cells like a spreadsheet pro, and you’ll also understand when merging is appropriate and when alternatives like combining cells in Excel might serve your needs better.
Understanding Cell Merging in Excel
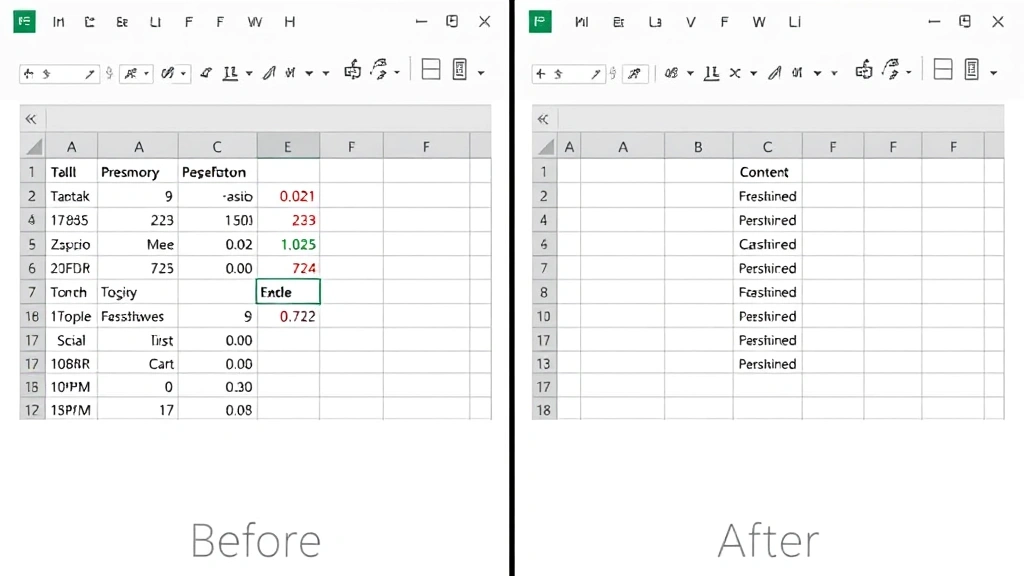
Before diving into the mechanics of merging, it’s important to understand what happens when you merge cells. When you merge cells, Excel combines the selected cells into one larger cell. The merged cell retains the content from the upper-left cell and discards content from all other selected cells—this is a critical point to remember before merging.
Cell merging is ideal for creating professional-looking spreadsheets with clear visual hierarchy. Common uses include:
- Creating centered titles: Merge cells across the top of your spreadsheet for a bold, centered header that spans multiple columns
- Organizing data sections: Use merged cells to create visual breaks between different data categories
- Building forms: Merged cells work well for survey forms, questionnaires, or data entry templates
- Designing reports: Professional reports benefit from merged header cells that clearly identify sections
It’s worth noting that while merging cells improves appearance, it can sometimes complicate data analysis and sorting. If you’re working with a database or need to perform complex calculations, consider whether exploring alternative formatting options might serve your purpose better.
Method 1: Using the Merge Cells Button (Ribbon)
The simplest way to merge cells is using the Merge Cells button on the Home ribbon. This method works in Excel 2010 and all newer versions across Windows and Mac.
Step-by-step instructions:
- Select your cells: Click on the first cell you want to merge, then drag to select all adjacent cells you want to combine. For example, to merge cells A1 and B1, click A1 and drag to B1. Release the mouse button when all desired cells are highlighted in blue.
- Open the Home tab: If you’re not already on the Home tab, click it at the top of the ribbon to access formatting options.
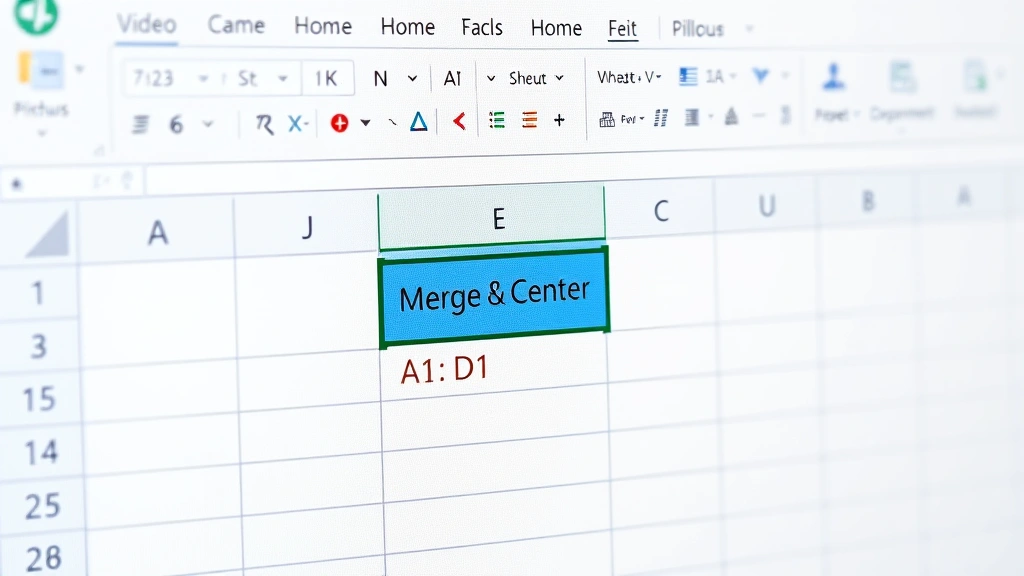
- Locate the Merge & Center button: In the Alignment section (usually right side of the Home ribbon), you’ll see a dropdown arrow next to “Merge & Center.” This button has a small down arrow indicating additional options.
- Choose your merge option: Click the dropdown arrow to reveal four options: “Merge & Center,” “Merge Across,” “Merge Cells,” and “Unmerge Cells.” For most purposes, select “Merge & Center” to merge and center your content simultaneously.
- Confirm the merge: Excel may display a warning if your selected cells contain data in multiple cells. Click “OK” to proceed. Remember, only the content from the upper-left cell will be retained.
The “Merge & Center” option is the most popular choice because it automatically centers your content horizontally and vertically, creating a polished appearance. However, if you want to merge without centering, choose “Merge Cells” instead.
Method 2: Using the Format Cells Dialog
For users who prefer dialog boxes or need additional formatting options, the Format Cells dialog provides a comprehensive approach to cell merging with simultaneous alignment adjustments.
Step-by-step instructions:
- Select your cells: Highlight the cells you want to merge using click-and-drag or Shift+click to select a range.
- Open the Format Cells dialog: Right-click on your selected cells and choose “Format Cells” from the context menu. Alternatively, press Ctrl+1 (Windows) or Cmd+1 (Mac) to open the dialog instantly.
- Navigate to the Alignment tab: In the Format Cells dialog, click the “Alignment” tab at the top.
- Find the Merge cells checkbox: In the lower-right section, you’ll see a checkbox labeled “Merge cells.” Click this checkbox to enable merging.
- Adjust alignment settings: While you’re in this dialog, you can set horizontal and vertical alignment options. Choose “Center” for both if desired, or select other alignment options like “Left,” “Right,” “Top,” or “Bottom.”
- Apply changes: Click “OK” to apply the merge and alignment settings simultaneously.
This method is particularly useful when you want to merge cells and adjust multiple formatting properties at once, such as text alignment, text wrapping, and text orientation. It’s also helpful when you need precise control over how content appears within the merged cell.
Method 3: Keyboard Shortcut Method
Power users appreciate keyboard shortcuts for their speed and efficiency. While Excel doesn’t have a single keyboard shortcut for merging cells, you can combine shortcuts to accomplish the task quickly.
Quick keyboard method:
- Select cells: Click your first cell, then hold Shift and click your last cell to select the range. Or use arrow keys while holding Shift to select adjacent cells.
- Open Format Cells: Press Ctrl+1 (Windows) or Cmd+1 (Mac).
- Navigate to Alignment: Press Alt+A (Windows) to jump to the Alignment tab, or use Tab to navigate between tabs.
- Enable merge: Press M to toggle the Merge cells checkbox.
- Confirm: Press Enter to apply the merge.
While this method requires more steps than clicking the ribbon button, experienced Excel users often find it faster because it keeps their hands on the keyboard and doesn’t require precise mouse positioning.
Merging Cells with Wrapped Text
One of the most powerful combinations in Excel is merging cells with text wrapping. This allows longer text to display across multiple lines within a merged cell, making it ideal for detailed headers or explanatory text.
How to merge cells and wrap text:
- Select and merge: Select your cells and merge them using any of the methods described above.
- Enable text wrapping: With the merged cell selected, go to Home > Wrap Text (in the Alignment section). You’ll see the button light up when wrapping is active.
- Adjust row height: Your row may automatically expand to accommodate wrapped text, or you can manually drag the row border downward to increase height. Position your cursor on the row number border until it changes to a resize cursor, then drag down.
- Verify appearance: Click elsewhere to deselect and see how your wrapped text appears in the merged cell. Adjust row height further if needed.
Text wrapping combined with merging is particularly effective for creating professional report headers, survey forms, and data entry templates. The wrapped text remains centered or aligned according to your alignment settings, creating a polished, organized appearance.
Unmerging Cells: How to Separate Merged Cells
Sometimes you need to reverse a merge—perhaps you’ve changed your spreadsheet layout or realized that merging was interfering with data analysis. Unmerging cells is just as easy as merging them.
To unmerge cells using the ribbon:
- Select the merged cell: Click on the merged cell you want to separate.
- Access the merge dropdown: On the Home tab, click the dropdown arrow next to “Merge & Center” in the Alignment section.
- Select Unmerge Cells: Click “Unmerge Cells” to separate the merged cell back into individual cells.
To unmerge using the Format Cells dialog:
- Select the merged cell: Click on it to select.
- Open Format Cells: Press Ctrl+1 (Windows) or Cmd+1 (Mac).
- Go to Alignment tab: Click the Alignment tab.
- Uncheck Merge cells: Click the checkbox next to “Merge cells” to uncheck it.
- Click OK: Apply the change.
When you unmerge cells, the content that was in the original upper-left cell remains in that cell, while the other cells become empty. If you’ve added content to the merged cell after merging, all content stays with the upper-left cell after unmerging.
Common Issues and Troubleshooting
Issue: Excel won’t let me merge cells
This typically occurs when you’re trying to merge cells that contain data in multiple cells, or when your spreadsheet is protected. Excel displays a warning before merging cells with multiple data values. Click OK to proceed, understanding that only upper-left cell content will be retained. If you’re working with a protected sheet, you’ll need to unprotect it first (File > Info > Protect Sheet).
Issue: Data disappeared after merging
This is the expected behavior—Excel automatically discards content from all cells except the upper-left cell. To prevent data loss, copy any important content from other cells before merging. Consider using combining cells in Excel with the CONCATENATE function instead if you need to preserve all data.
Issue: Merged cells look misaligned
Merged cells sometimes display with unexpected alignment, especially if you didn’t use “Merge & Center.” Select the merged cell and use the alignment buttons on the Home tab (Align Left, Center, Align Right, Top Align, Middle Align, Bottom Align) to adjust positioning.
Issue: Sorting or filtering doesn’t work properly
Merged cells can interfere with Excel’s sorting and filtering features. If you need to sort data, consider unmerging cells first or using alternative formatting methods. Conditional formatting or cell borders can often achieve similar visual effects without the functional limitations of merged cells.
Best Practices for Cell Merging
While cell merging is a powerful formatting tool, using it wisely ensures your spreadsheets remain both beautiful and functional.
Use merged cells for:
- Main titles and headers that span multiple columns
- Section dividers that visually separate data categories
- Form labels or instructions that benefit from centered, prominent display
- Professional reports where appearance is as important as data
Avoid merged cells for:
- Data that needs to be sorted or filtered
- Cells within data tables or databases
- Any content that requires formulas referencing individual cells
- Spreadsheets shared with others who may need to modify structure
Pro tips for effective merging:
- Merge strategically: Limit merging to headers and titles rather than throughout your data range
- Use borders wisely: Combine merging with cell borders (Home > Borders) to create clear visual sections
- Consider alternatives: For complex layouts, explore using freezing rows in Excel or hiding columns in Excel instead of merging
- Test functionality: After merging, test sorting, filtering, and any formulas to ensure they still work as intended
- Document your structure: If sharing spreadsheets, document where merged cells exist so others understand the layout
Merging Cells Across Rows and Columns
Excel allows you to merge cells both horizontally (across columns) and vertically (across rows), or combine both directions for a larger merged area.
Merging across columns:
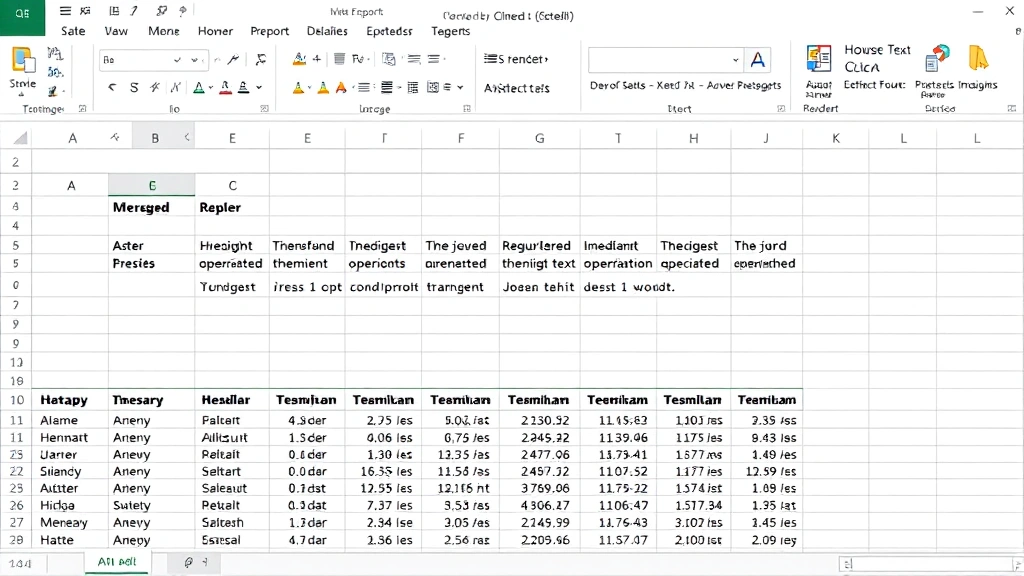
To create a wide header that spans multiple columns, select cells from left to right (e.g., A1 through E1) and merge using any method. This is the most common merging scenario, perfect for creating centered titles above data tables.
Merging down rows:
Select cells vertically (e.g., A1 through A5) and merge to create a tall cell. This works well for category labels on the left side of a data table or for creating visually distinct sections in your spreadsheet.
Merging both directions:
Select a rectangular range (e.g., A1 through D4) and merge to create a large merged cell. This technique is useful for prominent titles, large form headers, or creating distinct visual zones in complex spreadsheets. However, use this sparingly as it can make spreadsheets harder to navigate.
Important consideration: When merging cells both horizontally and vertically, ensure your selection forms a complete rectangle. Excel won’t allow merging of non-rectangular ranges (e.g., you can’t merge an L-shaped selection).
FAQ
Can I merge cells in Excel Online?
Yes, Excel Online supports cell merging through the same ribbon interface as desktop Excel. Select your cells, click Home, then use the Merge & Center dropdown to merge. The functionality is identical to the desktop version.
What’s the difference between Merge & Center and Merge Cells?
“Merge & Center” merges your selected cells and automatically centers the content both horizontally and vertically. “Merge Cells” merges without applying centering, allowing you to set custom alignment. Use “Merge & Center” for headers and titles; use “Merge Cells” when you want to control alignment separately.
Can I merge cells in a pivot table?
Merging cells within a pivot table is not recommended and can cause functionality issues. If you need formatting, consider merging cells in a separate area above or below your pivot table instead.
How do I merge cells while keeping all data?
Standard merging only keeps upper-left cell content. To preserve all data, use the CONCATENATE function or the ampersand operator (&) to combine cell values before merging. For example, use =A1&” “&B1 in a new cell, then merge that cell. Alternatively, check out our guide on how to combine cells in Excel for advanced techniques.
Is there a limit to how many cells I can merge?
Excel allows you to merge up to 16,384 columns and 1,048,576 rows (the maximum spreadsheet dimensions), though merging such large ranges isn’t practical. In reality, merge only the cells you need for your layout.
Will merged cells affect my spreadsheet’s file size?
Merged cells have minimal impact on file size. However, excessive merging can make spreadsheets harder to maintain and share, so use merging judiciously for best results.
Can I merge cells with different formatting?
Yes, you can merge cells with different formatting. Excel retains the formatting from the upper-left cell and applies it to the entire merged cell. If you need different formatting within the merged area, apply new formatting after merging.
Related Posts

Superscript in Google Docs: Expert Tips

Strikethrough in Excel: Easy Steps for Beginners
