
How to Reset Check Engine Light: Expert Guide
How to Reset Check Engine Light: Expert Guide
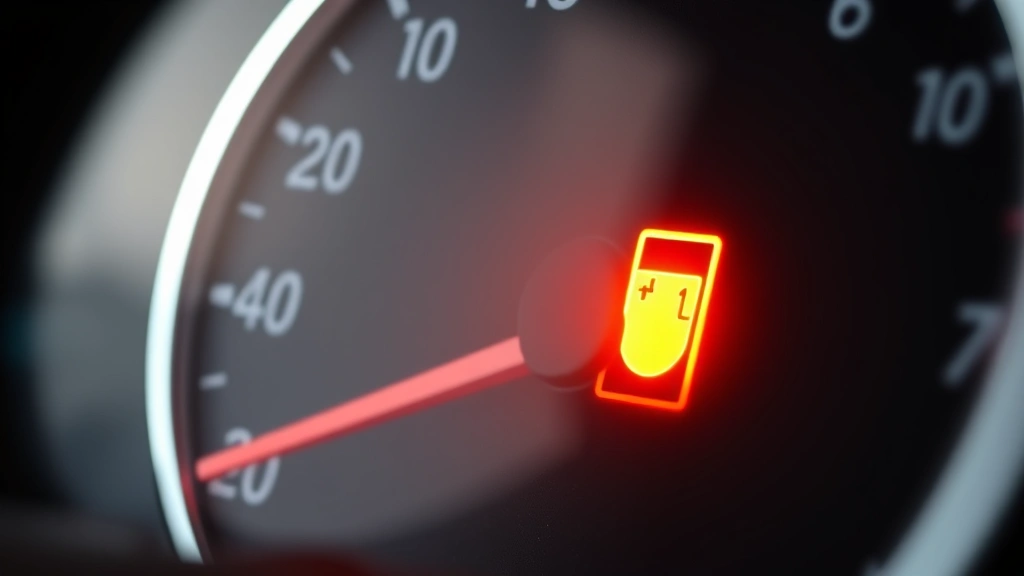
That little orange engine icon on your dashboard isn’t just a suggestion—it’s your car’s way of communicating that something needs attention. Whether it’s a loose gas cap or a more serious emissions issue, the check engine light can trigger unnecessary anxiety for many drivers. The good news? You don’t always need to rush to a mechanic to address it. Understanding how to reset the check engine light and what actually triggers it puts you back in control of your vehicle’s maintenance.
Before we dive into the reset process, let’s be clear about something: resetting the light without addressing the underlying problem is like silencing a smoke detector instead of putting out the fire. However, knowing the proper methods to reset it—and when it’s safe to do so—is valuable knowledge every car owner should have. This guide walks you through everything from diagnostic reading to the various reset methods available to you.
The check engine light typically illuminates when your vehicle’s onboard diagnostic system detects a problem with the engine, emissions system, or transmission. Sometimes it’s minor, sometimes it’s significant, but the key is understanding what triggered it in the first place. Let’s explore the complete process of diagnosing and resetting this warning light safely and effectively.
Understanding the Check Engine Light
Your vehicle’s check engine light is part of the onboard diagnostic (OBD) system, a sophisticated network of sensors that monitors your car’s performance 24/7. This system tracks everything from oxygen levels in your exhaust to the temperature of your catalytic converter. When something falls outside the normal range, the system triggers that warning light.
The tricky part? The check engine light doesn’t tell you specifically what’s wrong. It could indicate something as simple as a loose fuel cap or as complex as a failing oxygen sensor. This is why the first step in any reset process should always be clearing the diagnostic codes to understand what triggered the warning. Once you know the actual problem, you can make an informed decision about whether to reset it yourself or take it to a professional.
The light comes in two varieties: solid and flashing. A solid check engine light means the system has detected an issue, but your vehicle is generally safe to drive. A flashing light, however, is more serious—it indicates a problem severe enough to potentially damage your engine or emissions system. If your light is flashing, you should avoid driving the vehicle and get it to a mechanic immediately.
Reading Your Diagnostic Codes
Before attempting any reset method, you need to understand what triggered the light in the first place. This is where diagnostic trouble codes (DTCs) come into play. These standardized codes provide specific information about what the system detected. Common codes include P0171 (system too lean), P0300 (random misfire), and P0420 (catalyst system efficiency below threshold).
Reading these codes requires either a diagnostic tool or a visit to a mechanic. Many auto parts stores offer free code reading services—you simply drive in, and they’ll plug in their scanner and provide you with the specific codes. Write these codes down; they’re essential information for troubleshooting. Some codes are informational only and don’t require immediate action, while others indicate serious problems that need professional attention.
Understanding your specific code helps you make smart decisions. A P0440 code (evaporative emission control system malfunction) might mean your gas cap is loose—an easy fix. But a P0128 code (coolant thermostat malfunction) suggests a more complex issue that typically requires professional service. This knowledge prevents you from wasting time and money on unnecessary repairs.
Five Methods to Reset the Check Engine Light
There are several legitimate ways to reset your check engine light, each with different levels of effectiveness and complexity. Let’s walk through the most practical options available to you as a DIY enthusiast.
Method 1: The Key Cycle Method
This is the simplest reset method, though it doesn’t always work. Turn your ignition key to the “On” position (without starting the engine) for three seconds, then turn it back to “Off.” Repeat this cycle eight times, ending with the key in the “On” position. Some vehicles will flash the check engine light and then clear it using this method. It’s worth trying first since it requires no tools and takes less than a minute.
Method 2: Drive Cycle Reset
Sometimes simply driving your vehicle through specific conditions allows the system to reset itself. After addressing whatever caused the warning, drive your car on both highway and local roads for about 50-100 miles. Varying your speed and engine load helps the system complete its diagnostic cycle. If the problem has been resolved, the light may automatically turn off after this drive cycle. This method works best for intermittent issues or minor problems that you’ve already fixed.
Method 3: Removing the Negative Battery Terminal
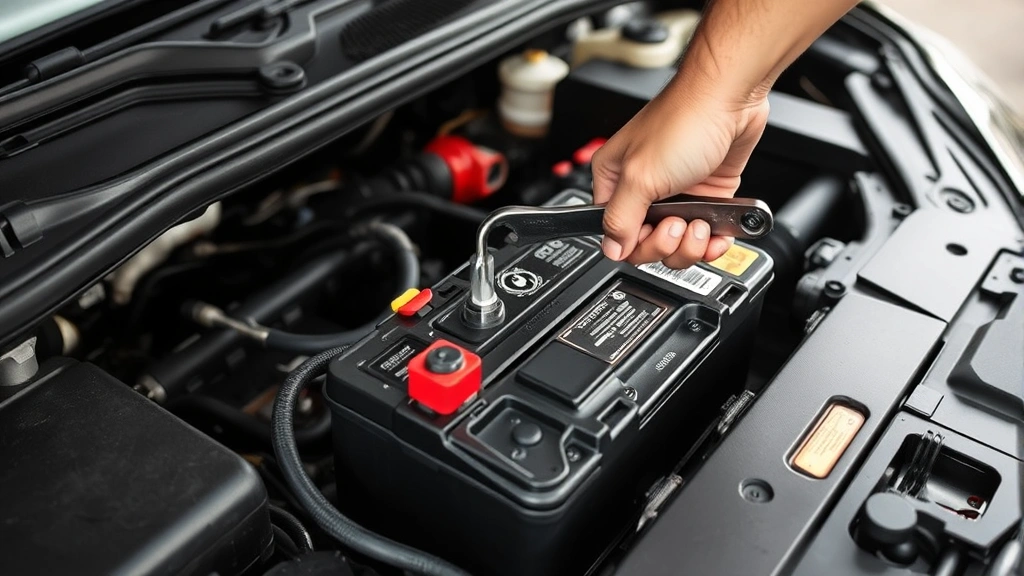
Disconnecting your car battery is a more aggressive reset method. Locate the negative terminal on your battery (marked with a minus sign), and carefully disconnect it using an appropriate wrench. Leave it disconnected for about 15 minutes—this allows the vehicle’s computer to completely power down and clear its memory. Reconnect the terminal securely, and the light should be gone. This method also resets other system settings, so your radio presets and clock will need adjustment afterward.
Method 4: The OBD2 Scanner Method
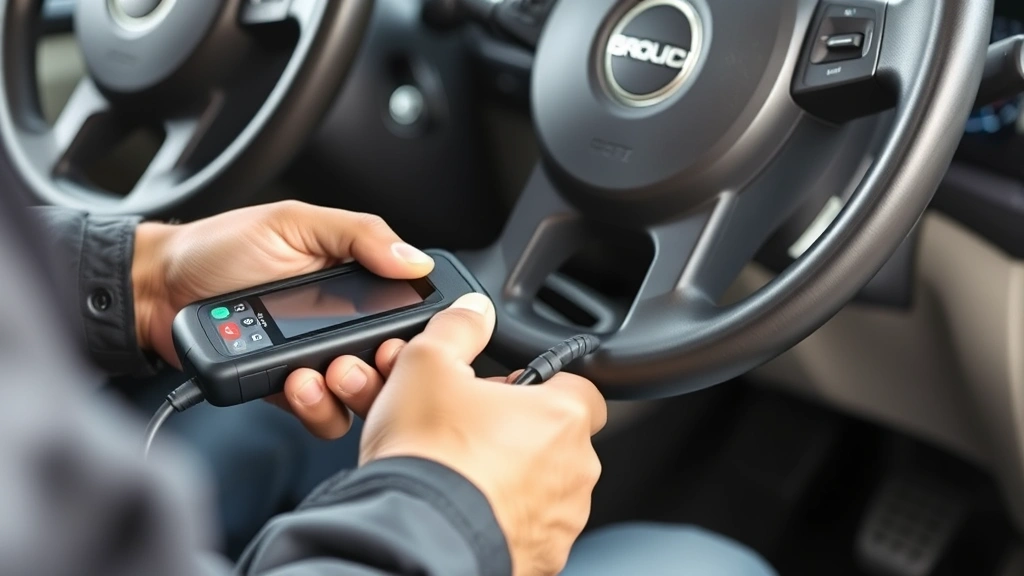
An OBD2 diagnostic scanner gives you the most control over the reset process. These devices range from simple code readers ($30-50) to more advanced scanners ($150+). Plug the scanner into your vehicle’s OBD2 port (typically located under the steering wheel on the driver’s side), turn on the ignition, and follow the device’s menu to clear codes. This method not only resets the light but also gives you detailed information about what triggered it. Learning how to clear the codes properly using a diagnostic tool is one of the best investments you can make as a vehicle owner.
Method 5: Multiple Start Cycles
Some vehicles respond to a series of rapid start cycles. Start the engine and let it run for a few seconds, then turn it off. Wait a few seconds, then repeat this cycle 4-5 times. On the final start, let the engine run for 10-15 seconds. This method works on certain vehicle models and can sometimes clear the light without requiring additional tools or battery disconnection.
The Battery Disconnect Method: Step-by-Step
Since disconnecting your battery is one of the most effective DIY reset methods, let’s walk through the proper procedure to ensure you do it safely.
- Safety first: Make sure your engine is completely cool before starting. Never disconnect the battery while the engine is running or warm.
- Locate the battery: Pop your hood and identify the battery. The negative terminal has a black cable with a minus sign, while the positive terminal is red with a plus sign.
- Disconnect the negative terminal: Using an appropriately sized wrench (typically 8mm or 10mm), loosen the nut on the negative terminal. Carefully wiggle the cable off the terminal. Don’t let it touch the positive terminal or any metal part of the engine.
- Wait 15 minutes: Leave the battery disconnected for at least 15 minutes. This gives the vehicle’s computer time to completely power down and clear its memory.
- Reconnect the terminal: Reattach the negative cable to the negative terminal and tighten the nut securely. Make sure the connection is tight—a loose battery connection can cause all sorts of electrical issues.
- Test the system: Start your vehicle and check if the check engine light remains off. If it does, congratulations! If it returns, you have a persistent problem that needs professional diagnosis.
Before attempting this method, understand that knowing how to properly charge your car battery is also valuable knowledge. If your vehicle won’t start after disconnection, a weak battery might be the culprit. Keep jumper cables handy just in case.
Using an OBD2 Scanner: The Modern Approach
Investing in an OBD2 scanner is one of the smartest moves a DIY car owner can make. These devices plug into your vehicle’s diagnostic port and provide detailed information about what’s happening under the hood. Modern scanners are user-friendly and often come with smartphone apps that display real-time data.
To use an OBD2 scanner effectively, locate the diagnostic port (usually under the dashboard on the driver’s side, though some vehicles have it in different locations). Insert the scanner’s connector, turn on your ignition to the “On” position without starting the engine, and follow the device’s menu prompts. Most scanners will display your vehicle’s specific trouble codes, allowing you to research the exact issue before deciding on repairs.
The beauty of an OBD2 scanner is that it empowers you with knowledge. Rather than guessing what triggered the light, you have concrete data. A code like P0455 (evaporative emission control system leak detected) tells you exactly where to focus your attention. Many times, you’ll discover the problem is something you can fix yourself, like a loose gas cap or a corroded oxygen sensor connector.
Quality OBD2 scanners range from basic code readers to advanced diagnostic tools. For most DIY enthusiasts, a mid-range scanner ($75-150) offers the perfect balance of functionality and affordability. Look for models that provide live data streaming, freeze frame information, and the ability to clear codes—essential features for serious troubleshooting.
When to Seek Professional Help
While resetting the check engine light is something many car owners can handle themselves, certain situations definitely warrant professional attention. If your light is flashing, stop driving immediately and call a mechanic. This indicates a serious problem that could cause significant engine damage if ignored.
Complex diagnostic codes also suggest you should consult a professional. If you’re seeing codes related to transmission issues, it might be time to have a technician check your transmission fluid and perform a complete transmission diagnostic. Similarly, if your check engine light returns repeatedly after resetting, the underlying issue is likely beyond simple DIY fixes.
Professional mechanics have access to manufacturer-specific diagnostic tools and years of experience interpreting trouble codes. They can also perform more comprehensive testing to ensure the problem is truly resolved. Sometimes what appears to be a simple issue has multiple contributing factors that require professional expertise to address properly.
If you’re uncomfortable working on your vehicle or unsure about the severity of the problem, there’s no shame in getting professional help. A diagnostic fee (usually $50-150) is a small price for peace of mind and potentially preventing costly engine damage down the road.
Prevention Tips for Future Issues
The best way to handle the check engine light is to prevent it from appearing in the first place. Regular maintenance is your first line of defense. This includes checking your engine oil regularly to ensure proper lubrication and engine health. Low oil levels can trigger various warning codes and potentially damage your engine.
Keep your gas cap secure and in good condition. A loose or damaged gas cap is one of the most common reasons the check engine light appears. It’s also one of the easiest fixes—simply tightening or replacing the cap might be all you need.
Stay on top of scheduled maintenance intervals. Regular oil changes, air filter replacements, and transmission service keep your vehicle running smoothly. Changing your transmission fluid on schedule prevents many transmission-related warning codes from appearing.
Pay attention to your vehicle’s performance. Strange sounds, unusual smells, or changes in how your car drives are often early warnings that something needs attention. Addressing these issues before the check engine light appears can prevent more serious problems.
Finally, invest in quality fuel and avoid running on an empty tank. Poor-quality fuel can cause sensor issues, and running on fumes can damage your fuel pump. These preventative measures significantly reduce the likelihood of seeing that warning light on your dashboard.
Frequently Asked Questions
Can I drive with the check engine light on?
If the light is solid, you can generally drive safely, though you should get it diagnosed soon. If the light is flashing, do not drive—this indicates a serious problem that could damage your engine. A flashing check engine light means your vehicle is misfiring or has another critical issue requiring immediate attention.
How long does it take for the check engine light to come back after resetting?
If you’ve properly addressed the underlying issue, the light shouldn’t return. If it comes back within a few days of resetting, the problem wasn’t actually resolved. This is a sign you need more comprehensive diagnostics or professional help.
Will the check engine light reset itself?
Sometimes, yes. If the problem was intermittent and has resolved itself, the light may automatically turn off after several successful drive cycles. However, most codes require manual clearing either through a reset method or professional diagnostics.
Is it bad to reset the check engine light without fixing the problem?
Yes, doing this simply masks the problem without addressing it. Your vehicle’s diagnostic system will continue to detect the issue, and the light will likely return. More importantly, you’re ignoring a warning that could lead to more serious and expensive damage.
What’s the difference between a solid and flashing check engine light?
A solid light indicates a detected problem that’s worth investigating but not immediately critical. A flashing light signals a serious issue—typically a misfire or emissions system failure—that requires immediate attention to prevent engine damage.
How much does it cost to have a mechanic reset the check engine light?
Diagnostic fees typically range from $50-150, depending on your location and the shop. If they identify a problem requiring repair, that cost would be additional. Many shops offer this service as part of a comprehensive diagnostic.
Can a loose gas cap really trigger the check engine light?
Absolutely. A loose or missing gas cap allows fuel vapors to escape, triggering an evaporative emission system code. It’s one of the easiest problems to fix—often the light will turn off after you secure or replace the cap and clear the code.
Related Posts

How Long to Boil Lobster Tails: Cooking Guide

How Long to Fly from New York to London? Travel Times
