
How to Remove Gel Varnish: Expert Tips
How to Remove Gel Varnish: Expert Tips for Perfect Results
Gel varnish has revolutionized the nail game, delivering salon-quality finishes that last for weeks without chipping. But here’s the thing—getting that gorgeous gel mani off can feel like defusing a bomb if you don’t know what you’re doing. Strip it wrong, and you’ll end up with damaged, brittle nails that look worse than before you started. The good news? Removing gel varnish doesn’t have to be a nightmare. With the right approach, you can safely dissolve that stubborn polish and keep your nails healthy and strong.
Whether you’re dealing with a chip that’s driving you crazy or you’re ready for a fresh color, this guide walks you through every method professionals use. We’ll cover everything from the acetone soak technique to creative alternatives that work just as well. You’ll learn the tools you need, the mistakes to avoid, and exactly how long the process takes. Let’s dive in and get those nails back to their natural beauty.
Why Proper Removal Matters
Let’s be honest—your nails aren’t meant to have anything permanently glued to them. Gel varnish bonds to the nail plate through a chemical process, and peeling it off with your fingers or using random tools is basically asking for trouble. When you rush the removal process, you’re not just removing polish; you’re potentially removing layers of your nail itself.
Improper removal can lead to peeling, splitting, and weakened nails that take months to recover. Your nail beds might become thin and sensitive, making them susceptible to breakage and infection. The keratin structure gets compromised, and suddenly you’re stuck with nails that feel paper-thin and look dull. None of that sounds appealing, right?
Proper removal techniques dissolve the gel bond without causing trauma to your nail structure. This means your nails stay strong, healthy, and ready for whatever comes next—whether that’s another gel application or a break to let them breathe. Taking 15-20 minutes to do it right now saves you months of nail recovery later.
The Acetone Soak Method
This is the gold standard for gel varnish removal, and it’s what most nail technicians use in salons. Pure acetone is the only solvent strong enough to break down gel polish effectively without damaging the nail bed. When you remove gel polish using acetone, you’re working with chemistry that actually works.
What You’ll Need:
- Pure acetone (100% acetone—not nail polish remover with acetone in it)
- Small bowls or acetone-safe containers
- Nail file or buffer
- Cuticle pusher or orange stick
- Cotton pads or lint-free wipes
- Aluminum foil (optional but recommended)
- Moisturizing cuticle oil or hand cream
- Nail clippers for trimming if needed
Step-by-Step Process:
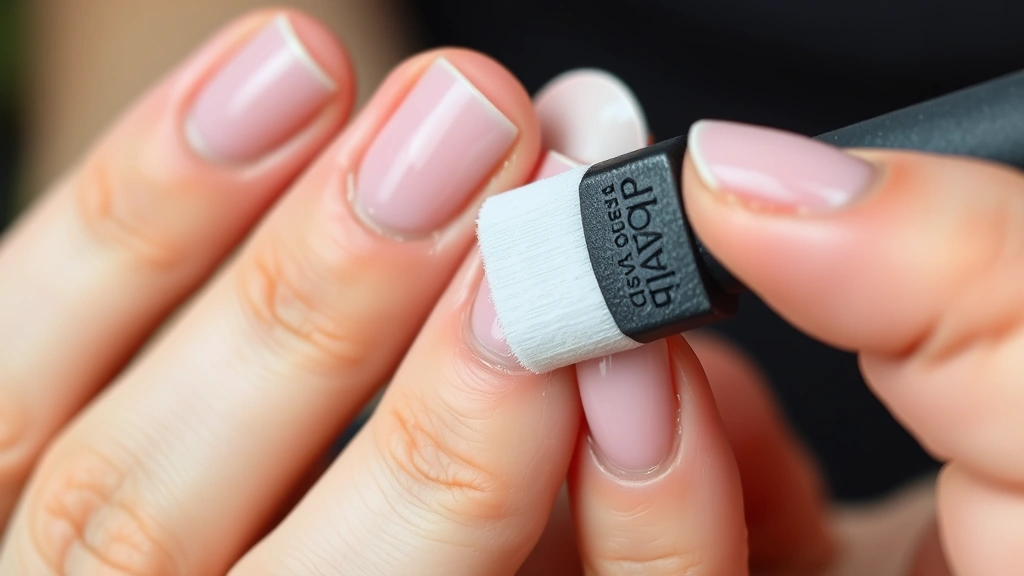
- File the surface: Use a nail file to gently buff away the shiny top coat of the gel. This breaks the seal and allows acetone to penetrate more effectively. Don’t go crazy—you’re just dulling the surface, not grinding down your nails.
- Soak cotton pads: Pour pure acetone into a small bowl and soak cotton pads or lint-free wipes thoroughly. You want them saturated but not dripping everywhere.
- Apply to nails: Place the soaked cotton pad directly on each nail, making sure it covers the entire nail surface. Press it down firmly to create contact between the acetone and the gel.
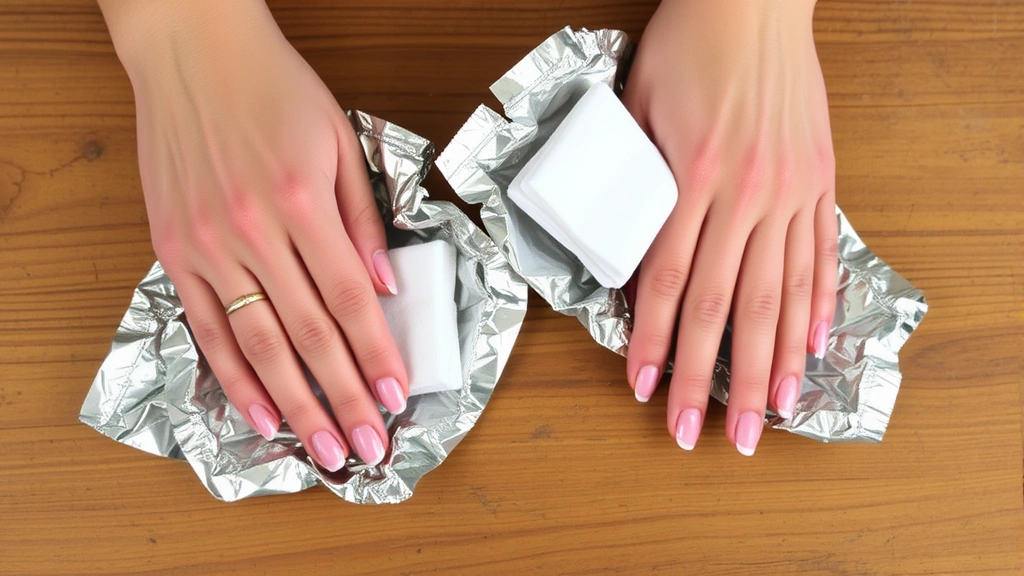
- Wrap with foil: Wrap aluminum foil around each finger to hold the cotton pad in place and create a sealed environment. This speeds up the dissolution process significantly. Leave the foil wraps on for 10-15 minutes.
- Check progress: After 10 minutes, gently unwrap one finger and check if the gel is softening. The polish should start peeling away from the edges. If it’s still hard, rewrap and wait another 5 minutes.
- Gently remove gel: Once softened, use a cuticle pusher to gently lift and roll the gel away from your nail. Work slowly and let the acetone do the work—don’t scrape aggressively or you’ll damage the nail plate.
- Clean remaining residue: For stubborn spots, reapply acetone-soaked cotton and wait another few minutes. Once all gel is removed, wash your hands thoroughly with soap and water.
- Cut aluminum foil into squares about 2-3 inches on each side
- Saturate a cotton pad with pure acetone
- Place the cotton pad on your nail
- Wrap the foil tightly around your finger, folding it like you’re wrapping a present
- Make sure the foil covers the cotton pad completely and seals at the edges
- Repeat for all ten fingers
The entire process typically takes 20-30 minutes for all ten nails. Yes, it requires patience, but your nails will thank you for taking the time to do it properly. Many professionals recommend doing this removal every 3-4 weeks when you have gel nails, so mastering the technique is definitely worth the investment in learning.
The Foil Wrap Technique
The foil wrap method is essentially an enhancement of the acetone soak that makes the process faster and more efficient. Instead of trying to balance cotton pads on your fingers, you’re creating individual acetone delivery systems that stay in place and work continuously.
Why Foil Wraps Work Better:
The aluminum foil creates an airtight seal that keeps acetone from evaporating. Since acetone is volatile and evaporates quickly at room temperature, this seal is crucial. It also maintains the heat generated by the chemical reaction, which speeds up the dissolution process. Think of it like creating a mini sauna for each fingernail—the warmth and moisture work together to soften the gel faster.
When you’re learning how to remove gel polish effectively, the foil wrap method is your secret weapon for efficiency without sacrificing nail health.
Creating Perfect Foil Wraps:
Leave the wraps on for 10-15 minutes, then check your progress. You might feel a slight warming sensation—that’s normal and actually helps the acetone work faster. Some people even use a heating pad or warm water bath to speed things up further, though it’s not necessary.
Alternative Removal Methods
Not everyone can use pure acetone due to sensitivity or availability issues. Fortunately, there are alternatives, though they’re generally less effective and take longer.
Non-Acetone Removers:
Some commercial gel removers use different solvents like ethyl acetate or isopropyl alcohol. These are gentler on skin but significantly less effective on gel polish. If you decide to get gel nail polish off using non-acetone methods, expect to spend 30-45 minutes on the process. The soaking times are longer, and you might need to reapply the remover multiple times.
The Enzymatic Approach:
Some newer gel removers use enzyme-based formulas that break down the gel polymer bonds. These work gradually and require extended soaking—sometimes 20-30 minutes or longer. They’re less harsh on skin and nails, but they’re also pricier and not always readily available. If your nails are particularly sensitive or damaged, this might be worth trying.
The Drill Method (Professional Only):
Nail technicians sometimes use electric nail drills to file away gel polish. This is fast but risky if you don’t know what you’re doing. One slip and you can cause serious damage to your nail bed. Unless you’re trained, skip this method entirely. The time you save isn’t worth the potential damage.
Combination Approach:
Some people combine acetone soaking with gentle filing. After 10 minutes of soaking, they use a fine-grit file to gently buff away loosened gel, then soak again. This can speed up the process, but be careful not to file too aggressively. Your goal is to work with the softened gel, not against it.
Aftercare and Recovery
Removing gel varnish is only half the battle. What you do afterward determines whether your nails bounce back healthy or stay damaged for weeks.
Immediate Post-Removal Care:
After you’ve finished removing all the gel, your nails have been exposed to acetone for an extended period. They’re dehydrated and potentially weakened. Immediately after removal, wash your hands with gentle soap and lukewarm water. Pat dry gently—don’t rub aggressively.
Apply a rich cuticle oil or hand cream to your nails and surrounding skin. This rehydrates the nail plate and helps restore moisture that acetone stripped away. Look for products with nourishing ingredients like jojoba oil, vitamin E, or keratin. Your nails will visibly improve within a few hours of proper moisturizing.
The Recovery Period:
Give your nails at least one week of rest before applying new gel varnish. During this time, keep them moisturized and avoid excessive water exposure. Wear gloves when doing dishes or cleaning to protect your recovering nails. This break allows the nail plate to rehydrate and strengthen, preventing the brittleness and peeling that comes from back-to-back gel applications.
If you notice white spots, ridges, or peeling after removal, that’s normal. These typically fade within 2-3 weeks as your nails grow out. Keep them moisturized and protected, and they’ll return to normal.
Strengthening Treatments:
Consider using a nail strengthening treatment during your break from gel. These products contain ingredients that fortify the keratin structure and help nails grow stronger. Apply them daily, especially to the nail bed and cuticles. Some people use biotin supplements internally as well, though results vary from person to person.
Common Mistakes to Avoid
Even with good intentions, people make removal mistakes that damage their nails. Here’s what to watch out for:
Using the Wrong Product:
Acetone-based nail polish remover is not the same as pure acetone. Polish remover typically contains 30-50% acetone plus other ingredients that don’t dissolve gel effectively. Don’t waste time with this—get pure acetone from a pharmacy, beauty supply store, or online retailer.
Rushing the Process:
Gel varnish doesn’t dissolve instantly. When people get impatient and start scraping or picking at partially-softened gel, they damage their nails. Let the acetone do the work. Patience is literally the only thing standing between healthy nails and damaged ones.
Skipping the File Step:
That shiny top coat on gel polish acts as a seal. If you skip buffing it down, acetone takes much longer to penetrate. You’ll end up soaking for 30+ minutes when 15 would have been enough. A quick file makes a huge difference.
Not Protecting Your Skin:
Acetone is harsh on skin and can cause dryness, irritation, and even chemical burns with prolonged exposure. Apply a barrier cream around your nails before soaking, or use foil wraps that minimize skin contact. If you have sensitive skin, consider wearing nitrile gloves under the foil wraps.
Ignoring Aftercare:
Your nails don’t magically recover after removal. If you skip the moisturizing and rest period, you’ll deal with weak, peeling nails for weeks. The aftercare is just as important as the removal process itself. When you remove nail glue or other adhesive products, the same principle applies—aftercare matters.
Applying New Gel Too Soon:
Your nails need recovery time. Applying new gel varnish within 24-48 hours of removal doesn’t give them time to rehydrate. You’re essentially stacking stress on already-stressed nails. Wait at least a week, and your next gel application will look better and last longer.
Frequently Asked Questions
Can I use regular nail polish remover to remove gel varnish?
No. Regular nail polish remover contains only 30-50% acetone and additional ingredients that don’t dissolve gel. You need pure acetone (100%) for effective removal. Regular remover will leave you soaking for hours with minimal results. It’s simply not formulated for gel polish, which is a completely different product with stronger chemical bonds.
How long does it take to remove gel varnish?
Using the acetone soak method with foil wraps, expect 15-20 minutes total. This includes filing the top coat, soaking, and gently removing the softened gel. If you’re using alternative methods like non-acetone removers, add another 15-30 minutes. The key is not rushing—speed comes from using the right method, not from scraping faster.
Will acetone damage my nails?
Pure acetone is harsh and dehydrating, but it won’t damage your nails if you use it properly and follow up with aftercare. The damage comes from improper removal technique—scraping, picking, or forcing gel off before it’s fully softened. If you let the acetone do the work and moisturize afterward, your nails will be fine. Professional nail technicians use acetone regularly without damaging their own nails.
What if my nails are already damaged?
If your nails are peeling, thin, or brittle, consider using a gentler alternative like enzyme-based gel removers. These work more slowly but cause less trauma. You can also try the acetone method but reduce soaking time to 10 minutes and be extra gentle during removal. Take a longer break after removal—aim for 2-3 weeks instead of one week—to allow full recovery.
Can I remove gel varnish at home safely?
Absolutely. The process is straightforward and safe if you follow proper technique. The main risks come from rushing, using wrong products, or not protecting your skin. Take your time, use pure acetone, protect the skin around your nails, and follow proper aftercare. You’ll get results just as good as a salon.
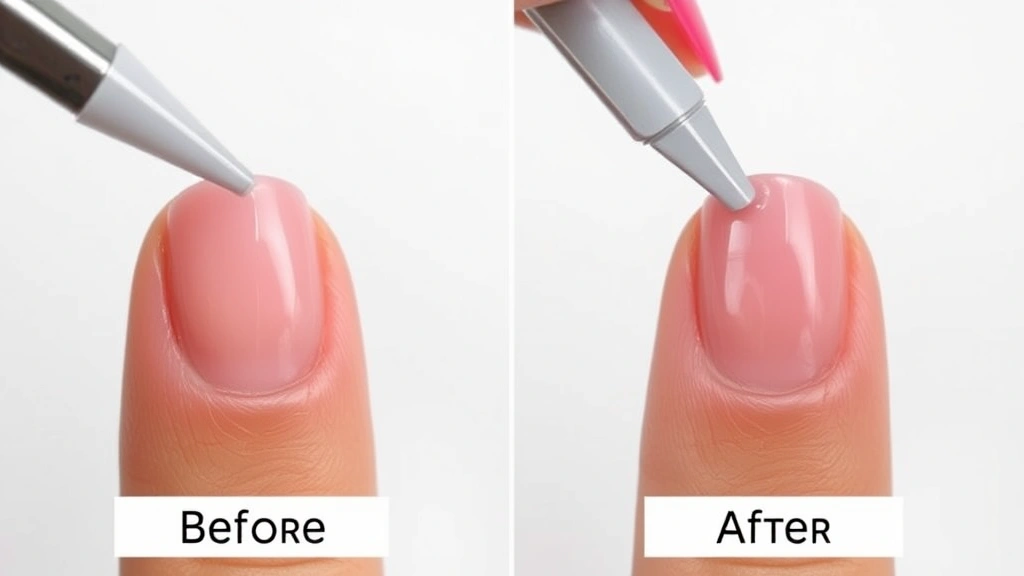
Why does my nail look cloudy after gel removal?
Cloudiness is usually caused by dehydration or residual gel residue. Make sure you completely remove all gel—sometimes thin layers get missed. Then moisturize heavily with cuticle oil or nail cream. The cloudiness typically fades within a few hours to a few days as your nails rehydrate. If it persists beyond a week, it might be a sign of nail damage that needs more recovery time.
Is it better to remove gel at a salon or at home?
Both are equally safe if done properly. Salons have the advantage of professional experience and better ventilation (acetone fumes can be strong). Home removal is more convenient and cost-effective. The difference in results is minimal if you follow proper technique. Choose based on your comfort level and schedule—either way works perfectly fine.
Can I use the same acetone bottle for multiple removal sessions?
Yes, but with caveats. Acetone evaporates quickly, so a bottle left open will lose potency. Keep your acetone in a tightly sealed container in a cool, dark place. Check it before each use—if it’s been sitting for months, it might be weaker. For best results, use fresh acetone, but old acetone will still work; it just might take slightly longer.
Related Posts

How Long to Boil Lobster Tails: Cooking Guide

How Long to Fly from New York to London? Travel Times
