
How to Plant Grass Seed: Expert Tips
How to Plant Grass Seed: Expert Tips for a Lush, Healthy Lawn
There’s something deeply satisfying about transforming a patchy, worn-out lawn into a verdant carpet of green. Whether you’re dealing with bare spots from last winter or starting from scratch, knowing how to plant grass seed properly can mean the difference between a thriving yard and a frustrating waste of time and money. The good news? It’s far simpler than most people think, and you don’t need expensive equipment or a degree in horticulture to pull it off.
The secret to successful grass seeding lies in understanding a few fundamental principles: soil preparation, timing, seed selection, and consistent moisture. Master these elements, and you’ll be well on your way to a lawn that’s the envy of your neighborhood. This guide walks you through every step of the process, from assessing your lawn’s needs to nurturing those tender seedlings into mature grass plants.
What makes this particularly exciting is that grass seeding is one of the most forgiving DIY projects you can tackle. You can start small with a single problem area, or go big with a complete lawn renovation. Either way, the techniques remain the same, and the results speak for themselves.
Timing Your Grass Seed Project
Timing is everything when it comes to planting grass seed. The best time depends largely on your climate zone and the type of grass you’re growing. Cool-season grasses—which dominate northern regions—germinate best in fall (September through November) or early spring (March through May). Warm-season grasses, common in southern climates, prefer late spring and early summer (May through July).
Why does timing matter so much? Seedlings need consistent moisture and moderate temperatures to germinate. Plant during extreme heat or cold, and you’re fighting an uphill battle. Fall seeding is often considered the gold standard for cool-season grasses because soil is still warm from summer, but air temperatures are cooling down, reducing evaporation and stress on tender seedlings.
Check your local frost dates and avoid seeding within two weeks of your expected first or last frost. You’ll also want to time your project to avoid heavy rain forecasts—while moisture is essential, torrential downpours can wash seeds away or create muddy conditions that make preparation difficult.
Assessing Your Lawn’s Needs
Before you even think about buying seed, take a hard look at your lawn. Walk through it. Identify problem areas. Are you dealing with a few scattered bare patches, or is the entire lawn thin and struggling? Understanding the scope of your project helps you decide whether you need spot seeding or a complete overhaul.
Next, conduct a soil test. This might sound technical, but it’s surprisingly simple. Most county extension offices offer inexpensive soil testing services, or you can purchase a DIY kit from any garden center. The test reveals your soil’s pH level, nutrient content, and organic matter percentage. This information is crucial because grass seed won’t thrive in poorly balanced soil, no matter how carefully you plant it.
While you’re assessing, also evaluate drainage. Do puddles form in certain areas after rain? Poor drainage is a common culprit behind thin, unhealthy grass. If you’re dealing with significant drainage issues, you may need to address those before planting seed. However, for minor drainage concerns, incorporating organic matter during soil preparation can help.

Soil Preparation: The Foundation of Success
This is where many DIYers rush and later regret it. Proper soil preparation is genuinely the most important step in the entire process. You can have premium seed and perfect timing, but poor soil preparation will sabotage everything.
Start by removing debris—rocks, sticks, dead leaves, and thatch buildup. For small areas, a rake works fine. For larger sections, consider renting a power rake or dethatcher. These machines pull out dead grass and organic matter that can suffocate new seedlings.
Next, loosen the soil. Compacted soil prevents seeds from making contact with the soil, which they need for germination. Use a garden fork or rent a core aerator. Aerators create small holes throughout the lawn, loosening soil and improving drainage simultaneously. This is particularly important if your lawn has heavy foot traffic or clay-based soil.
Now it’s time to amend your soil based on your test results. Most lawns benefit from adding compost or aged manure—aim for a half-inch to one-inch layer worked into the top two to three inches of soil. If your soil is acidic (pH below 6.0), add lime. If it’s alkaline (pH above 7.5), add sulfur. These amendments take time to work, so apply them a few weeks before seeding if possible.
Finally, rake the area smooth and level. You want a firm but not compacted seedbed. Gently tamp it down with your feet or a light roller, then rake again to create a fine, even surface where seeds will make good contact with soil.
Choosing the Right Grass Seed
Not all grass seed is created equal, and choosing the wrong type is a recipe for disappointment. Your seed selection depends on three factors: your climate zone, your lawn’s sunlight exposure, and your soil conditions.
Cool-season grasses include Kentucky bluegrass, perennial ryegrass, and tall fescue. These thrive in northern climates and tolerate cold winters well. Warm-season grasses include Bermuda grass, zoysia, and St. Augustine grass, which prefer southern heat.
Next, consider sunlight. Full-sun areas need different grass varieties than shaded spots. Most seed bags indicate whether the seed is suited for sun, shade, or a mix of both. Check the label carefully—planting shade-tolerant seed in full sun, or vice versa, almost guarantees poor results.
Pay attention to seed quality, too. Look for bags labeled with a “germination percentage”—this indicates what percentage of seeds will actually sprout. Aim for at least 85 percent germination. Also check the label for weed and chaff percentages; lower numbers are better. Home Depot’s grass seed selection offers detailed labeling to help you make informed choices.
If you’re planting a larger area, consider a blend rather than a single variety. Blends provide insurance against varying soil and light conditions across your lawn.

The Actual Planting Process
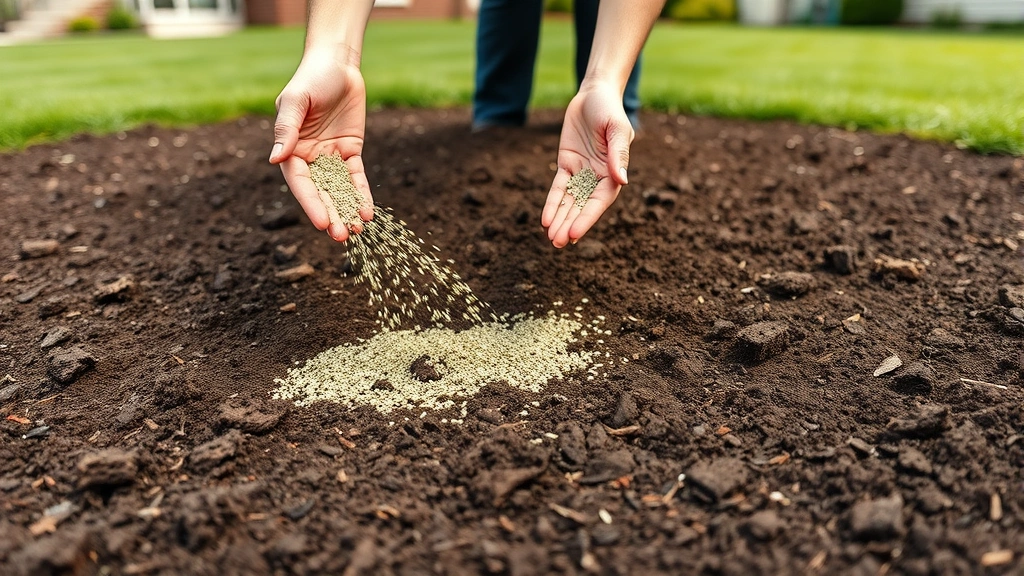
With soil prepared and seed selected, you’re ready to plant. For small areas, you can broadcast seed by hand—simply scatter it evenly across the soil. For larger areas, a mechanical spreader makes the job easier and more consistent. Spreaders come in two types: broadcast spreaders (which throw seed in a wide arc) and drop spreaders (which deposit seed in a narrow line). Most people prefer broadcast spreaders for speed and ease.
Whatever method you use, apply seed at the rate specified on the bag. More seed doesn’t equal better results; in fact, overseeding can lead to overcrowding and disease problems. Most bags recommend 5 to 10 pounds per 1,000 square feet, depending on the grass type.
For even coverage, divide your seeding area into sections and work systematically through each one. If using a spreader, make overlapping passes to avoid missing strips. With hand broadcasting, toss seed in a controlled arc, moving steadily across the area.
Once you’ve spread seed, lightly rake the area to work seeds into the soil surface. This ensures good soil contact, which is essential for germination. You want seeds nestled just barely below the soil surface—deep burial prevents germination.
Now comes a step many people skip: topdressing. Spreading a thin layer of compost or straw over seeded areas helps retain moisture and protects seeds from birds. Keep this layer light—quarter-inch to half-inch is plenty. Too much can prevent seedlings from pushing through.
Aftercare and Maintenance
Planting seed is only half the battle. The next two to three weeks are critical as seeds germinate and seedlings establish themselves. This is where consistency matters tremendously.
Water is your most important tool right now. Seeds need constant moisture to germinate—not waterlogged, but never dry. Water lightly and frequently, ideally twice daily (morning and late afternoon). Depending on weather conditions, this might mean brief sprinklings with a hose or gentle sprinkler irrigation. Once seedlings emerge and develop their first true leaves, you can reduce watering frequency but increase the amount per watering to encourage deeper root development.
After about three weeks, when seedlings are 2 to 3 inches tall, you can begin normal watering practices—deep watering once or twice weekly, depending on rainfall and temperature. This encourages deeper root growth and stronger plants.
Resist the urge to mow until grass reaches 3 to 4 inches tall, and even then, remove no more than one-third of the blade height per mowing. For the first few weeks, keep foot traffic to a minimum. Those tender seedlings are fragile and easily damaged.
If you’re interested in expanding your gardening knowledge beyond lawn care, you might explore other growing projects. For instance, how to grow carrots teaches similar soil preparation principles. Or if you’re interested in expanding your vegetable garden, you could learn about how to grow garlic and how to grow onions, both of which benefit from well-prepared soil. You might even try how to grow ginger in containers if you want fresh herbs alongside your new lawn.
Common Mistakes to Avoid
Even with solid preparation, a few common pitfalls can derail your grass seeding project. Understanding these mistakes helps you sidestep them entirely.
Skipping soil testing: This is the most expensive mistake you can make. Poor soil conditions sabotage even premium seed. A $20 soil test saves you from wasting money on seed and amendments that won’t help.
Planting at the wrong time: Timing determines success more than any other factor. Plant too early or too late, and you’re fighting nature. Check your local frost dates and plan accordingly.
Overseeding: More seed doesn’t equal better results. Overcrowded seedlings compete for resources, leading to weak, disease-prone grass. Stick to recommended rates.
Inconsistent watering: Germinating seeds are incredibly thirsty. Miss a few days of watering, and you’ll lose the entire crop. If your schedule doesn’t allow frequent watering, consider hiring someone or using an automated irrigation system.
Mowing too early: Young grass is delicate. Mowing before seedlings are well-established damages them irreparably. Wait until grass is 3 to 4 inches tall, and even then, use a high mower setting.
Choosing the wrong grass type: Read seed labels carefully. Sun-loving grasses fail in shade, and shade-tolerant varieties struggle in full sun. Know your lawn’s conditions before buying seed.
For more detailed guidance on seed selection and timing, This Old House provides comprehensive lawn seeding instructions. Additionally, Family Handyman offers step-by-step seeding techniques with helpful visuals.
Frequently Asked Questions
How long does grass seed take to germinate?
Most cool-season grasses germinate within 7 to 14 days under ideal conditions. Warm-season grasses typically take 14 to 21 days. Germination time depends on soil temperature, moisture, and seed variety. Soil temperature is particularly important—cool-season grasses need soil temperatures between 50 and 65 degrees Fahrenheit for optimal germination, while warm-season grasses prefer 70 to 85 degrees Fahrenheit.
Can I plant grass seed in spring and fall simultaneously?
Yes, but it’s generally unnecessary. Planting during the optimal season for your grass type gives you the best results. Planting during non-ideal seasons wastes seed and resources. Focus on one season per year for best outcomes.
What’s the difference between seeding and sodding?
Seeding is slower and cheaper but requires more patience and care. Sod provides instant results but costs significantly more and requires proper installation. For most homeowners, seeding small to medium areas is more economical. Sodding makes sense for large areas or when you need immediate results.
Should I use a starter fertilizer when planting grass seed?
A balanced starter fertilizer can help, but it’s not essential if you’ve properly amended your soil. If you do use fertilizer, choose one formulated for new grass with a higher phosphorus content (the middle number on the fertilizer label). Apply according to package directions, being careful not to over-fertilize, which can burn seedlings.
How do I handle existing weeds in my lawn?
Tackle weeds before seeding. For light weed pressure, manual removal works. For heavy infestation, consider a non-selective herbicide like glyphosate applied 7 to 10 days before seeding. Always follow label instructions. Alternatively, you can overseed aggressively with quality grass seed—healthy, dense grass naturally crowds out weeds.
Can I plant grass seed over existing dead grass?
Not effectively. Dead grass creates a barrier between seed and soil, preventing good contact and germination. Remove dead grass through raking, power raking, or scalping (mowing very short). This extra step is crucial for success.
What’s the best way to water newly seeded areas?
Family Handyman’s watering guide for grass seed recommends light, frequent watering. Use a fine mist or gentle sprinkler to avoid washing seeds away. Water early morning and late afternoon when possible to minimize evaporation. Once seedlings emerge, gradually reduce frequency but increase amount per watering.
Is it too late to seed my lawn in summer?
Summer seeding is generally not recommended for cool-season grasses due to heat stress on tender seedlings. Warm-season grasses can be seeded in early summer (May to early June), but late summer seeding often fails due to insufficient time for establishment before cooler weather. Stick to recommended seasons for best results.
How often should I fertilize newly seeded grass?
Hold off on heavy fertilization until grass is well-established (usually 6 to 8 weeks after germination). A light starter fertilizer at planting time is sufficient if your soil is balanced. Once grass is mowing-height, you can resume your normal fertilization schedule based on soil test recommendations.
Related Posts

How Long to Boil Lobster Tails: Cooking Guide

How Long to Fly from New York to London? Travel Times
