
How to Make Mexican Street Corn: Easy Recipe Guide
How to Make Mexican Street Corn: Easy Recipe Guide
Mexican street corn—or elote, as it’s known south of the border—is one of those dishes that seems impossibly simple yet delivers restaurant-quality flavor every single time. There’s something magical about the combination of charred corn, creamy mayo, tangy cotija cheese, and fresh cilantro that transforms a humble vegetable into something genuinely crave-worthy. Whether you’re planning a backyard gathering or just want to elevate your weeknight dinner, this guide will walk you through everything you need to know.
What makes street corn so special isn’t the ingredients themselves—honestly, the component list reads like something you’d find in any well-stocked kitchen. It’s the technique and the balance of flavors that create that addictive quality. The char from grilling brings out the corn’s natural sweetness, while the creamy, tangy coating cuts through the richness perfectly. Once you master the basic method, you’ll find yourself making this constantly.
The best part? You don’t need any fancy equipment or culinary training. If you can grill corn and mix a sauce, you’re already most of the way there. Let’s break down exactly how to make Mexican street corn that’ll have your guests asking for the recipe.
Ingredients You’ll Need
The beauty of Mexican street corn is that the ingredient list is refreshingly short. You’ll need fresh corn on the cob—ideally four to six ears depending on your crowd size. Fresh corn makes a noticeable difference in flavor and texture compared to frozen, though frozen works in a pinch if you thaw it first.
For the creamy coating, grab mayonnaise (about half a cup), fresh lime juice (two limes should do it), and minced garlic. The garlic is non-negotiable here—it adds depth that plain mayo simply can’t match. If you want to make garlic butter as an alternative base, that works beautifully too, especially if you’re grilling multiple items alongside your corn.
You’ll also need cotija cheese (crumbled), fresh cilantro (chopped), and salt plus freshly ground black pepper. The cotija is essential—it’s a crumbly, salty Mexican cheese that provides that distinctive tangy bite you simply can’t replicate with other cheeses. Find it in the specialty cheese section of most grocery stores, or ask your deli counter.
Optional but recommended additions include a pinch of chili powder (Tajín seasoning is traditional), fresh jalapeños for heat, and a splash of hot sauce mixed into the mayo. These additions let you customize the heat level to your preference.
Preparation Steps
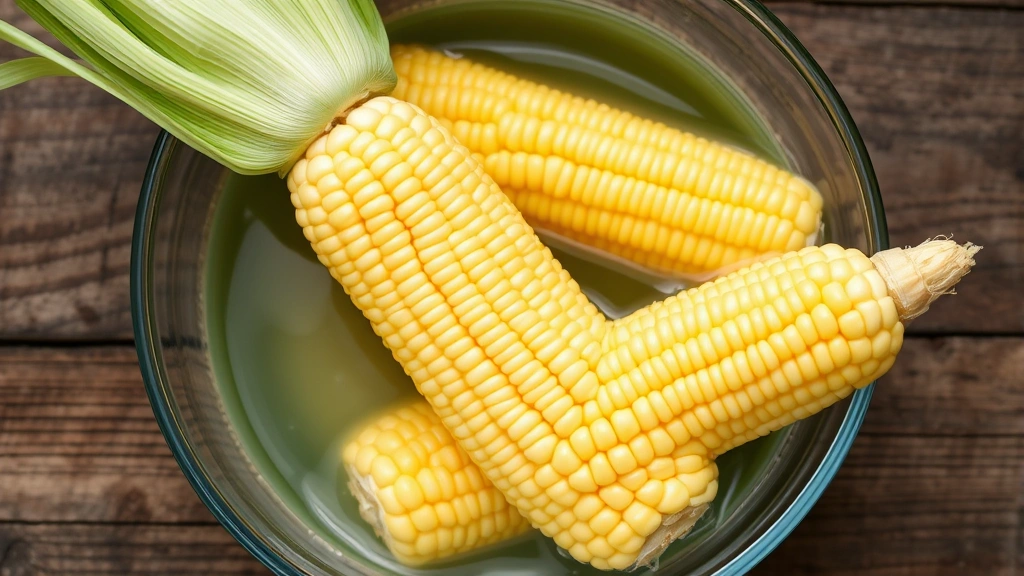
Start by preparing your corn about 30 minutes before grilling. Peel back the husks carefully without removing them completely—you want to keep them attached at the base. Remove the silk strands (the annoying stringy bits) by rubbing the corn under running water or with a damp paper towel. This step is tedious but worth it because leftover silk gets stuck in your teeth.
Once the silk is removed, fold the husks back up to cover the kernels. Soak the wrapped corn in cold water for at least 15-20 minutes. This prevents the husks from burning too quickly on the grill and keeps the kernels from drying out. While the corn soaks, you can prep your sauce.
Combine your mayo, lime juice, and minced garlic in a small bowl. Whisk it together until smooth and well combined. Taste it and adjust the lime juice and garlic to your preference—this is your moment to make it exactly how you like it. Some people prefer it tangier, others like more garlic punch. There’s no wrong answer here.
Finely chop your cilantro and crumble your cotija cheese into a separate shallow dish. You can mix them together or keep them separate depending on how you want to apply them later. Having everything prepped and ready makes the final assembly incredibly quick once the corn comes off the grill.
Grilling the Corn
Preheat your grill to medium-high heat (around 400°F if you have a thermometer). Once it’s hot, carefully pull back the husks on your corn and brush the kernels lightly with a bit of neutral oil. This helps them char nicely and prevents sticking. Season with a small pinch of salt and pepper at this stage.
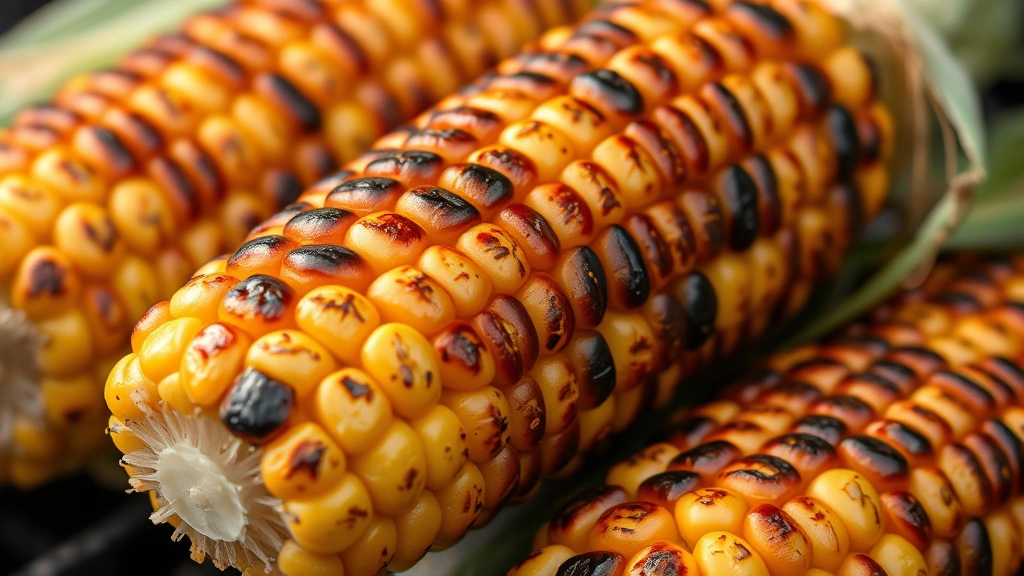
Fold the husks back down and place the corn directly on the grill grates. You want them perpendicular to the grates so they don’t roll around. Close the grill lid and let them cook for about 15-20 minutes, turning every 3-4 minutes to ensure even cooking and charring. You’re looking for light brown char marks on the kernels when you peel back the husks—this is where the magic happens flavor-wise.
If your grill doesn’t have a lid, you can create a makeshift cover with aluminum foil. The goal is gentle, even heat that cooks the corn through while developing some char. Don’t rush this step. The time investment pays off in flavor.
Once the corn is tender (test by piercing a kernel with a fork) and has some nice char, remove it from the grill and let it cool for just a minute or two. You want it warm enough that the mayo mixture will meld slightly into the kernels, but cool enough that you can handle it comfortably.
Making the Perfect Sauce
While your corn is still warm, immediately brush the mayo mixture generously all over the kernels. Work quickly because the warmth helps the sauce adhere and slightly soften, creating a creamy coating rather than a thick layer sitting on top. Use a pastry brush or the back of a spoon to spread it evenly.
The mayo base is really the foundation of the entire dish. Some people get nervous about using mayo, thinking it’ll be heavy or unappetizing, but trust the process. The lime juice cuts through the richness beautifully, and when combined with the warm corn and other toppings, it creates something genuinely addictive. If you’re still hesitant, you could try the garlic butter approach instead—melt together butter with minced garlic and apply it the same way.
If you’re making garlic butter as your sauce base, the application method is identical. Brush it on while the corn is warm so it melts slightly into the kernels. Some people prefer this version because it feels slightly less heavy, though both versions are equally authentic and delicious.
Work in batches if you’re making a large quantity. You don’t want the corn cooling down before you get all your toppings on. Each ear should be fully coated with the mayo mixture before you move to the cheese and cilantro step.
Assembly and Finishing Touches
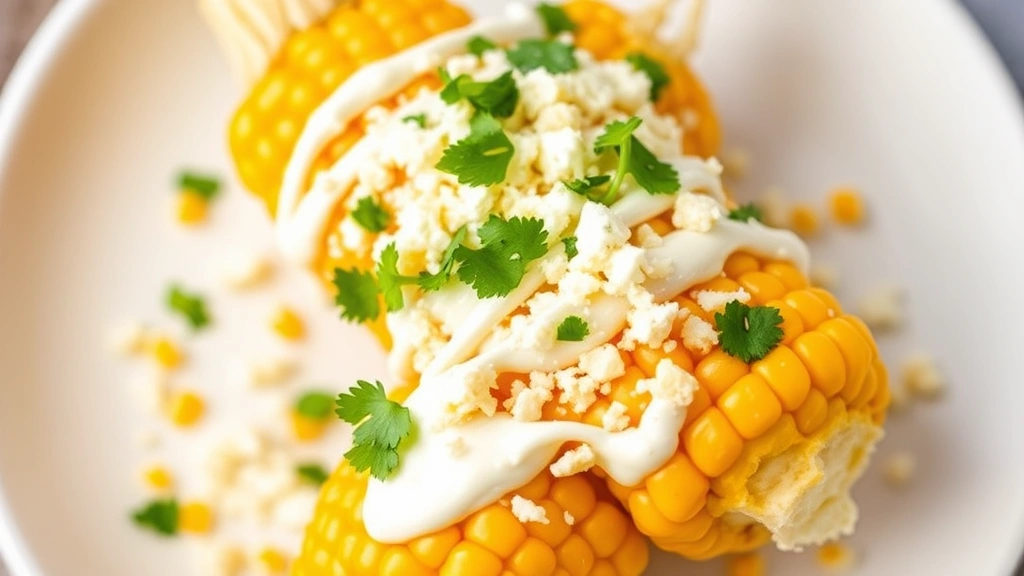
Once the mayo is applied, immediately roll or sprinkle the cotija cheese and cilantro mixture all over the corn. The warmth will help the cheese adhere nicely. If you’re using Tajín or chili powder, dust it on now as well. The seasoning sticks better to the wet mayo than it would to plain corn.
For an extra touch of authenticity and flavor, squeeze fresh lime juice directly over the finished corn just before serving. This adds brightness and prevents the dish from feeling too heavy. A small sprinkle of additional salt (just a pinch—remember, cotija is already salty) and a grind of black pepper completes the picture.
If you’re serving a crowd, arrange the finished corn on a large platter lined with parchment paper for easy cleanup. The corn does drip a bit as people eat it, so this saves your nice serving dishes. Provide small plates and napkins because this is definitely a hands-on eating experience.
If you’re planning a backyard gathering with multiple grilled items, you might want to coordinate timing with other dishes. For instance, if you’re also grilling burgers, you can prep your corn during the burger cooking time so everything finishes around the same time. Alternatively, if you’re seasoning salmon or other proteins, the corn can be your vegetable side that rounds out the meal.
Creative Variations
Once you’ve mastered the classic version, there are countless ways to play with the formula. Some people add crumbled bacon for smokiness and texture. Others mix a bit of hot sauce into the mayo base for heat. A sprinkle of crushed tortilla chips adds crunch, while fresh jalapeños provide a spicy kick.
You can also experiment with cheese choices. While cotija is traditional, feta cheese creates a similar salty, tangy effect. Queso fresco works in a pinch. Some adventurous cooks have even tried parmesan with interesting results—it’s less traditional but not unpleasant.
For vegetable-forward meals, you might incorporate freshly grown onions into your cilantro-cheese mixture, adding a fresh, sharp bite. Finely minced red onion works particularly well if you want color and crunch.
If you’re making this for a large gathering and want to keep things interesting, set up a topping bar. Let guests customize their own corn with different cheeses, heat levels, and herbs. It’s interactive, fun, and ensures everyone gets exactly what they want.
Storage and Make-Ahead Tips
Mexican street corn is best served immediately while still warm, but you can prep components ahead of time. The mayo mixture keeps in the refrigerator for up to three days in an airtight container. The cheese and cilantro mixture also stores well for a few days. The corn itself is best grilled fresh, but you can grill it a few hours ahead and reheat it gently on the grill or wrapped in foil in a warm oven.
If you have leftovers—which is rare because people eat this stuff quickly—store the finished corn in an airtight container in the refrigerator for up to two days. It’s actually delicious cold as a side salad the next day, though the texture of the corn softens slightly.
For meal prep purposes, you could even cut the kernels off the cob and store them mixed with the toppings in a container, creating a corn salad situation. It’s not quite the same as eating it on the cob, but it’s still delicious and works great for lunch boxes or as a side dish.
Frequently Asked Questions
Can I make Mexican street corn without a grill?
Absolutely. You can boil the corn in salted water for 8-10 minutes until tender, then apply all the same toppings. You won’t get the char flavor, but the overall dish is still delicious. Alternatively, you can pan-sear the corn in a cast iron skillet with a bit of oil over medium-high heat, turning occasionally, for about 10-12 minutes. This method actually creates decent char marks.
What if I can’t find cotija cheese?
Feta cheese is your best substitute—it has similar saltiness and tanginess. Queso fresco works too, though it’s slightly milder. In a pinch, you could even use a combination of crumbled goat cheese and finely grated parmesan to approximate the flavor profile. The dish will taste slightly different but still be genuinely good.
Can I make this ahead for a party?
You can prep everything ahead, but assembly is best done just before serving. Grill the corn an hour or two ahead if needed, then reheat it gently before topping. The mayo mixture and cheese-cilantro combination keep well in the fridge. Just assemble everything when you’re ready to serve for the best texture and flavor.
Is there a way to make this less heavy?
If mayo feels too rich for you, try the garlic butter version instead—it’s slightly lighter. You could also use Greek yogurt mixed with mayo (50/50 ratio) to reduce the richness while maintaining creaminess. Some people also prefer using less mayo overall and relying more on the cheese and cilantro for flavor.
Can I use frozen corn?
Yes, though fresh corn is noticeably better. If using frozen, thaw it completely first and pat it dry before grilling. Frozen corn tends to release more moisture, so you might need to grill it slightly longer to achieve char marks. It’ll still taste good, just slightly less sweet than fresh.
What’s the best way to eat this without making a mess?
Honestly, this is a messy food and that’s part of the charm. Provide plenty of napkins and small plates. Some people prefer to cut the kernels off the cob and eat it with a fork—it’s less theatrical but definitely cleaner. For formal settings, this approach works better.
Related Posts

How Long to Boil Lobster Tails: Cooking Guide

How Long to Fly from New York to London? Travel Times
