

How to Rotate Tires: Expert Guide
How to Rotate Tires: Expert Guide to Extending Tire Life
Your tires are quite literally where the rubber meets the road, yet many car owners overlook one of the simplest maintenance tasks that can dramatically extend their lifespan. Tire rotation isn’t some mysterious mechanic-only ritual—it’s a straightforward process that you can master in your driveway with basic tools and a little patience. Whether you’re tackling this as a DIY project or simply want to understand what your mechanic is doing, this guide walks you through everything you need to know.
The reality is that your tires wear unevenly. Front tires typically wear faster due to steering and weight distribution, while rear tires experience different pressure points. By systematically moving tires to different positions on your vehicle, you ensure more uniform wear patterns across all four tires. This simple practice can add thousands of miles to your tire’s life and save you a considerable amount of money over time.
Beyond the financial benefits, regular tire rotation contributes to better fuel efficiency, improved handling, and enhanced safety on the road. It’s one of those maintenance tasks that feels almost too easy to be worthwhile, but the evidence is undeniable. Let’s dive into how to do it properly.
Why Tire Rotation Matters
Understanding the “why” behind tire rotation helps you appreciate its importance. Your vehicle’s weight isn’t distributed equally across all four tires. The front tires bear more of your car’s weight and handle steering friction, which causes them to wear roughly 25% faster than rear tires on front-wheel-drive vehicles. Rear-wheel-drive vehicles present a different wear pattern, and all-wheel-drive vehicles have their own unique characteristics.
When you rotate your tires, you’re essentially giving each tire a chance to experience different wear zones. A tire that spent its first 10,000 miles on the front-left handling aggressive steering moves gets rotated to the rear, where it can recover and wear more evenly. This balancing act means your tires reach their maximum lifespan before needing replacement.
The financial impact is substantial. A quality set of tires costs anywhere from $400 to $1,200 depending on your vehicle and tire quality. If tire rotation extends your tire life by even 25%, you’re looking at saving $100 to $300 per tire set. Over a vehicle’s lifetime, that adds up quickly. Plus, there’s the environmental benefit of keeping tires out of landfills longer.
Beyond longevity, proper tire rotation maintains consistent handling characteristics. Uneven tire wear can lead to pulling, vibration, and compromised traction. When all tires wear at similar rates, your vehicle maintains predictable steering response and braking performance, which directly impacts your safety on the road.
When Should You Rotate Your Tires
The general recommendation is to rotate your tires every 5,000 to 7,500 miles. However, many modern vehicles can go up to 10,000 miles between rotations. The best approach is to check your owner’s manual for the manufacturer’s specific recommendation for your vehicle.
A practical strategy is to rotate your tires every time you get an oil change. Since most people change their oil on a similar schedule, pairing tire rotation with your oil service creates a convenient routine. Some drivers even rotate their tires seasonally when switching between summer and winter tires, which makes sense if you live in a climate with distinct seasons.
Pay attention to your tire wear patterns. If you notice uneven wear developing—bald spots on one side or center wear on the tread—it might indicate a need for rotation sooner than your scheduled interval. Uneven wear can also signal alignment issues or suspension problems that need professional attention.
It’s worth noting that knowing when to replace your tires is equally important as rotating them. Even with perfect rotation, tires have a lifespan. Most tires last between 3 to 5 years or 25,000 to 50,000 miles, depending on driving habits, climate, and tire quality. Rotation keeps your tires healthy during their usable life, but it can’t reverse the clock on aging rubber.
Tools and Materials You’ll Need
The beauty of tire rotation is that you don’t need expensive equipment. Here’s what you’ll want to have on hand:
- Car jack – A hydraulic floor jack is ideal, though a scissor jack works in a pinch
- Jack stands – Never work under a car supported only by a jack; stands provide crucial safety redundancy
- Lug wrench – A cross-pattern wrench makes loosening lug nuts easier than a single-ended wrench
- Wheel chocks – Blocks that prevent your car from rolling; bricks or wood blocks work fine
- Socket wrench set – Some vehicles use socket-style lug nuts instead of traditional nuts
- Tire pressure gauge – You’ll want to check pressure after rotation
- Air compressor – For adjusting tire pressure to manufacturer specifications
- Work gloves – Tires are dirty; gloves keep your hands cleaner
You’ll also want a clean, level surface to work on—a driveway or garage floor is perfect. Avoid rotating tires on a slope or uneven ground, as safety is paramount when working under a vehicle.
Understanding Tire Rotation Patterns
Not all tires rotate the same way. The pattern depends on whether your tires are directional, asymmetrical, or standard, and whether your vehicle is front-wheel, rear-wheel, or all-wheel drive. Understanding your specific rotation pattern ensures you’re maximizing tire life.
Forward Cross Pattern: This is the most common pattern for front-wheel-drive vehicles. The front-left tire moves to the rear-right position, the front-right tire moves to the rear-left position, the rear-left tire moves to the front-right position, and the rear-right tire moves to the front-left position. Imagine an X shape—tires cross over as they move forward.
Rearward Cross Pattern: Typically used for rear-wheel-drive vehicles, this pattern reverses the forward cross. Front tires move straight back on their respective sides, while rear tires cross over to the front. This pattern is gentler on front tires in rear-wheel-drive vehicles where the rear tires bear more wear.
Side-to-Side Pattern: Used for directional tires (tires designed to rotate in only one direction), this simple pattern swaps the left and right tires on each axle. The front-left and front-right swap positions, as do the rear-left and rear-right. This pattern preserves the tire’s directional design.
Check your vehicle’s owner’s manual or your tire sidewall to determine if your tires are directional. Directional tires have an arrow indicating the proper rotation direction. If you have directional tires, you must use the side-to-side pattern or risk compromising performance and safety.
Step-by-Step Rotation Process
Step 1: Prepare Your Vehicle and Workspace
Park on a level, stable surface away from traffic. Engage the parking brake firmly. Place wheel chocks behind the rear wheels to prevent any possibility of rolling. If you’re on a driveway, ensure you have enough clear space to work safely around all four wheels.
Step 2: Loosen Lug Nuts Before Lifting
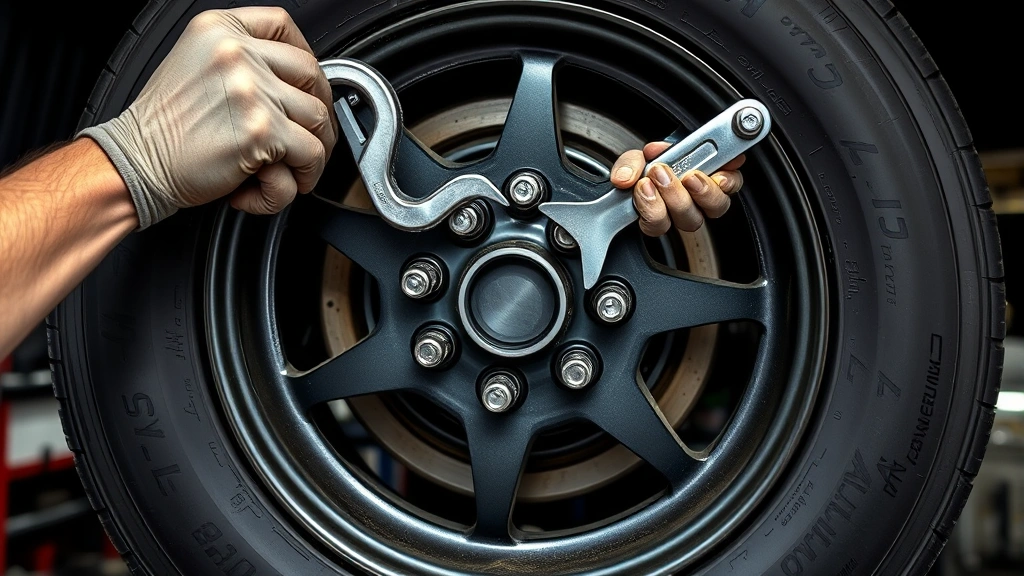
This is a critical step that many beginners skip. With all four wheels on the ground, use your lug wrench to loosen (but don’t remove) the lug nuts on all four wheels. You’re breaking the initial resistance; you don’t need to fully unscrew them. This is much easier to do before the wheel leaves the ground, when the tire can’t spin freely.
Step 3: Lift the Vehicle
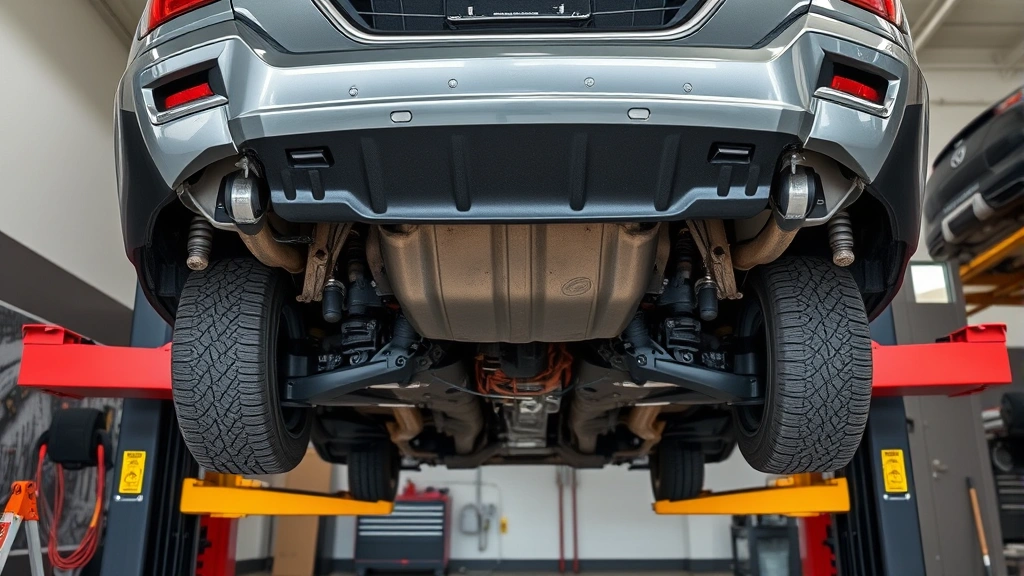
Position your floor jack at the designated jacking point on your vehicle’s frame. Consult your owner’s manual for the exact location—it’s usually marked on the door jamb or in the manual. Raise the vehicle slowly and smoothly. Once the tire clears the ground by a few inches, position a jack stand underneath the frame and lower the vehicle onto it. Repeat this process for the second side you’re working on.
Step 4: Remove the Tires
Now that you’ve loosened the lug nuts and the vehicle is safely supported, fully remove them and set them aside in a safe spot where they won’t roll away. Remove the wheel by grasping it firmly and pulling toward you. Wheels are heavier than they look, so use your legs to lift, not your back.
Step 5: Rotate According to Your Pattern
Using your predetermined rotation pattern, move each tire to its new position. If you’re using the forward cross pattern on a front-wheel-drive vehicle: front-left goes to rear-right, front-right goes to rear-left, rear-left goes to front-right, and rear-right goes to front-left. Take your time and double-check your pattern before installing the tires.
Step 6: Reinstall and Tighten Lug Nuts
Place each tire onto its new position and hand-tighten the lug nuts. Once all five are snug by hand, use your lug wrench to tighten them in a star or cross pattern. This ensures even pressure around the wheel. The star pattern means if you’re tightening a five-lug wheel, you’d tighten the top lug, then the bottom-left, then top-right, then bottom-right, then left. This prevents warping the rotor and ensures proper seating.
Step 7: Lower the Vehicle and Final Tightening
Carefully lower the jack to bring the vehicle back onto all four tires. Once fully lowered, use your lug wrench to do a final tightening pass in the star pattern, applying firm, consistent pressure. Don’t overtighten—you’re aiming for snug, not cranked down with all your might.
Step 8: Check Tire Pressure
Use your tire pressure gauge to check all four tires. The proper pressure is listed on the driver’s door jamb or in your owner’s manual, not on the tire sidewall (which shows the maximum pressure). Adjust pressure as needed using your air compressor. Proper pressure is crucial for even wear and fuel efficiency.
Common Mistakes to Avoid
Skipping the Lug Nut Loosening Step: Attempting to loosen lug nuts after lifting the vehicle is frustrating and potentially dangerous. The wheel spins freely, making it nearly impossible to get proper leverage. Always loosen lug nuts before lifting.
Working Under a Vehicle Supported Only by a Jack: This is the most dangerous mistake you can make. Jacks fail. Jack stands exist for a reason. Always use jack stands as backup support, no matter how secure the jack feels.
Forgetting to Check Tire Pressure: Tire pressure changes with temperature and during the rotation process. Neglecting to check and adjust pressure means you’re not completing the job properly, which compromises the benefits of rotation.
Using Incorrect Rotation Pattern: Rotating directional tires in the wrong pattern can damage them or reduce their effectiveness. Always verify your tire type and use the appropriate pattern.
Over-tightening Lug Nuts: While you want them snug, over-tightening can strip threads, warp rotors, and make future removal difficult. Firm and even is the goal, not maximum force.
Ignoring Uneven Wear: If you notice significant uneven wear during rotation, it might indicate alignment issues, suspension problems, or underinflation. Address these issues to prevent premature tire failure.
Routine maintenance like tire rotation pairs well with other regular care. While you’re in maintenance mode, consider checking your engine oil and checking your transmission fluid to ensure all your vehicle’s vital systems are healthy. If you’re performing more extensive fluid maintenance, you might also explore how to change transmission fluid for complete vehicle care.
Frequently Asked Questions
How long does tire rotation typically take?
For someone experienced with the process, tire rotation takes 30 to 45 minutes. Your first rotation might take up to an hour as you become familiar with the process, locate the proper jacking points, and work carefully. Speed comes with practice, but safety should always take precedence over rushing.
Can I rotate my own tires if I’ve never done it before?
Absolutely. Tire rotation is one of the most accessible DIY automotive maintenance tasks. Follow each step carefully, prioritize safety above all else, and don’t hesitate to consult your owner’s manual for vehicle-specific information. If you feel uncomfortable at any point, it’s perfectly fine to have a professional handle it.
Do I need to balance my tires after rotating them?
No, tire balancing is a separate process typically done when tires are first installed or if you notice vibration. Rotation doesn’t require rebalancing. However, if you notice vibration after rotation, balancing might be needed to address an underlying issue.
What if I have all-wheel-drive vehicle?
All-wheel-drive vehicles typically use a modified forward or rearward cross pattern. Consult your owner’s manual for the specific recommendation, as some all-wheel-drive systems have unique requirements. Some manufacturers recommend more frequent rotation for all-wheel-drive vehicles due to increased wear on front tires.
Should I rotate my tires if they’re directional?
Yes, but only using the side-to-side pattern. Directional tires have a specific rotation direction molded into the sidewall. You can swap left and right positions, but never rotate them front-to-back or they’ll work against their design.
Can tire rotation prevent blowouts?
While tire rotation doesn’t directly prevent blowouts, it promotes even wear and maintains proper tire structure, which reduces the risk of failure. Combined with proper pressure maintenance and visual inspections, rotation is part of a comprehensive tire safety strategy.
What’s the difference between rotation and balancing?
Rotation is moving tires to different positions to ensure even wear. Balancing is adjusting weight distribution around the tire and wheel assembly to eliminate vibration. Both are important, but they serve different purposes. Balancing is typically done when tires are installed, while rotation is ongoing maintenance.
Is it worth rotating my tires myself versus paying a shop?
From a purely financial standpoint, DIY rotation saves you $40 to $100 per service. Over your vehicle’s lifetime, that’s substantial savings. However, if you lack the tools or feel uncomfortable working on your vehicle, professional service provides peace of mind and ensures the job is done correctly. The most important thing is that rotation happens regularly, whether you do it or a professional does.
Related Posts

How Long to Boil Lobster Tails: Cooking Guide

How Long to Fly from New York to London? Travel Times
