

How to Clean a Humidifier: Expert Guide
How to Clean a Humidifier: Expert Guide to Maintaining Peak Performance
Your humidifier works tirelessly to keep your indoor air at optimal moisture levels, but here’s the uncomfortable truth nobody talks about: without regular cleaning, it becomes a breeding ground for mold, bacteria, and mineral deposits. Think of it like running a car without changing the oil—eventually, the whole system suffers. A neglected humidifier doesn’t just lose effectiveness; it can actually make your air quality worse than if you weren’t using one at all.
The good news? Cleaning your humidifier is straightforward, takes less than an hour, and costs virtually nothing. Whether you own an ultrasonic, evaporative, or warm mist model, we’ll walk you through the exact steps to keep it running smoothly and safely. Regular maintenance extends the lifespan of your device and ensures you’re actually breathing the clean, moisturized air you deserve.
This comprehensive guide covers everything from daily maintenance habits to deep cleaning techniques that’ll have your humidifier operating like new. Let’s dive in.
Why Cleaning Your Humidifier Matters
Humidifiers create the perfect environment for mold and bacteria to thrive. The warm, moist conditions inside the tank are essentially an invitation for microorganisms to multiply. When you run a dirty humidifier, you’re not improving your air quality—you’re dispersing these contaminants throughout your home, which is especially problematic for people with allergies, asthma, or compromised immune systems.
Mineral buildup is another silent culprit. If you live in an area with hard water, minerals accumulate inside your humidifier’s tank and mechanisms. Over time, this reduces efficiency and can cause the device to malfunction entirely. The ultrasonic diaphragm gets clogged, mist output decreases, and you’re left with an expensive paperweight.
Regular cleaning also prevents that stale, musty smell that develops in uncleaned units. You know the one—that distinctive odor that suggests something’s growing in there. Beyond the unpleasantness, it’s your humidifier sending an SOS signal that it needs attention.
Much like how you’d want to keep other household appliances pristine, maintaining your humidifier ensures it delivers consistent results. Think of it this way: you wouldn’t skip cleaning your dishwasher for months, right? The same principle applies here.
What You’ll Need to Get Started
Before you begin, gather these simple supplies. Most are already in your home, so this won’t require a shopping trip:
- White vinegar – The MVP of humidifier cleaning. Its acidity dissolves mineral deposits without harsh chemicals.
- Distilled water – Essential for rinsing. Tap water introduces more minerals, defeating the purpose.
- Soft-bristled brush or old toothbrush – Perfect for scrubbing tight corners without scratching surfaces.
- Soft cloths or microfiber towels – Won’t leave lint behind like paper towels.
- Small bowl – For soaking smaller parts in vinegar solution.
- Hydrogen peroxide (optional) – A natural disinfectant for stubborn mold or bacteria.
- Rubber gloves – Keeps your hands clean and protected.
That’s genuinely it. No specialized products needed. The beauty of this process is its simplicity and cost-effectiveness.
Daily Maintenance Habits
The key to keeping your humidifier in top shape is consistency. Daily habits prevent major problems from developing in the first place.
Empty the tank daily. Don’t let water sit for extended periods. Even if you’re using the humidifier continuously, empty any remaining water before refilling. This prevents stagnation and reduces the window for bacterial growth.
Use distilled or demineralized water exclusively. This single habit eliminates about 80% of maintenance headaches. Tap water contains minerals that accumulate with each use. Distilled water costs a couple dollars per gallon and saves you enormous frustration down the road.
Let components air dry completely. After emptying the tank, leave the lid off and let air circulate inside. Moisture trapped in enclosed spaces encourages mold growth. If you’re storing the humidifier seasonally, ensure everything is completely dry before sealing it up.
Check the filter or wick regularly. If your humidifier has a replaceable filter or wick, inspect it every few days. A clogged filter reduces efficiency and forces the motor to work harder. Replace according to manufacturer recommendations—typically every month or two with regular use.
Step-by-Step Deep Cleaning Process
Perform a deep clean weekly if you use your humidifier daily, or every two weeks for occasional use. Here’s the exact process:
Step 1: Unplug and Disassemble Always start by unplugging the unit. Safety first, always. Once unplugged, carefully disassemble all removable parts. Most humidifiers have a detachable tank, lid, base, and sometimes a filter or wick. Consult your manual if you’re unsure which components come apart.
Step 2: Empty and Rinse the Tank Pour out any remaining water from the tank. Rinse the interior with distilled water, swishing it around to loosen any debris. Don’t use tap water—you’re trying to reduce mineral content, not add to it.
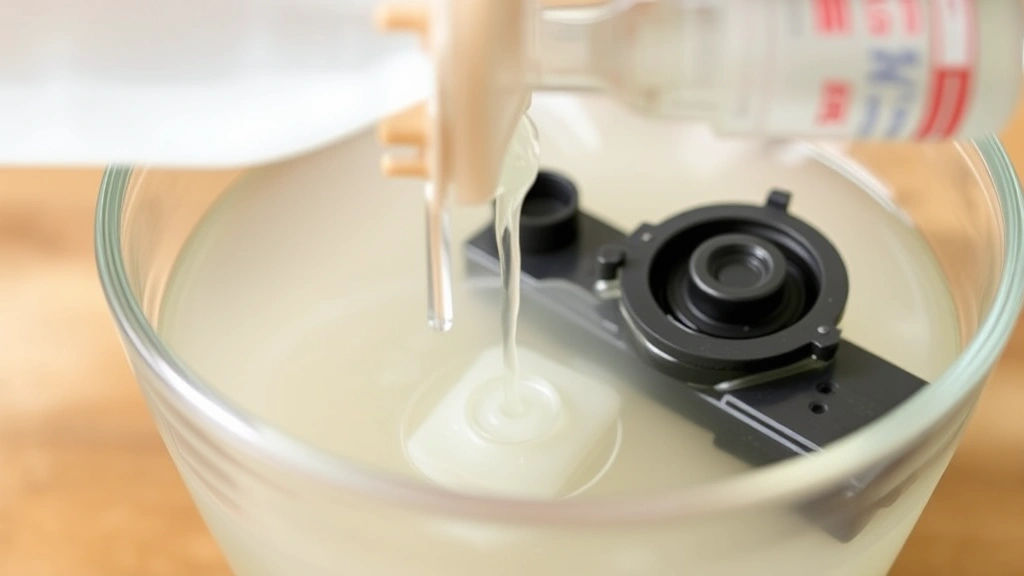
Step 3: Prepare Your Vinegar Solution Mix equal parts white vinegar and distilled water in a bowl. This solution is strong enough to dissolve mineral deposits but gentle enough for all humidifier materials. For heavily calcified tanks, you can use undiluted vinegar, but diluted works fine for regular maintenance.
Step 4: Soak Removable Parts Place the tank, lid, and any other removable components into the vinegar solution. Let them soak for 20-30 minutes. This gives the vinegar time to break down mineral buildup without requiring aggressive scrubbing. If you have a dishwasher and your manual approves it, some parts can go in there instead—similar to how you’d approach cleaning a dishwasher by removing stuck-on debris first.
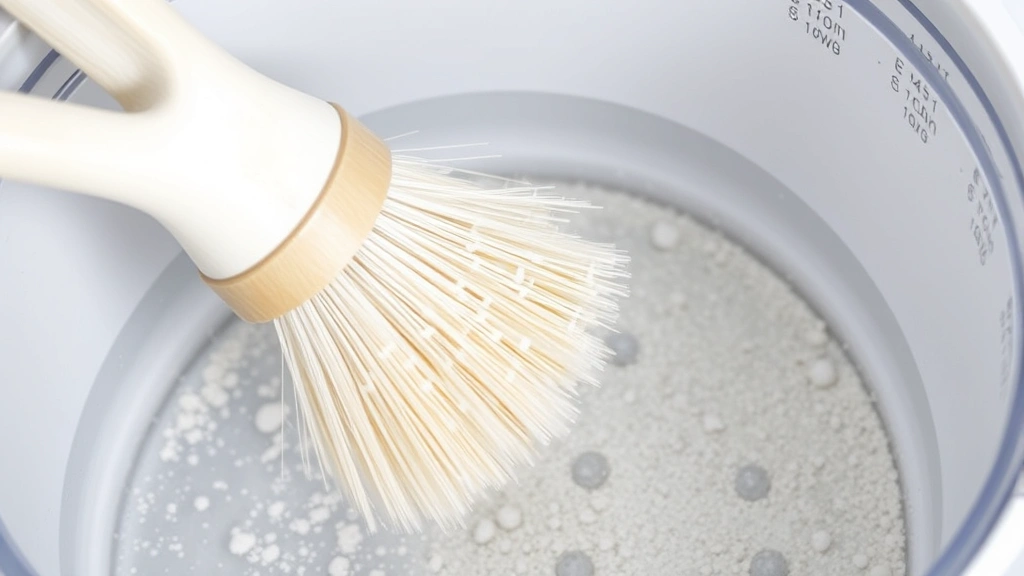
Step 5: Scrub Away Deposits After soaking, use a soft-bristled brush to gently scrub the interior surfaces. Pay special attention to corners, crevices, and the base where minerals concentrate. Use circular motions and let the brush do the work—you shouldn’t need to apply heavy pressure. For the tank opening, a bottle brush works wonders.
Step 6: Clean the Base Unit The base contains the motor and ultrasonic diaphragm (if applicable). Dampen a soft cloth with the vinegar solution and wipe down all exterior surfaces and accessible interior areas. Never submerge the base unit in water. Be gentle around the diaphragm—this delicate component is crucial for proper operation.
Step 7: Rinse Thoroughly This step cannot be overstated. Rinse all soaked components multiple times with distilled water until no vinegar smell remains. Vinegar residue can affect mist quality and leave an unpleasant odor. Take your time here.
Step 8: Dry Everything Pat components dry with a clean cloth, then allow them to air dry completely before reassembling. Moisture left behind creates problems you’re trying to prevent. Set parts on a clean towel in a well-ventilated area for at least 30 minutes.
Step 9: Reassemble and Test Once everything is dry, carefully reassemble your humidifier. Fill the tank with fresh distilled water and plug it in. Run it for a few minutes to ensure everything works properly before putting it back into regular use.
Tackling Stubborn Mineral Deposits
Sometimes mineral buildup becomes so thick that regular vinegar soaking won’t cut through it. Here’s how to handle stubborn deposits:
Extended Vinegar Soak For heavily calcified tanks, let components soak in undiluted white vinegar for 1-2 hours. The extended contact time allows the acidity to penetrate thick mineral layers. You may need to repeat this process for severely neglected units.
Hydrogen Peroxide Treatment After vinegar soaking, spray hydrogen peroxide on remaining deposits and let sit for 15 minutes. The fizzing action helps break down stubborn buildup. Scrub gently, then rinse thoroughly with distilled water. This combination is more effective than vinegar alone for really tough cases.
Baking Soda Paste Mix baking soda with a small amount of distilled water to create a paste. Apply to mineral deposits and let sit for 10 minutes. Use a soft brush to scrub away the loosened deposits. This gentler approach works well for painted or delicate surfaces.
Citric Acid Solution If you have citric acid powder on hand (found in the canning section of grocery stores), mix 2 tablespoons with 2 cups of distilled water. This is slightly more aggressive than vinegar and works excellently for mineral removal. Soak components for 30-45 minutes.
The key with all these methods is patience. Don’t force deposits off with aggressive scrubbing—let the cleaning solution do the work. Rushing this step risks damaging your humidifier’s internal components.
How Often Should You Clean
Cleaning frequency depends on usage patterns and water hardness in your area:
- Daily users in hard water areas: Deep clean weekly. Your humidifier is working overtime, and minerals accumulate quickly.
- Daily users in soft water areas: Deep clean every two weeks. Less mineral buildup means you can extend the interval.
- Occasional users: Deep clean every two to three weeks. Even infrequent use requires regular maintenance to prevent mold growth.
- Seasonal users: Clean thoroughly before storing and again before restarting. Before putting your humidifier away for the season, ensure it’s completely clean and dry to prevent mold development during storage.
Regardless of your usage pattern, empty and rinse the tank daily. This simple habit dramatically reduces the need for intensive cleaning and keeps your humidifier operating at peak efficiency.
Common Issues and Solutions
Humidifier producing little to no mist? Mineral deposits are likely clogging the ultrasonic diaphragm or wick. Perform a deep clean with vinegar, paying special attention to the diaphragm area. If it’s an evaporative model, like how you’d clean a shower head to restore water flow, the wick may need replacement.
Musty or foul odor coming from the humidifier? This indicates mold or bacterial growth. Soak all components in a vinegar solution for an extended period, then treat with hydrogen peroxide. In severe cases, you may need to replace the tank or filter. Consider using similar deep cleaning techniques to those used for washing machines to eliminate odor-causing organisms.
White dust around the humidifier? This mineral dust means you’re using tap water. Switch to distilled water immediately and clean your humidifier thoroughly. The white dust won’t harm anything, but it indicates your device is working harder than necessary and accumulating deposits internally.
Water leaking from the base? Check the tank seal for cracks or damage. If the seal looks fine, mineral deposits might prevent a proper seal. Clean the sealing surface thoroughly with vinegar and ensure it’s completely dry before reassembling. If leaking persists, the tank may need replacement.
Humidifier making unusual noises? Mineral buildup inside the tank or on the diaphragm causes vibration and noise. A thorough cleaning usually resolves this issue. If noise continues after cleaning, consult your manual or contact the manufacturer—internal components might need professional attention.
Prevention is genuinely easier than troubleshooting. Stick to the daily maintenance habits and weekly cleaning schedule, and you’ll avoid most of these problems entirely.
Frequently Asked Questions
Can I use tap water in my humidifier if I clean it frequently?
Even with frequent cleaning, tap water causes mineral buildup that makes your humidifier work harder and reduces its lifespan. Distilled water costs just a few dollars and eliminates this entire category of problems. It’s a worthwhile investment.
Is white vinegar safe for all humidifier types?
Yes, white vinegar is safe for ultrasonic, evaporative, and warm mist humidifiers. However, always check your manual first. Some manufacturers have specific recommendations, and a few specialized units might require different cleaning methods. When in doubt, contact the manufacturer directly.
How do I clean the ultrasonic diaphragm?
Never scrub the diaphragm directly—it’s delicate and easily damaged. Instead, soak it in vinegar solution as part of the standard deep clean. The vinegar dissolves mineral deposits without requiring physical scrubbing. If deposits remain after soaking, try the hydrogen peroxide treatment mentioned earlier.
Can I use bleach to disinfect my humidifier?
Avoid bleach. It’s too harsh for most humidifier materials and can damage internal components. Hydrogen peroxide is a much safer disinfectant. If you’re concerned about bacterial growth, the combination of vinegar and hydrogen peroxide is effective and safe.
What’s the difference between cleaning and replacing filters?
Cleaning removes mineral deposits and surface debris, extending the filter’s life. Replacement means installing a brand new filter when the old one is damaged or no longer effective. Most filters need replacement every 1-2 months of regular use. Check your manual for specific recommendations.
Should I clean my humidifier before storing it for the season?
Absolutely. Clean it thoroughly, ensure all components are completely dry, and store it in a cool, dry place. Moisture trapped inside during storage creates an ideal environment for mold growth. Come spring, you’ll be grateful you took this extra step.
Is it normal for my humidifier to smell like vinegar after cleaning?
If you smell vinegar after reassembling and running the unit, you didn’t rinse thoroughly enough. Empty the tank, refill with fresh distilled water, and run it for several minutes to purge any remaining vinegar solution. Rinse the tank again if necessary.
How do I know if my humidifier needs professional servicing?
If cleaning doesn’t resolve performance issues, if the unit makes concerning sounds even after deep cleaning, or if you notice visible damage to internal components, it’s time for professional service. Some repairs are beyond DIY capability, and attempting them risks further damage.
Can I clean my humidifier while it’s running?
Never. Always unplug the unit before cleaning. Water and electricity don’t mix, and you risk serious injury. Additionally, cleaning requires disassembly, which isn’t possible while the unit operates. Safety should always be your first priority.
What’s the best way to prevent mineral buildup?
Use distilled water exclusively. This single habit prevents approximately 80% of mineral-related problems. Combined with weekly deep cleaning and daily tank emptying, you’ll maintain optimal performance and extend your humidifier’s lifespan significantly.
Related Posts

How Long to Boil Lobster Tails: Cooking Guide

How Long to Fly from New York to London? Travel Times
