
How to Disable Stolen Device Protection Safely
How to Disable Stolen Device Protection Safely: A Complete Guide
Stolen Device Protection is Apple’s security feature designed to keep your iPhone, iPad, and other devices safe from unauthorized access. But sometimes, you need to turn it off—whether you’re troubleshooting technical issues, preparing your device for sale, or simply want to adjust your security settings. The key is understanding why you’re disabling it and doing so safely to protect your personal information.
This guide walks you through the process step-by-step, explaining what Stolen Device Protection actually does, when you should consider disabling it, and how to re-enable it when needed. We’ll also cover related security features and best practices to ensure your device remains as secure as possible throughout the process.
Whether you’re a tech-savvy user or someone just getting comfortable with iPhone settings, you’ll find clear, actionable instructions that make sense. Let’s dive in.
What Is Stolen Device Protection?
Stolen Device Protection is a security feature introduced by Apple to add an extra layer of defense against unauthorized access to your device. When enabled, it requires additional verification steps when someone tries to perform sensitive actions on your iPhone or iPad—especially when the device is away from familiar locations.
Think of it as a security checkpoint. When you’re at home or in a familiar place, you won’t notice much difference. But if someone tries to access your device from an unfamiliar location or changes critical settings, the system kicks in and asks for additional authentication. This might include:
- Face ID or Touch ID verification
- Your device passcode
- A delay period before the action completes
- Notifications to your trusted devices
The feature protects sensitive operations like changing your Apple ID password, disabling Find My iPhone, or modifying payment methods. It’s particularly useful if your device is physically stolen, as it prevents thieves from quickly locking you out of your own account.
Why You Might Want to Disable It
While Stolen Device Protection is excellent for security, there are legitimate reasons you might want to disable it temporarily or permanently:
- Troubleshooting issues: Sometimes this feature can interfere with legitimate actions you’re trying to perform, especially after traveling or changing your location settings.
- Selling or gifting your device: Before handing your iPhone to someone else, you’ll want to disable this feature as part of the setup process.
- Technical problems: Occasionally, bugs or glitches cause the feature to block actions you should be able to perform.
- Frequent travelers: If you’re constantly moving between locations, the repeated verification prompts might become inconvenient.
- Device recovery: In some scenarios, you need to disable it to restore or reset your device properly.
The important thing to remember is that disabling this feature should be a deliberate choice, not something done casually. You’re removing a layer of protection, so make sure you understand the implications.
Before You Start: Security Considerations
Before you proceed with disabling Stolen Device Protection, take a moment to think through your security posture. Here are some important considerations:
Ensure you’re in a secure environment. Only disable this feature when you’re using your device in a safe location—ideally your home or a trusted place. Don’t do this on public Wi-Fi or in unfamiliar locations.
Have your Apple ID credentials ready. You’ll need your Apple ID and password to make changes to security settings. Make sure you know these before starting.
Check your trusted devices. If you have multiple devices linked to your Apple account, verify that your trusted devices are secure and that you recognize all of them.
Consider your specific situation. Are you disabling this permanently or temporarily? For most users, temporary disabling (while troubleshooting or preparing to sell) is the better approach. You can always re-enable it afterward.
Document what you’re doing. If you’re troubleshooting a specific issue, write down what you’re trying to accomplish. This helps you determine whether disabling the feature actually solved your problem.
Step-by-Step: How to Turn Off Stolen Device Protection
Follow these steps carefully to disable Stolen Device Protection on your iPhone or iPad:
Step 1: Open Settings
Tap the Settings app on your home screen. It’s the gray icon with white gears.
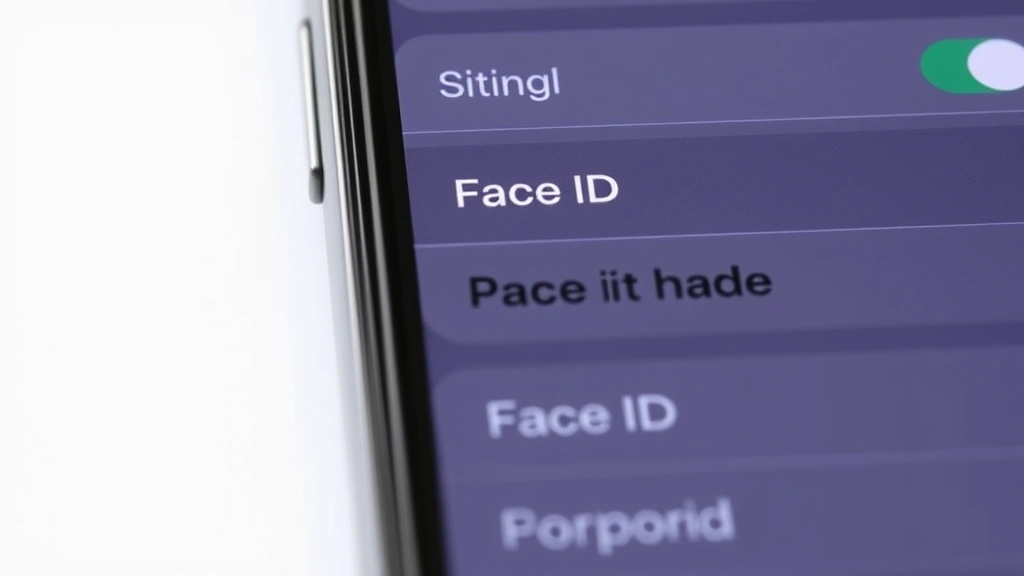
Step 2: Navigate to Face ID & Passcode (or Touch ID & Passcode)
Scroll down and tap “Face ID & Passcode” if you use Face ID, or “Touch ID & Passcode” if you use Touch ID. You’ll be prompted to verify your identity using Face ID, Touch ID, or your passcode.
Step 3: Locate Stolen Device Protection
Within this menu, scroll down until you find “Stolen Device Protection.” It should be near the bottom of the list.
Step 4: Toggle It Off
Tap on “Stolen Device Protection” and toggle the switch to the off position. The switch will turn from green (enabled) to gray (disabled).
Step 5: Confirm Your Action
Your device may ask you to confirm this action. You might need to verify your identity again using Face ID, Touch ID, or your passcode. Complete this verification.
Step 6: Verify It’s Disabled
Return to the Stolen Device Protection menu to confirm the toggle is now in the off position. You should see a message indicating that the feature is disabled.
That’s it! Stolen Device Protection is now disabled on your device. You should no longer receive additional security prompts for sensitive actions, though other security features remain active.
Important note: If you’re preparing your device for sale or transfer, you’ll also want to turn off Find My iPhone and sign out of your Apple ID completely. These are separate steps that are equally important for security.
How to Re-Enable Stolen Device Protection
When you’re ready to restore this security feature, the process is equally straightforward:
Step 1: Open Settings
Launch Settings and navigate to Face ID & Passcode (or Touch ID & Passcode).
Step 2: Find Stolen Device Protection
Scroll to Stolen Device Protection at the bottom of the menu.
Step 3: Toggle It Back On
Tap on Stolen Device Protection and toggle the switch to the on position. The switch will turn green.
Step 4: Verify Your Identity
Complete the authentication process using Face ID, Touch ID, or your passcode.
Step 5: Confirm Activation
Wait for a confirmation message. Once you see it, Stolen Device Protection is active again.
The feature typically takes effect immediately, though there may be a brief delay. You’ll know it’s working properly when you try to perform a sensitive action from an unfamiliar location and receive the additional verification prompt.
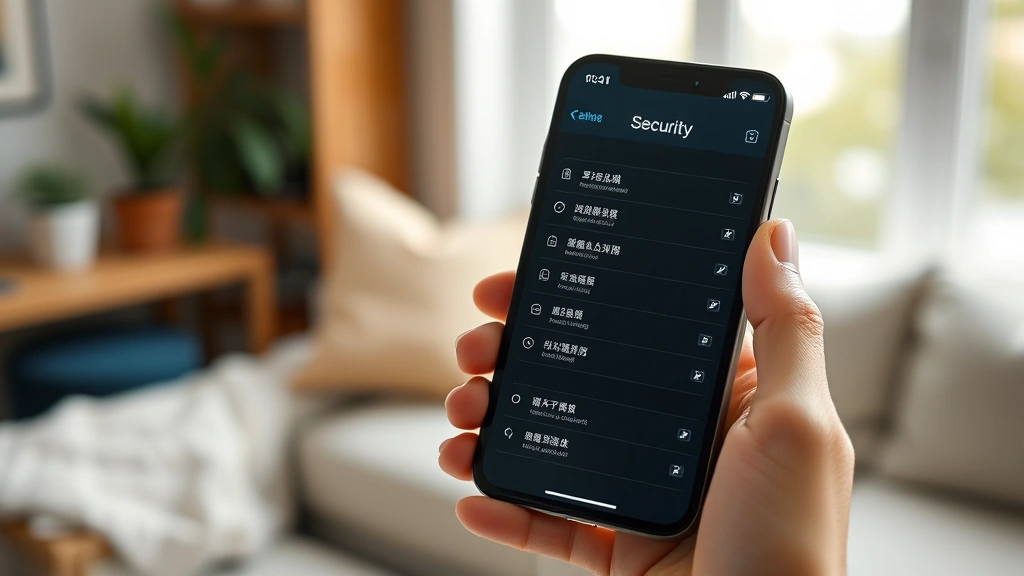
Understanding Related Security Features
Stolen Device Protection works alongside several other Apple security features. Understanding how they interact helps you make informed decisions about your device security:
Find My iPhone
This feature lets you locate your device if it’s lost or stolen. Many people confuse this with Stolen Device Protection, but they’re different. Turning off Find My iPhone is a separate process. Find My is essential for device recovery, while Stolen Device Protection adds security barriers against unauthorized access.
Two-Factor Authentication
This requires two forms of verification to access your Apple ID. It’s different from Stolen Device Protection but works with it to keep your account secure. Even if someone disables Stolen Device Protection, they still can’t access your Apple ID without passing two-factor authentication.
Passcode Security
Your device passcode is foundational to all security features. No matter what you enable or disable, a strong passcode (at least six digits, ideally more complex) is your first line of defense.
Biometric Authentication
Face ID or Touch ID provides quick, secure verification. These work in tandem with Stolen Device Protection to authenticate sensitive actions.
Tracking Accessories
If you use AirTags or other tracking devices, you might want to review their settings too. If you need to reset an AirTag or change an AirTag battery, those are separate processes from managing your device’s security settings.
iCloud Keychain
This securely stores your passwords and payment information. Stolen Device Protection helps protect access to this data by preventing unauthorized changes to your account settings.
Troubleshooting Common Issues
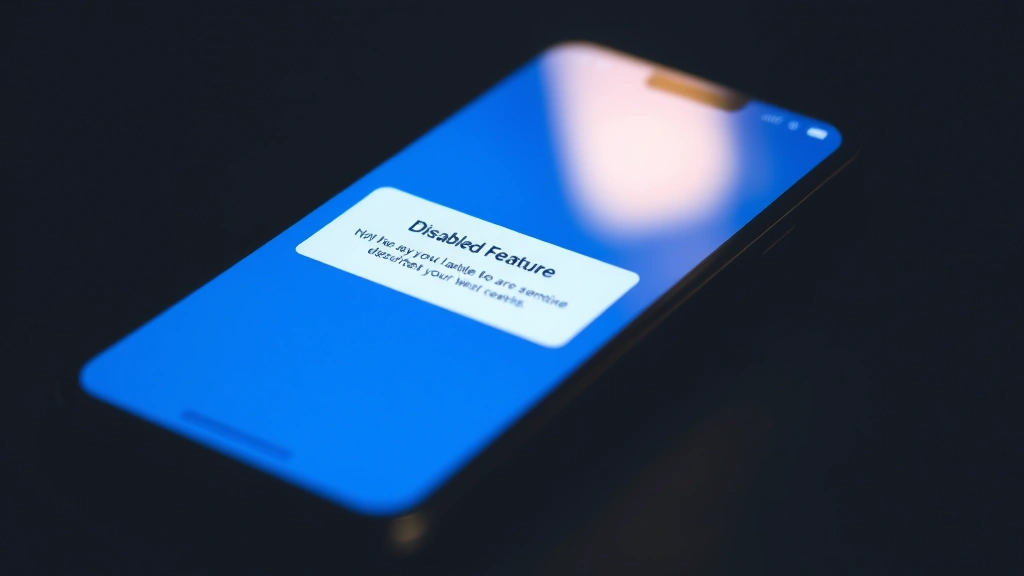
Issue: I can’t find Stolen Device Protection in Settings
Solution: This feature requires iOS 17.3 or later. Check your iOS version by going to Settings > General > About. If you’re running an older version, update your device first.
Issue: The toggle won’t turn off
Solution: Make sure you’re signed into your Apple ID. You may need to verify your identity multiple times. If it still won’t work, try restarting your device and attempting again.
Issue: I disabled it, but I’m still getting verification prompts
Solution: Other security features might be active. Check your Two-Factor Authentication settings or try restarting your device. Also verify that you’re not in an unfamiliar location triggering other security measures.
Issue: I forgot my passcode and can’t disable the feature
Solution: You’ll need to verify your identity using Face ID or Touch ID first. If you’ve forgotten your passcode entirely, you may need to use recovery mode. For detailed instructions, consult Apple’s official support documentation.
Issue: My device is asking for additional verification constantly after disabling Stolen Device Protection
Solution: Wait 24 hours. Sometimes the system needs time to register the change. If the issue persists, restart your device or check if you need to update iOS.
Frequently Asked Questions
Is it safe to disable Stolen Device Protection?
Yes, it’s safe if you understand what you’re doing. You’re removing an additional security layer, so your device will be slightly less protected against unauthorized access. However, other security features like your passcode, biometric authentication, and Two-Factor Authentication remain active. Only disable it if you have a specific reason to do so.
Will disabling Stolen Device Protection affect my backups?
No. Your iCloud backups and local backups are unaffected by this setting. Your data remains safe and accessible.
Can I disable Stolen Device Protection remotely?
No. You must disable it directly on the device using its Settings app. This is a security measure to prevent unauthorized changes to your protection settings.
Do I need to disable Stolen Device Protection before selling my iPhone?
Yes, it’s one of several steps you should take. You should also turn off Find My iPhone, sign out of your Apple ID, and erase your device completely. This ensures the new owner can set it up fresh without any of your personal data or security settings.
What happens if I disable Stolen Device Protection and my device gets stolen?
Your device will be less protected against unauthorized access. However, you can still use Find My iPhone to locate or remotely erase it. Your Apple ID Two-Factor Authentication will still prevent someone from accessing your account. Consider re-enabling Stolen Device Protection as soon as your troubleshooting or device transfer is complete.
Can someone else disable Stolen Device Protection on my device?
Not without your passcode, Face ID, or Touch ID. The system requires biometric or passcode authentication to make changes to this setting, which is why it’s secure.
Is Stolen Device Protection the same as Find My iPhone?
No. Find My iPhone helps you locate a lost or stolen device. Stolen Device Protection adds extra security barriers to prevent unauthorized access. They work together but are separate features. You can have one enabled without the other, though it’s best to have both active for maximum security.
How long does it take to re-enable Stolen Device Protection after disabling it?
It’s typically immediate. Once you toggle it back on and complete authentication, it should be active right away. However, there might be a brief delay of a few minutes as the system processes the change.
Will I need to verify my identity more often if I keep Stolen Device Protection enabled?
Only when performing sensitive actions from unfamiliar locations. If you’re at home or in recognized locations, you won’t notice much difference. The feature is designed to be helpful rather than intrusive.
Can I schedule when Stolen Device Protection is active?
Not directly. The feature is always on or always off. However, if you need to temporarily disable it for troubleshooting, you can re-enable it once you’re done. This gives you flexibility without needing complex scheduling options.
Related Posts

How Long to Boil Lobster Tails: Cooking Guide

How Long to Fly from New York to London? Travel Times
