

How to Cast Spells: A Beginner’s Guide
How to Cast Spells: A Beginner’s Guide to Mastering DIY Home Enchantment Projects
Whether you’re looking to transform your living space into something truly magical or simply want to tackle creative home projects that feel like pure sorcery, learning how to cast spells in the DIY world is an incredibly rewarding skill. We’re not talking about wands and potions here—we’re talking about the very real magic of taking a blank canvas and turning it into something extraordinary through careful planning, creative vision, and hands-on execution.
The beauty of DIY home projects is that they require a specific kind of spell-casting: the ability to envision an end result, gather the right materials, follow a methodical process, and watch your vision materialize before your eyes. It’s genuinely transformative, and once you understand the fundamentals, you’ll find yourself capable of tackling increasingly ambitious projects with confidence and flair.
In this comprehensive guide, we’ll walk you through everything you need to know about executing successful home improvement projects that feel downright magical. From preparation and planning to execution and finishing touches, you’ll learn the essential techniques that separate amateur efforts from genuinely impressive results.
Understanding the Fundamentals of Project Planning
Before you even think about picking up a hammer or paintbrush, you need to develop a solid plan. This is where the real magic begins. Every successful DIY project starts with a clear vision and a detailed roadmap for getting there. Think of this phase as creating your spell’s incantation—every word matters, and skipping steps leads to disaster.
Start by defining exactly what you want to accomplish. Are you repainting a room? Installing new shelving? Creating a custom feature wall? The more specific you can be about your end goal, the easier it becomes to break the project into manageable steps. Write everything down. Seriously. Documentation is your best friend in DIY projects because it keeps you accountable and helps you track progress.
Next, research is absolutely crucial. Look at inspiration photos, read through tutorials, and study what others have done successfully. This isn’t about copying—it’s about understanding what works and why. When you’re learning how to do spell-casting in the DIY sense, studying proven methods gives you a foundation to build upon. Check out resources like This Old House for professional guidance, or explore Family Handyman for detailed step-by-step instructions on countless projects.
Create a timeline for your project. Be realistic about how long each phase will take. Most DIY enthusiasts underestimate time requirements, which leads to rushed work and subpar results. Building in buffer time is smart planning, not pessimism.
Gathering Your Tools and Materials
You cannot execute a successful project without the right equipment. This is non-negotiable. Trying to complete a project with inadequate tools is like trying to write an essay without a pen—theoretically possible, but practically miserable and likely to produce disappointing results.
Create a comprehensive checklist of everything you’ll need before you start. This includes:
- Essential tools: Hammer, screwdrivers (multiple types), drill, level, measuring tape, saw
- Specialty tools: Depending on your specific project, you might need a caulking gun, paint roller, stud finder, or tile cutter
- Safety equipment: Safety glasses, work gloves, dust mask, ear protection
- Materials: Paint, wood, hardware, fasteners, adhesives—whatever your project demands
Quality matters more than quantity. Investing in better tools and materials pays dividends in the final result. Cheap paint will look cheap. Flimsy hardware will fail. Dull saw blades will create ragged cuts. These aren’t just minor inconveniences—they’re the difference between a project that looks professionally done and one that screams “amateur hour.”

Visit your local hardware store and talk to the experts. Many staff members are genuinely knowledgeable and can point you toward better options or warn you about common pitfalls. If you’re ordering online, check reviews carefully and don’t assume the cheapest option is acceptable.
Consider renting specialized equipment rather than buying it if it’s something you’ll only use once. Many home improvement centers offer rental services for items like scaffolding, power tools, or specialty equipment. This approach is budget-friendly and keeps your workspace uncluttered.
Mastering the Pre-Project Preparation Phase
This is where most DIY projects succeed or fail. The preparation phase is absolutely critical, and it’s also where people tend to cut corners. Don’t be that person. The time you invest in proper preparation will save you hours of frustration later.
Start by protecting your space. Move furniture, lay down drop cloths, cover everything that shouldn’t get paint, dust, or debris on it. Tape off areas that need protection. This might seem tedious, but it’s infinitely better than trying to clean up a mess afterward or worse, damaging something valuable.
Clean thoroughly. Any dust, dirt, or grime on surfaces will interfere with paint adhesion, wood staining, or whatever finishing process you’re using. Wipe everything down. Sand surfaces that need it. Fill gaps or holes that need addressing. This preparation work might be boring, but it’s the foundation for a polished final result.
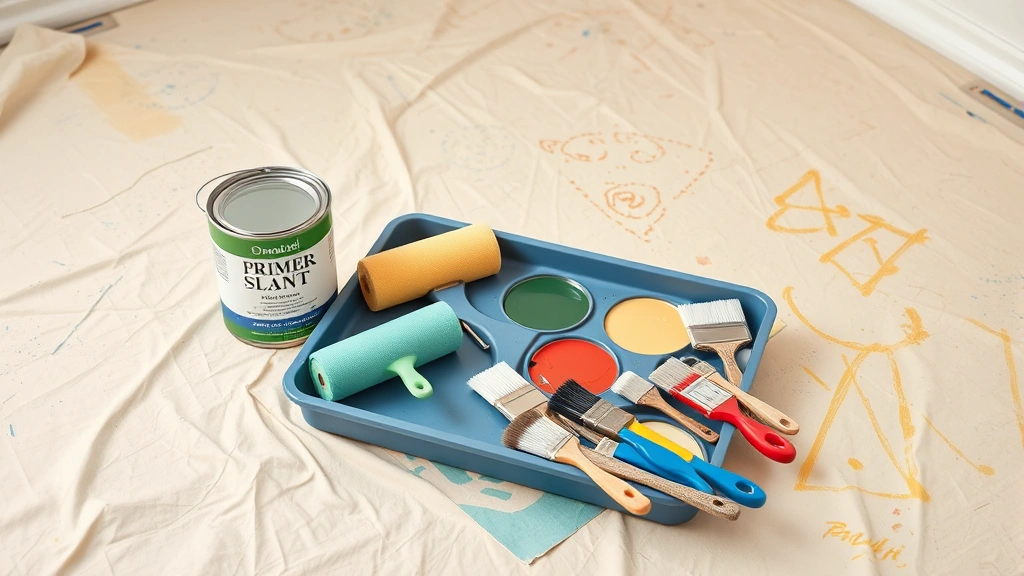
If you’re painting, primer is your friend. Many DIYers skip primer to save time and money, and they invariably regret it. Quality primer ensures better coverage, more even color, and superior longevity. It’s worth the extra step.
Test everything first. Paint a small sample area. Try your technique on a scrap piece of material. Run through the process once before committing to the entire project. This approach prevents expensive mistakes and builds your confidence. It’s similar to how you might learn to make slime without glue by experimenting with small batches before scaling up.
Make sure you have adequate lighting. Working in dim conditions leads to mistakes you won’t notice until it’s too late. Set up work lights or position yourself in natural light whenever possible.
Executing Your Vision with Precision
Now comes the actual execution. This is where your planning and preparation pay off. Approach this phase methodically, maintaining focus and attention to detail throughout.
Start with the biggest, most visible elements first. If you’re painting a room, start with walls before trim. If you’re installing shelving, get the main structure in place before adding decorative elements. This approach helps you maintain momentum and ensures you’re not doing detail work while your main structure isn’t yet complete.
Work slowly and deliberately. Speed often introduces errors. It’s better to move steadily and carefully than to rush and create problems that require fixing. Take breaks when you need them. Fresh eyes often catch mistakes that tired eyes miss.
Follow manufacturer instructions carefully. Whether you’re using a new paint product, adhesive, or hardware, the instructions exist for a reason. They’re based on testing and real-world experience. Ignoring them is asking for trouble. Check Home Depot’s project guides for detailed walkthroughs on common projects.
Measure multiple times. The old saying “measure twice, cut once” exists because it prevents costly mistakes. Precision matters, especially when you’re working with materials that can’t be easily replaced or adjusted. Understanding how to find the range of measurements in your project—much like you might learn to find the range in mathematics—helps you understand the scope of acceptable variation in your work.
Document your progress. Take photos at each stage. This serves multiple purposes: it creates a record of your work, helps you troubleshoot if something goes wrong, and provides immense satisfaction when you look back at the transformation.
Advanced Techniques for Impressive Results
Once you’ve mastered the fundamentals, you can start implementing advanced techniques that elevate your work from good to genuinely impressive.
Layering and Texture: Professional-looking projects often incorporate multiple layers or textures. Whether it’s applying multiple paint colors in geometric patterns, using different finishes on various surfaces, or combining materials strategically, layering adds visual interest and sophistication.
Attention to Transitions: The way different elements meet matters enormously. Clean transitions between paint colors, seamless caulking lines, and properly finished edges are hallmarks of professional work. Spend extra time on these details.
Strategic Lighting: How you light your finished project can dramatically affect how it looks. Consider ambient lighting, task lighting, and accent lighting. The right lighting scheme makes even modest projects look exceptional. This ties back to understanding proportions and balance—concepts that work similarly whether you’re learning to multiply fractions or calculating the right light levels for a space.
Quality Finishing Touches: Hardware, trim, and decorative elements are the jewelry of your project. Don’t cheap out on these finishing elements. They’re what people notice and what determines whether your project looks carefully executed or hastily completed.
Color Psychology: Understanding how colors interact with each other and how they affect mood and perception is invaluable. Complementary colors create vibrancy, analogous colors create harmony, and neutral palettes create sophistication. Choose your colors intentionally, not randomly.
Common Mistakes and How to Avoid Them
Learning from others’ mistakes is far more efficient than making all your own. Here are the most common pitfalls that derail DIY projects:
Inadequate Preparation: This is the number one killer of DIY projects. Skipping the prep work might save a few hours initially, but it costs you days of fixing problems later. Invest the time upfront.
Using Wrong Materials: Painting drywall with exterior paint, using indoor wood stain outdoors, or selecting hardware that doesn’t match the aesthetic you’re going for—these choices undermine your entire project. Research and choose materials specifically suited to your application.
Ignoring Safety: Working without proper safety equipment is never acceptable. Protective gear isn’t optional. Whether it’s something as straightforward as knowing how to pronounce and properly handle chemical products correctly or wearing appropriate protective equipment, safety is non-negotiable.
Rushing the Process: DIY projects have natural rhythms. Paint needs to dry. Adhesives need to cure. Stain needs to set. Trying to rush these processes leads to smudging, poor adhesion, and overall disappointing results. Build adequate drying and curing time into your timeline.
Poor Lighting During Execution: You cannot do quality work in dim conditions. Invest in proper task lighting. Your eyes and your project’s quality will thank you.
Not Testing First: Always test your technique on scrap material or a small, inconspicuous area before committing to the entire project. This approach prevents expensive mistakes and builds your confidence.
Ignoring Instructions: Whether it’s paint manufacturer guidelines, hardware installation instructions, or safety warnings, instructions exist for good reason. Following them might feel tedious, but skipping them virtually guarantees problems. Even something as simple as correctly understanding product terminology—like knowing how to properly pronounce and identify materials—helps you follow instructions accurately.
Frequently Asked Questions
What’s the most important step in any DIY project?
Preparation is absolutely the most critical step. Proper planning, material gathering, and surface preparation determine whether your project looks professionally executed or amateur. Most DIY failures trace back to inadequate preparation, not execution problems.
How long should I wait between coats of paint?
This depends entirely on the paint type and manufacturer specifications. Most latex paints dry to the touch within 1-2 hours but need 4-8 hours between coats for optimal adhesion. Oil-based paints require significantly longer—often 8-24 hours. Always check your specific paint’s instructions rather than guessing.
When should I hire a professional instead of DIY?
Consider hiring professionals for projects involving electrical work, plumbing, structural changes, or anything requiring permits and inspections. These projects have safety and legal implications that go beyond typical DIY scope. For cosmetic projects like painting, shelving, or basic refinishing, DIY is usually appropriate if you’re willing to invest time in learning.
What’s the best way to remove old paint or stain?
The method depends on the surface and existing finish. Chemical strippers, sanding, and pressure washing are common approaches. For detailed guidance, check Family Handyman’s removal guides, which cover various scenarios comprehensively.
How do I know if my project is level and plumb?
A quality level is essential. For horizontal elements, place the level on the surface and ensure the bubble is centered. For vertical elements, place the level against the surface and check that it’s perfectly vertical. A laser level is invaluable for larger projects, as it provides consistent reference lines.
What’s the difference between primer and paint?
Primer is a preparatory coating that helps paint adhere better and provides superior coverage, especially on porous surfaces or when covering stains. Paint is the final decorative and protective coating. Using both ensures better results than paint alone, though some modern paints incorporate primer functionality.
How can I ensure my project looks professional?
Focus on clean lines, smooth transitions, proper finishing details, and attention to small elements. Take your time, use quality materials, prepare surfaces thoroughly, and don’t skip steps. The difference between amateur and professional work often comes down to patience and attention to detail rather than special skills.
Related Posts

How Long to Boil Lobster Tails: Cooking Guide

How Long to Fly from New York to London? Travel Times
