
How to Wire a 3-Way Switch: Expert Guide
How to Wire a 3-Way Switch: Expert Guide
There’s something deeply satisfying about flipping a light switch and having it work exactly as intended. But what happens when you want to control that same light from two different locations? That’s where the three-way switch comes in, and honestly, it’s one of those electrical projects that seems more intimidating than it actually is. Once you understand the basic logic, you’ll realize it’s just a clever bit of engineering that lets you toggle a light from either end of a hallway, staircase, or any other space where dual control makes sense.
The beauty of tackling this project yourself is twofold: you save on electrician fees, and you gain a genuine understanding of how your home’s electrical system works. Whether you’re upgrading an existing single switch or installing a new setup during a renovation, this guide will walk you through every step with clarity and confidence. We’ll cover everything from safety precautions to wire connections, ensuring you finish with a functioning installation and zero regrets.
Before we dive into the technical details, let’s be clear about one thing: electrical work demands respect. You’re dealing with live current that can cause serious injury if mishandled. Take your time, follow these instructions carefully, and don’t hesitate to call a licensed electrician if anything feels uncertain. Your safety is worth far more than the cost of a professional visit.
Understanding 3-Way Switch Basics
A three-way switch setup allows you to control a single light from two separate locations. The magic happens through a specific wiring configuration that uses a pair of three-way switches connected by what’s called traveler wires. Unlike a standard on-off switch that simply completes or breaks a circuit, a three-way switch redirects current along different paths.
Think of it like this: imagine a light fixture with two entrances. You want to be able to turn the light on from either entrance and turn it off from either entrance as well. That’s exactly what a three-way switch setup accomplishes. The first switch you encounter might be in the hallway, and the second might be at the top of the stairs. Flipping either one controls the same light.
Each three-way switch has four terminal screws: one common terminal (usually darker or marked COM), and three brass terminals. Two of those brass terminals are the travelers that carry the switching signal between the switches, while the third connects to the power source or light fixture depending on its position in the circuit. Understanding which terminal is which makes the entire installation process significantly less confusing.
The common terminal is your reference point. On the first switch, the common terminal connects to the hot wire (power source). On the second switch, the common terminal connects to the light fixture. The traveler wires run between the traveler terminals of both switches, creating the pathway that allows either switch to control the light.
Safety Precautions and Preparation
Before touching a single wire, you need to eliminate the risk of electrical shock. Start by turning off the circuit breaker that controls the area where you’ll be working. Flip the breaker to the OFF position and label it clearly so no one accidentally turns it back on while you’re working.
Here’s a critical step many DIYers skip: verify the power is actually off. Use a non-contact voltage tester or a multimeter to confirm there’s no current flowing through the wires. Touch the tester to the wires you’ll be working with. If it shows voltage, the breaker isn’t controlling that circuit, and you need to find the correct one. This verification takes thirty seconds and could save your life.
Turn off power at the breaker, use a voltage tester to confirm, and never assume a wire is safe just because a breaker is switched. Some older homes have quirky wiring where circuits overlap in unexpected ways. If you’re uncertain about which breaker controls your target area, turn off breakers one at a time and test until you find the right one. It’s tedious but necessary.
Additionally, make sure your workspace is well-lit and dry. Don’t attempt electrical work in damp conditions like a bathroom during a shower or a basement during a rainstorm. Moisture and electricity are a dangerous combination. If you’re working in an older home, consider whether asbestos might be present in insulation around old wiring. If you suspect asbestos, contact a professional for safe removal.
Materials and Tools You’ll Need
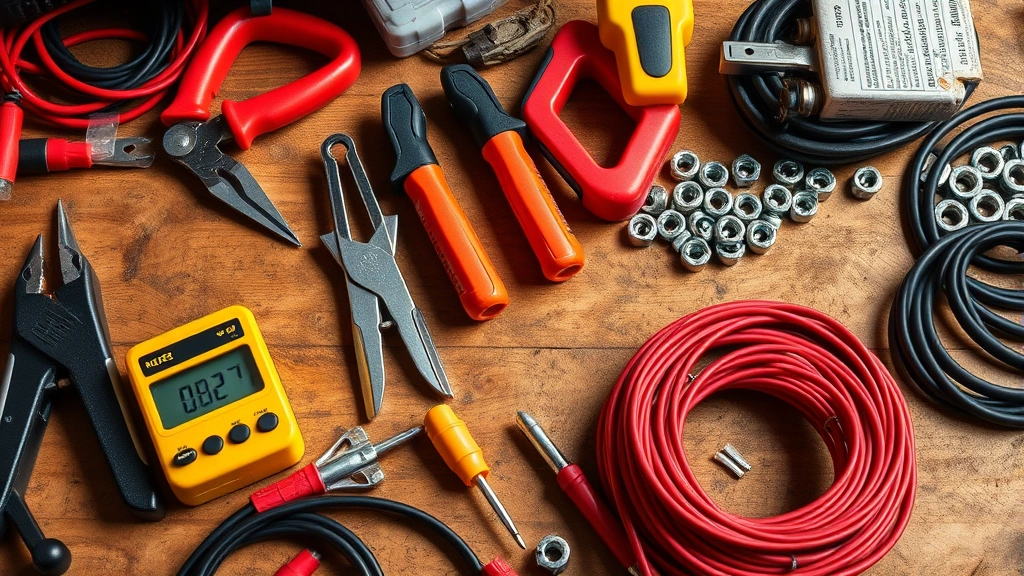
Gathering everything before you start prevents frustrating mid-project trips to the hardware store. Here’s what you’ll need:
- Two three-way switches (not regular on-off switches—they’re specifically marked for three-way applications)
- 14-gauge or 12-gauge electrical wire in appropriate colors (typically black for hot, white for neutral, red for travelers)
- Wire nuts in appropriate sizes for your wire gauge
- Electrical tape for securing and identifying wires
- A non-contact voltage tester or multimeter for safety verification
- Wire strippers to remove insulation from wire ends
- A screwdriver set with both Phillips and flathead options
- Needle-nose pliers for bending wire loops around terminal screws
- A flashlight or headlamp for visibility in switch boxes
- Electrical boxes if you’re installing new switches rather than replacing existing ones
Wire gauge matters more than people realize. Your circuit’s amperage determines the correct gauge. A 15-amp circuit requires 14-gauge wire, while a 20-amp circuit needs 12-gauge wire. Using undersized wire creates a fire hazard. Check your breaker’s amperage rating to determine what you need.

Step-by-Step Wiring Process
Let’s walk through the actual installation process. This assumes you’re replacing an existing switch or working with a properly installed electrical box.
Step 1: Kill the Power and Verify
Flip the breaker controlling your circuit to OFF. Wait a moment to ensure any residual power dissipates. Use your voltage tester on the existing wires to confirm they’re dead. Test the tester on a known live outlet first to ensure it’s working correctly, then test your target wires. No light or beep means you’re safe to proceed.
Step 2: Remove the Old Switch (If Applicable)
If you’re replacing an existing switch, unscrew and carefully pull it out of the electrical box. You’ll see wires connected to terminal screws. Take a photo before disconnecting anything—this serves as your reference if you forget which wire goes where.
Step 3: Identify Your Wires
You should see three wires entering the switch box: hot (black), neutral (white), and ground (bare copper or green). In a three-way setup, you might also see a red wire (traveler). The hot wire brings power in, the neutral completes the circuit back to the panel, and ground provides safety by offering an alternate path for electricity if something goes wrong.
Step 4: Connect the First Three-Way Switch
At the first switch location (where power enters), connect the black hot wire to the common terminal (usually marked COM and darker than the other terminals). Connect the red traveler wire to one of the brass terminals. Connect the other red traveler wire to the other brass terminal on the second switch. Connect the ground wire to the green screw on the switch.
Step 5: Connect the Second Three-Way Switch
At the second switch location (where the light is controlled), connect the wire going to your light fixture to the common terminal. Connect one traveler wire to a brass terminal and the other traveler wire to the remaining brass terminal. Connect the ground wire to the green screw.
Step 6: Secure Wire Connections
Each wire should form a hook shape around the terminal screw. The hook should go clockwise around the screw so that tightening the screw pulls the wire tighter rather than pushing it off. Strip about three-quarters of an inch of insulation from each wire end. Wrap it around the terminal screw and tighten firmly. The wire should be snug but not strained.
Step 7: Secure Neutral Wires
If your light fixture has a neutral wire (white), it connects directly to the neutral wire from your power source using a wire nut. This bypasses the switches entirely because the light always needs a complete path back to the electrical panel. Never switch a neutral wire—it’s a serious safety violation.
Step 8: Test Before Closing
Before pushing switches back into their boxes, restore power at the breaker. Test both switches to ensure the light turns on and off from either location. If something doesn’t work, turn the breaker off again and check your connections. Look for loose wires, incorrect terminal placement, or crossed travelers.
When everything works correctly, turn the power off again and carefully push the switch into the electrical box. Screw the cover plate on and you’re finished.
Common Mistakes to Avoid
Learning from others’ mistakes prevents you from repeating them. Here are the most common errors people make when installing three-way switches:
Mixing Up the Common Terminal
If you connect travelers to the common terminal or vice versa, your switches won’t control the light properly. Take time to identify the common terminal correctly. It’s usually marked or appears slightly different from the traveler terminals. When in doubt, consult the switch packaging or manufacturer instructions.
Using Single-Pole Switches Instead of Three-Way Switches
A regular light switch won’t work in a three-way configuration. You specifically need three-way switches, which have four terminals instead of three. Grabbing the wrong switch type at the hardware store is an easy mistake to make, but it means your installation won’t function.
Forgetting About the Neutral Wire
The neutral wire (white) must connect directly to the neutral at the light fixture or electrical panel. It doesn’t go through the switches. Some DIYers accidentally try to switch the neutral wire, which creates a serious safety hazard.
Crossing or Swapping Traveler Wires
The two traveler wires must maintain their connections from switch to switch. If you swap them at one switch but not the other, your setup won’t work correctly. Mark these wires clearly to avoid confusion. Use red wire specifically for travelers—it’s a universal convention that prevents mistakes.
Loose Wire Connections
A wire that looks connected but isn’t fully tightened around the terminal screw will cause intermittent problems or complete failure. Test each connection by gently tugging the wire. It shouldn’t budge. Loose connections also create fire hazards as they generate heat through resistance.
Beyond these common mistakes, one often-overlooked issue is improper wire gauge. If your circuit is 20 amps and you use 14-gauge wire instead of 12-gauge, you’re creating a fire hazard. The wire will overheat under full load. Check your breaker amperage and match it to the correct wire gauge.
Troubleshooting Your Installation
If your switches aren’t working correctly, don’t panic. Most problems have straightforward solutions.
Light Won’t Turn On From Either Switch
This usually means power isn’t reaching the first switch. Turn off the breaker and use your voltage tester to confirm the black hot wire is actually live when the breaker is on. If it’s not, you might have the wrong breaker selected or a tripped breaker. If power is reaching the first switch but the light still won’t turn on, check that the light fixture itself isn’t the problem. Try a different bulb or test the fixture in another location.
Light Won’t Turn Off From One Switch
This indicates a traveler wire issue. One traveler might not be properly connected, or you might have accidentally connected a traveler to the common terminal. Turn off power and verify each connection matches the configuration we described. Check that traveler wires are firmly seated on their terminals.
Light Turns On and Off Unpredictably
Intermittent behavior suggests loose connections. Turn off power and check every terminal screw. Tighten any that feel loose. Look for wire strands that might be escaping the terminal connection. If you find loose strands, strip fresh insulation from the wire end and reconnect it properly.
One Switch Works but the Other Doesn’t
This points to a problem at the non-functioning switch. Verify that both travelers are connected to brass terminals (not the common terminal) and that the common terminal at that switch connects to the light fixture. If you’re replacing an old switch with a new one, ensure the new switch is rated for three-way use.
If troubleshooting doesn’t reveal the problem, consider whether you might have a deeper wiring issue in your home. Older homes sometimes have unexpected circuit configurations. At that point, consulting a licensed electrician makes sense. They can trace the circuit and identify issues that aren’t immediately obvious.
One practical tip: before assuming something is wired wrong, verify your voltage tester is working. Test it on a known live outlet. A faulty tester leads to false conclusions about whether power is present.
Frequently Asked Questions
What’s the difference between a three-way switch and a regular switch?
A regular switch has two terminals and simply opens or closes a circuit. A three-way switch has four terminals: one common and three others. This configuration allows it to redirect current along different paths, enabling control from two locations. You can’t substitute one for the other—they’re designed for different purposes.
Can I use 14-gauge wire for a 20-amp circuit?
No. Using undersized wire creates a fire hazard. A 20-amp circuit requires 12-gauge wire. The breaker amperage determines wire gauge. 15-amp circuits use 14-gauge, and 20-amp circuits use 12-gauge. Never downsize the wire to make it fit—upsize to match the circuit’s amperage.
What if I have more than two locations where I want to control the light?
You’ll need four-way switches in addition to your three-way switches. A four-way switch sits between two three-way switches and allows control from three locations. You can add multiple four-way switches for even more control points. The wiring becomes more complex, so consult detailed guides or hire a professional for installations with more than two control points.
Do I need to turn off the breaker for this project?
Absolutely. Never work on live electrical circuits. Turning off the breaker and verifying power is off is non-negotiable. Even a small mistake with live current can cause serious injury or death. There are no shortcuts when it comes to electrical safety.
Can I install a three-way switch in an old house with outdated wiring?
It depends on the condition of the existing wiring and whether it meets current code requirements. Older homes sometimes have aluminum wiring, cloth insulation, or other issues that complicate modern installations. If you’re uncertain about your home’s wiring, have a licensed electrician inspect it before proceeding. They can advise whether upgrades are necessary.
What does the red wire do in a three-way switch setup?
The red wire serves as a traveler wire, carrying the switching signal between the two three-way switches. It’s not required to be red—you could use any color—but red is the industry standard convention for travelers. This makes it easier for anyone (including future electricians) to understand the circuit at a glance.
Why won’t my light turn off?
This usually means one of the traveler wires is connected to the wrong terminal, creating a direct path to power that bypasses the switch logic. Turn off the breaker and verify that both traveler wires connect to brass terminals and not the common terminal. Also check that the common terminal connections are correct at both switches.
Is it safe to do this myself, or should I hire an electrician?
If you’re comfortable following detailed instructions, verify power is off, and take your time, you can install a three-way switch safely. However, if you’re uncertain at any point or uncomfortable working with electricity, hiring a licensed electrician is the better choice. The cost of professional installation is worth your peace of mind and safety.
Related Posts

How Long to Boil Lobster Tails: Cooking Guide

How Long to Fly from New York to London? Travel Times
