
Start a Fire Safely: Expert Tips Inside
Start a Fire Safely: Expert Tips Inside
Learning how to start a fire safely is an essential skill for homeowners, campers, and anyone who enjoys outdoor living. Whether you’re building a cozy fireplace in your home, preparing for a camping trip, or simply want to understand fire safety fundamentals, mastering proper fire-starting techniques protects your family and property while ensuring an efficient, controlled burn.
Fire has warmed human beings for thousands of years, but it demands respect and knowledge. A poorly started fire can spread unpredictably, damage your home, or create hazardous situations. This comprehensive guide walks you through everything from understanding fire chemistry to troubleshooting common ignition problems, ensuring you can start and maintain a safe fire every single time.
Understanding the Fire Triangle
Before you strike a match or spark a lighter, you need to understand the fundamental science behind fire. The fire triangle—also called the combustion triangle—consists of three essential elements: heat, fuel, and oxygen. Remove any one of these components, and your fire will not ignite or will extinguish.
Heat is the ignition source that raises the fuel temperature to its ignition point. Fuel is any combustible material, from wood and charcoal to paper and kindling. Oxygen is the air around us that sustains combustion. Understanding this relationship helps you troubleshoot why fires won’t start and how to maintain them once burning.
Different materials require different ignition temperatures. Paper ignites around 451°F, while wood needs approximately 570°F. This is why you can’t simply light a large log with a match—you need to build up heat gradually using smaller materials first. This layering process is the foundation of all safe fire-starting methods.
Essential Materials and Tools
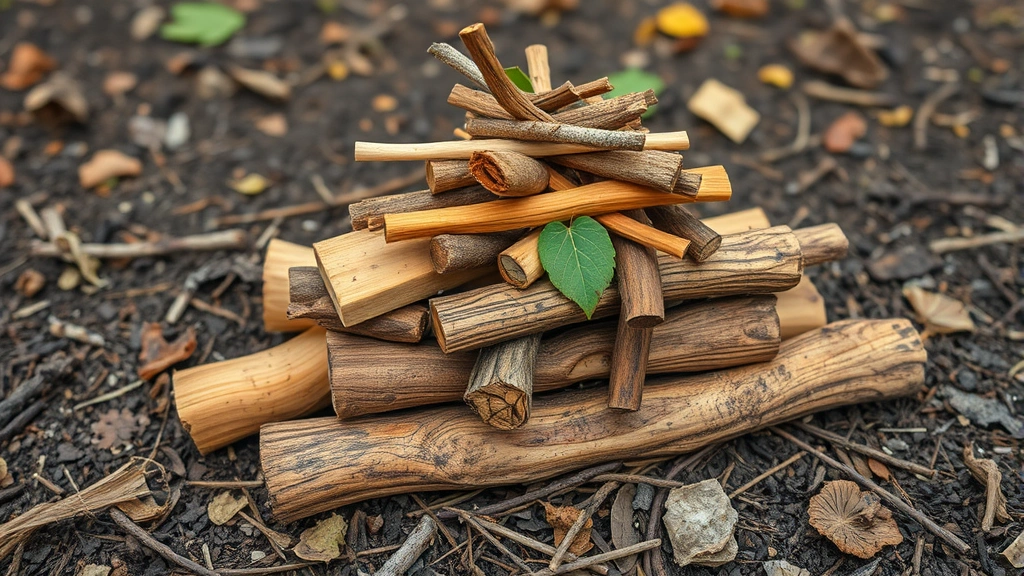
Successful fire starting begins with gathering the right materials. Organize your supplies into three categories: tinder, kindling, and fuel wood. Each plays a crucial role in building a sustainable fire.
Tinder is the easiest material to ignite—it catches fire with minimal heat. Effective tinder options include:
- Dry leaves and pine needles
- Shredded paper or cardboard
- Cotton balls or lint
- Bark strips from dead trees
- Commercial fire starters
- Dryer lint mixed with petroleum jelly
Kindling consists of small sticks and twigs, typically pencil-thickness or smaller. Kindling bridges the gap between easily-ignited tinder and larger fuel wood. Gather kindling in various sizes—toothpick-thin pieces for initial catch and progressively thicker pieces up to finger-width.
Fuel wood is your primary burning material. For fireplaces and fire pits, use seasoned hardwoods like oak, maple, or ash. Seasoned wood has been dried for at least six months to a year and contains moisture levels below 20 percent. Wet or green wood produces excessive smoke and won’t sustain a hot fire.
Essential tools for safe fire starting include:
- Waterproof matches or a reliable lighter
- Fire-starting kit with multiple ignition sources
- Gloves for handling materials
- A small shovel or poker for fire management
- A fire extinguisher rated for wood fires
- Metal fire grate or screen
Preparing Your Fire Space
Never underestimate preparation. A properly prepared fire space dramatically increases safety and success rates. Whether you’re using a fireplace, wood stove, or outdoor fire pit, follow these preparation steps:
For Fireplaces: Check that your fireplace chimney is clean and unobstructed. A blocked chimney creates dangerous smoke backup and carbon monoxide risks. The damper must open fully to allow smoke to escape. Inspect the firebox for debris, dead animals, or blockages. Remove the grate and sweep out ash from previous fires, leaving only a thin layer—about one inch—which helps insulate and maintain coals.
For Fire Pits: Clear a minimum ten-foot diameter area around your fire pit, removing all leaves, branches, and flammable debris. Check local fire codes and regulations—many municipalities restrict open burning. Position your fire pit at least fifteen feet from structures, trees, and power lines. Ensure the ground is clear of dry grass. Have water or a fire extinguisher within arm’s reach at all times.
For Both: Check weather conditions. Never start outdoor fires during high winds, drought conditions, or fire weather warnings. Ensure adequate adult supervision—never leave a fire unattended. Keep children and pets at safe distances. Have a plan to extinguish your fire completely before leaving the area.
Step-by-Step Fire Starting Techniques
The pyramid method is the most reliable approach for beginners and experienced fire builders alike. This technique uses gravity and heat circulation to sustain combustion.
Step 1: Create Your Tinder Base Arrange a bundle of tinder in the center of your fire space. Make it loose enough for air to circulate but dense enough to catch and hold flame. If using multiple tinder types, create a nest-like structure about the size of a grapefruit.
Step 2: Arrange Kindling Around Tinder Lean thin kindling pieces against each other in a teepee formation around your tinder. Leave gaps for oxygen flow—don’t pack the kindling tightly. This framework should stand about six to eight inches tall. Ensure the smallest pieces are closest to the tinder.
Step 3: Light the Tinder Using your match or lighter, ignite the tinder from multiple points. Hold the flame steady in the tinder bundle until it catches and begins smoking consistently. This may take ten to fifteen seconds. Once the tinder is burning steadily, gradually feed small pieces of kindling into the growing flame.
Step 4: Gradually Add Larger Kindling As flames develop, add progressively larger kindling pieces. Continue feeding the fire methodically—too much fuel too quickly smothers the flames by limiting oxygen. Too little fuel and the fire dies. This balance is key to successful fire starting.
Step 5: Transition to Fuel Wood Once your kindling is burning vigorously with established flames, carefully add your first pieces of fuel wood. Place them at an angle to maintain airflow. Wait for these pieces to catch before adding more. A well-established fire can handle full-sized logs.
Alternative methods include the log cabin structure, where kindling is stacked in alternating perpendicular layers, creating a hollow center for tinder. This method provides excellent airflow but requires more preparation time. The upside-down fire, or Swedish fire, involves stacking fuel wood with kindling and tinder on top. This creates a long-burning fire ideal for extended outdoor use.
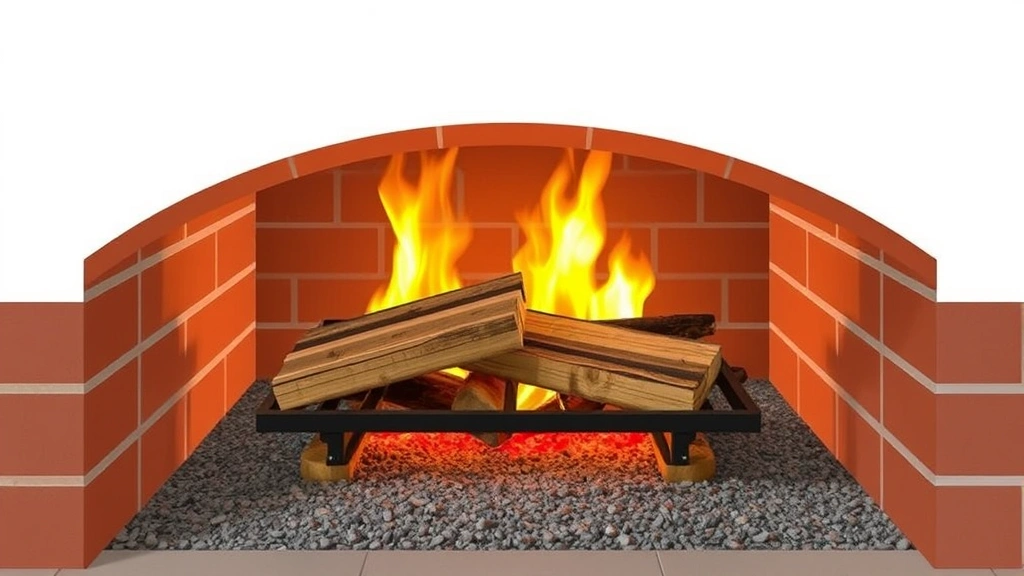
Starting a Fireplace Fire Safely
Fireplace fires require special attention to safety and efficiency. Begin by opening your damper fully—this is the most common mistake that causes smoking indoors. The damper is a metal flap that opens to allow smoke to escape up the chimney. It should move easily and fully retract into the chimney.
Check the weather before starting your fire. A cold chimney creates downdrafts that push smoke into your home. On cold mornings, briefly open your fireplace damper and hold a lit piece of paper near the opening. If smoke flows into the room, the chimney is cold and won’t draw properly. Wait for the chimney to warm, or use a heat gun to warm the area near the damper.
Arrange your fire using the pyramid method described earlier, but use fireplace-appropriate materials. Never use treated wood, plywood, or particle board—these release toxic chemicals when burned. Avoid burning green or wet wood, which creates excessive creosote buildup in your chimney and increases fire risk.
Light your tinder bundle from multiple angles using fireplace matches or a long-handled lighter. Once kindling catches, gradually add larger pieces. Once your fire is established, you can add full logs positioned to allow air circulation between them.
Monitor your fire continuously. Close the damper only after flames die and coals cool significantly—usually several hours. Never go to bed with an active fire unless you have a well-maintained wood stove with proper safety features.
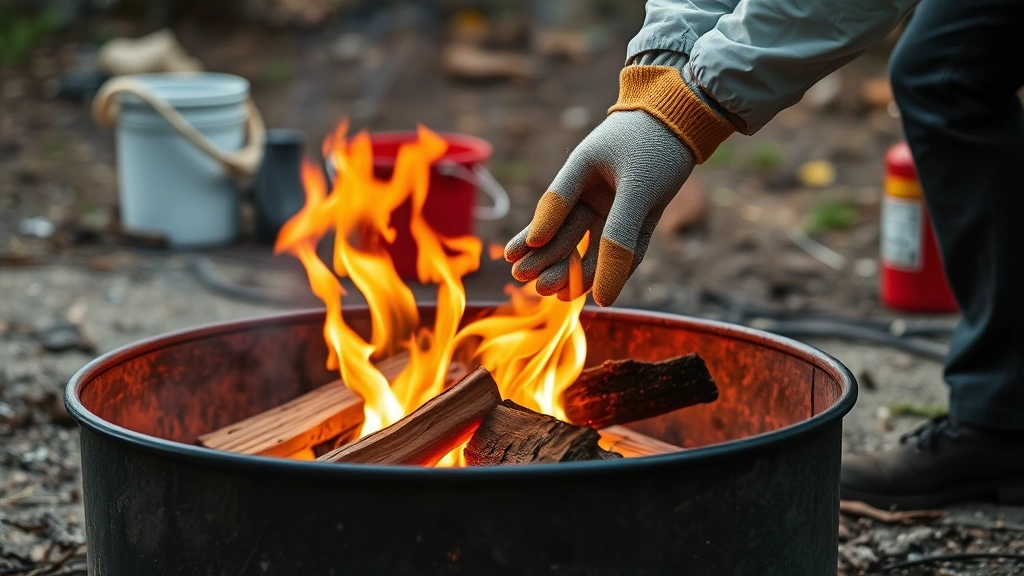
Outdoor Fire Pit Safety
Outdoor fires provide warmth, atmosphere, and gathering spaces, but they demand careful management. Start by checking local regulations—many areas require permits for open burning or restrict burning during certain seasons. Contact your local fire department for specific guidelines.
Position your fire pit on bare soil or gravel, never on grass or near mulch. The bare ground prevents root systems from igniting underground. Ensure your pit is at least fifteen feet from structures, including your home, shed, and garage. Keep it thirty feet from tree branches and power lines.
Build your fire using the pyramid method, starting small and building gradually. Maintain your fire pit with a metal grate to contain embers and a metal ring or constructed barrier to define the burn area. Never leave your fire unattended, even briefly. Always have water, a garden hose, or a fire extinguisher immediately available.
Keep children and pets supervised around the fire. Establish a clear perimeter where they understand not to approach without adult permission. Teach fire safety basics: fire is hot from a distance, never throw objects into flames, and never attempt to retrieve items from an active fire.
When extinguishing your fire, let the wood burn completely to ash if possible. Once flames die, pour water slowly around the fire pit while stirring ashes to cool everything thoroughly. Feel the ground around the pit—it should be cool to the touch before you leave. Never bury hot coals or leave a fire to smolder overnight.
Troubleshooting Common Problems
Even experienced fire builders encounter challenges. Understanding common problems helps you solve them quickly.
Fire Won’t Ignite: The most common cause is wet or damp tinder and kindling. If materials are slightly damp, place them near a heat source to dry before use. Ensure you’re gathering truly dry tinder—if everything feels even slightly moist, your fire won’t start. Check that you have adequate oxygen flow by loosening your kindling structure.
Fire Smolders But Won’t Catch Flame: You likely have insufficient heat. Add more tinder and smaller kindling pieces. Create better airflow by loosening your kindling arrangement. Protect your fire from wind by positioning your body or using a windbreak, but never smother it with your hands.
Fire Starts Then Dies: This indicates you’re adding fuel too quickly or too slowly. Feed kindling gradually—every ten to fifteen seconds add a small piece. Ensure pieces are arranged to allow oxygen flow. Avoid packing wood tightly together.
Excessive Smoke Indoors: For fireplaces, verify your damper is fully open. Check for chimney blockages by looking up with a flashlight—you may see creosote buildup or debris. If the chimney is cold, warm it first. Ensure your home isn’t creating negative pressure by running exhaust fans while your fireplace is operating.
Wet Wood Won’t Burn: Never use freshly cut or green wood. If you only have wet wood available, split it to expose drier interior sections. Stand it near your fire to dry before burning. In the future, source seasoned wood with moisture content below 20 percent.
FAQ
What’s the best wood for starting fires?
Hardwoods like oak, maple, ash, and birch are superior to softwoods because they burn longer, hotter, and create fewer sparks. Softwoods like pine ignite easily but burn quickly and produce excessive creosote. Always use seasoned wood dried for at least six months to one year.
How do I know if wood is properly seasoned?
Seasoned wood has visible cracks on the end grain, weighs less than green wood, and produces a hollow sound when struck together. Use a moisture meter to verify moisture content is below 20 percent. Never use wood with moisture above 25 percent.
Is it safe to use accelerants like gasoline?
Never use gasoline, lighter fluid, or other flammable accelerants. These create dangerous flash fires and unpredictable flame behavior. Use commercial fire starters or natural materials like cotton balls and petroleum jelly instead. These are safer and still effective.
Can I start a fire in rain or high humidity?
Avoid starting outdoor fires during rain. Wet conditions make ignition difficult and create excessive smoke. For indoor fireplaces, slightly humid conditions are acceptable, but avoid starting fires during thunderstorms. High humidity increases difficulty but isn’t impossible if you have truly dry materials.
How long should I let a fire burn before adding logs?
Wait until your kindling is burning vigorously with visible flames before adding full-sized logs. This typically takes five to ten minutes. Add logs gradually—place one log, wait for it to catch, then add another. Never dump multiple logs on a young fire.
What should I do if my fire gets out of control?
For outdoor fires, use water or a garden hose to douse flames. For fireplace fires, close the damper to cut oxygen supply—but only if flames are contained within the fireplace. If fire escapes the fireplace, evacuate and call emergency services. Keep a fire extinguisher rated for wood fires nearby at all times.
How do I completely extinguish a fire?
Let wood burn completely to ash. Pour water slowly while stirring ashes thoroughly. Feel the ground around the fire—it should be cool to the touch. Stir again and add more water if needed. Never bury hot coals or leave a fire to smolder.
Is it better to use matches or a lighter?
Waterproof matches are ideal for camping and outdoor use because they work when lighters fail. For indoor fireplaces, long-handled fireplace lighters are safer than matches. Carry both in your emergency kit. Matches are more reliable in wind and moisture.
Can I use charcoal in my fireplace?
Never use charcoal indoors—it produces carbon monoxide, a deadly odorless gas. Charcoal is designed for outdoor grills and fire pits only. In fireplaces, use only wood or approved fireplace logs.
How often should I have my chimney cleaned?
Professional chimney cleaning is recommended annually if you use your fireplace regularly. Creosote buildup increases fire risk significantly. If you burn wood infrequently, have it cleaned every other year. Always inspect visually before starting a fire.
Related Posts

Superscript in Google Docs: Expert Tips

Strikethrough in Excel: Easy Steps for Beginners
