
How to Make Bubble Solution: Expert Guide
How to Make Bubble Solution: Expert Guide to Perfect Bubbles Every Time
There’s something almost magical about watching bubbles float through the air, catching the light in shimmering rainbows before popping into thin air. Whether you’re planning a backyard party, entertaining kids on a lazy afternoon, or just seeking a nostalgic moment of simple joy, bubble solution is one of those timeless pleasures that never gets old. But here’s the thing—not all bubble solutions are created equal. Some burst instantly, others barely float, and a few produce those glorious, giant bubbles that seem to defy physics.
The secret to achieving bubble-blowing perfection isn’t complicated, but it does require understanding the right formula and technique. You don’t need to hunt down expensive commercial brands or settle for mediocre results. With a few household ingredients and a little know-how, you can create professional-quality bubble solution right in your kitchen. This guide will walk you through everything you need to know, from basic recipes to advanced techniques that’ll make you the bubble-blowing champion of your neighborhood.
Ready to become a bubble expert? Let’s dive in and explore the science, recipes, and tricks that transform ordinary ingredients into extraordinary bubbles.
The Science Behind Perfect Bubble Solution
Before we start mixing, let’s understand what makes bubbles tick. A bubble is essentially a thin film of liquid surrounding air, and that film is remarkably delicate. The magic happens at the molecular level, where soap molecules arrange themselves in a specific way that allows water to stretch thin enough to trap air without immediately collapsing.
Water alone can’t create stable bubbles because water molecules are too attracted to each other—they want to form droplets, not films. When you add soap (technically a surfactant), it reduces the surface tension of water. The soap molecules have one end that loves water and another that repels it, so they arrange themselves in a clever double layer at the water’s surface. This arrangement is what allows the bubble film to stretch and hold air.
But there’s more to the story. Pure soap and water will create bubbles, but they’ll pop almost immediately. That’s where the other ingredients come in. Corn syrup or sugar adds viscosity, making the solution thicker and more elastic. This thickness gives bubbles more structural integrity and slows down evaporation. Corn starch adds even more staying power. The ratio of these ingredients determines whether you get tiny, quick bubbles or magnificent, long-lasting spheres.
The water itself matters too. Tap water works fine, but if you have particularly hard water (mineral-heavy), you might want to use distilled water instead. Hard water minerals can interfere with the soap’s ability to reduce surface tension effectively, resulting in fewer and weaker bubbles.
Basic Bubble Solution Recipe
Let’s start with the simplest reliable recipe that produces excellent results with ingredients you probably already have at home. This basic formula is perfect for casual bubble-blowing and works great for kids’ activities.
Simple Three-Ingredient Recipe
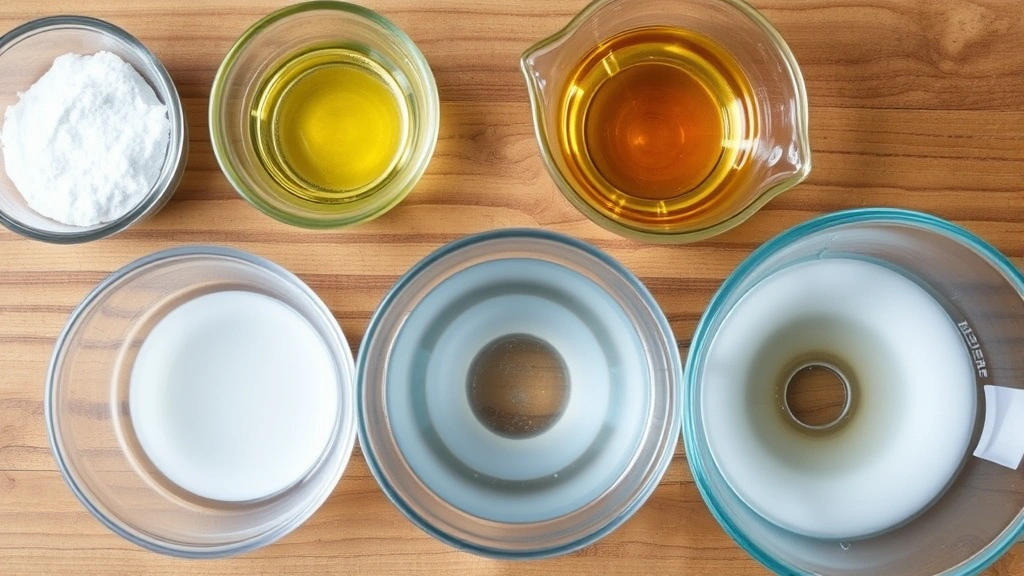
Ingredients:
- 1 cup of dish soap (liquid, not gel—Dawn works beautifully)
- 6 cups of water
- 2 tablespoons of corn syrup or sugar dissolved in warm water
Instructions:
- Pour the water into a large container or bucket. Room-temperature water works fine, though some enthusiasts prefer slightly warm water as it helps dissolve the sugar more evenly.
- Add the dish soap carefully. Stir gently—and this is important—avoid creating foam or lots of bubbles in the mixture itself. Aggressive stirring introduces air into the solution, which actually works against you. Stir slowly and deliberately until the soap is fully incorporated.
- Dissolve your corn syrup or sugar in a small amount of warm water, then add it to the mixture. Stir gently again until everything is combined.
- Let the solution rest for at least 30 minutes before using. This resting period allows the soap molecules to fully arrange themselves and creates more stable bubbles. Ideally, wait a few hours or even overnight for optimal results.
This recipe produces a solution that’s reliable, forgiving, and delivers satisfying bubbles. The ratio of 1 part soap to 6 parts water is the sweet spot for most situations. Too much soap creates a solution that’s too viscous and actually harder to blow through. Too little soap means bubbles pop too quickly.
Advanced Recipes for Maximum Performance
Once you’ve mastered the basics, you might want to experiment with recipes designed for specific bubble-blowing goals. These advanced formulas are perfect for competitions, elaborate bubble shows, or anyone who wants to push the boundaries of bubble creation.
Giant Bubble Formula
This recipe prioritizes bubble size and longevity over quantity. It’s thicker and more elastic, perfect for creating those impressive, person-sized bubbles.
Ingredients:
- 1 cup of dish soap
- 4 cups of water
- 3 tablespoons of corn syrup
- 1 tablespoon of baking powder or cornstarch
Why it works: The reduced water ratio creates a thicker solution. The combination of corn syrup and baking powder creates exceptional elasticity. These bubbles won’t pop as easily from minor impacts, and they’ll float longer because the thicker film evaporates more slowly.
Professional Competition Formula
Bubble enthusiasts and professional performers often use this more complex recipe when they need the absolute best performance.
Ingredients:
- 1 cup of high-quality dish soap (Dawn Ultra is preferred by many professionals)
- 4 cups of distilled water
- 1 tablespoon of corn starch
- 2 tablespoons of corn syrup
- 1/2 teaspoon of baking powder
Instructions:
- Mix the corn starch and baking powder together in a small bowl to prevent clumping.
- Dissolve the corn syrup in a small amount of warm distilled water.
- Combine the distilled water and dish soap in a large container, stirring very gently.
- Add the corn syrup mixture, then slowly sprinkle the corn starch and baking powder mixture while stirring gently.
- Let this solution rest for 24 hours. Yes, a full day. This waiting period is crucial—it allows all the ingredients to fully integrate and creates noticeably better bubbles than using it immediately.
This formula creates bubbles that are remarkably stable, can reach impressive sizes, and have a mesmerizing quality as they float through the air.
Essential Tools and Bubble Wands
Your bubble solution is only half the equation. The wand you use dramatically affects your results. Let’s explore the options.
Commercial Bubble Wands
These come in countless shapes and sizes, from simple circular wands to elaborate multi-hole designs. The classic circular wand remains popular because it’s effective and intuitive. However, wands with multiple loops or geometric shapes can create interesting bubble formations.
DIY Bubble Wands
You can create excellent wands from household materials. Pipe cleaners twisted into circles work surprisingly well. You can also use wire from old coat hangers—carefully bend it into shapes and wrap the handle with cloth or duct tape for comfort. Straws bundled together and secured with rubber bands create multi-bubble wands. The key is ensuring the material forms a smooth loop without sharp edges or rough spots that could puncture the bubble film.
Professional-Grade Tools
For giant bubbles, enthusiasts use specialized equipment like wand frames made from PVC pipe or aluminum, often with cloth or string attached to create the bubble film. These tools can create bubbles several feet in diameter. If you’re serious about bubble-blowing, learning how to construct specialized equipment opens up entirely new possibilities for bubble creation.
Pro Tips for Giant, Long-Lasting Bubbles
Now that you understand the formulas and tools, let’s explore the techniques that separate casual bubble-blowers from true bubble artists.
Environmental Conditions Matter
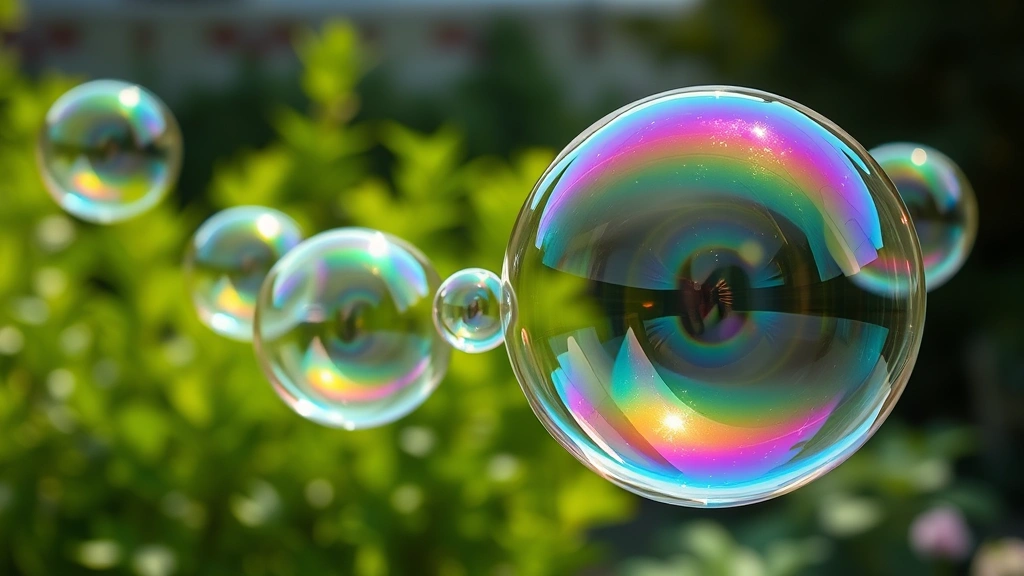
The best bubble-blowing happens on calm, humid days. Wind is a bubble’s enemy—it can blow them away before they’ve even formed or puncture them mid-flight. Humidity is your friend because it slows evaporation. Early morning or late evening, when moisture is higher, produces superior results compared to hot, dry afternoons. Temperature also plays a role; bubble solution works best when it’s warm enough to be pliable but not so hot that it evaporates too quickly.
Technique is Everything
Dip your wand slowly into the solution, ensuring a complete film forms across the loop. Don’t rush this step. When you lift the wand, move it slowly and deliberately. The key to giant bubbles is gentle, steady movement. Blow softly and continuously rather than with quick puffs. A smooth, sustained breath creates larger bubbles than aggressive blowing.
The Twist and Pull Method
For maximum size, try this technique: dip your wand, slowly pull it out, then gently twist it as you blow. The twisting motion helps the bubble form more evenly and creates a larger surface area. As the bubble grows, gradually slow your blowing and eventually stop—sometimes the bubble will continue growing from air currents alone.
Solution Temperature
Warm solution (around 80-90°F) blows better than cold solution. On cool days, consider gently warming your solution in the sun or with warm water before using it. This improves the elasticity of the soap film and makes larger bubbles easier to achieve.
Troubleshooting Common Bubble Problems
Even with the perfect recipe, you might encounter issues. Here’s how to solve them.
Bubbles Pop Immediately
Problem: Your bubbles burst within seconds of forming.
Solutions: Your solution might be too thin. Add more corn syrup or sugar. You might also be blowing too hard or too fast—try gentler, more sustained breaths. If you’re using tap water with high mineral content, try switching to distilled water. Finally, ensure your solution has rested for at least 30 minutes before using it.
Solution is Too Thick
Problem: The mixture is so viscous that it’s hard to blow bubbles at all.
Solutions: You’ve likely added too much corn syrup or cornstarch. Add a bit more water to thin it out. Remember, thicker isn’t always better—there’s a sweet spot where the solution is elastic but still workable.
Few or No Bubbles Form
Problem: You’re dipping the wand but no bubble film appears.
Solutions: You might be using gel dish soap instead of liquid—gel doesn’t work well for bubbles. Switch to liquid soap like Dawn. Your solution might be too old or contaminated. Make a fresh batch. Alternatively, you might not have enough soap in your mixture; increase the ratio slightly.
Bubbles Float Downward
Problem: Your bubbles sink instead of floating.
Solutions: Bubbles float when they’re filled with warm air and the bubble film is very thin. Try using warmer solution and ensure you’re not blowing too much air into each bubble. Sometimes less air creates better floating bubbles. Also, environmental conditions matter—very cold air is denser and harder for bubbles to float in.
Storage and Shelf Life
Proper storage extends your bubble solution’s life and maintains its quality. Store your solution in a sealed container away from direct sunlight. Room temperature is ideal—avoid storing it in places that get very hot or very cold. A sealed plastic container or glass jar works perfectly.
Bubble solution typically stays fresh for several weeks, though the exact shelf life depends on your specific recipe and storage conditions. Solutions with more sugar or corn syrup tend to last longer. If you notice your solution becoming cloudy, developing an odd smell, or producing noticeably worse bubbles, it’s time to make a fresh batch.
If you’re planning to store solution long-term, label your container with the recipe and date created. This helps you remember what worked and when to replace it. Some people make large batches in advance and store them in multiple containers, using one while others rest and mature.
For those interested in exploring other DIY projects, learning how to make slime without glue offers similar satisfaction and uses some comparable techniques. You might also enjoy making self-rising flour from scratch or even creating sour cream at home, as these projects share the same spirit of DIY creation and experimentation.
Frequently Asked Questions
Can I use any dish soap for bubble solution?
Not all dish soaps work equally well. Liquid soaps like Dawn work best because they have the right balance of surfactants. Gel soaps and ultra-concentrated formulas often don’t produce good bubbles. If your current soap isn’t working, try switching brands. Dawn Ultra is particularly popular among bubble enthusiasts for its reliable performance.
What’s the difference between using corn syrup and sugar?
Both work, but corn syrup is slightly more effective because it dissolves more easily and creates a more uniform viscosity. Sugar requires more heating to dissolve completely. If you’re in a pinch and only have sugar, dissolve it in warm water first, then add it to your solution. The results will be nearly identical to using corn syrup.
How do I make my bubbles glow in the dark?
Add glow stick liquid to your bubble solution. Break open a glow stick and carefully pour the liquid into your solution, stirring gently. This creates bubbles that glow beautifully in low-light conditions. It’s perfect for evening bubble sessions and creates a magical effect.
Why does my bubble solution work better after sitting overnight?
The resting period allows the soap molecules to fully arrange themselves at the water’s surface and throughout the solution. The ingredients also have time to fully integrate, creating a more stable and elastic solution. This is why professional bubble makers always prepare their solutions well in advance.
Can I make bubble solution without corn syrup?
Yes, though the results might not be quite as impressive. You can substitute with regular sugar (dissolved in warm water first), honey, or even just use more soap. The corn syrup isn’t absolutely essential—it’s an enhancement that improves bubble longevity and size. Basic soap and water alone will still create bubbles.
What temperature water should I use?
Room temperature to warm water (around 70-90°F) works best. Very cold water can make the soap less effective and reduce bubble quality. Very hot water can cause the solution to break down. If you’re making your solution in cold weather, consider letting it warm up to room temperature before using it.
How can I create colored bubbles?
Add food coloring to your bubble solution. Use a small amount—just a few drops—because food coloring is concentrated. Mix it in thoroughly before using. The bubbles will take on a subtle tint that’s visible against light backgrounds. For more dramatic color, use more food coloring or add washable paint instead.
Is there a bubble solution recipe that’s safe for very young children?
The basic soap and water recipe is generally safe, but ensure children don’t ingest it. If you want to be extra cautious, you can use baby shampoo instead of dish soap, though the bubbles won’t be quite as impressive. Always supervise young children during bubble play and discourage them from putting the wand or solution in their mouths.
Related Posts

How Long to Boil Lobster Tails: Cooking Guide

How Long to Fly from New York to London? Travel Times
