Double Spacing in Word: Beginner’s Guide
Double Spacing in Word: Beginner’s Guide
Double spacing is one of the most fundamental formatting tasks in Microsoft Word, yet many users struggle to find where this option lives in the application. Whether you’re preparing an academic paper, formatting a business document, or simply need to increase readability, understanding how to do double spacing in Word is an essential skill. This guide will walk you through every method available, from the simplest approach to advanced customization options.
Proper line spacing can dramatically improve your document’s appearance and readability. Double spacing—which creates twice the space between lines compared to single spacing—is often required by academic institutions, publishers, and professional organizations. By mastering this fundamental skill, you’ll be able to format documents quickly and confidently, whether you’re working on a short memo or a lengthy manuscript.

Understanding Line Spacing Basics
Before diving into the practical steps, it’s important to understand what line spacing actually means. Line spacing refers to the vertical distance between lines of text in your document. Single spacing means the lines are as close together as possible while remaining readable, typically around 1.0. Double spacing doubles this distance, making text easier to read and providing space for handwritten comments—which is why it’s so commonly required in academic settings.
Different versions of Microsoft Word may have slightly different interfaces, but the core functionality remains consistent across Word 2016, Word 2019, and Microsoft 365. Understanding the basic concepts will help you navigate any version you encounter. If you’re working with other document types, you might also want to learn about formatting techniques that apply to different media formats.
Line spacing options typically include single (1.0), 1.5 lines, double (2.0), triple (3.0), and custom options. Most academic institutions require double spacing for papers, dissertations, and theses. Understanding when and why to use each option will make you a more effective document formatter.
Method 1: Using the Line Spacing Button
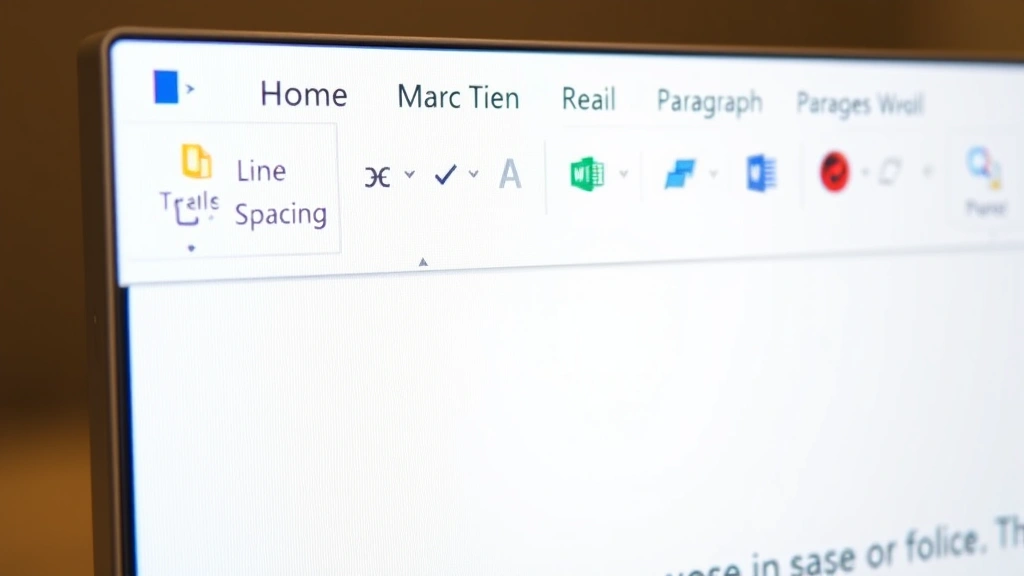
The quickest way to apply double spacing in Word is through the Line Spacing button on the Home tab. This method works in virtually all modern versions of Word and requires just a few clicks:
- Open your document in Microsoft Word
- Select all the text you want to double space (use Ctrl+A to select the entire document)
- Look for the Home tab in the ribbon at the top of the window
- Find the Paragraph group, which contains formatting options
- Click the Line Spacing button—it typically shows lines with arrows indicating spacing
- From the dropdown menu, select “2.0” or “Double”
This straightforward approach applies double spacing instantly to your selected text. The Line Spacing button is one of the most accessible tools in Word’s interface, making it ideal for quick formatting tasks. If you can’t immediately locate the button, look for an icon showing horizontal lines with varied spacing between them.
One advantage of this method is its speed—you can apply double spacing to an entire document in seconds. However, if you need to create a document that will always default to double spacing, you’ll want to explore other methods that set this as your baseline formatting.
Method 2: Accessing Paragraph Settings
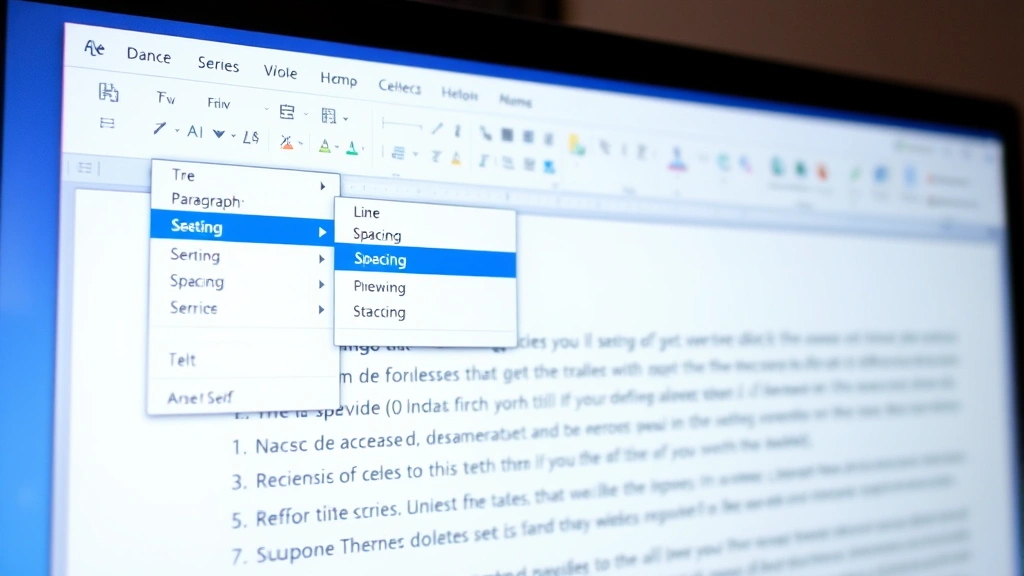
For more detailed control over line spacing and other paragraph formatting options, the Paragraph dialog box provides comprehensive settings. This method is particularly useful when you need to adjust multiple formatting parameters simultaneously:
- Select the text you want to format (or Ctrl+A for the entire document)
- Right-click on the selected text to open the context menu
- Choose “Paragraph” from the menu options
- In the Paragraph dialog box, locate the “Indents & Spacing” tab
- Find the “Spacing” section, specifically the “Line spacing” dropdown
- Click the dropdown and select “Double”
- Click “OK” to apply the changes
The Paragraph dialog box also allows you to set custom line spacing if you need something between standard options. You can enter specific measurements in points or lines, giving you precise control over your document’s appearance. This method is particularly valuable when working on professional documents where exact formatting specifications matter. For more information about precise document formatting, visit FixWiseHub Blog for additional how-to guides.
Additionally, you can access the Paragraph settings through the Home tab by clicking the small arrow icon in the bottom-right corner of the Paragraph group. This opens the same dialog box and provides access to all paragraph formatting options in one location.
Method 3: Using Keyboard Shortcuts
If you frequently format documents in Word, keyboard shortcuts can dramatically speed up your workflow. The keyboard shortcut for double spacing in Word is remarkably simple:
Ctrl + 2 applies double spacing to selected text
Here’s how to use this shortcut effectively:
- Select the text you want to double space (Ctrl+A selects all)
- Press Ctrl + 2 simultaneously
- Double spacing is instantly applied
Additional related shortcuts include:
- Ctrl + 1 applies single spacing
- Ctrl + 5 applies 1.5 line spacing
- Ctrl + 3 applies triple spacing (in some Word versions)
These keyboard shortcuts work across virtually all Word versions and are consistent with Microsoft’s standard formatting shortcuts. Once you memorize these combinations, you can format documents without touching your mouse, significantly improving your productivity. Learning these shortcuts is similar to mastering other technical skills—once you practice them a few times, they become second nature.
Method 4: Setting Default Double Spacing
If you frequently create documents that require double spacing, you can modify your default template so that every new document automatically uses double spacing. This eliminates the need to manually apply the formatting each time:
- Open a blank Word document
- Apply double spacing using any of the methods described above (Ctrl + 2 is fastest)
- Go to the Home tab and find the Styles group
- Right-click on “Normal” style
- Select “Modify” from the context menu
- In the Modify Style dialog, ensure double spacing is selected
- Check the box for “New documents based on this template”
- Click “OK” and save your changes
This approach modifies your default Word template, ensuring that all future documents start with double spacing already applied. This is particularly useful for students, academics, or professionals who consistently work with double-spaced documents. You won’t need to worry about forgetting to apply spacing—it will be automatic.
If you ever need to revert to single spacing as your default, simply follow the same process and select single spacing in step 6. Your template modifications will apply only to new documents created after the change, not to existing documents.
Troubleshooting Common Issues
Even experienced Word users occasionally encounter spacing issues. Here are solutions to common problems:
Double spacing isn’t appearing after I apply it: Check that you’ve selected all the text you want to format. Hidden formatting marks or paragraph breaks might be interfering. Try selecting all text with Ctrl+A and reapplying the spacing.
Some paragraphs have different spacing: Different sections of your document might have different paragraph formatting. Select each section separately and apply double spacing to each one. You can also use the Format Painter tool to copy formatting from one section to another.
Spacing reverts to single when I paste text: When copying text from other sources, formatting sometimes doesn’t transfer correctly. Paste as plain text (Ctrl+Shift+V) and then reapply double spacing to maintain consistency.
Line spacing seems too large or too small: Verify you’ve selected “2.0” or “Double” rather than a custom value. Check the line spacing button in the toolbar to confirm the current setting. If you need to learn about other formatting challenges, understanding problem-solving techniques can help you troubleshoot systematically.
For authoritative guidance on Word formatting, consult Microsoft Office Support, which provides comprehensive documentation for all Word versions.
Best Practices for Document Formatting
Beyond simply applying double spacing, following best practices ensures your documents look professional and meet specific requirements:
Check formatting requirements first: Before spending time formatting your document, verify the exact requirements. Academic institutions, publishers, and organizations often have specific style guides (APA, MLA, Chicago, etc.) that detail spacing requirements alongside other formatting specifications.
Apply formatting consistently: Ensure double spacing is applied throughout your entire document unless specific sections require different spacing. Inconsistent formatting appears unprofessional and may violate submission requirements.
Use styles for efficiency: Rather than manually formatting each section, use Word’s built-in styles to apply consistent formatting throughout your document. Once you modify a style to use double spacing, apply that style to all relevant text.
Review before submitting: Always review your document before submission to verify that double spacing has been applied correctly throughout. Use the View menu to display formatting marks, which helps identify spacing inconsistencies.
Save multiple versions: Keep backups of your document in different formats. Save one version with double spacing for submission and another with single spacing for personal reference or printing.
If you’re working on complex documents with multiple formatting requirements, similar organizational principles apply to other tasks. For example, understanding step-by-step processes helps you approach any multi-step project systematically.
For comprehensive style guide information, visit The Chicago Manual of Style, which provides detailed formatting specifications used by many publishers and academic institutions.
FAQ
What is the difference between double spacing and 2.0 spacing?
They are the same thing. “Double spacing” and “2.0 spacing” are interchangeable terms. The “2.0” refers to the multiplier applied to the default line height, creating exactly twice the space between lines as single spacing.
Can I apply double spacing to only part of my document?
Yes, absolutely. Select only the text you want to double space before applying the formatting. This allows you to maintain different spacing in different sections if needed, though most documents use consistent spacing throughout.
Does double spacing affect the number of pages my document will be?
Yes, significantly. Double spacing requires more vertical space, so your document will typically become approximately twice as long in terms of page count compared to single spacing. This is one reason academic institutions require double spacing—it provides room for grading comments.
Will my double spacing be preserved if I send my document to someone else?
If you send your document as a .docx file (Word format), double spacing will be preserved. However, if you convert to PDF or plain text, formatting may be affected depending on how the conversion is handled.
How do I change double spacing to 1.5 spacing?
Use the same methods described above but select “1.5” instead of “Double.” The keyboard shortcut is Ctrl + 5, or you can use the Line Spacing button dropdown menu.
Is there a way to see if my document has double spacing before printing?
Yes, use Print Preview (Ctrl + P or File > Print) to see how your document will look. This shows spacing exactly as it will appear in print, allowing you to verify formatting before committing to paper.
What if my institution requires specific spacing like “2.0 with no extra space between paragraphs”?
In the Paragraph dialog box, you can adjust both line spacing and paragraph spacing independently. Set line spacing to 2.0 and paragraph spacing (before and after) to 0 to meet these specific requirements.
Related Posts

Remove Deodorant Stains? Expert Tips Inside

Remove Security Tags at Home? Expert Tips Inside