
How to Install Tile? Expert Tips Inside
How to Install Tile: Expert Tips Inside
Tile installation is one of the most rewarding DIY home improvement projects you can tackle. Whether you’re updating a bathroom, kitchen backsplash, or creating a stunning floor, learning how to install tile properly will save you thousands in labor costs and give you the satisfaction of a professionally finished space. This comprehensive guide walks you through every step of the process, from preparation to grouting, ensuring your tile project looks flawless for years to come.
Installing tile requires patience, precision, and the right tools, but it’s entirely achievable for homeowners with basic DIY experience. We’ll cover everything you need to know about surface preparation, layout planning, cutting techniques, and finishing touches. By following these expert tips, you’ll be able to tackle tile installation with confidence and create beautiful, durable surfaces that enhance your home’s value and aesthetics.
Tools and Materials You’ll Need
Before starting your tile installation project, gather all necessary tools and materials. Having everything on hand prevents interruptions and ensures a smooth workflow. Essential tools include a notched trowel (size depends on tile size), a tile cutter or wet saw, spacers, a grout float, a sponge, and a level. You’ll also want a tape measure, pencil, and safety equipment including gloves and eye protection.
For materials, you’ll need tiles, thin-set mortar or tile adhesive, grout, and grout sealer. The quality of these materials directly impacts your finished project. Purchase tiles from reputable home improvement retailers, and consider buying 10-15% extra to account for cuts and breakage. Different tile types—ceramic, porcelain, natural stone—may require specific adhesives and grout types, so consult product labels carefully. Consider visiting This Old House for detailed product recommendations and tutorials.
Preparing Your Surface
Proper surface preparation is absolutely critical to tile installation success. A poorly prepared substrate leads to cracked tiles, loose installations, and costly repairs down the road. Your surface must be clean, flat, dry, and stable. Remove any existing flooring, paint, or debris. If installing over drywall or wallboard in wet areas, use cement board instead—it resists moisture and provides superior support.
Check your surface for flatness using a long level or straightedge. Tile installation requires surfaces within 1/8 inch variance over 10 feet. Fill low spots with leveling compound and sand down high spots. For floors, ensure proper slope toward drains in wet areas. Inspect the subfloor for movement or squeaking; secure any loose areas with screws. Prime porous surfaces with primer to ensure even mortar absorption. This foundational step determines whether your tile installation will last decades or develop problems within months.
Planning Your Layout
Layout planning prevents awkward partial tiles at edges and creates a professional appearance. Start by finding the center point of your space. Snap chalk lines from the center horizontally and vertically, creating a grid. Dry-lay tiles along these lines without mortar to visualize the final result and identify where cuts will be necessary.
Adjust your layout so that cut tiles are equal width on opposite sides, creating visual balance. Avoid having thin slivers of tile at edges—if your layout results in cuts less than half a tile width, shift your starting point. This simple planning step transforms amateur-looking installations into professional-quality work. Take photos of your dry layout for reference while working. Many experienced installers spend 20-30% of their project time on layout planning because they understand its importance to the final result.
Mixing and Applying Thinset Mortar
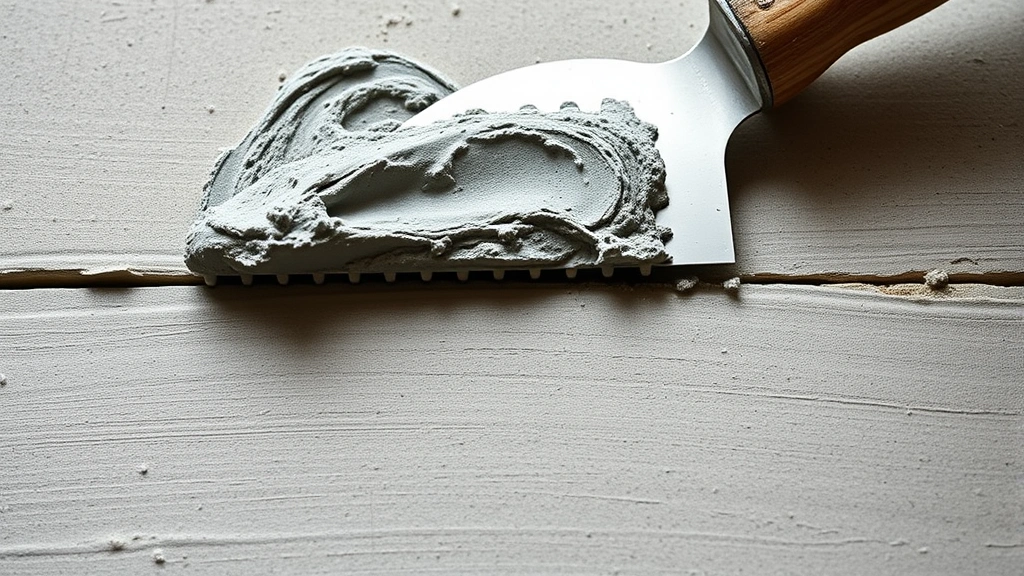
Thinset mortar is the adhesive that bonds tiles to your substrate. Mix it according to manufacturer instructions—typically a powder mixed with water to achieve a peanut butter-like consistency. Use a drill with a paddle mixer for uniform blending. Allow mixed mortar to slake (rest) for 10 minutes, then remix briefly before use. Properly mixed mortar spreads smoothly and holds ridges created by the trowel.
Apply mortar using a notched trowel held at a 45-degree angle, creating uniform ridges across the substrate. Use the flat side to spread mortar, then flip to the notched side to create the characteristic ridges. Cover only the area you can tile within 15-20 minutes before the mortar begins setting. The ridges ensure proper coverage and allow air to escape, preventing hollow spots beneath tiles. For large format tiles, use a larger notch size and consider back-buttering (applying mortar to tile backs) for complete coverage.
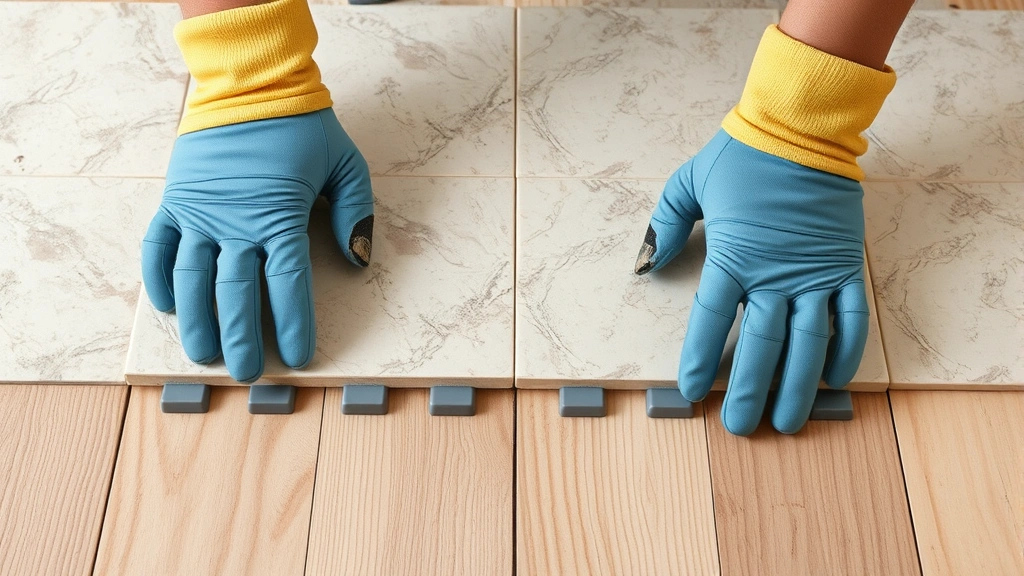
Laying and Spacing Tiles
Press each tile firmly into the mortar using a slight twisting motion, embedding it fully. Plastic spacers maintain consistent grout joint width—typically 1/16 inch for wall tiles and 1/4 inch for floor tiles. Remove spacers before grout application. Check frequently with a level to ensure tiles remain flat and level. Slight adjustments now prevent lippage (uneven tile edges) that’s impossible to fix later.
Work methodically from your center lines outward, maintaining consistent pressure and spacing. If a tile sits too high, remove it, scrape away excess mortar, and reset. If it sits too low, add a bit more mortar. Wipe excess mortar from joints immediately using a damp sponge—dried mortar in joints complicates grouting. When you estimate project timelines, factor in time for careful tile placement rather than rushing through this critical step.
Cutting Tiles Properly
Accurate tile cutting ensures professional-looking edges and proper fit around obstacles. For straight cuts, a manual tile cutter works well for ceramic tiles. For porcelain and complex cuts, a wet saw provides superior results. Mark cut lines clearly using a pencil, measuring twice before cutting. Wear safety glasses when using power tools.
For notches around pipes or fixtures, create a template from cardboard first, then transfer the shape to the tile. Drill pilot holes before making intricate cuts. Cut from the finished side when possible to minimize chipping. Take your time with cutting—rushed cuts result in broken tiles and wasted material. Consider purchasing extra tiles specifically for practice cuts if you’re new to tile installation. Many tile retailers offer cutting services if you’re uncomfortable making complex cuts yourself.
Grouting Your Tiles
After the mortar cures completely (typically 24-48 hours depending on product), remove spacers and begin grouting. Grout fills the joints between tiles, seals them against moisture, and completes the visual appearance. Mix grout to a consistency slightly thicker than peanut butter. Unsanded grout works for grout lines narrower than 1/8 inch; sanded grout suits wider joints and resists cracking better.
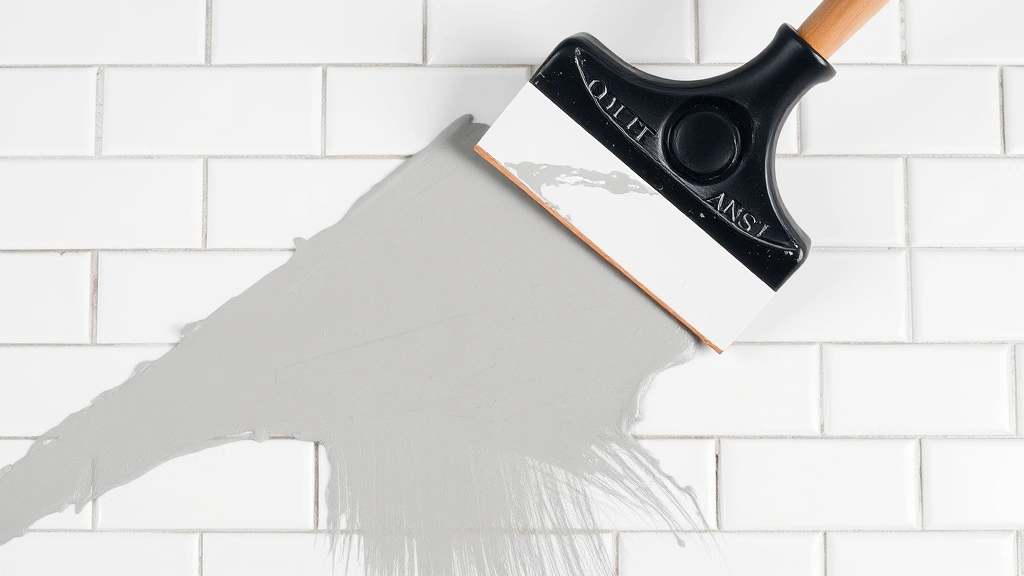
Apply grout using a grout float held at a 45-degree angle, pushing grout into joints diagonally across tiles. Work in small sections, maintaining consistent pressure. After 15-20 minutes, when grout firms slightly, begin wiping excess from tile faces using a damp sponge in circular motions. Rinse the sponge frequently. This is messy work requiring patience—multiple passes may be necessary to achieve clean tiles with properly filled joints. Allow grout to cure per manufacturer instructions (typically 72 hours) before exposing to moisture.
Sealing and Finishing
Sealing protects grout from staining and moisture penetration, extending your tile installation’s lifespan dramatically. After grout cures, apply grout sealer according to product instructions. Many stone tiles also require sealing to resist stains and moisture damage. Test natural stone with water droplets—if water beads up, sealing isn’t necessary; if it absorbs, seal immediately.
For ongoing maintenance, clean tiles regularly with pH-neutral cleaners designed for your specific tile type. Avoid acidic cleaners on natural stone. Reseal grout annually or as needed based on water absorption tests. Proper sealing and maintenance ensure your tile installation remains beautiful and functional for 20+ years. Visit Family Handyman for detailed sealing and maintenance guides specific to your tile type.
Frequently Asked Questions
How long does tile installation take?
Project duration depends on area size, complexity, and your experience level. Small bathroom floors typically require 2-3 days including curing time. Large kitchen floors may take a week. Allow 24-48 hours for mortar curing and 72 hours for grout curing before using the space. Rushing these timelines compromises the installation’s durability and appearance.
Can I install tile over existing tile?
Yes, but only if existing tile is firmly adhered with no loose sections. Clean thoroughly, roughen the surface with sandpaper, apply primer, and proceed with standard installation. Removing old tile prevents potential problems but requires more labor. Ensure your subfloor can support the additional weight of tile layers.
What’s the difference between mortar and grout?
Mortar (thinset) is the adhesive that bonds tiles to the substrate. Grout fills the joints between tiles after mortar cures. They’re different products with distinct purposes. Using grout as adhesive or mortar as joint filler results in installation failure.
How do I handle tile installation in wet areas?
Use cement board as substrate instead of drywall. Apply waterproof membrane over cement board before tiling. Use modified thin-set mortar rated for wet environments. Select grout rated for wet areas and seal it thoroughly. Ensure proper slope toward drains. These precautions prevent water damage behind tiles.
What’s the best tile type for beginners?
Ceramic tile is ideal for beginners—it’s affordable, easy to cut, and forgiving of minor installation imperfections. Porcelain tile is more durable but harder to cut. Natural stone requires specialized knowledge about sealing and maintenance. Start with ceramic to build confidence before attempting advanced tile types.
How much does professional tile installation cost?
Professional installers typically charge $8-25 per square foot depending on tile complexity, location, and local rates. DIY installation saves this labor cost but requires tool rental and learning time. For small projects, DIY savings are substantial; for large commercial projects, professional installation may be more economical.
For additional guidance on building projects, check out our article on how long construction projects take to understand realistic timelines. You might also find our main DIY hub helpful for related home improvement topics. For detailed building code information specific to your region, consult Home Depot’s building code resources or contact your local building department.
Related Posts

Superscript in Google Docs: Expert Tips

Strikethrough in Excel: Easy Steps for Beginners
