
How to Merge Cells in Excel? Easy Steps Guide
How to Merge Cells in Excel? Easy Steps Guide
Merging cells in Excel is one of the most practical formatting techniques you’ll use when creating professional spreadsheets, reports, and data presentations. Whether you’re designing a title row, creating section headers, or organizing complex data layouts, knowing how to merge 2 cells in Excel and beyond will save you countless hours of manual formatting work.
Cell merging combines two or more adjacent cells into a single larger cell, allowing you to center titles across multiple columns, create visually organized headers, or improve the overall appearance of your spreadsheet. While it might seem like a simple cosmetic feature, proper cell merging is essential for creating spreadsheets that are both functional and professional-looking. In this comprehensive guide, we’ll walk you through every method available in Excel, from the basic approach to advanced techniques that will make you a spreadsheet formatting expert.
Understanding when and how to merge cells effectively can transform your data presentation from basic to polished. Let’s explore all the ways you can accomplish this task, troubleshoot common issues, and learn best practices that professional spreadsheet designers use every day.
What Does Merging Cells Mean in Excel?
Cell merging is a formatting feature that combines multiple adjacent cells into one larger cell. When you merge cells, Excel treats the merged area as a single cell unit. This is particularly useful for creating headers that span multiple columns, organizing data into logical sections, or improving the visual hierarchy of your spreadsheet.
The key thing to understand is that when you merge cells, Excel keeps only the content from the top-left cell and discards content from other cells in the merge range. This is why it’s crucial to understand the proper techniques for merging 2 cells in Excel without losing important data.
Common uses for merged cells include:
- Title rows: Merge cells across all columns to create a centered title for your entire spreadsheet
- Section headers: Merge cells to create category headers that span multiple data columns
- Grouped data: Merge cells vertically to label groups of related data
- Form layouts: Create professional-looking forms with merged cells for labels and data entry areas
- Report headers: Design professional reports with merged header sections containing company logos and titles
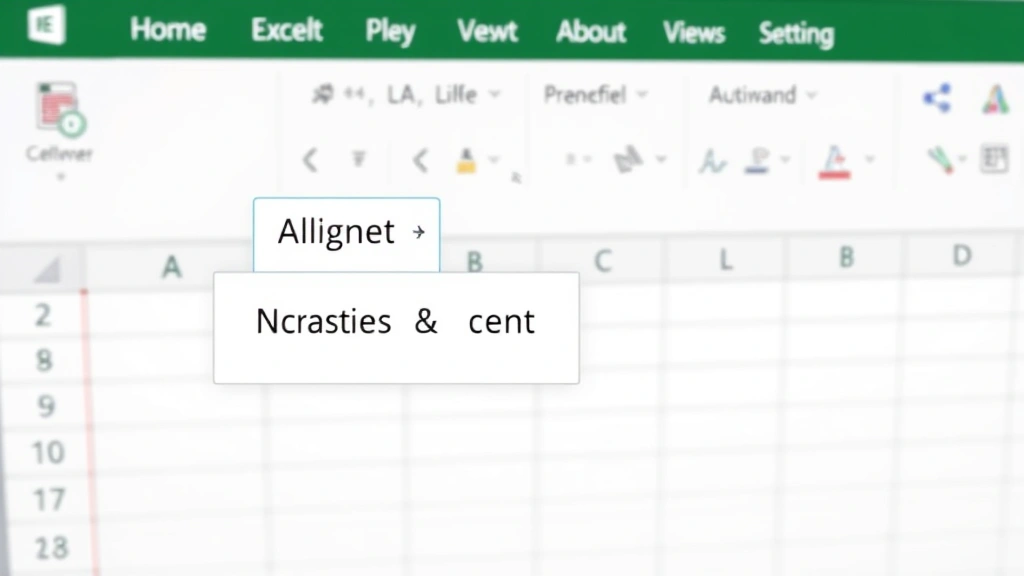
Method 1: Using the Merge & Center Button
The quickest and most straightforward way to merge cells in Excel is using the Merge & Center button on the toolbar. This method is perfect for simple merging tasks where you want to combine cells and center the content simultaneously.
Step-by-step instructions:
- Open your Excel spreadsheet and identify the cells you want to merge. For example, if you want to merge cells A1 and B1, you’ll select both cells.
- Click on the first cell (A1) and drag to select all cells you want to merge. You can also click the first cell, hold Shift, and click the last cell to select the range.
- Look for the “Merge & Center” button in the Home tab on the ribbon. It’s typically located in the Alignment group and features an icon showing merged cells.
- Click the Merge & Center button. Excel will immediately merge your selected cells and center the content horizontally.
- The merged cell will now span across all the cells you selected, and any text will be centered within the new merged area.
This method is ideal when you’re working with headers or titles that need to be centered across multiple columns. The content from the leftmost cell is retained, and the merged cell becomes a single unit for formatting and data purposes.
Method 2: Using the Format Menu
For more control over how your cells merge, the Format menu provides additional options beyond simple centering. This method gives you flexibility in choosing exactly how you want your cells to merge and align.
Complete steps to merge via Format menu:
- Select the range of cells you want to merge by clicking and dragging across them.
- Click the “Home” tab on the Excel ribbon to ensure you’re in the correct menu area.
- In the Alignment group, click the small arrow next to “Merge & Center” to reveal a dropdown menu with additional options.
- From the dropdown, you’ll see several choices: “Merge & Center,” “Merge Across,” “Merge Cells,” and “Unmerge Cells.”
- Select your preferred option based on your needs (we’ll explain each option in the next section).
- Click your selection, and Excel will apply the merge formatting to your selected cells.
The Format menu approach is especially useful when you need specific alignment options or want to combine cells in Excel with particular formatting requirements.
Method 3: Using Merge Cells Options
Excel provides several specific merge options, each with different behaviors and purposes. Understanding these options will help you choose the right merging method for your specific task.
Merge & Center: This option merges your selected cells and centers the content both horizontally and vertically. It’s the most commonly used option for creating headers and titles. The content from the top-left cell is preserved, and all other cell contents are deleted.
Merge Across: This option merges cells horizontally across rows while keeping each row separate. If you have multiple rows selected, it will merge cells within each row independently. This is useful when you want to merge cells in specific rows without affecting other rows in your selection.
Merge Cells: This basic merge option combines all selected cells into one without any automatic centering. The content remains left-aligned by default, and you can manually adjust alignment afterward. This gives you complete control over the final appearance.
Unmerge Cells: This option reverses any previous merging and separates merged cells back into individual cells. When you unmerge, the content stays in the top-left cell, and the other cells become empty again.
To access these specific options, select your cells and use the dropdown arrow next to the Merge & Center button in the Home tab’s Alignment group. Choose the option that best fits your formatting needs.
How to Merge Cells Without Losing Data
One of the biggest concerns when learning how to merge cells is the potential loss of data. By default, when you merge cells in Excel, the content from all cells except the top-left cell is deleted. However, there are several techniques to preserve this data before merging.
Method 1: Combine Data Before Merging
If you have data in multiple cells that you want to preserve, combine it into a single cell first using a formula:
- Click on an empty cell where you want the combined content to appear
- Enter a formula like =A1&” “&B1 to combine the contents of cells A1 and B1 with a space between them
- Press Enter to execute the formula
- Copy the result and paste it as a value into your desired cell
- Delete the original cells if needed
- Now merge your cells without losing any data
Method 2: Copy Data to Clipboard First
Before merging cells that contain important data:
- Select all the cells you want to merge
- Copy the content (Ctrl+C) to preserve it in your clipboard
- Open a text editor or separate document and paste the content there temporarily
- Return to Excel and proceed with merging your cells
- After merging, you can manually re-enter the combined content if needed
Method 3: Use the CONCATENATE Function
For more complex data combinations, use Excel’s CONCATENATE function or the ampersand (&) operator:
- Create a new cell with a formula that combines your cell references
- Example: =CONCATENATE(A1,” – “,B1)
- This preserves all data while creating a single combined value
- Copy the formula result and paste as values
- Now you can safely merge your cells
These methods ensure that no data is lost during the merging process, which is especially important when working with important business data or reports.
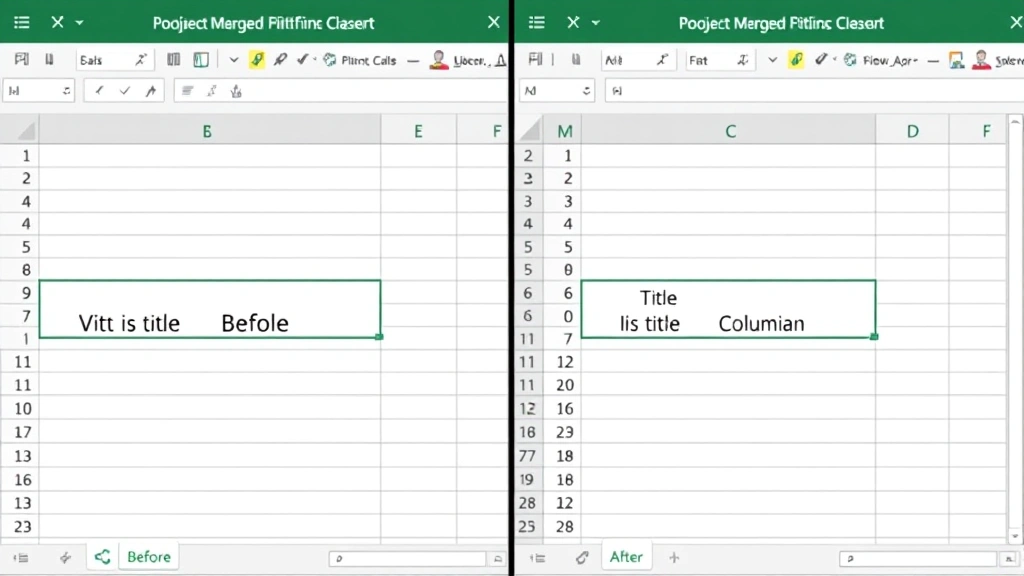
Unmerging Cells in Excel
Sometimes you need to reverse a merge and separate cells back into individual units. Whether you’re reorganizing your spreadsheet or made a mistake, unmerging is a straightforward process.
Steps to unmerge cells:
- Click on any cell within the merged area to select the entire merged cell
- Go to the Home tab on the ribbon
- Click the dropdown arrow next to “Merge & Center” in the Alignment group
- Select “Unmerge Cells” from the dropdown menu
- Excel will immediately separate the merged cell back into individual cells
- The content will remain in the top-left cell, and other cells will be empty
You can also use the Format menu approach: Select the merged cell, go to Format > Cells > Alignment tab, and uncheck the “Merge cells” option. This gives you additional formatting control while unmerging.
When you unmerge cells, the original content stays in the leftmost cell of what was the merged area. If you had combined data using formulas before merging, you may need to re-separate that content using formulas again or by manually editing the cells.
Advanced Merging Techniques
Beyond basic merging, Excel offers advanced techniques for power users and those creating complex spreadsheets. These methods help you create professional-looking documents with sophisticated layouts.
Merging Cells in Tables
When working with Excel tables with frozen rows, you may need special consideration for merged cells. Tables have specific rules about formatting, and merged cells within table ranges can sometimes cause issues. Best practice is to merge cells outside of formal table ranges when possible, or create merged cells in header rows before converting to a table.
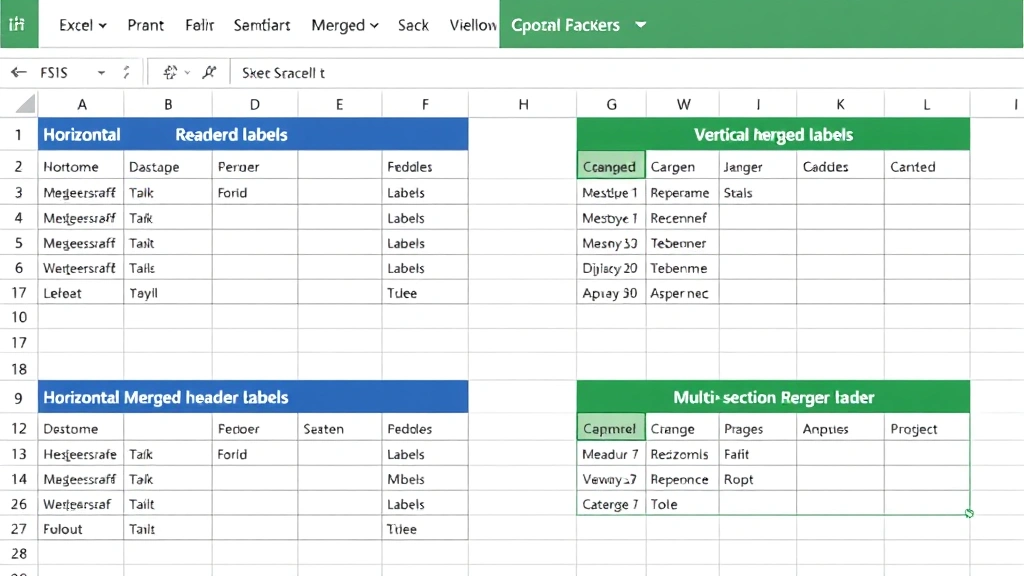
Creating Complex Headers with Multiple Merged Sections
For professional reports, you might need multiple merged sections in your header:
- Merge cells A1:D1 for your main title
- Merge cells E1:H1 for a date or reference number
- Merge cells A2:H2 for a subtitle or description
- This creates a sophisticated header structure without merging your entire header row into one cell
Conditional Merging Based on Data
While Excel doesn’t have automatic conditional merging based on data values, you can manually merge cells in sections where data is grouped. This is common in financial reports where you merge cells in the “Category” column when multiple rows belong to the same category.
Merging Cells Across Multiple Sheets
You can create linked merged cells that reference data from other sheets. Use formulas that pull data from other worksheets into merged cells, allowing you to create summary pages that automatically update when source data changes.
Common Issues and Solutions
Even experienced Excel users encounter problems with merged cells. Here are the most common issues and their solutions.
Issue: “The selection contains multiple data values”
This error appears when you try to merge cells that contain different data in multiple cells. Excel is warning you that merging will delete data from all but the top-left cell. Solutions include:
- Manually review each cell to see what content will be lost
- Use the concatenation method described above to combine data first
- Accept the data loss if you only need the top-left cell’s content
- Click “Yes” to proceed with the merge anyway
Issue: Merged Cells Not Aligning Properly
If your merged cells appear misaligned or the content isn’t centered as expected:
- Select the merged cell and right-click to open the context menu
- Choose “Format Cells” and go to the Alignment tab
- Adjust the horizontal and vertical alignment settings manually
- Check that the “Merge cells” checkbox is marked
- Apply your changes
Issue: Can’t Select or Edit Merged Cells
Sometimes merged cells become locked or difficult to select. Try these solutions:
- Click once on the merged cell to select it (not double-click, which enters edit mode)
- If the cell is locked, unprotect the sheet: Review tab > Unprotect Sheet
- Unmerge the cells, make your edits, and re-merge if needed
- Check if the worksheet has protection that’s preventing edits
Issue: Merged Cells Causing Sorting or Filtering Problems
Merged cells in data ranges can interfere with sorting and filtering functions. To resolve this:
- Split your merged cells before applying sort or filter operations
- Keep merged cells only in header rows, not in data ranges
- Use hidden columns instead of merged cells when possible
- Consider using formatting alternatives like background colors or borders instead of merging
Issue: Printing Problems with Merged Cells
Merged cells sometimes cause unexpected page breaks or formatting issues when printing:
- Preview your spreadsheet before printing (File > Print Preview)
- Adjust page margins and scaling to accommodate merged cells
- Consider reducing the size of merged sections if they’re causing page break issues
- Test print a single page first before printing the entire document
FAQ
Can I merge cells in Excel Online?
Yes, Excel Online supports cell merging through the Home tab’s Alignment group. The process is identical to desktop Excel. Simply select your cells, click the Merge & Center button, and choose your preferred merge option. All merge and unmerge functions work the same way in the online version.
What’s the difference between merging cells and wrapping text?
Merging cells combines multiple cells into one larger cell, while text wrapping displays text on multiple lines within a single cell without changing the cell structure. Wrapping is useful for long text that needs to fit in a standard cell size, while merging is for combining cells structurally. You can use both together: merge cells and then apply text wrapping to the merged cell.
Will merging cells affect my data formulas?
Merging cells themselves doesn’t break formulas, but if you have formulas referencing the individual cells that you’re about to merge, those formulas will need adjustment. After merging, the merged cell takes on the reference of the top-left cell. Update any formulas that referenced the other cells in the merge range.
Is it possible to merge cells vertically?
Absolutely. You can merge cells vertically by selecting cells in the same column and applying the merge function. For example, selecting A1:A5 and merging creates a single tall cell spanning those five rows. This is commonly used for labeling grouped data in reports.
How do I merge cells with specific formatting?
After merging cells, right-click the merged cell and select “Format Cells.” Go to the Alignment tab where you can adjust text alignment, rotation, and indentation. Use the Font tab for color and style changes, and the Fill tab for background colors. These formatting options apply to the entire merged cell.
Can I undo a merge if I made a mistake?
Yes, simply press Ctrl+Z immediately after merging to undo the action, or use the Undo button on the Quick Access toolbar. If you’ve made other changes since merging, go to the Home tab and click the Merge & Center dropdown, then select “Unmerge Cells” to separate them.
What’s the best way to organize data with merged cells?
Best practices include: using merged cells only in header rows, keeping data rows unmerged for sorting and filtering, using merged cells for titles and section headers, avoiding excessive merging that makes spreadsheets hard to read, and considering alternative formatting (colors, borders) when possible to maintain data integrity.
Related Posts

Superscript in Google Docs: Expert Tips

Strikethrough in Excel: Easy Steps for Beginners
