
Install Garbage Disposal? Expert Tips & Tricks
How to Install a Garbage Disposal: Expert Tips & Tricks
Installing a garbage disposal might seem intimidating if you’ve never tackled the project before, but with the right tools, preparation, and guidance, most homeowners can complete this upgrade in an afternoon. A functional garbage disposal transforms your kitchen by eliminating food waste efficiently, reducing odors, and making cleanup faster after meals. Whether you’re replacing an old unit or installing one for the first time, this comprehensive guide walks you through every step of the process.
Before diving into installation, understand that garbage disposals come in two main types: continuous-feed models that run while the unit is powered on, and batch-feed models that operate only when the drain stopper is inserted and turned. Most homes use continuous-feed disposals due to their convenience and affordability. The installation process is similar for both types, though some connection details may vary slightly.
Tools and Materials You’ll Need
Gathering your supplies before starting prevents frustrating mid-project trips to the hardware store. You’ll need a basic toolkit that includes an adjustable wrench, screwdrivers (both Phillips and flathead), pliers, a bucket, towels, and a flashlight for seeing under the sink. A knockout tool or hammer helps remove the knockout plug from your disposal, while a putty knife assists with scraping old sealant.
For materials, purchase a new garbage disposal unit appropriate for your sink size, plumber’s putty or silicone caulk for sealing, a disposal mounting kit (usually included), and replacement P-trap and drain pipes if needed. Check your sink’s configuration—single or double basin—as this affects which disposal size you need. Many installations also require an electrical outlet or hardwiring setup, so confirm your home’s electrical capacity beforehand.
Consider purchasing a dishwasher connector kit if your dishwasher drains into the disposal, and grab a bucket to catch residual water when disconnecting the old unit. Having everything prepared means smoother execution and better results throughout the project.
Preparation and Safety Considerations
Safety first—turn off power at the breaker before touching any electrical connections. Never work on a disposal while it’s plugged in or powered on, even if you think it’s off. Lock the breaker or place a note on the panel to prevent someone from turning power back on accidentally while you’re working.
Clear the space under your sink completely. Remove cleaning supplies, pipes, and anything else that might obstruct your work. Place towels on the floor to absorb spilled water, which is inevitable when disconnecting old plumbing. Have your bucket ready for catching this water.
Check your home’s electrical setup—some disposals require a dedicated outlet, while others can hardwire directly to the electrical system. If you’re not confident about electrical work, hire a licensed electrician. Building codes vary by location, so verify your local requirements before purchasing materials. The This Old House website offers helpful guidance on code compliance for kitchen upgrades.
Wear safety glasses and work gloves throughout the project. If you have a septic system rather than a municipal sewer, verify that your disposal is septic-safe, as some units generate sludge that can damage septic tanks.
Removing Your Old Disposal
Start by disconnecting the electrical power completely. Unplug the unit if it’s connected to an outlet, or turn off the breaker and verify power is off using a voltage tester. Next, disconnect the drain lines carefully. Place your bucket underneath the P-trap connection, then use your wrench to loosen and remove the slip nuts connecting the discharge tube to the P-trap.
Disconnect the dishwasher hose if one exists. This hose connects to the side of the disposal and simply pulls off or unscrews depending on your model. Have a towel ready to catch any water remaining in the hose.
Now remove the mounting bolts holding the old disposal to the sink flange. These are typically three bolts arranged around the sink opening. You may need to reach up from underneath while supporting the disposal with your other hand. The unit is heavy—typically 8-12 pounds—so be prepared for its weight. Have a helper support it from below or use a jack to prevent it from crashing down suddenly.
Once the mounting bolts are removed, twist the disposal counterclockwise to release it from the mounting ring. If it’s stuck, tap it gently with a rubber mallet. The old mounting assembly stays in place if you’re installing a compatible new disposal, but you may need to replace it if you’re upgrading significantly.
Installing the Mounting Assembly
If you’re reusing the old mounting assembly, clean it thoroughly and check for damage. If it’s corroded or cracked, replace it with a new one. Remove the old sink flange by scraping away hardened plumber’s putty with your putty knife. Clean the sink opening completely so the new flange sits flush.
Apply a continuous bead of plumber’s putty around the underside of the new sink flange, or use silicone caulk for a more modern approach. Press the flange firmly into the sink opening from above, ensuring it’s centered and level. From underneath, install the backup ring and mounting ring according to your specific disposal model’s instructions.
Tighten the three mounting bolts evenly in a triangular pattern, working around the ring gradually rather than tightening one bolt completely before moving to the next. This ensures even pressure and prevents the flange from tilting. The mounting assembly should be solid and immobile when properly installed.
Wipe away excess putty from around the sink opening with a damp cloth. If using silicone, allow it to cure for 24 hours before operating the disposal. The mounting assembly now forms a secure base for your new disposal unit.
Connecting the Disposal Unit
Before installation, remove the knockout plug from your new disposal. This small brass plug sits in the side where the dishwasher hose connects. Use a knockout tool or hammer and punch to tap it out from the inside. If you don’t have a dishwasher, leave this plug in place.
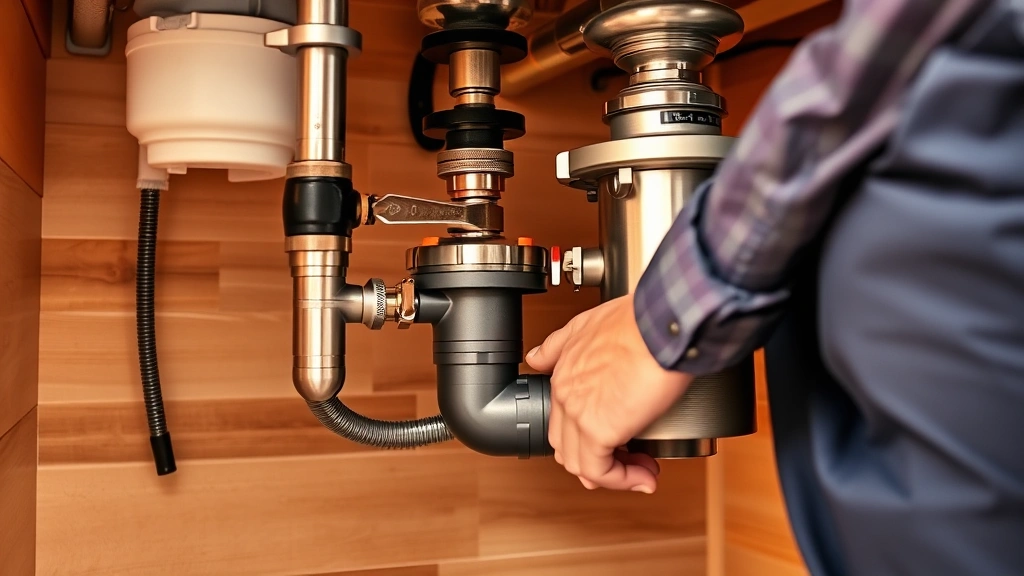
Slide the disposal unit onto the mounting bolts protruding from the sink assembly. Align the disposal carefully so the discharge tube points toward where your drain pipes are located. Rotate the disposal until the mounting lugs align with the bolts.
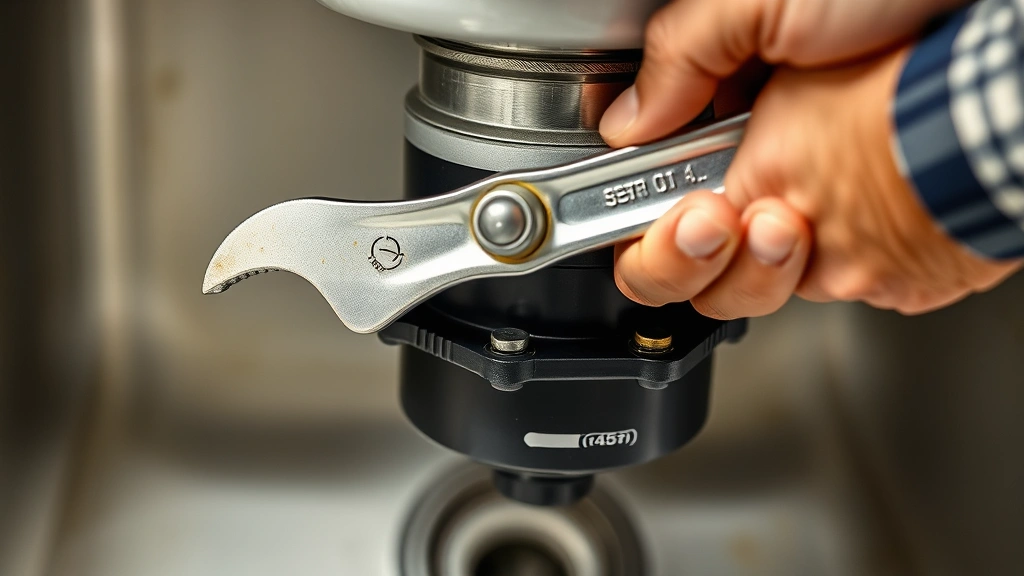
Insert the three mounting bolts through the lugs and tighten them hand-tight first. Then use your wrench to tighten each bolt in a triangular pattern, similar to how you tightened the mounting ring. Don’t over-tighten—snug is sufficient. The disposal should hang securely without movement or wobbling.
If you have a dishwasher, connect its drain hose to the knockout hole you created. The hose typically slides over a barbed fitting or screws into a threaded connection, depending on your disposal model. Secure the connection with a hose clamp to prevent leaks.
Plumbing Connections and Testing
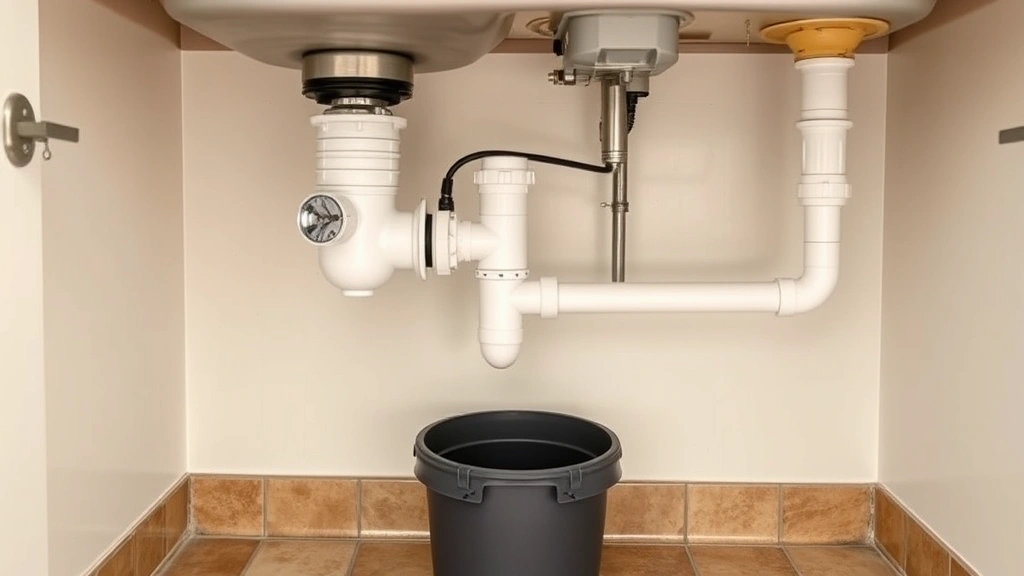
Now reconnect your drain system. Slide the discharge tube from the disposal into the P-trap connection. The P-trap is the curved pipe section that prevents sewer gases from entering your home. Hand-tighten the slip nuts first, then use your wrench to snug them—they should be tight enough to prevent leaks but not so tight that you strip the threads.
Check that all connections are aligned properly. The discharge tube should enter the P-trap smoothly without kinks or sharp angles. If you’re installing a garburator or similar continuous-feed model, ensure the P-trap configuration matches your disposal outlet.
Restore electrical power by plugging in the disposal or flipping the breaker back on. Before running water, verify that all connections are tight and properly positioned. Fill the sink with several inches of water, then turn on the disposal and let water drain while it runs. Listen for any unusual sounds and watch underneath for leaks.
If you notice leaks at the connections, turn off the disposal and tighten the slip nuts slightly. Don’t overtighten—this often makes leaks worse by damaging the seal. If leaks persist, turn off power, disconnect the P-trap, and inspect the discharge tube and connection points for damage.
Test the disposal with various food waste types: soft foods like banana peels, harder items like apple cores, and fibrous materials like celery. The disposal should grind smoothly without jamming or making grinding noises that suggest something is stuck. Always run cold water while the disposal operates to flush waste through the plumbing.
Troubleshooting Common Issues
Leaks at the sink flange: If water drips from where the disposal connects to the sink, the plumber’s putty seal may be failing. Turn off power, disconnect the disposal from the mounting assembly, and inspect the flange. You may need to remove the mounting assembly, clean the sink opening thoroughly, and reinstall with fresh putty or silicone.
**Leaks at the P-trap connection:** Tighten the slip nuts gradually. If tightening doesn’t work, disconnect the P-trap, inspect the discharge tube end for damage or debris, and reconnect with new washers if the old ones appear worn or flattened.
**Jammed or stuck disposal:** Turn off power immediately. Never reach into the disposal with your hand. Use tongs or a wooden stick to retrieve stuck items. Once cleared, turn on water and briefly run the disposal to verify it spins freely.
**No power:** Verify the breaker is on and the outlet is working with another appliance. If hardwired, check that the electrical connections are secure. Consider calling an electrician if you’re unsure about electrical troubleshooting.
**Slow draining:** Food particles may accumulate in your P-trap. Disconnect the P-trap and clean it thoroughly. You might also check our blog for drain cleaning tips and tricks.
**Foul odors:** Run the disposal with cold water and ice cubes to clean the grinding chamber. Alternatively, grind citrus peels for a fresh scent. Never use hot water, which can soften grease and allow it to accumulate in pipes.
For persistent problems beyond basic troubleshooting, consult your disposal’s manual or contact the manufacturer. Family Handyman offers detailed troubleshooting guides for various disposal models and issues.
FAQ
How long does garbage disposal installation typically take?
A straightforward installation for someone with basic plumbing knowledge takes 1-3 hours. If you’re replacing an old unit and reusing the mounting assembly, expect the shorter timeframe. First-time installations or those requiring electrical work may take longer.
Can I install a garbage disposal if I have a septic system?
Yes, but you must use a septic-safe disposal specifically designed to minimize sludge production. Regular disposals can overwhelm septic systems with solid waste. Check your disposal’s specifications before purchasing.
Do I need a permit to install a garbage disposal?
Requirements vary by location. Some municipalities require permits for plumbing modifications, while others don’t. Contact your local building department to verify requirements in your area before starting work.
What’s the difference between continuous-feed and batch-feed disposals?
Continuous-feed models run while powered on and are more convenient for frequent use. Batch-feed models require inserting a stopper to operate and are safer around children, though they’re less common in residential kitchens. Both work equally well when properly installed.
Can I install a disposal under a single-basin sink?
Yes, though you’ll have limited space. Ensure your chosen disposal model is compact enough to fit under your sink configuration. Measure carefully before purchasing to avoid compatibility issues.
What should I never put down a garbage disposal?
Avoid grease, oils, bones, pasta, rice, coffee grounds, eggshells, and fibrous vegetables like corn husks. These items cause jams or accumulate in pipes. Stick to soft food scraps and run cold water during operation.
Is it necessary to hire a plumber for installation?
If you’re comfortable with basic plumbing and electrical work, installation is manageable for most homeowners. However, if your sink lacks a knockout plug for the dishwasher connection or your electrical setup is complex, a professional plumber ensures code compliance and proper installation. Many home improvement retailers like Lowe’s offer installation services if you prefer professional help.
How do I maintain my garbage disposal?
Run cold water while operating it, never put inappropriate items down the drain, and periodically grind ice and citrus peels to clean the chamber. Avoid chemical drain cleaners, which can damage the disposal. Regular maintenance prevents most common problems.
What if water backs up when the disposal runs?
This indicates a clog downstream in your P-trap or main drain line. Disconnect and clean the P-trap first. If the problem persists, you may need a plumbing snake or professional drain cleaning. Check our guide on home repair basics for additional troubleshooting tips.
Related Posts

Superscript in Google Docs: Expert Tips

Strikethrough in Excel: Easy Steps for Beginners
