
Shave Your Balls Safely: Expert Tips Inside
How to Shave Your Balls Safely: Expert Tips and Techniques
Whether you’re maintaining decorative outdoor spheres, sports equipment, or ornamental garden features, knowing how to properly shave your balls ensures they stay looking pristine and last longer. This comprehensive guide covers everything from selecting the right tools to mastering safe shaving techniques that won’t damage your valuable items.
Ball shaving—whether for decorative garden globes, sports balls, or specialty equipment—requires patience, the correct equipment, and proper technique. Many homeowners and DIY enthusiasts tackle this project without understanding the risks or best practices, leading to scratches, gouges, and ruined surfaces. By following our expert recommendations, you’ll achieve professional results while protecting your investment.
Understanding Your Ball Material
Before you begin any shaving work, identify what your ball is made from. Different materials require different approaches and tools. Composite balls used in sports have tough outer shells that resist damage but need careful handling. Rubber balls are more forgiving but can be easily gouged. Decorative garden spheres made from stone, ceramic, or resin demand the gentlest touch to preserve their finish.
The material determines which abrasives you can safely use. Stone and ceramic balls can handle more aggressive shaving, while painted or varnished surfaces need fine-grit materials to avoid removing the protective coating. Take time to examine your ball under good lighting, noting any existing damage, cracks, or special finishes that might require extra care.
If you’re unsure about the material composition, consult the manufacturer’s documentation or contact them directly. This small step prevents costly mistakes and ensures you select appropriate tools for the job ahead.
Essential Tools and Equipment
Gathering the right tools is crucial for safe, effective ball shaving. You’ll need several items to complete this project successfully:
- Safety glasses – Protect your eyes from flying debris and particles
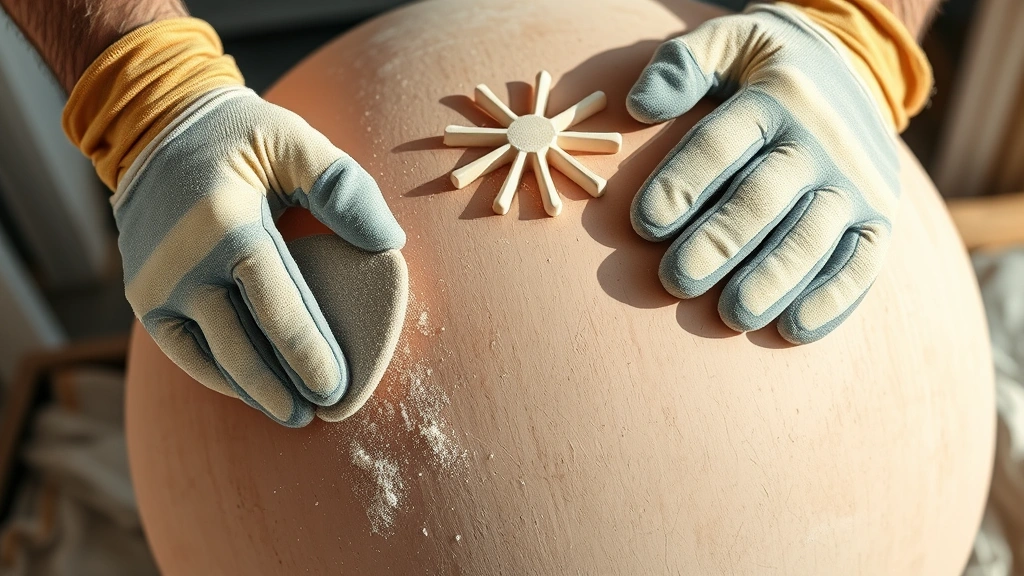
- Work gloves – Nitrile or leather gloves prevent hand injuries and improve grip
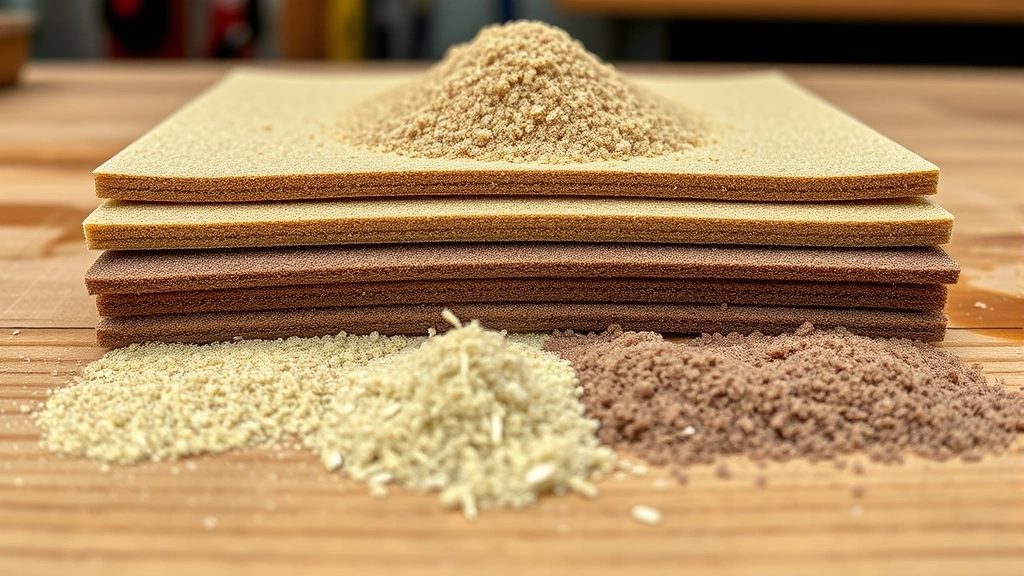
- Sandpaper assortment – Include 120-grit, 180-grit, 220-grit, and 320-grit options
- Sanding block or pad – Provides even pressure distribution across curved surfaces
- Orbital sander (optional) – For larger balls or extensive work, though hand-sanding offers better control
- Tack cloth – Removes dust between sanding stages
- Protective finish – Polyurethane, lacquer, or appropriate sealant for your material
- Dust mask or respirator – Essential when working with certain materials that create fine dust
- Work surface – Sturdy table or workbench with padding to prevent rolling
Quality tools make a significant difference in results. Cheap sandpaper clogs quickly and produces uneven surfaces, while premium options last longer and deliver superior finishes. Visit your local home improvement retailer to inspect materials before purchasing.
Preparation Steps
Proper preparation prevents problems during the actual shaving process. Start by cleaning your ball thoroughly with warm water and mild soap, removing dirt, dust, and debris. Dry completely with a soft cloth, as moisture can interfere with sandpaper adhesion and create slipping hazards.
Next, secure your ball so it won’t roll during work. Place it on a padded surface or in a ball holder, ensuring it’s stable and won’t shift unexpectedly. Some DIYers create simple cradles from PVC pipe or wooden blocks to hold their balls securely.
Inspect the entire surface carefully, marking any areas that need extra attention with painter’s tape or chalk. If your ball has existing finish like paint or varnish, test the first sandpaper grit on an inconspicuous area to ensure it won’t cause damage. This test run prevents surprises when you’re working on visible sections.
Set up your workspace in a well-ventilated area, as sanding produces dust that can irritate respiratory systems. If working indoors, open windows and consider using a shop vacuum with a dust collection attachment to capture particles at the source.
Step-by-Step Shaving Process
Now that you’re prepared, follow this systematic approach to shave your ball safely and effectively:
Step 1: Start with Coarse Grit – Begin with 120-grit sandpaper if removing old finish, paint, or significant surface imperfections. Use light to medium pressure, working in circular motions across the ball’s surface. Don’t focus on one area too long; instead, work methodically around the entire sphere. This initial pass establishes uniformity and removes the majority of unwanted material.
Step 2: Progress to Medium Grit – Switch to 180-grit sandpaper once the surface looks relatively uniform. This stage removes scratches left by the coarser grit and begins creating a smoother finish. Again, use circular motions and maintain consistent pressure. Work methodically, ensuring complete coverage.
Step 3: Fine-Tune with Fine Grit – Move to 220-grit sandpaper for noticeable smoothing. At this point, your ball should look significantly better. The surface will feel noticeably smoother to the touch. Clean away dust with your tack cloth before proceeding.
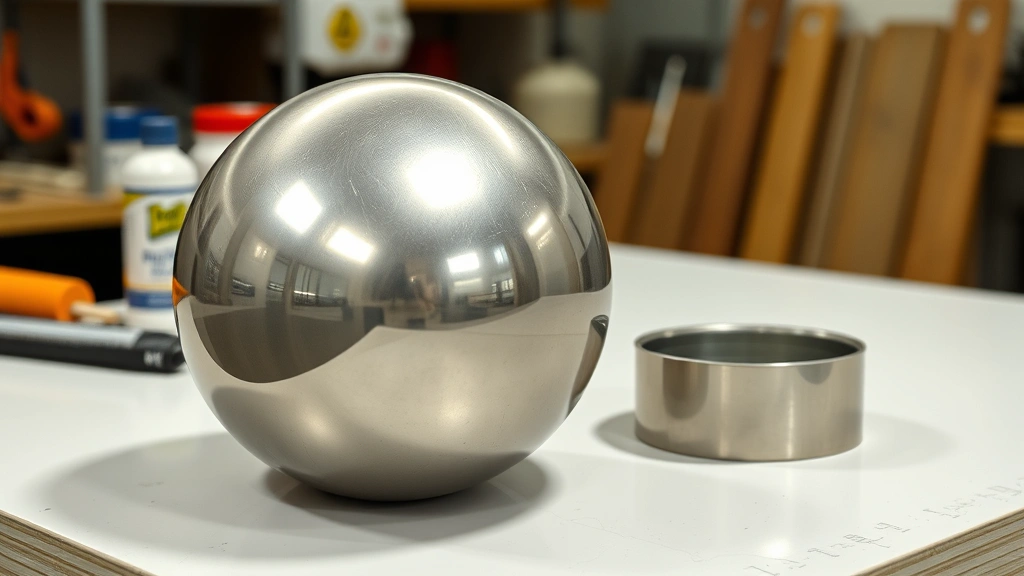
Step 4: Final Polish – Use 320-grit or higher sandpaper for the final pass. This creates a smooth, professional-looking finish ready for any protective coating. This stage is where your hard work becomes visually apparent, as the ball takes on a polished appearance.
Throughout the entire process, check your progress frequently by running your hand over the surface (while wearing gloves). You should feel increasingly smooth texture with each grit progression. If you notice rough spots, return to the previous grit level and work those areas more thoroughly before advancing.
Safety Precautions
Safety should be your top priority during ball shaving. Always wear safety glasses to protect against particles that might become airborne, especially when using power sanders. Wear a dust mask or respirator appropriate for the material you’re working with—some materials produce particularly fine dust that poses respiratory hazards.
Secure your work surface properly so the ball cannot roll unexpectedly. A rolling ball can cause you to lose your grip or fall, creating dangerous situations. Never rush the process; taking your time reduces mistakes and injuries.
Keep your hands and fingers clear of sanding surfaces, particularly when using power tools. Maintain proper posture to avoid fatigue, which leads to accidents. Take breaks every 15-20 minutes to rest and assess your progress with fresh eyes.
If you’re using an orbital sander, never leave it running unattended, and always allow it to come to a complete stop before setting it down. Keep the power cord clear of your work area to prevent tripping hazards.
Finishing and Protection
Once your ball is properly shaved and smoothed, apply an appropriate protective finish. The type of finish depends on your ball’s material and intended use. For most applications, polyurethane or lacquer provides excellent protection against weathering and daily wear.
Before applying finish, ensure the surface is completely clean and dust-free. Use your tack cloth one final time to remove any lingering particles. Apply finish according to manufacturer instructions, typically using thin coats rather than one thick application. Multiple thin coats provide better adhesion and durability than a single heavy coat.
Allow proper drying time between coats—check your finish’s instructions for specific timeframes. Most finishes require 24 hours of curing before the surface is ready for use. During this curing period, protect your ball from dust, moisture, and temperature fluctuations.
For outdoor decorative balls, consider UV-protective finishes that prevent sun damage and fading. These specialized coatings maintain your ball’s appearance longer, particularly for items exposed to direct sunlight year-round.
Common Mistakes to Avoid
Learning from others’ mistakes helps you achieve better results. Rushing the process is the most common error; each grit stage serves a purpose, and skipping steps results in visible scratches and an unprofessional finish. Similarly, applying too much pressure with sandpaper can create uneven surfaces or gouges, particularly on softer materials.
Many people use the wrong grit progression, jumping from very coarse to very fine without intermediate steps. This creates visible scratches that show through subsequent sanding. Follow the recommended progression for your material type.
Neglecting dust removal between grits is another frequent mistake. Dust particles from previous sanding can scratch your surface when you move to finer grits. Always clean thoroughly with your tack cloth before changing sandpaper.
Don’t forget about proper ventilation and safety equipment. The time saved by skipping a dust mask or safety glasses isn’t worth the health risks or eye injuries. Similarly, failing to secure your ball properly can result in it rolling away mid-project, causing you to lose your place or injure yourself.
Finally, avoid applying finish to an insufficiently prepared surface. Any dust, debris, or rough spots will become permanent fixtures in your finish. Take extra time during the preparation and sanding stages to ensure a flawless foundation for your protective coating.
FAQ
How long does it typically take to shave a ball?
Project duration depends on ball size, current condition, and desired finish quality. Small decorative balls might take 1-2 hours, while larger sports equipment could require 3-4 hours. The process cannot be rushed without sacrificing quality.
Can I use an electric sander for this project?
Yes, orbital sanders work well for larger balls, but hand-sanding provides superior control on curved surfaces and smaller items. If using power tools, maintain steady pressure and keep the sander moving to avoid creating divots or uneven spots.
What if my ball has deep scratches or gouges?
Deep damage may require starting with coarser grit sandpaper (80 or 100-grit) to level the surface. However, this approach risks removing significant material. For valuable items, consider professional restoration services rather than attempting deep repairs yourself.
Is it necessary to apply protective finish after shaving?
Yes, protective finish prevents moisture infiltration, UV damage, and new scratches. Without it, your freshly shaved ball will quickly deteriorate, especially if used outdoors or frequently handled. The finish is as important as the shaving process itself.
How can I maintain my ball’s finish after shaving?
Avoid harsh chemicals and abrasive cleaners; instead, use mild soap and water with soft cloths. For outdoor balls, periodically inspect for finish damage and touch up as needed. Store indoor balls in climate-controlled areas away from extreme temperature or humidity fluctuations.
What materials require special handling during shaving?
Painted surfaces need extra care to avoid removing the paint layer. Leather-covered balls require very gentle pressure and fine-grit sandpaper only. Antique or valuable balls should be evaluated by professionals before attempting any restoration work.
Can I shave a ball that’s still in use?
It’s best to complete the entire shaving and finishing process before returning the ball to service. This ensures the finish has fully cured and provides maximum protection during use.
Related Posts

Superscript in Google Docs: Expert Tips

Strikethrough in Excel: Easy Steps for Beginners
