
How to Plant Onions? Expert Tips Inside
How to Plant Onions: Expert Tips Inside
Growing onions in your garden is one of the most rewarding and straightforward vegetable gardening projects you can undertake. Whether you’re a seasoned gardener or just starting your first vegetable patch, onions are forgiving plants that deliver consistent yields with minimal fuss. These versatile bulbs thrive in most climates and require far less maintenance than many other garden vegetables, making them an ideal choice for beginners and experienced growers alike.
Onions are not just easy to grow—they’re also incredibly practical. Once harvested and properly stored, they last for months, providing your kitchen with a staple ingredient for countless recipes. Understanding the fundamentals of planting, growing, and harvesting onions will set you up for success and potentially inspire you to expand your vegetable garden with other crops like how to plant carrots or other root vegetables.
Understanding Onion Varieties
Before you dig into the soil, it’s essential to understand the different types of onions available and which varieties will thrive in your specific climate. Onions are broadly categorized into three groups based on day length: long-day, intermediate-day, and short-day varieties. This classification determines when bulbs form and is crucial for successful onion cultivation.
Long-day varieties require 14-16 hours of daylight to form bulbs and are best suited for northern regions and cooler climates. Popular long-day varieties include Walla Walla, Vidalia, and Yellow Sweet Spanish. These onions typically have a sweeter flavor profile and store exceptionally well. Short-day varieties need only 10-12 hours of daylight and perform better in southern regions with milder winters. Texas 1015 and Granex are excellent short-day options. Intermediate-day varieties fall between these two extremes and work well in most regions across North America.
Consider your local climate, available growing space, and intended use when selecting varieties. If you’re interested in expanding your vegetable garden knowledge, learning about how to grow carrots alongside onions can create a complementary garden setup.
Preparing Your Soil and Garden Bed
Onions are not particularly finicky about soil composition, but they do prefer well-draining soil rich in organic matter. Before planting, conduct a soil test to determine pH levels and nutrient content. Onions thrive in slightly acidic to neutral soil with a pH between 6.0 and 7.0. If your soil is too acidic, add lime; if too alkaline, incorporate sulfur or peat moss.
Begin soil preparation at least two to three weeks before your intended planting date. Work compost or well-rotted manure into the top 8-10 inches of soil, improving drainage and adding essential nutrients. This organic matter helps retain moisture while preventing waterlogging, which can cause bulb rot. Remove any rocks, debris, and weeds that might compete with your onion plants for nutrients and water.
Create raised beds or mounds if you’re dealing with heavy clay soil or poor drainage. Onions prefer loose, crumbly soil that allows bulbs to expand freely as they mature. A comprehensive guide from This Old House emphasizes the importance of soil preparation as the foundation for healthy onion growth.
Choosing Between Seeds, Sets, and Transplants
You have three main options for starting your onion crop: seeds, sets, and transplants. Each method has distinct advantages and considerations that affect your timeline and success rate.
Onion seeds offer the widest variety selection and are the most economical option. However, they require starting indoors 8-10 weeks before your last frost date, and the growing period is longer. Germinating seeds indoors in trays with seed-starting mix gives you healthy seedlings to transplant once outdoor temperatures stabilize. For detailed information on seed starting techniques, explore our guide on how to germinate seeds.
Onion sets are small bulbs ready for planting directly in the garden. This is the quickest and easiest method, requiring no indoor starting period. Sets mature in 60-100 days, making them ideal for gardeners with limited time or experience. The main drawback is limited variety availability and slightly higher cost per bulb. Sets are prone to bolting (flowering prematurely) in certain conditions, particularly if exposed to cold temperatures early in growth.
Transplants are young seedlings sold in bundles at nurseries and garden centers. This middle-ground option combines the variety selection of seeds with the convenience of sets. Transplants are ready to plant directly into your garden and establish quickly when properly hardened off (gradually acclimated to outdoor conditions).

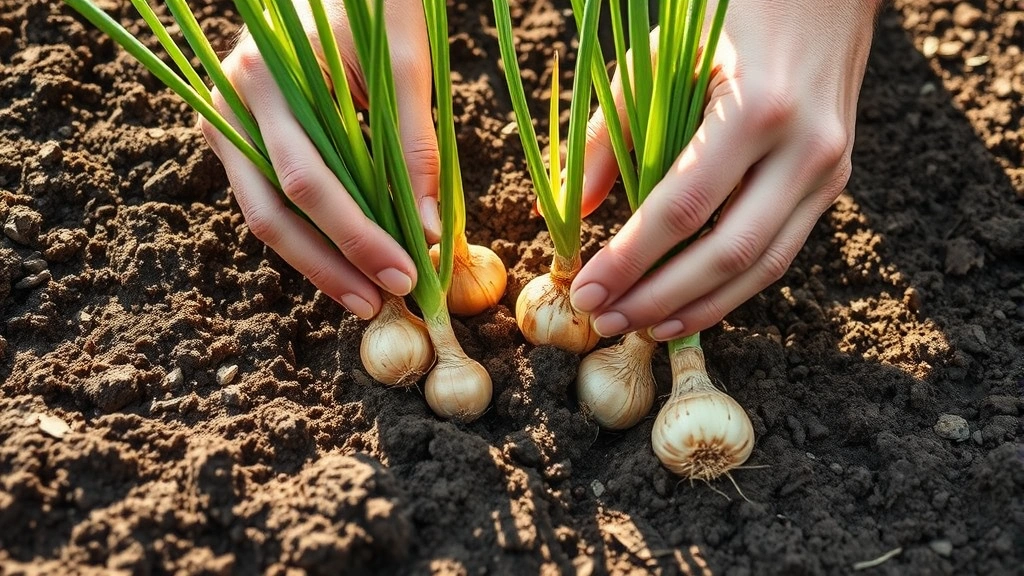
Planting Your Onions Step by Step
The planting process varies slightly depending on your chosen starting method, but the fundamental principles remain consistent. Timing is critical—plant onions in early spring for summer harvest, or in fall for winter harvesting in mild climates.
Step 1: Harden Off Seedlings If using seeds or transplants, harden off seedlings by gradually exposing them to outdoor conditions over 7-10 days. Start with 2-3 hours of outdoor exposure daily, gradually increasing until they’re left outside overnight. This prevents transplant shock and strengthens stems.
Step 2: Space Plants Correctly Space onion plants 4-6 inches apart in rows 12-18 inches apart. Proper spacing ensures adequate air circulation, reducing disease risk and allowing bulbs sufficient room to expand. Crowded plants produce smaller bulbs and are more susceptible to fungal infections.
Step 3: Plant at Proper Depth For sets and transplants, plant so the top of the bulb or base of the seedling just touches the soil surface. Plant seeds ¼ inch deep. Onions develop bulbs above ground, so planting too deeply can impede bulb formation and growth.
Step 4: Water Thoroughly Water immediately after planting to settle soil and eliminate air pockets around roots. Consistent moisture is crucial during the first two weeks as plants establish their root systems. This initial watering also helps activate soil nutrients and promotes cell expansion in developing roots.
Step 5: Apply Mulch Spread 2-3 inches of mulch around plants, keeping it a few inches away from stems to prevent rot. Mulch regulates soil temperature, conserves moisture, and suppresses weeds that would compete with your onions. Straw, shredded leaves, or grass clippings work excellently.
For a comprehensive overview of garden bed preparation and planting techniques, visit the Family Handyman’s onion growing guide.
Watering and Fertilizing Guidelines
Proper watering is essential for onion success, particularly during bulb development. Onions require consistent moisture—approximately 1-1.5 inches per week from rainfall or irrigation. Water deeply but infrequently rather than shallow daily watering, which encourages shallow root development and weak plants.
Monitor soil moisture by inserting your finger into the soil. If the top inch feels dry, it’s time to water. During hot, dry periods, you may need to water more frequently. Conversely, reduce watering as harvest approaches—once bulbs begin forming (visible as enlargement at the base), decrease watering to concentrate sugars in the bulb and improve flavor.
Fertilizing Schedule Onions are moderate feeders and benefit from consistent nutrient availability. If you incorporated compost during soil preparation, supplemental feeding may not be necessary. However, for optimal growth, apply a balanced fertilizer (10-10-10 or similar) every 3-4 weeks during the growing season. Alternatively, use a high-nitrogen fertilizer during early growth to encourage leaf development, then switch to lower-nitrogen formulations once bulb swelling begins.
Avoid over-fertilizing with nitrogen, which promotes excessive foliage at the expense of bulb development. Foliar feeding (spraying diluted fertilizer on leaves) is an excellent way to provide quick nutrient boosts without overwhelming roots. Similar cultivation techniques apply to other root vegetables like carrots, emphasizing the importance of balanced nutrient management.
Managing Pests and Diseases
Onions are relatively pest-resistant compared to many garden vegetables, but several issues can affect yields if left unchecked. Onion maggots are the most significant pest, with larvae tunneling into bulbs and causing rot. Prevent infestations by using row covers over young plants and rotating crops yearly. If maggots appear, remove affected plants immediately and dispose of them in sealed trash bags.
Thrips are tiny insects that pierce leaves and feed on plant juices, causing silvery streaks and stunted growth. Spray affected plants with insecticidal soap or neem oil, following label directions carefully. Encourage beneficial insects like ladybugs by planting flowers nearby.
Disease Management The most common onion diseases are fungal: downy mildew, pink root, and white rot. Prevent these by ensuring excellent drainage, maintaining proper spacing for air circulation, and avoiding overhead watering that promotes fungal growth. Water at soil level using drip irrigation or soaker hoses. Remove infected plants promptly and never compost diseased material. Practice crop rotation, waiting at least three years before planting onions or related crops in the same location.
For integrated pest management strategies, consult expert resources on organic garden pest control.
Harvesting and Storage Tips
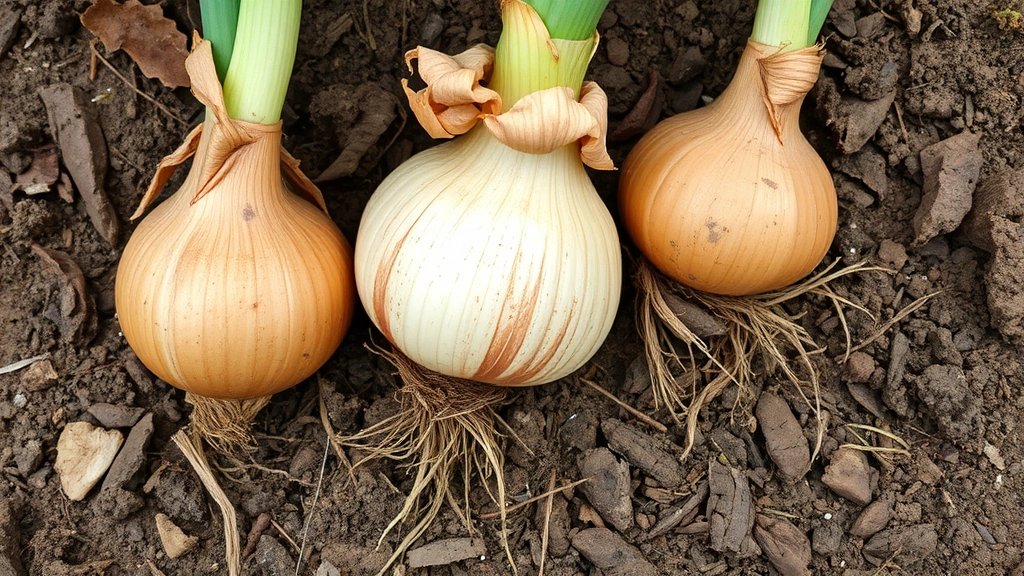
Knowing when and how to harvest onions determines storage longevity and bulb quality. Most onion varieties mature 100-120 days after planting. The best indicator is when the tops begin yellowing and falling over naturally—this signals the plant is redirecting energy from foliage to bulb maturation and storage. Once 50-75% of the tops have fallen over, stop watering and allow the bulbs to cure in the field for 7-10 days if weather permits.
Harvesting Technique Gently loosen soil around bulbs with a garden fork, taking care not to puncture or bruise them. Lift bulbs carefully and shake off excess soil. Leave the dried tops attached initially—they’ll help protect the bulb during curing. Spread harvested onions in a single layer in a warm, dry, well-ventilated location for 2-4 weeks. A garage, shed, or covered porch works perfectly. Proper curing develops the papery outer skin that protects bulbs during storage.
Storage Conditions Once fully cured, trim tops to 1 inch and trim roots, then store in a cool (50-60°F), dry location with good air circulation. Mesh bags, crates, or cardboard boxes with ventilation holes work well. Properly cured and stored onions last 3-8 months depending on variety, with long-day varieties generally storing longer than short-day types.
For more detailed storage information, the Gardeners’ expert storage guide provides comprehensive preservation techniques.
Successfully growing onions opens doors to expanding your vegetable garden further. Consider how to plant an avocado seed or exploring other perennial crops once you’ve mastered annual vegetables. Visit our FixWise Hub Blog for additional gardening guides and home improvement tips.
FAQ
What’s the best time to plant onions?
Plant onions in early spring for summer harvest, or in fall for winter harvesting in mild climates. Your specific timing depends on your onion variety and local frost dates. Long-day varieties typically plant in spring, while short-day varieties suit fall planting in southern regions.
Can I plant onions in containers?
Yes, onions grow well in containers at least 6-8 inches deep with drainage holes. Use quality potting soil mixed with compost, space plants 3-4 inches apart, and provide consistent watering. Container gardening works excellently for small spaces or apartment gardeners.
How much sunlight do onions need?
Onions require at least 6-8 hours of direct sunlight daily for optimal bulb development. They tolerate partial shade but produce smaller bulbs in insufficient light. Full sun locations yield the largest, best-flavored onions.
Why are my onions bolting?
Bolting (premature flowering) typically results from temperature fluctuations, particularly exposure to cold followed by warm weather, or from using sets planted too early in cool conditions. Choose bolt-resistant varieties and avoid planting sets too early in spring.
Can I regrow onions from kitchen scraps?
Yes, place onion roots in shallow water and they’ll regrow green tops for garnishing. However, they won’t develop new bulbs through this method. For full bulb production, start from seeds, sets, or transplants as outlined in this guide.
What should I do if onions turn brown before maturity?
Brown discoloration before harvest typically indicates disease or pest damage. Check for maggots, thrips, or fungal infections. Remove affected plants and adjust watering practices. Ensure proper spacing and air circulation to prevent future issues.
Related Posts

Superscript in Google Docs: Expert Tips

Strikethrough in Excel: Easy Steps for Beginners
