
Create Your Own Zine: A Beginner’s Guide
Create Your Own Zine: A Beginner’s Guide
A zine (short for magazine) is a self-published, small-circulation booklet that reflects your unique voice, creativity, and passion. Whether you’re interested in sharing comic strips, poetry, photography, social commentary, or personal stories, creating a zine is an affordable and rewarding DIY project that anyone can tackle. Unlike traditional publishing, zines embrace imperfection and authenticity, making them perfect for first-time creators who want to express themselves without worrying about commercial appeal.
The beauty of zine-making lies in its accessibility. You don’t need fancy equipment, expensive software, or professional design experience. With just paper, scissors, a photocopier or printer, and some creativity, you can produce a finished zine in an afternoon. Whether you’re looking to explore creative DIY projects, this guide will walk you through every step of the zine-making process, from conceptualization to distribution.
Understanding Zine Basics and History
Zines have a rich history dating back to the 1930s when science fiction fans began creating their own magazines to share stories and ideas. The zine movement exploded in the 1970s and 1980s with punk and indie music subcultures, where artists used zines to bypass traditional gatekeepers and reach audiences directly. Today, zines continue to thrive as a legitimate form of self-expression and independent publishing, encompassing everything from visual art to activism to personal journals.
Understanding what makes a zine unique helps you appreciate the medium. Zines are typically:
- Independent and self-published – created by individuals or small collectives without commercial publishers
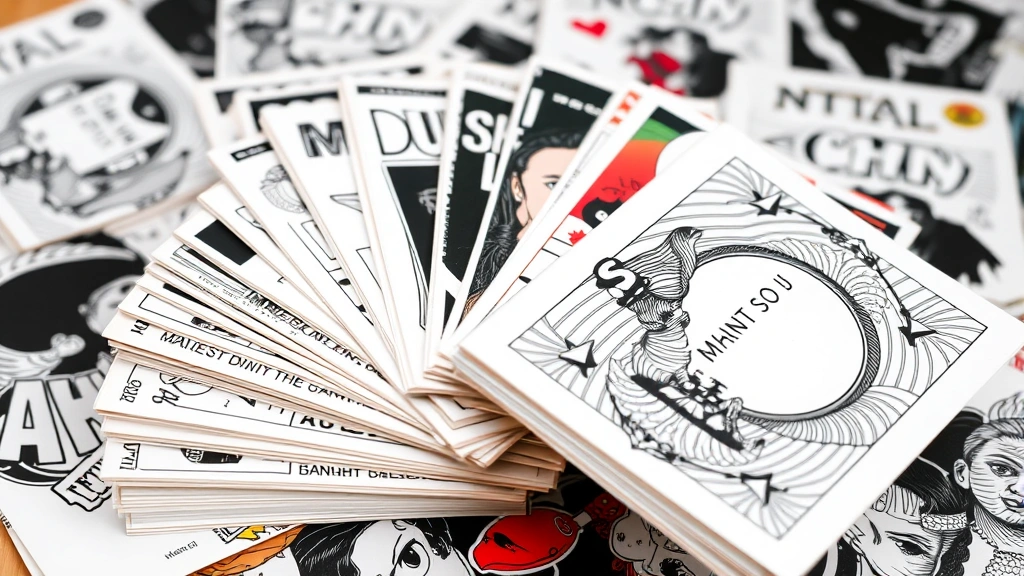
- Limited edition – produced in small quantities, often making each copy feel special and collectible
- Creative and experimental – unrestricted by commercial constraints, allowing for unique layouts and unconventional formats
- Personal and authentic – reflecting the creator’s genuine voice and perspective rather than corporate messaging
- Affordable to produce – utilizing accessible materials and printing methods that won’t break the bank
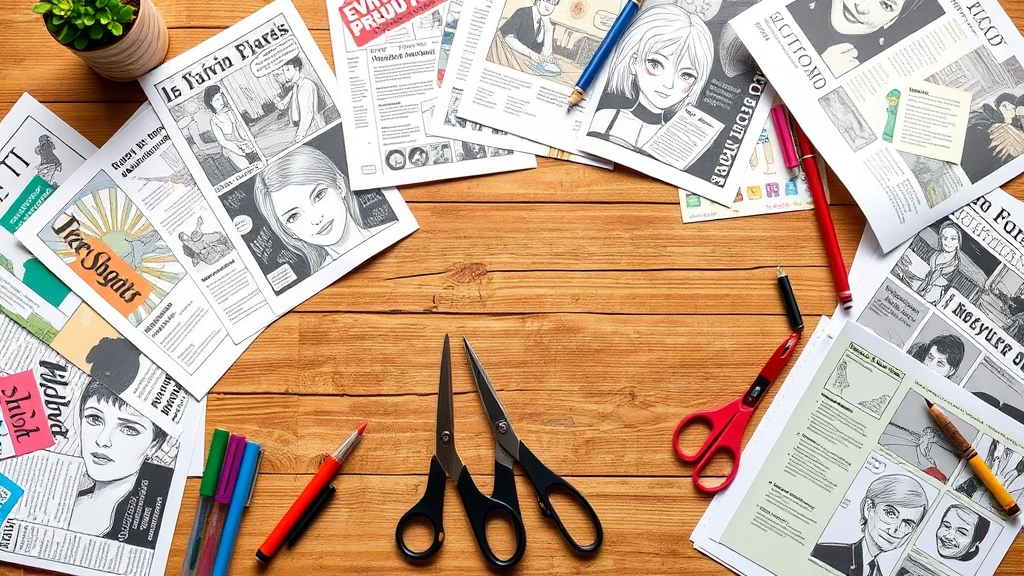
The zine community values authenticity over polish. Photocopied pages, hand-drawn illustrations, mixed media collages, and imperfect typography are celebrated as part of the zine aesthetic. This approach removes the intimidation factor for beginners and emphasizes that anyone can make a zine.
Choosing Your Zine Format and Size
Before you start creating content, decide on your zine’s physical dimensions and format. The most common zine format is the saddle-stitch booklet, created by folding sheets of paper in half and stapling them at the spine. This simple method works beautifully for zines ranging from 8 to 32 pages.
Popular zine sizes include:
- Half-letter (5.5″ x 8.5″) – created from folding standard letter paper lengthwise; compact and easy to handle
- Quarter-letter (4.25″ x 5.5″) – created from folding letter paper twice; pocket-sized and perfect for distribution
- A5 (5.8″ x 8.3″) – European standard size; slightly larger than quarter-letter with professional appearance
- Full-letter (8.5″ x 11″) – largest common size; allows more space for content and images
The format you choose depends on your content type and distribution method. A pocket-sized zine works well for poetry or personal essays, while a larger format suits graphic novels or photography-heavy projects. Consider how much content you have and what size feels comfortable to read.
Planning Your Content and Layout
Successful zine creation begins with planning. Start by brainstorming your theme and content. Will your zine focus on a specific topic, or will it be a personal collection of your interests? Common zine themes include:
- Autobiographical stories and personal experiences
- Comics and graphic narratives
- Poetry and creative writing
- Photography and visual art
- Social commentary and activism
- Hobby-focused content (gaming, music, fashion, food)
- Interviews and profiles
- Mixed media collages
Once you’ve chosen your theme, plan your page count. Remember that zines created from folded paper come in multiples of four pages. For example, folding one sheet of paper creates 4 pages; folding two sheets creates 8 pages; three sheets create 12 pages, and so on. Create a simple outline of what content goes on which pages.
Sketch a rough layout for your pages, considering how text and images will be distributed. Think about pacing – alternate between dense text pages and image-heavy pages to maintain reader interest. This planning stage prevents wasted materials and ensures your final product flows logically.
Designing and Creating Your Pages
Now comes the fun part – creating your actual zine pages. You have two main approaches: digital design or analog creation.
Digital Design Method: Use software like Canva, Microsoft Publisher, Adobe InDesign, or free alternatives like GIMP to design your pages. This method works well if you’re comfortable with computers and want precise layouts. Create a template matching your chosen zine size, then design each page. Remember to account for margins and ensure text is readable when printed and folded.
Analog Creation Method: Hand-write, hand-draw, or collage your content directly onto paper. This approach embraces the DIY aesthetic and requires no software skills. Many zine creators combine both methods – writing by hand, then photocopying the pages to create multiple copies.
When designing your pages, keep these principles in mind:
- Readability – use clear fonts at appropriate sizes; ensure sufficient contrast between text and background
- White space – don’t overcrowd pages; breathing room makes content easier to digest
- Visual hierarchy – use size, color, and placement to guide readers’ attention to important elements
- Consistency – maintain similar styling throughout for a cohesive appearance
- Personality – let your unique style shine; zines celebrate individual aesthetics
If you’re adding color, consider how it will affect printing costs. Black and white zines are most economical, but strategic color accents can enhance your design. You might use yellow accents, red highlights, or blue elements to create visual interest without full-color printing.
Printing and Assembly Methods
Your printing choice significantly affects your zine’s final appearance and production cost. Evaluate these options:
Home Printing: Using your personal printer is economical for small quantities (under 20 copies). Inkjet printers produce vibrant colors but can be expensive per page. Laser printers offer crisp black-and-white output at lower per-page costs. Print on standard copy paper or upgrade to cardstock for covers.
Local Printing Shops: Copy centers like FedEx Office or local print shops offer affordable bulk printing. They can print on various paper stocks, add color, and sometimes offer binding services. Get quotes for different quantities – often 50 copies costs only slightly more than 25.
Online Print-on-Demand Services: Platforms like Amazon KDP, IngramSpark, or Blurb allow you to upload your zine design and print copies as needed. This option works well if you want to sell your zine or produce multiple copies over time without large upfront costs.
For the most traditional zine experience, many creators use photocopiers. Photocopying offers affordability and character – the slight imperfections are part of zine culture. You can often photocopy at libraries, copy shops, or even some grocery stores.
Adding Visual Elements and Illustrations
Visual elements transform your zine from text-heavy to visually engaging. Even if you don’t consider yourself an artist, you can incorporate:
- Hand-drawn illustrations – sketch simple drawings, even basic line art adds personality
- Photography – include your own photos that complement your content
- Clip art and stock images – use free resources like Unsplash, Pexels, or Pixabay
- Collage elements – cut images from magazines and layer them creatively
- Typography as art – use interesting fonts and letter styles as decorative elements
- Patterns and textures – add visual interest with repeating patterns or textured backgrounds
- Doodles and decorative borders – frame content with hand-drawn embellishments
When incorporating images, maintain quality by using high-resolution files for digital printing. For photocopied zines, test images first to ensure they reproduce clearly. Consider how images relate to your content – visual elements should enhance rather than distract from your message.
Binding and Finishing Touches
The binding method you choose affects your zine’s durability and professional appearance. The saddle-stitch method is most common for beginners:
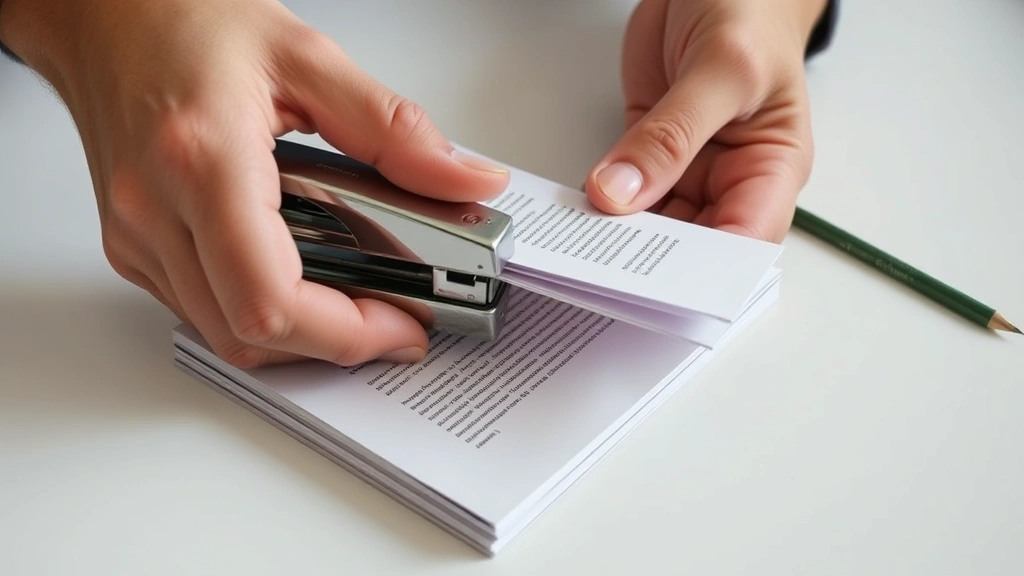
Saddle-Stitch Binding (Stapled Spine):
- Stack all printed pages in order, largest (cover) on outside
- Fold the entire stack in half so the spine is at the fold
- Use a stapler to place 2-3 staples along the spine, centered on the fold
- Trim excess paper if desired for a neat edge
This method works for zines up to 32 pages and requires only a stapler. For a more polished look, use a long-reach stapler that reaches the center of the fold.
Perfect Binding (Glued Spine): For thicker zines (24+ pages), you can glue pages together at the spine using bookbinding glue. This method creates a more durable, professional-looking zine but requires more supplies and time.
Finishing Touches: Consider adding:
- A striking cover design that represents your zine’s content
- Page numbers for easy reference
- A table of contents for longer zines
- An about the author section on the back cover
- A colophon (publication information) noting print date and edition number
- Decorative cover stock in a contrasting color or texture
These finishing details elevate your zine from a quick project to a thoughtfully crafted publication. Many creators also hand-number their zines, adding to their collectible value.
Distributing Your Finished Zine
Once your zines are bound and ready, it’s time to share them with the world. Distribution methods include:
In-Person Distribution: Hand out copies at local events, coffee shops, bookstores, libraries, or community centers. Many venues have community bulletin boards where you can leave zines. This direct approach builds personal connections with readers.
Zine Fairs and Markets: Attend local zine fairs, comic conventions, craft markets, or indie bookstores that host independent publishers. These events attract zine enthusiasts actively seeking new publications. This Old House and similar maker-focused communities often promote local creative events.
Online Distribution: Create a simple website or social media pages showcasing your zine. Platforms like Etsy allow you to sell physical or digital copies. You can also email PDF versions to interested readers.
Zine Libraries and Archives: Many cities have zine libraries – community collections of independent publications. Contact local libraries or zine archives to request they stock your work.
Mail Swaps: Connect with other zine creators online and arrange to trade zines through the mail. This builds community and exposes your work to new audiences.
Wholesale to Retailers: Once you’ve tested the market, approach independent bookstores, comic shops, or boutiques about carrying your zine on consignment. Check out resources like Family Handyman for inspiration on DIY distribution projects.
Remember that distribution is ongoing. Create a mailing list, announce new editions, and maintain relationships with readers. The zine community thrives on personal connections and word-of-mouth promotion.
FAQ
How much does it cost to make a zine?
Zine production costs vary dramatically based on your choices. A hand-assembled, photocopied zine might cost just $0.50-$2.00 per copy. Professional printing increases costs to $3-$10 per copy depending on page count, color, and paper quality. Your first zine might cost $20-$50 for materials and a small test run, making zines incredibly affordable compared to traditional publishing.
Do I need design experience to make a zine?
Absolutely not. Many successful zines feature hand-written text, simple drawings, and basic layouts. The zine aesthetic actually celebrates imperfection and authenticity. If you can write, draw, or take photos, you have enough skills to create a zine. Start simple with your first project and develop your style over time.
What size paper should I use for a zine?
Standard letter-size paper (8.5″ x 11″) is most accessible and affordable. Folding one sheet in half creates a quarter-letter zine (4.25″ x 5.5″). Folding lengthwise creates a half-letter zine (5.5″ x 8.5″). These standard sizes work with most printers and copiers, making them ideal for beginners.
Can I make a zine with just a printer and scissors?
Yes. You can design pages on your computer, print them at home, fold them, and staple them together with just a printer, paper, scissors, and a stapler. This minimal approach is how many zines are made. You don’t need professional equipment.
How many pages should my zine be?
Beginner zines typically range from 8-16 pages, which is manageable and provides enough space for meaningful content without overwhelming yourself. Remember that page count must be a multiple of four due to the folding method. Start small, complete your first project, and expand with future editions.
Should I sell my zine or give it away?
That’s your choice. Many creators give away their first zine to build an audience and gather feedback. Others charge a small amount ($1-$5) to cover printing costs and validate their work. Some do both – offering free digital copies while selling printed versions. Consider your goals and audience when deciding.
Where can I learn more about zine-making?
Explore the vibrant zine community online through social media, zine blogs, and dedicated platforms. Connect with other creators, attend local zine fairs, and check out established resources in the maker community. Visit Ace Hardware or similar retailers for binding supplies and specialty papers. Many libraries also host zine-making workshops and maintain zine collections you can study for inspiration.
Can I make a digital zine?
Absolutely. Digital zines distributed as PDFs eliminate printing costs entirely. You can share them via email, social media, or platforms like Scribd. Digital zines reach global audiences instantly, though some creators prefer the tactile experience of physical publications. Many successful zine makers create both formats.
Related Posts

Superscript in Google Docs: Expert Tips

Strikethrough in Excel: Easy Steps for Beginners
