
Craft a Splash Potion of Weakness: Expert Tips
How to Make a Splash Potion of Weakness: Expert Tips and Techniques
Creating a splash potion of weakness in Minecraft requires precision, patience, and a solid understanding of potion mechanics. Whether you’re preparing for player-versus-player combat, setting up mob traps, or simply exploring the game’s alchemical possibilities, mastering this particular potion craft opens up strategic gameplay opportunities. This comprehensive guide walks you through every step of the process, from gathering raw materials to optimizing your brewing station for maximum efficiency.
The splash potion of weakness is one of the most underutilized yet powerful potions in Minecraft’s brewing system. Unlike damage-dealing potions, weakness potions reduce melee damage output in both PvP scenarios and mob encounters. Understanding how to craft this potion effectively transforms your combat approach and gives you tactical advantages in challenging situations.
Understanding Potion Basics and Weakness Mechanics
Before diving into the actual brewing process, it’s crucial to understand how potions function within Minecraft’s game mechanics. Potions exist in three primary forms: regular potions consumed by players, splash potions that affect entities in a radius when thrown, and lingering potions that create a cloud effect. The splash potion of weakness specifically reduces the melee damage dealt by affected mobs or players by half a heart per hit, making it invaluable for defensive strategies.
The weakness effect itself lasts for 30 seconds in its base form, though extended versions can persist for up to two minutes and thirty seconds. This duration extension becomes possible through specific brewing techniques that we’ll explore in depth throughout this guide. The potion’s effectiveness doesn’t depend on difficulty settings, making it equally valuable whether you’re playing on peaceful or hardcore mode.
Understanding the brewing hierarchy helps you plan your potion production efficiently. You’ll start with awkward potions as your base, then add specific ingredients to create the weakness effect. This foundation is essential before attempting any modifications or enhancements to your brewing process.

Gathering Essential Materials for Brewing
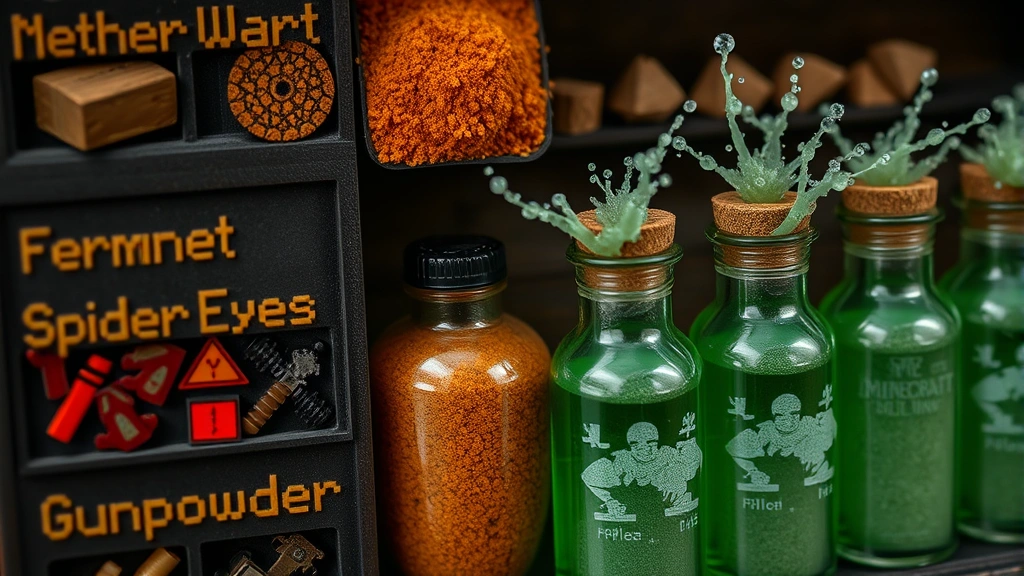
Creating splash potions of weakness requires careful material collection. Your primary ingredient list includes water bottles, nether wart, fermented spider eye, and gunpowder. Each component serves a specific purpose in the brewing process, and sourcing quality materials ensures consistent results.
Water Bottles and Cauldrons: You’ll need multiple water bottles as your brewing base. Collect these by using glass bottles on water sources—rivers, lakes, or rain. A dedicated water collection area near your brewing station streamlines this process considerably.
Nether Wart: This crimson plant grows exclusively in the Nether, typically found in soul sand valleys. Harvest mature nether wart (the red, bulbous variety) rather than younger stages to maximize yield. You’ll need substantial quantities if brewing regularly, so consider establishing a nether wart farm in the Nether itself.
Fermented Spider Eye: This crucial ingredient combines a spider eye, brown mushroom, and sugar. Spider eyes drop from spiders during nighttime or in dark caves, while brown mushrooms grow in swamp biomes and dark areas. Sugar requires sugar cane cultivation near water sources. Combine these three items in any crafting configuration to create fermented spider eyes.
Gunpowder: Essential for converting regular potions to splash potions, gunpowder drops from creepers, ghasts, and witches. Establish a safe collection method or farm to ensure steady supply without excessive danger.
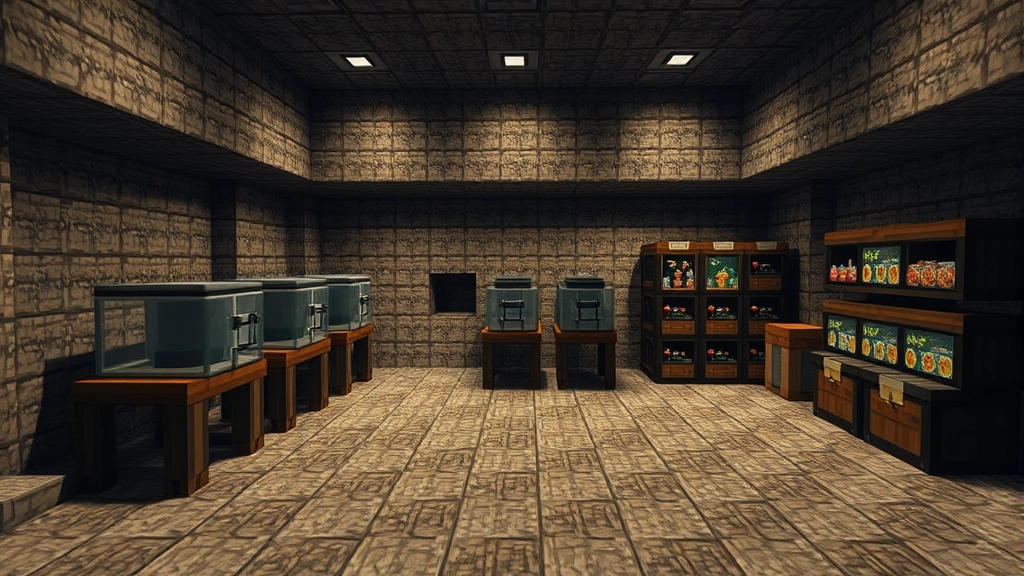
Creating a dedicated storage system for these materials prevents waste and keeps your brewing station organized. Use labeled chests or item frames to visually organize your ingredients by type and brewing stage.
Setting Up Your Optimal Brewing Station
A well-organized brewing station dramatically improves your efficiency and output quality. Your brewing setup requires brewing stands, cauldrons, and convenient storage solutions positioned for ergonomic workflow.
Brewing Stand Placement: Position your brewing stands in a line or grid formation for easy access. Each stand holds three bottles simultaneously, so multiple stands enable batch processing. A single brewing stand requires one blaze powder for fuel—gather this from blaze rods found in nether fortresses by defeating blazes.
Cauldron Configuration: Place cauldrons adjacent to your brewing stands for quick water access. Cauldrons hold three bottles’ worth of water, making them more efficient than individual bottle collection. Position a water source block above your cauldrons to allow continuous filling without manual effort.
Ingredient Organization: Arrange ingredient storage within arm’s reach of your brewing stands. This minimizes movement and speeds up the brewing process significantly. Use hoppers connected to your brewing stands for semi-automated ingredient delivery if you’re comfortable with redstone mechanics.
Lighting and Safety: Ensure adequate lighting around your brewing station to prevent mob spawning. Bright, well-lit areas create safer working environments and prevent unexpected interruptions during brewing sessions.
Step-by-Step Brewing Process for Weakness Potions
Now we’ll walk through the exact process of creating weakness potions from start to finish. Follow these steps precisely to ensure consistent results.
Step One: Create Awkward Potions Fill your brewing stand bottles with water bottles. Add nether wart to each brewing stand slot. Wait approximately 20 seconds for the brewing cycle to complete. Your water bottles transform into awkward potions—the foundation for all effect potions. Awkward potions have no effect themselves but serve as the base for adding specific ingredients.
Step Two: Add Fermented Spider Eye Place your freshly created awkward potions back into the brewing stands. Add fermented spider eye to each slot. Wait another 20 seconds for brewing completion. The awkward potions transform into potions of weakness. At this stage, you have functional weakness potions, though they’re still in regular drinking form rather than splash form.
Step Three: Verify Potion Color Check that your potions display the correct color—a greenish-gray hue indicates successful weakness potion creation. This visual confirmation prevents mistakes and ensures you’re proceeding with the correct potion type.
Step Four: Extend Duration (Optional) If you want your weakness potions to last longer, add redstone dust to the brewing stands containing your weakness potions. Wait 20 seconds. This extends the effect duration from 30 seconds to two minutes and thirty seconds, significantly increasing tactical value in extended engagements.
Each brewing cycle takes approximately 20 seconds, so plan your production timeline accordingly. For large-scale potion creation, prepare multiple batches simultaneously across several brewing stands to maximize efficiency.
Converting Regular Potions to Splash Potions
Regular potions of weakness work only when consumed by players. Converting them to splash potions allows you to affect mobs and other players from a distance, dramatically expanding their tactical applications.
The Gunpowder Conversion: Place your weakness potions into brewing stands. Add gunpowder to each slot. Wait 20 seconds for the conversion cycle. Your regular potions of weakness transform into splash potions of weakness, identifiable by their slightly different bottle appearance and swirling effect.
Understanding Splash Mechanics: Splash potions affect all entities within an eight-block radius when they impact a surface or entity. This radius-based effect makes splash potions superior for crowd control situations. The effect applies instantly upon impact, making them ideal for quick tactical responses.
Stacking Multiple Conversions: You can convert extended weakness potions to splash potions by following the same gunpowder addition process. This creates splash potions of weakness with extended duration, combining the benefits of both modifications.
After gunpowder conversion, your splash potions are ready for immediate use. Store them in your inventory or dedicated potion storage for quick access during combat situations.
Advanced Brewing Techniques and Optimization Strategies
Once you’ve mastered basic splash potion creation, several advanced techniques enhance your brewing efficiency and potion effectiveness.
Automated Brewing Farms: Using hoppers, item frames, and redstone contraptions, you can create semi-automated brewing systems that process materials continuously. These farms require significant redstone knowledge but produce enormous potion quantities with minimal manual input. Position hoppers above brewing stands connected to item sorters that feed specific ingredients at precise times.
Batch Processing Optimization: Brew in large batches rather than small quantities. Create dozens of awkward potions simultaneously, then process them all through the weakness stage together. This approach minimizes idle time and maximizes your brewing stand usage efficiency.
Potion Storage Solutions: Implement shulker boxes for portable potion storage. Fill entire shulker boxes with splash potions of weakness for raids, PvP encounters, or large-scale mob control. Label each box clearly to prevent confusion during critical moments.
Combining with Other Effects: Advanced brewers sometimes create potions combining multiple effects. While weakness potions can’t combine with damage effects, they work well with slowness for crowd control or strength reduction scenarios. Experiment with different ingredient combinations to discover synergistic effects.
Efficiency Tracking: Keep detailed records of your potion production rates. Note how many brewing stands you use, how long each cycle takes, and how much material each batch consumes. This data helps you optimize future brewing sessions and plan material gathering accordingly.
Troubleshooting Common Brewing Issues
Potions Not Changing Color: If your potions remain their original color after brewing, your brewing stand may lack fuel. Add blaze powder to the fuel slot on the left side of the brewing stand interface. Without fuel, no brewing occurs regardless of ingredients added.
Wrong Potion Type Created: Double-check your ingredient additions. Fermented spider eye specifically creates weakness potions, not other ingredients. If you added the wrong material, your potions will have different effects. Start fresh with new awkward potions if this occurs.
Slow Brewing Times: Brewing cycles should complete in approximately 20 seconds. If yours take longer, verify that your brewing stand has adequate fuel. Multiple brewing stands require multiple blaze powder units for simultaneous operation.
Gunpowder Conversion Failure: Ensure you’re using actual gunpowder, not another ingredient. Gunpowder specifically converts potions to splash form. Without it, your potions remain regular, non-splash versions.
Ingredient Shortage: Plan your material gathering based on expected brewing volume. One weakness potion requires one nether wart and one fermented spider eye (which itself requires spider eye, brown mushroom, and sugar). Factor in these component requirements when calculating material needs.
Maintaining a troubleshooting log helps you identify patterns and solve recurring issues quickly. Document the specific conditions when problems occur to help diagnose root causes.
Frequently Asked Questions
How long does a splash potion of weakness effect last?
A standard splash potion of weakness lasts 30 seconds, while an extended version created with redstone dust lasts two minutes and thirty seconds. The effect applies to all entities within an eight-block radius of impact.
Can I combine weakness potions with other effects?
Weakness potions cannot be directly combined with damage-dealing or healing effects due to Minecraft’s potion mechanic restrictions. However, you can throw multiple different splash potions in sequence for layered effects.
What’s the most efficient brewing setup?
Multiple brewing stands arranged in an accessible pattern with nearby ingredient storage and water sources creates optimal efficiency. Automated redstone systems further enhance production rates for large-scale operations.
How much gunpowder do I need for splash conversion?
Each potion requires one gunpowder unit for splash conversion. Three potions fit in one brewing stand, so three gunpowder units convert one full batch to splash potions.
Where can I find nether wart reliably?
Nether wart grows naturally in soul sand valleys throughout the Nether. Establish a farm by placing soul sand and planting harvested nether wart for renewable supply. Soul sand appears frequently in the Nether’s lower levels.
Can weakness potions affect hostile mobs?
Yes, splash potions of weakness reduce melee damage from all entities, including hostile mobs. This makes them valuable for defensive strategies against powerful melee attackers like zombies or skeletons.
How do I store large quantities of potions?
Shulker boxes hold 27 stacks of potions (27 potions per stack), making them ideal for large-scale storage. Carry multiple shulker boxes in your inventory for extended potion availability during raids or PvP encounters.
What’s the difference between weakness and slowness potions?
Weakness reduces melee damage output, while slowness reduces movement speed. They serve different tactical purposes—weakness for defensive scenarios, slowness for crowd control and escape situations.
Related Posts

Superscript in Google Docs: Expert Tips

Strikethrough in Excel: Easy Steps for Beginners
