

Lower Pool pH: Expert Tips for Safe Swimming
Lower Pool pH: Expert Tips for Safe Swimming
Maintaining proper pool chemistry is essential for safe, comfortable swimming and protecting your pool equipment from damage. One of the most critical measurements you’ll monitor is pH level—the acidity or alkalinity of your water. When your pool’s pH climbs too high, it creates an uncomfortable swimming environment, reduces chlorine effectiveness, and can lead to cloudy water and equipment corrosion. Learning how to lower pH in pool water is a fundamental skill every pool owner should master.
High pH levels are surprisingly common, especially in pools exposed to direct sunlight, heavy use, or areas with naturally alkaline water sources. The good news is that bringing pH down to the ideal range of 7.2 to 7.6 is straightforward when you understand the process and have the right materials on hand. This comprehensive guide walks you through everything you need to know about pH management, from identifying when your pH is too high to applying the correct treatment methods.
Understanding Pool pH Levels
pH is a measure of how acidic or alkaline a substance is, on a scale from 0 to 14. A pH of 7 is neutral, numbers below 7 indicate acidity, and numbers above 7 indicate alkalinity. For swimming pools, the ideal pH range is between 7.2 and 7.6, with 7.4 being the sweet spot for most residential pools. This range ensures that chlorine works at peak efficiency, water remains clear, and swimmers experience minimal eye and skin irritation.
The pH scale is logarithmic, meaning each step represents a tenfold change in acidity or alkalinity. This is why even small deviations from the target range can have significant impacts on water quality and swimmer comfort. When pH exceeds 7.8, you’ve entered the danger zone where problems begin multiplying rapidly.
Understanding the relationship between pH and other pool chemistry factors is crucial. Alkalinity, for instance, acts as a buffer that helps stabilize pH levels. Total alkalinity should ideally be between 80 and 120 parts per million (ppm). When alkalinity is too high, it becomes much harder to adjust pH, which is why many pool professionals recommend balancing alkalinity before making major pH corrections.
Why High pH Is a Problem
High pH water creates multiple interconnected problems that affect both your pool and swimmers. When pH climbs above 7.8, chlorine’s sanitizing power drops significantly—at pH 8.0, chlorine is only about 30% as effective as it is at pH 7.4. This means your pool requires more chlorine to maintain proper sanitation, increasing chemical costs and potentially creating uncomfortable chlorine smell (which actually comes from chlorine compounds, not pure chlorine).
Beyond sanitation issues, high pH water becomes cloudy and murky. This cloudiness occurs because minerals and particles precipitate out of solution, creating visible turbidity that makes the pool uninviting and obscures the bottom. Swimmers also experience uncomfortable side effects including red eyes, itchy skin, and respiratory irritation—ironically, these symptoms are often blamed on “too much chlorine” when they actually result from improper pH balance.
Your pool equipment suffers too. High pH accelerates scale formation on tile, filters, and heat exchanger surfaces. This calcium carbonate buildup reduces equipment efficiency and can cause permanent damage requiring expensive repairs or replacement. Additionally, metal equipment corrodes faster in high-pH water, shortening the lifespan of pumps, heaters, and other metal components. Taking action to maintain proper pH protects your investment and ensures years of reliable pool operation.
Testing Your Pool Water
Before you can effectively lower your pool’s pH, you must first determine exactly what you’re working with. Accurate testing is the foundation of proper pool chemistry management, and fortunately, several reliable testing methods are available.
Test Strip Method: Pool test strips offer quick, affordable testing and are available at any pool supply retailer. Simply dip a strip in your pool water, wait the specified time (usually 15-30 seconds), and compare the color to the chart on the bottle. While convenient, test strips are less precise than other methods and can be affected by improper storage or age. They’re excellent for regular monitoring between more detailed tests.
Liquid Test Kit Method: Liquid reagent kits provide greater accuracy than strips. You collect a water sample, add specific reagent drops to different test tubes, and observe color changes. These kits typically test pH, alkalinity, and chlorine levels. Though slightly more time-consuming than strips, they’re more reliable and cost-effective over time, making them the preferred choice for serious pool owners.
Digital Testing Devices: For the ultimate in accuracy, digital pH meters and photometers provide precise readings. These devices are more expensive but eliminate guesswork and are particularly valuable if you struggle with color-matching or have vision difficulties. Many pool professionals use digital meters as their standard.
Test your pool at least twice weekly, ideally in the early morning before heavy use and sun exposure. Always test water from the deep end, away from walls, at a depth of 18 inches. Keep detailed records of your pH readings to identify trends and anticipate adjustments before problems develop.
Methods to Lower Pool pH
Several effective products can lower your pool’s pH, each with specific advantages and applications. Understanding your options helps you choose the best solution for your situation.
Sodium Bisulfate (Dry Acid): This is the most popular choice for lowering pool pH. It’s dry, easy to handle, relatively inexpensive, and works quickly. Sodium bisulfate lowers both pH and alkalinity, making it ideal when both need adjustment. The powder dissolves readily and typically shows results within hours. One drawback is that it can slightly increase water cloudiness temporarily, though this usually clears within 24 hours. For most residential pools, sodium bisulfate is the go-to solution.
Muriatic Acid (Hydrochloric Acid): This liquid acid is extremely powerful and works very quickly, making it popular for large pools or severe pH problems. However, muriatic acid requires careful handling due to its corrosive nature and pungent fumes. It requires proper safety equipment and should only be used by experienced pool owners or professionals. It lowers pH without affecting alkalinity as much as sodium bisulfate, which can be advantageous in certain situations. Most residential pool owners prefer safer alternatives.
Carbon Dioxide (CO2): Some advanced pool systems use CO2 injection to lower pH. This method is extremely precise and popular in commercial and competition pools. For residential pools, CO2 systems are expensive to install but offer excellent control. They’re most suitable if you’re building a new pool or have significant pH stability issues.
For most homeowners, sodium bisulfate represents the best balance of safety, effectiveness, and cost. Start with this option unless you have specific reasons to choose otherwise.
Step-by-Step Application Process
Properly applying pH-lowering chemicals ensures safety and effectiveness. Follow these steps carefully for best results.
Step 1: Calculate Your Pool Volume
You need to know your pool’s volume in gallons. For rectangular pools, multiply length × width × average depth × 7.5. For round pools, use the formula: radius² × average depth × 5.9. Most pools hold between 10,000 and 20,000 gallons, but verify your specific pool size. This calculation is crucial because overdosing chemicals creates new problems while underdosing won’t achieve results.
Step 2: Test Your Current pH
Use your preferred testing method to establish a baseline. Note the exact reading. If pH is only slightly elevated (7.7-7.8), you may need less chemical than if pH is significantly high (8.2 or above). Testing also helps you understand how quickly pH rises in your specific pool, which varies based on water source, sun exposure, and usage patterns.
Step 3: Calculate Required Chemical Amount
Follow the product label directions, which typically recommend about 1.5 pounds of sodium bisulfate per 10,000 gallons to lower pH by 0.2. For a pool with pH of 8.0 that you want to bring to 7.4, you’d need to lower pH by 0.6—requiring approximately 4.5 pounds for a 10,000-gallon pool. Always err on the side of caution; you can add more chemical, but you can’t easily remove it.
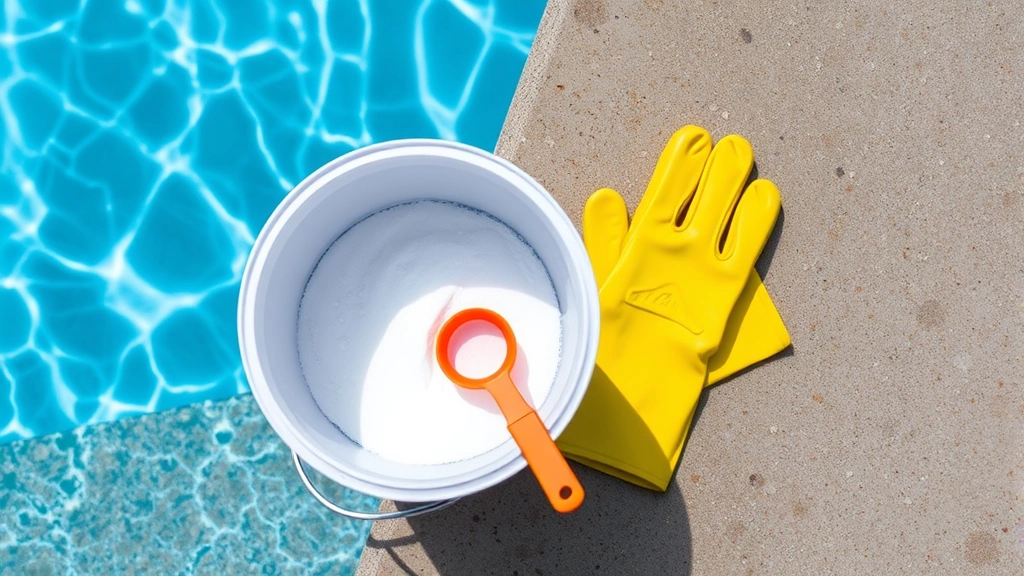
Step 4: Prepare the Chemical
If using sodium bisulfate, fill a clean plastic bucket with pool water. Slowly add the measured chemical to the water while stirring—never add water to the chemical, as this can cause dangerous reactions. Stir thoroughly until completely dissolved. The mixture will warm slightly due to the chemical reaction, which is normal.
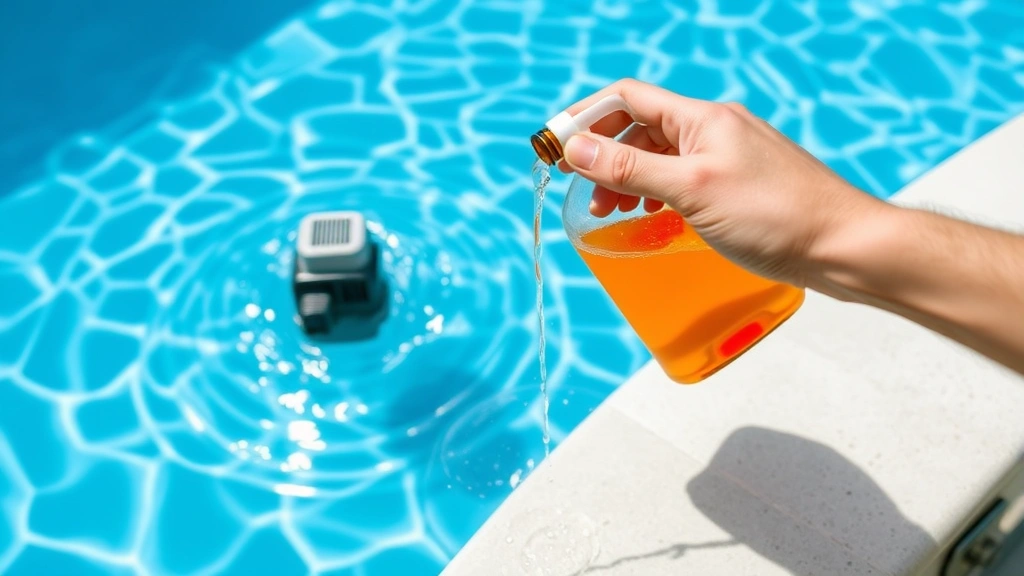
Step 5: Apply the Solution
Turn on your pool circulation system and ensure it’s running properly. Pour the dissolved chemical solution around the pool perimeter, distributing it evenly rather than dumping it all in one spot. This promotes even distribution and prevents localized chemical concentrations. Never add chemicals directly to the skimmer, as this can damage equipment. For very large pools, you might divide the treatment into multiple applications around different areas.
Step 6: Wait and Retest
Allow the circulation system to run for at least 2-4 hours before retesting. The chemical needs time to fully distribute and take effect. After waiting, test pH again using the same method as before. If pH hasn’t dropped enough, you can apply additional chemical following the same process. Most adjustments reach target levels within 24 hours.
Step 7: Monitor Closely
Test pH daily for the next several days after treatment. This reveals how quickly pH rises in your specific pool and helps you understand your pool’s natural chemistry patterns. Some pools stabilize quickly while others require ongoing adjustments. Keep records to identify trends and anticipate future needs.
Safety Precautions and Best Practices
Working with pool chemicals requires respect and attention to safety protocols. Even seemingly mild chemicals can cause injury if handled improperly.
Personal Protection Equipment: Always wear chemical-resistant gloves and safety glasses when handling any pool chemicals. Long sleeves and long pants provide additional protection. Work in a well-ventilated area, preferably outdoors, and never mix different chemicals unless specifically instructed to do so. If you’re using muriatic acid or other strong chemicals, wear a respirator rated for acid vapors.
Storage and Handling: Keep all chemicals in their original, clearly labeled containers in a cool, dry location away from children and pets. Never store different types of chemicals together, as accidental mixing can cause fires or toxic gas release. Keep a safety data sheet (SDS) for every chemical you use, and review it before handling. Store chemicals in locked cabinets if children or pets have access to your pool area.
Disposal: Never pour unused chemicals down drains or into the ground. Contact your local waste management facility for proper chemical disposal instructions. Some pool retailers accept unused chemicals for proper disposal. Responsible disposal protects groundwater and the environment.
Emergency Response: Keep a first aid kit and eyewash station near your pool area. If chemical contacts skin or eyes, rinse immediately with large amounts of water and seek medical attention. If swallowed, contact poison control immediately. Post emergency contact numbers near your pool and chemical storage area.
Maintenance Tips for Stable pH
Rather than constantly reacting to pH problems, implement preventive strategies that keep pH stable and within target range.
Monitor Alkalinity First: Since alkalinity acts as a pH buffer, maintaining alkalinity in the 80-120 ppm range prevents wild pH swings. When alkalinity is properly balanced, pH naturally stays more stable. If you’re struggling with constant pH adjustments, check your alkalinity before making more pH corrections. You may find that raising alkalinity solves your pH stability problems.
Limit Direct Sunlight: UV rays increase pH levels, which is why pools in full sun tend to have higher pH. If possible, provide shade during peak sun hours. Pool covers also reduce pH rise while providing safety and reducing evaporation. Even partial shade makes a noticeable difference in pH stability.
Control Chlorine Method: Different chlorine products affect pH differently. Chlorine tablets tend to lower pH slightly, while liquid chlorine and calcium hypochlorite raise it. Stabilized chlorine products (trichlor) lower pH more significantly. Understanding how your chosen chlorine product affects pH helps you anticipate and prevent problems. Some pool owners switch products seasonally to help maintain stable pH.
Regular Water Testing: Consistent testing reveals trends before they become problems. If you notice pH climbing steadily, you can make small preventive adjustments rather than waiting for major corrections. Many pool professionals recommend testing at least twice weekly, more frequently during heavy use periods or hot weather.
Manage Your Water Source: If your tap water has naturally high alkalinity or pH, consider using rainwater or filtered water for top-offs when possible. Some areas have significantly different water chemistry than others, which affects how your pool chemistry behaves. Understanding your water source helps you anticipate adjustments.
Professional Assessment: If you consistently struggle with pH balance despite following proper procedures, consider having a professional pool technician test your water. They can identify underlying issues like equipment problems, water source concerns, or circulation issues that create pH instability. Sometimes the solution isn’t more chemicals but fixing an equipment or circulation problem.
For additional information on maintaining your pool and other home systems, visit the FixWiseHub Blog for comprehensive how-to guides on various home maintenance topics.
FAQ
How often should I test pool pH?
Test your pool pH at least twice weekly—ideally in early morning and evening. During heavy use periods, hot weather, or after adding chemicals, test daily. Once you understand your pool’s chemistry patterns, you might reduce frequency to weekly testing during stable periods.
Can I lower pH too much?
Yes. pH below 7.2 is too acidic and causes discomfort, equipment corrosion, and difficulty maintaining chlorine levels. If you overshoot and pH becomes too low, raise it using soda ash (sodium carbonate) following similar application procedures. Always make adjustments gradually and retest frequently.
Why does my pH keep rising?
Several factors cause rising pH: direct sunlight, high alkalinity, certain chlorine products, calcium in your water source, or heavy swimmer load. Address the root cause rather than constantly adding pH-lowering chemicals. Check your alkalinity, provide shade, and consider your chlorine product choice.
Should I adjust pH or alkalinity first?
Always adjust alkalinity first. Since alkalinity stabilizes pH, correcting alkalinity often partially corrects pH problems. Once alkalinity is in range, make final pH adjustments. This two-step approach is more effective than trying to adjust pH when alkalinity is out of balance.
Is sodium bisulfate safe for swimming pools?
Yes, sodium bisulfate is specifically formulated for pool use and is safe when applied according to label directions. However, follow all safety precautions including wearing gloves and avoiding skin contact. Never add it directly to the skimmer or allow high concentrations near swimmers.
How long does it take for pH adjustments to take effect?
Most adjustments show results within 2-4 hours of circulation. However, allow 24 hours for complete equilibration before making additional adjustments. Retesting too quickly can give inaccurate readings. For best results, test at the same time each day.
Can I use vinegar to lower pool pH?
While vinegar is acidic, it’s not effective for pools due to the large volume of water involved. You’d need impractical amounts of vinegar, and it doesn’t provide the controlled, reliable adjustment that pool chemicals offer. Stick with products designed specifically for pools.
What’s the relationship between pH and chlorine effectiveness?
Chlorine effectiveness peaks at pH 7.4. At pH 7.0, chlorine is about 65% effective. At pH 8.0, it’s only 30% effective. This is why maintaining proper pH is crucial for sanitation—improper pH means your chlorine isn’t working efficiently regardless of how much you use.
Related Posts

Superscript in Google Docs: Expert Tips

Strikethrough in Excel: Easy Steps for Beginners
