
Jump Start Car? Expert Tips and Tricks
How to Jump Start a Car: Expert Tips and Tricks
A dead car battery is one of the most frustrating situations any driver can face, but fortunately, jump starting your vehicle is a straightforward process that anyone can master with the right knowledge. Whether you’re stranded in a parking lot, your driveway, or on the side of the road, understanding how to jump start a car safely and effectively can save you time, money, and stress. This comprehensive guide walks you through everything you need to know, from preparing your equipment to executing the jump start with confidence.
Jump starting a car involves using another vehicle’s battery to provide the electrical power needed to start your engine. While the process sounds intimidating, it’s actually quite simple when you follow proper safety protocols and understand the correct procedure. In this article, we’ll cover the essential steps, common mistakes to avoid, and expert tips that will make you feel like a pro the next time your battery dies.
What You Need Before Starting
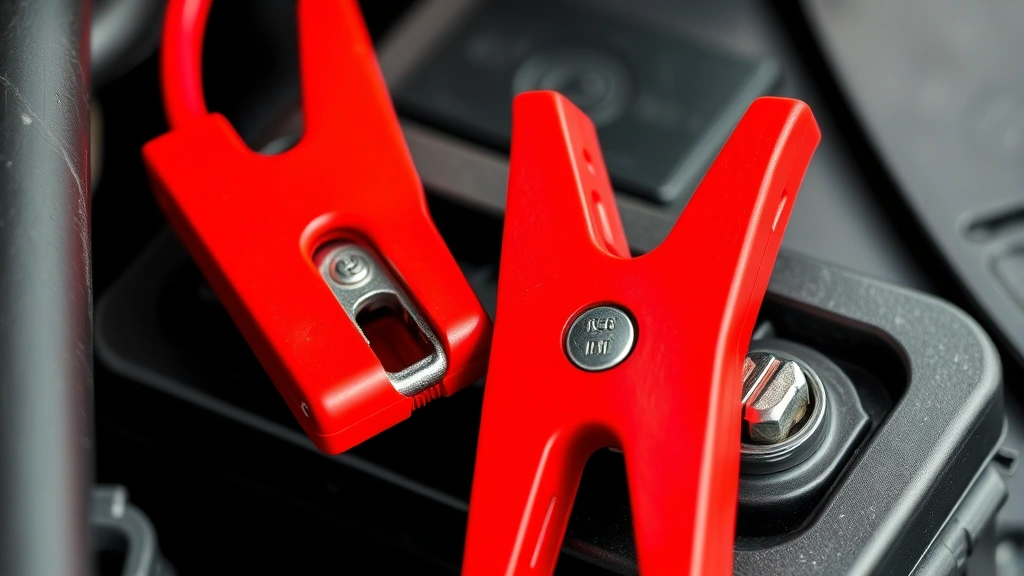
Before you attempt to jump start your car, you’ll need to gather the right equipment. The most essential item is a set of jumper cables, which are heavy-duty wires with clamps on each end that connect the two batteries together. Quality jumper cables should be at least 4 to 6 gauge and between 12 and 25 feet long, allowing you to reach from one vehicle to another even if they’re parked a reasonable distance apart.
You’ll also need a donor vehicle with a working battery. This can be a friend’s car, a family member’s vehicle, or even a stranger’s car if you’re in a safe public location. The donor vehicle should be in good working condition and have a battery that’s fully charged. Some modern vehicles have features that allow for jump starting, but you should verify that both cars are compatible before proceeding.
In addition to traditional jumper cables, many people now carry portable jump starters or battery boosters. These handheld devices store enough power to jump start a vehicle and don’t require a second car. They’re compact, relatively affordable, and incredibly convenient for emergencies. If you’re interested in maintaining your vehicle’s electrical system, you might also want to learn about how to change car battery for future reference.
Safety equipment is equally important. Keep a pair of work gloves and safety glasses in your vehicle. These protect your hands and eyes from potential sparks or battery acid. You should also have a flashlight with fresh batteries, especially if you’re jump starting at night or in low-light conditions.
Safety Precautions and Preparation
Before you even touch the jumper cables, take time to prepare both vehicles properly. Safety is paramount when dealing with car batteries, as they contain corrosive sulfuric acid and can produce explosive hydrogen gas. Start by turning off both vehicles completely. This prevents electrical surges that could damage vehicle electronics or create safety hazards.
Next, locate both batteries and inspect them for visible damage. Look for cracks, leaks, or corrosion around the battery terminals. If you notice significant corrosion (a white, blue, or green crusty substance), you can carefully clean the terminals with a wire brush or baking soda solution before proceeding. However, if the battery appears damaged or is leaking, do not attempt to jump start the vehicle—call a professional tow service instead.
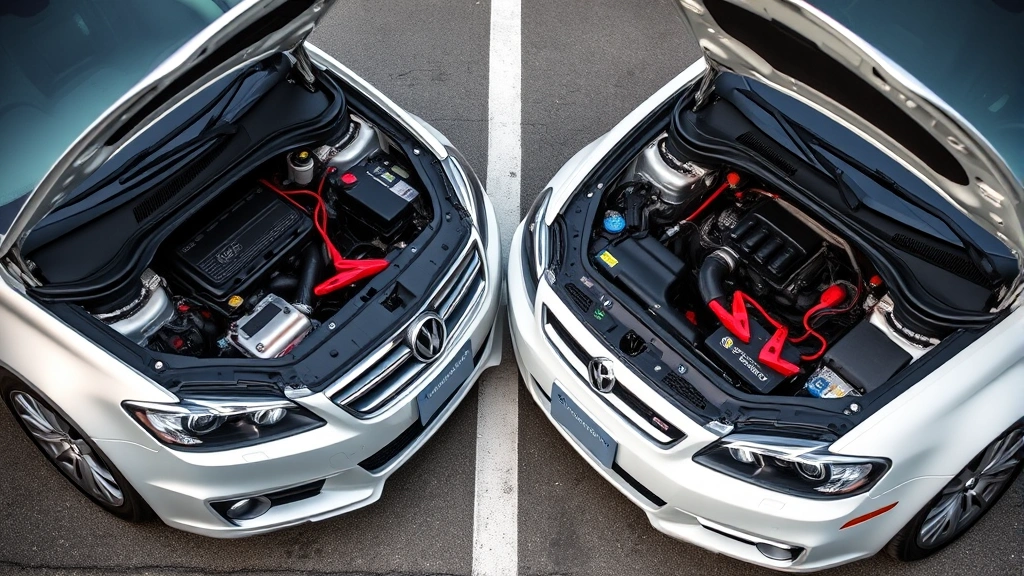
Position both vehicles close enough that the jumper cables can easily reach both batteries, but ensure they’re not touching each other. This prevents accidental electrical contact between the vehicles. Make sure both vehicles are parked on level ground with the engines off and all electrical components (headlights, radio, air conditioning) turned off.
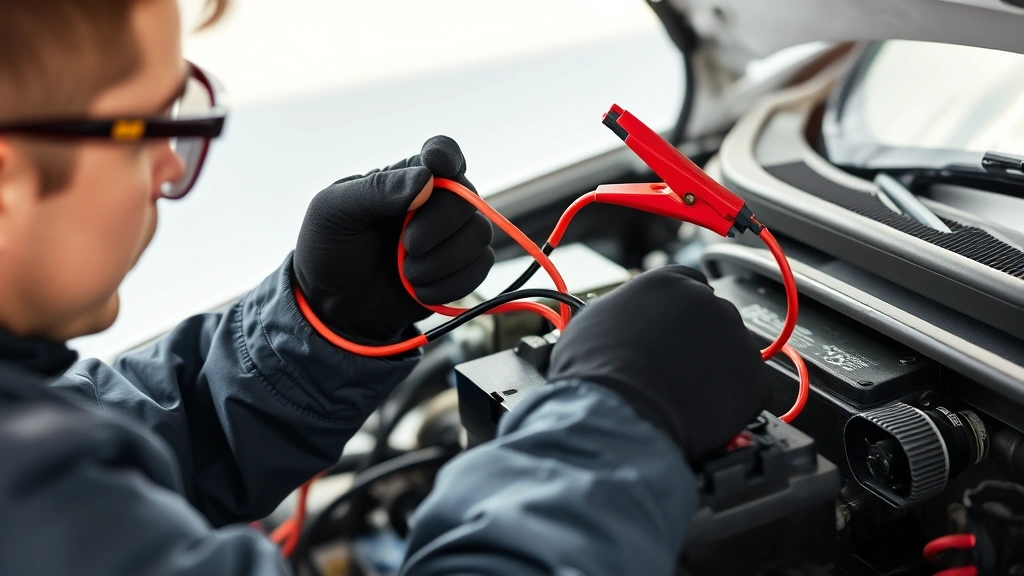
Put on your safety glasses and gloves before handling the cables. If you’re jump starting at night, have your flashlight ready so you can see the battery terminals clearly. Take a moment to identify which terminal is positive (marked with a plus sign or red cover) and which is negative (marked with a minus sign or black cover) on both batteries.
Never jump start a battery that’s frozen or extremely cold. If the battery is covered in ice or the vehicle has been sitting in extreme cold for an extended period, wait for it to warm up slightly or seek professional assistance. Attempting to jump start a frozen battery can cause it to crack or explode.
Step-by-Step Jump Start Process
Now that you’re prepared and equipped, it’s time to execute the jump start. Follow these steps carefully to ensure success and safety:
Step 1: Connect the Positive Cable to the Dead Battery
Take the red (positive) jumper cable and attach the clamp to the positive terminal of the dead battery. You’ll hear a small click when the clamp is securely fastened. Make sure the connection is tight and there’s good metal-to-metal contact.
Step 2: Connect the Positive Cable to the Donor Battery
Now attach the other end of the red cable to the positive terminal of the donor vehicle’s battery. Again, ensure the clamp is tight and secure. This creates the positive connection between the two batteries.
Step 3: Connect the Negative Cable to the Donor Battery
Take the black (negative) jumper cable and attach it to the negative terminal of the donor vehicle’s battery. This is a crucial step—always connect the negative cable to the donor battery first, not the dead battery.
Step 4: Connect the Negative Cable to an Unpainted Metal Surface
Here’s where many people make a critical mistake. Instead of connecting the negative cable directly to the negative terminal of the dead battery, attach it to an unpainted metal surface on the engine block or frame of the disabled vehicle. Look for a bolt, bracket, or other metal component that’s exposed and away from the battery. This prevents potential sparks near the battery, which could ignite hydrogen gas.
Step 5: Start the Donor Vehicle
Have the owner of the donor vehicle start their engine and let it run for 2-3 minutes. This allows the donor battery to begin charging the dead battery. You should see the battery terminals on the dead vehicle beginning to receive power.
Step 6: Start Your Vehicle
After waiting a few minutes, try starting your vehicle. Turn the key or press the start button as you normally would. If the engine doesn’t start on the first attempt, wait another minute and try again. Never crank the starter for more than 10 seconds at a time, as this can damage the starter motor. If the vehicle still won’t start after 3-4 attempts, there may be a more serious problem—stop and call for professional help.
Step 7: Remove the Cables in Reverse Order
Once your vehicle starts successfully, it’s time to disconnect the cables. This is just as important as connecting them, so follow the reverse order carefully:
- Remove the negative cable from the unpainted metal surface on your vehicle
- Remove the negative cable from the donor vehicle’s battery
- Remove the positive cable from your vehicle’s battery
- Remove the positive cable from the donor vehicle’s battery
Work slowly and deliberately to avoid accidentally touching the clamps together or to metal surfaces. Once all cables are disconnected, you can allow both vehicles to continue running.
Common Mistakes to Avoid
Even experienced drivers sometimes make mistakes when jump starting a car. Being aware of these common errors can help you avoid them:
Connecting cables in the wrong order: Always remember the sequence: positive to dead battery, positive to donor battery, negative to donor battery, negative to unpainted metal on dead vehicle. Reversing this order can cause dangerous sparks.
Connecting the negative cable directly to the dead battery: This is one of the most dangerous mistakes. Always connect it to an unpainted metal surface instead to avoid sparks near the battery.
Allowing the vehicles to touch: Never let the two vehicles touch each other during the jump start process. This can create unintended electrical connections and pose safety risks.
Leaving the donor vehicle running too briefly: Give the donor battery at least 2-3 minutes to charge the dead battery before attempting to start your vehicle. Rushing this step often results in failure.
Attempting multiple rapid starts: If your vehicle doesn’t start after 3-4 attempts, stop and reassess the situation. Repeatedly cranking the starter can damage the motor and drain the donor battery.
Ignoring corrosion or damage: If you notice significant corrosion, leaks, or physical damage to the battery, don’t proceed. Call a professional instead.
Disconnecting cables while engines are running: Wait until both vehicles are still running before removing cables, but be careful not to disconnect them while the donor vehicle is trying to provide power.
After the Jump Start: What to Do Next
Successfully jump starting your car is just the beginning. What you do after the jump start is equally important for ensuring your vehicle continues to run properly.
Keep your vehicle running for at least 20-30 minutes after the successful jump start. This allows the alternator to recharge the battery and build up enough power for the next cold start. Drive around your neighborhood or on local roads to keep the engine running and the alternator working.
Avoid turning off the engine immediately after arriving at your destination. If you must turn it off, make sure you’re in a safe location where you can call for help if it won’t start again. Some people recommend waiting at least 30 minutes before turning off the engine.
After your vehicle is fully operational, you should investigate the cause of the dead battery. Common culprits include leaving lights on overnight, a malfunctioning alternator, or an aging battery that needs replacement. If your battery is more than 3-5 years old, it may be time to consider a replacement. You can learn more about this process in our guide on how to change car battery.
Check your vehicle’s dashboard warning lights for any indicators of electrical system problems. If you see a battery warning light (usually a battery symbol) illuminated, this suggests an issue with your charging system that requires professional diagnosis.
Schedule a professional inspection if your battery dies repeatedly or if you suspect an alternator problem. These issues won’t resolve themselves and can leave you stranded again in the future.
When to Call a Professional
While jump starting a car is generally a safe and straightforward process when done correctly, certain situations warrant professional help. Knowing when to call a mechanic or tow service can save you from potential dangers.
Call a professional if:
- The battery appears damaged, cracked, or is leaking corrosive fluid
- The vehicle won’t start even after multiple jump start attempts
- You smell rotten eggs or see smoke near the battery
- The battery terminals are severely corroded and you’re uncomfortable cleaning them
- You don’t have access to a donor vehicle or jumper cables
- You’re uncomfortable performing the jump start procedure yourself
- The vehicle has been in an accident and the battery area is damaged
- Your vehicle’s battery dies repeatedly within a short time period
For professional guidance, you can consult resources like This Old House for home and vehicle maintenance tips, or contact a local certified mechanic. Many roadside assistance programs, including AAA, offer jump start services if you’re not comfortable doing it yourself.
If you’re stranded on a busy highway or in an unsafe location, prioritize your safety. Turn on your hazard lights, stay in your vehicle with the doors locked, and call for professional roadside assistance rather than attempting a jump start in dangerous conditions.
FAQ
How long does a jump start take?
A typical jump start takes about 10-15 minutes total. This includes 2-3 minutes of the donor vehicle running to charge the dead battery, plus a few minutes to connect and disconnect the cables. The actual process is quick once you’re prepared.
Can I jump start a car alone?
You can technically jump start a car with a portable jump starter without another person present. However, with traditional jumper cables, you’ll need another vehicle and ideally another person to help, though it’s possible to manage alone if you’re careful and take your time.
Is it safe to jump start a car?
Yes, jump starting a car is safe when you follow proper procedures. The main risks come from incorrect cable connections or handling damaged batteries. Always follow the correct sequence and use appropriate safety equipment like gloves and glasses.
What if the jump start doesn’t work?
If your vehicle won’t start after a jump start attempt, the problem may be more serious than a dead battery. Possible issues include a faulty starter motor, bad alternator, or internal battery damage. Call a professional mechanic or tow service for diagnosis.
How often can I jump start my car?
While you can jump start your car multiple times, repeatedly needing a jump start indicates an underlying problem. If your battery dies more than once every few months, have it tested professionally. This could signal a failing battery or charging system issue.
Can extreme weather affect jump starting?
Yes, extreme cold reduces battery efficiency significantly, making jump starting more difficult. In very cold weather, you may need to let the donor vehicle run for 5-10 minutes instead of 2-3 minutes. Extreme heat can also reduce battery performance, though it’s less problematic than cold.
Should I replace my battery after a jump start?
Not necessarily. A one-time dead battery doesn’t require replacement. However, if your battery is older than 3-5 years or dies repeatedly, replacement is recommended. For detailed instructions, check out our resource on how to change car battery.
What’s the difference between a jump start and a jump starter?
A jump start uses another vehicle’s battery to start your car through jumper cables. A jump starter (portable battery booster) is a standalone device that stores electrical power and can start your car without needing another vehicle. Jump starters are more convenient but have limited uses before needing recharge.
Can I damage my car by jump starting it incorrectly?
Yes, connecting cables in the wrong order or to the wrong terminals can damage your vehicle’s electrical system, computer, or alternator. Following the correct procedure prevents this. When in doubt, consult your vehicle’s manual or call a professional.
How do I prevent my battery from dying?
Prevent dead batteries by turning off all lights and electronics before leaving your vehicle, maintaining good battery terminal connections, having your battery tested annually, and addressing any charging system warning lights immediately. Keep your vehicle in a garage during extreme weather when possible.
For more helpful guides on home and vehicle maintenance, visit the FixWiseHub Blog – How-To Guides and Tutorials for comprehensive how-to articles.
Related Posts

Superscript in Google Docs: Expert Tips

Strikethrough in Excel: Easy Steps for Beginners
