
Blow Dry Tips for Beginners: Stylist Secrets
Blow Dry Tips for Beginners: Stylist Secrets
Learning how to blow dry your hair properly transforms your styling routine and helps you achieve salon-quality results at home. Whether you have straight, wavy, or curly hair, mastering the fundamentals of blow drying takes practice and the right technique. Many beginners struggle with frizz, uneven drying, and lack of volume, but these issues are entirely fixable with proper instruction.
Professional stylists spend years perfecting their blow-dry techniques, and while you may not achieve their level of expertise immediately, understanding their secrets will significantly improve your results. This comprehensive guide reveals the professional methods that hairstylists use every day to create beautiful, long-lasting blowouts. By following these step-by-step instructions and investing in quality tools, you’ll be amazed at how much better your hair looks and feels.
Essential Tools and Products
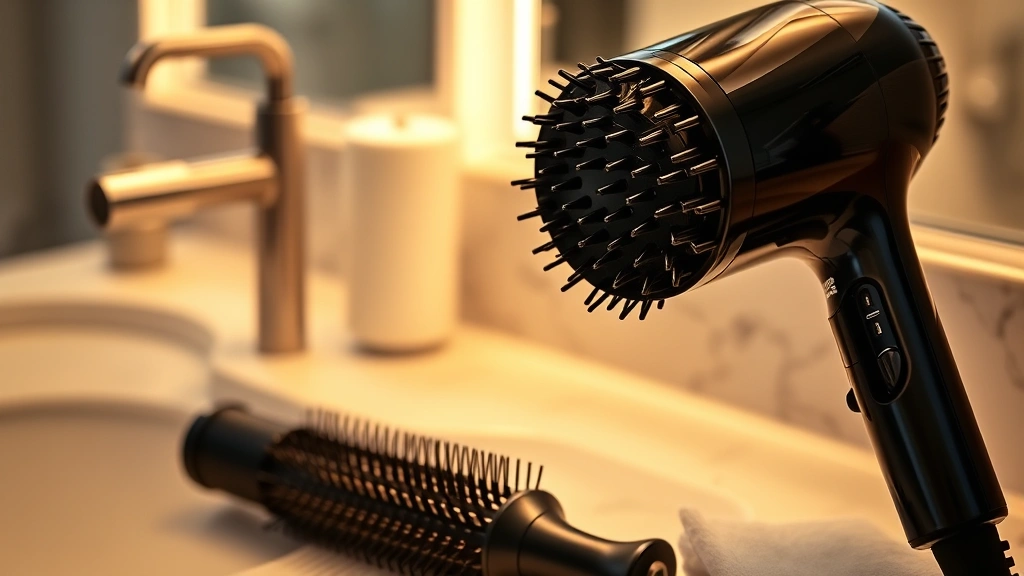
Before you begin learning proper blow-dry technique, you need to invest in quality tools. Professional-grade equipment makes an enormous difference in your final results. A powerful blow dryer with ionic technology helps reduce frizz and drying time significantly. Look for models with at least 1800 watts of power—this provides sufficient heat and airflow for efficient drying.
The right brush selection is equally important. Round brushes come in various sizes, and choosing the correct diameter matters tremendously. Smaller brushes (1-1.5 inches) work best for creating tight curls and adding volume to short hair. Medium brushes (2-2.5 inches) suit most hair types and lengths, providing versatility for various styling goals. Larger brushes (3+ inches) excel at smoothing longer hair and creating loose waves.
Paddle brushes are excellent for detangling and smoothing hair, particularly during the initial drying phase. Vent brushes allow air to flow through the brush, speeding up the drying process. Considering your specific hair type helps determine which brushes will serve you best. Our guide on home improvement and maintenance tips covers selecting quality tools for various projects, and the same principle applies to hair styling equipment.
Heat protectant sprays are non-negotiable for maintaining healthy hair. These products create a barrier between your hair and heat, reducing damage and preventing moisture loss. Apply heat protectant to damp hair before beginning your blow-dry. Leave-in conditioners provide additional moisture and smoothness, especially beneficial for dry or damaged hair. Volumizing mousses add texture and help hair hold style longer.
Preparation Techniques
Proper preparation determines whether your blow-dry will look polished or lackluster. Start by washing your hair with quality shampoo and conditioner suited to your hair type. After shampooing, apply conditioner to the mid-lengths and ends, avoiding the scalp to prevent your style from falling flat. Rinse thoroughly with cool water to seal the hair cuticle and enhance shine.
Gently squeeze excess water from your hair using your hands or a microfiber towel. Rough toweling creates frizz and damages hair, so avoid vigorous rubbing. Microfiber towels or t-shirts are superior to regular terry cloth because they create less friction. Many stylists wrap hair in a towel for 10-15 minutes to allow it to absorb excess moisture naturally.
Apply heat protectant spray evenly throughout damp hair. Use your fingers to distribute the product, ensuring coverage from roots to ends. If your hair is extremely dry or damaged, apply a leave-in conditioner before the heat protectant. This layering approach provides maximum protection and smoothness. Allow your hair to air dry slightly—working with soaking wet hair requires excessive heat and takes much longer. Aim for hair that’s approximately 60-70% dry before beginning your blow-dry.
Detangle your hair thoroughly before blow drying. Use a wide-tooth comb or detangling brush on soaking wet hair, working from ends toward roots. This prevents breakage and ensures even drying throughout. Any knots or tangles will become more pronounced and difficult to remove once hair is partially dry.
Sectioning Your Hair
Professional stylists always section hair before blow drying—this technique is fundamental to achieving polished results. Proper sectioning ensures even drying, makes styling easier, and helps you achieve consistent results throughout your hair. The number of sections depends on your hair thickness and length.
For most people, dividing hair into four to six sections works well. Create a center part from forehead to nape, then divide each side into two to three horizontal sections. Use hair clips to secure sections you’re not actively working on. Start with lower sections and work upward, as lower hair dries faster and is less prone to frizzing during the process.
The crown section should be dried last because it’s the most visible and benefits from finishing touches. Clipping the crown section up keeps it out of your way while you dry lower sections. This organized approach prevents you from missing spots and ensures your entire head receives proper attention.
For thick or long hair, creating more sections prevents you from overworking any single area. Overworking hair causes frizz and heat damage, so smaller sections allow for quicker, more efficient drying. Thin hair requires fewer, larger sections to avoid excessive styling that could flatten your style.
Drying Techniques
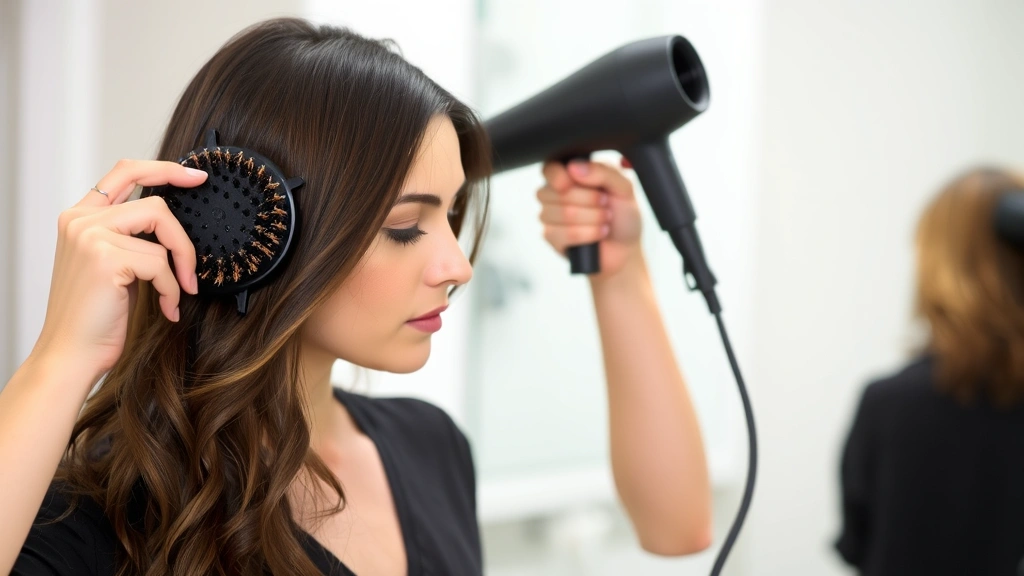
Once you’ve prepped and sectioned your hair, begin drying. Start with a lower section, releasing it from its clip. Use a paddle brush or vent brush to remove initial moisture. Hold your blow dryer about six inches from your hair, never closer, as excessive heat concentration damages hair. Keep the dryer moving constantly to avoid hot spots.
For a smooth finish, direct airflow downward along the hair shaft. This smooths the cuticle and reduces frizz. Never blow dry hair upward or randomly—direction matters tremendously for your final results. Move the dryer and brush together in coordinated motions, following the hair’s natural growth pattern.
Once a section is approximately 80% dry, switch to your round brush for styling. This two-stage approach is more efficient and produces better results than trying to dry and style simultaneously. The round brush should be used on hair that’s still slightly damp, as this moisture helps the hair hold the shape you’re creating.
Wrap the section around your round brush, lifting slightly away from the scalp for volume. Direct the blow dryer airflow along the brush, smoothing the cuticle as you move down the hair shaft. Work slowly through each section, taking time to ensure even heat distribution. Rushing this process results in uneven drying and poor styling results.
For the sides, angle your round brush slightly forward or backward depending on your desired style. Most people prefer sides that curve slightly inward for a flattering, polished appearance. The front sections frame your face, so pay extra attention to these areas for a professional finish.
Creating Volume and Movement
Creating volume at the roots requires technique and proper product selection. Volumizing mousse applied to damp roots before blow drying provides texture and helps hair hold shape. Work the mousse through the roots with your fingers, ensuring even distribution.
When blow drying the crown and roots, use an upward motion with your round brush to lift hair away from the scalp. This creates volume that lasts throughout the day. Angle your brush upward and hold it there briefly while directing heat onto the brush. This technique sets the style as hair cools.
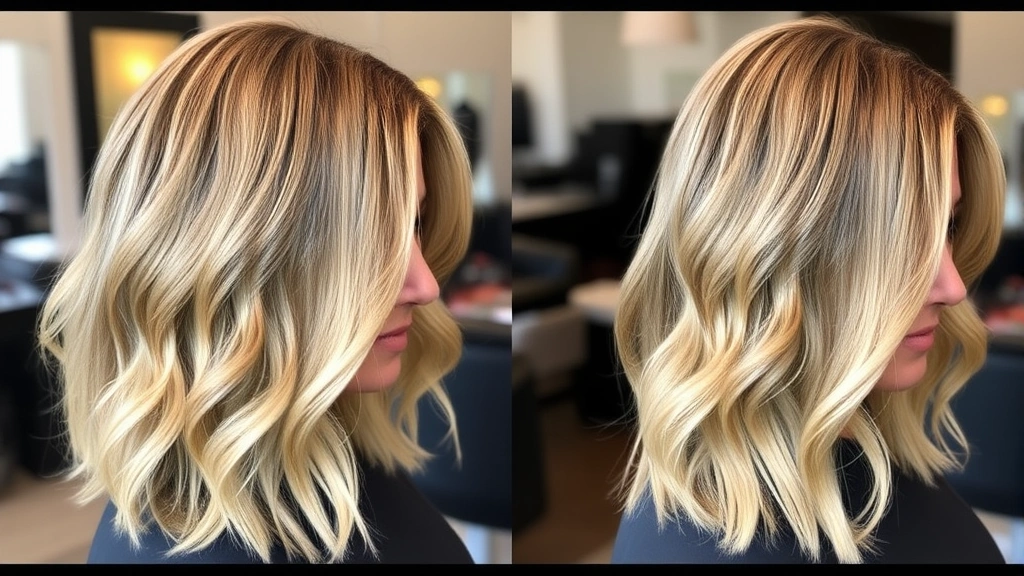
For additional movement and wave, try the following technique: wrap hair around your round brush, then slowly rotate the brush while directing heat onto it. Once the section feels warm, remove the blow dryer and allow hair to cool completely around the brush before releasing. This cool-down period sets the curl and creates longer-lasting style.
Larger round brushes create loose waves, while smaller brushes produce tighter curls. Choose your brush size based on the wave or curl pattern you desire. Many stylists use multiple brush sizes throughout a single blow-dry to create varied texture and movement.
For curly or textured hair, consider using a diffuser attachment. This spreads airflow over a larger area, reducing frizz while enhancing natural texture. Apply curl-enhancing products before blow drying, then use the diffuser on low to medium heat. This technique works beautifully for creating defined curls without the frizz associated with traditional blow drying.
Finishing Touches
The final stage of professional blow drying involves finishing touches that polish your style. Once your hair is completely dry, run a cool shot through your entire head. This cool air seals the hair cuticle, enhances shine, and sets your style for longer-lasting results. Most blow dryers have a cool shot button—use it every time.
Apply a lightweight finishing spray or serum to smooth flyaways and add shine. Use minimal product—a little goes a long way. Rub the product between your palms, then lightly run your hands over your finished style. Avoid applying too much product, which weighs hair down and makes it look greasy.
If you notice frizz or flyaways, a smoothing cream or edge control product tames them beautifully. Apply sparingly to problem areas using your fingers or a fine-tooth comb. Many professionals keep a small smoothing cream on hand specifically for last-minute touch-ups.
For extra longevity, finish with a light hairspray. Hold the can 6-8 inches from your head and apply with a light misting motion. Heavy hairspray application looks stiff and unnatural—the goal is subtle hold that maintains your style without looking overdone. Just as maintaining your home requires attention to detail, like keeping appliances clean and functional, proper hair finishing ensures your style stays beautiful throughout the day.
Allow your finished style to cool completely before touching it. Warm hair is more susceptible to falling flat or losing its shape. Give yourself 10-15 minutes after finishing before running your hands through your hair or wearing a hat.
FAQ
How long should blow drying take?
For most people, a complete blow-dry takes 15-30 minutes depending on hair length, thickness, and your experience level. Beginners may take longer initially, but speed improves with practice. Professional stylists often complete blow-dries in 15-20 minutes because they work efficiently and have years of experience.
Can I blow dry my hair every day?
Daily blow drying is possible with proper heat protection and hair care. However, giving your hair occasional breaks helps maintain health and prevents heat damage accumulation. On days you’re not styling, consider air drying or using lower heat settings. Using quality heat protectant products is essential if you blow dry daily.
What’s the best blow dryer for beginners?
Look for blow dryers with ionic technology, at least 1800 watts of power, and multiple heat and speed settings. Ionic technology reduces frizz significantly, while adequate wattage ensures efficient drying. Multiple settings give you control and flexibility for different hair types and styling needs. Mid-range professional blow dryers ($50-150) offer excellent quality for beginners.
How do I prevent frizz while blow drying?
Frizz prevention involves multiple strategies: apply heat protectant before drying, use ionic blow dryers, direct airflow downward along the hair shaft, work with properly moisturized hair, and finish with a cool shot. Humidity is frizz’s enemy, so applying anti-frizz products and smoothing serums helps combat environmental factors. Our article on dealing with household challenges addresses problem-solving systematically, and the same principle applies to managing frizz.
Should I blow dry my hair wet or damp?
Begin blow drying when hair is 60-70% dry. Starting with soaking wet hair requires excessive heat and time. However, completely air drying before blow drying means you miss the styling benefits of working with slightly damp hair. The sweet spot is damp hair—wet enough to style effectively but dry enough to avoid damage from excessive heat exposure.
What products do I really need?
Essential products include heat protectant spray and quality shampoo and conditioner. Everything else—volumizing mousse, leave-in conditioner, finishing spray—is optional depending on your hair type and styling goals. Start with the basics and add products as needed. Many beginners discover they need fewer products than they initially thought.
How do I create waves with a blow dryer?
Use a medium or large round brush, wrapping hair around it while directing heat onto the brush. Slowly rotate the brush as you move down the hair section, then allow hair to cool completely around the brush before releasing. This cool-down period sets the wave pattern. Repeat throughout your hair for consistent waves.
Can I blow dry curly hair?
Yes, using a diffuser attachment and curl-specific products works beautifully for curly hair. Apply curl-enhancing cream or mousse to damp hair, then use the diffuser on low to medium heat. This technique enhances natural texture while minimizing frizz. Alternatively, plopping (wrapping hair in a towel) and air drying preserves curl pattern without heat damage.
Related Posts

Superscript in Google Docs: Expert Tips

Strikethrough in Excel: Easy Steps for Beginners
