
How to Make Bubble Solution: Expert Guide
How to Make Bubble Solution: Expert Guide
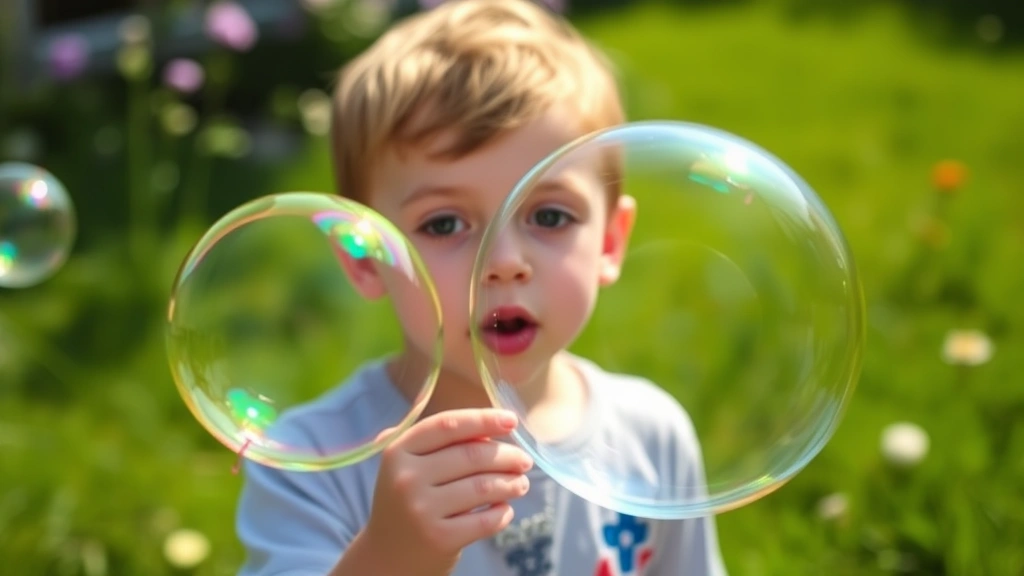
There’s something undeniably magical about bubbles. Whether you’re watching them float through the air on a summer afternoon or seeing your child’s face light up as they chase them around the yard, bubbles have a timeless appeal that transcends age. But here’s the thing: not all bubble solutions are created equal. Some pop instantly, others leave greasy residue on your hands, and many simply don’t produce those satisfying, long-lasting bubbles we all crave.
The good news? Making professional-quality bubble solution at home is easier than you might think, and it doesn’t require any mysterious ingredients or chemistry degree. With just a few common household items and the right technique, you can create bubble solution that rivals—or even surpasses—the commercial stuff gathering dust on store shelves.
This comprehensive guide will walk you through everything you need to know about crafting the perfect bubble solution, from basic recipes to advanced formulations that’ll make you the bubble expert at every gathering.
Why Make Bubble Solution at Home?
You might be wondering why you should bother making bubble solution when you can grab a bottle from any dollar store. Valid question. Here’s the reality: homemade bubble solutions typically perform better, cost significantly less, and let you customize the formula to your specific needs.
Commercial bubble solutions often contain unnecessary additives, artificial colors, and fragrances that serve no practical purpose. They’re also frequently overpriced for what you’re actually getting—basically soapy water with marketing. When you make your own, you control exactly what goes into it, ensuring a solution that’s safe for children, pets, and the environment.
Beyond performance, there’s genuine satisfaction in creating something yourself. It’s the same reason people enjoy making slime without glue or other DIY projects—you understand the science, appreciate the results more, and have something tangible to show for your effort.
The Basic Bubble Solution Recipe
Let’s start with the foundation. This classic recipe has been proven to work brilliantly for decades, and it requires only three ingredients you likely already have at home.
Simple Three-Ingredient Formula
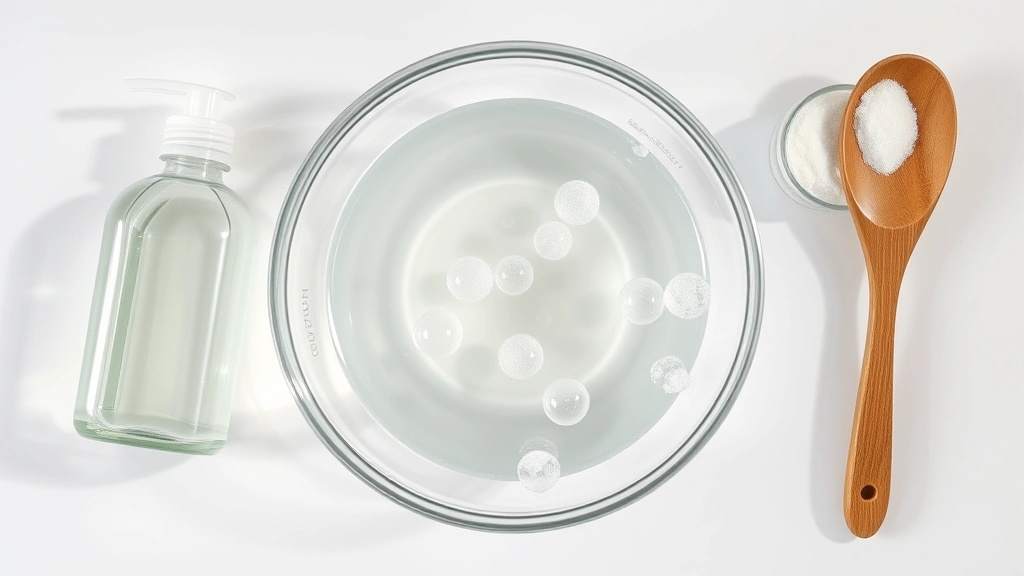
Ingredients:
- 1 cup water
- 2 tablespoons dish soap (liquid)
- 1 tablespoon sugar
Instructions:
- Pour the water into a clean container or bowl
- Add the dish soap slowly, stirring gently to avoid creating excess foam
- Add the sugar and stir until completely dissolved
- Let the solution sit for at least 30 minutes before using (this allows bubbles to form more easily)
- Pour into bubble bottles or containers as needed
That’s genuinely it. This recipe produces reliable, long-lasting bubbles that’ll keep kids entertained for hours. The sugar is the secret ingredient here—it increases viscosity and creates a film that’s less likely to pop prematurely.
Understanding Your Ingredients
While the basic recipe is straightforward, understanding what each ingredient does helps you troubleshoot and create variations. Let’s break this down.
Water: The Foundation
Water serves as your solution’s base. Tap water works fine for most situations, though distilled water can produce marginally better results since it lacks minerals that might interfere with bubble formation. The water’s primary job is diluting the soap to the right consistency—too much water and your bubbles burst instantly, too little and you’re essentially playing with concentrated soap.
Dish Soap: The Essential Component
This is where the magic happens. Dish soap molecules have a unique structure with one end that loves water (hydrophilic) and one end that repels water (hydrophobic). When you mix soap with water, these molecules arrange themselves into a thin film—and that’s your bubble.
Here’s what matters: use regular dish soap, not antibacterial or ultra-concentrated formulas. Dawn and similar brands work particularly well because they’re formulated for gentle cleaning, which translates to stable bubbles. Avoid hand soap or body wash—they’re chemically different and won’t produce the same results.
Sugar: The Stabilizer
Sugar might seem unnecessary, but it’s genuinely transformative. It increases the solution’s density and viscosity, which means the bubble film becomes more elastic and flexible. Bubbles in sugar-enhanced solutions last significantly longer and can handle more rough treatment from excited hands.
Advanced Bubble Solution Recipes
Once you’ve mastered the basics, you might want to experiment with enhanced formulations. These recipes produce impressively large, durable bubbles perfect for competitions or serious bubble enthusiasts.
The Premium Formula
Ingredients:
- 6 cups water
- 1 cup dish soap
- ½ cup sugar
- 1 tablespoon baking powder
- 1 tablespoon corn syrup
Method:
Combine water and dish soap gently (avoid vigorous mixing). Dissolve the sugar completely in warm water first, then add to the mixture. Stir in baking powder and corn syrup. This formula is particularly effective for creating massive bubbles because the baking powder adds extra stability, and the corn syrup further enhances elasticity.
The Professional Competition Recipe
Ingredients:
- 2 cups water
- 1 cup dish soap
- ¼ cup corn syrup
- 1 tablespoon sugar
- ½ teaspoon salt
Method:
Mix water and soap gently. Dissolve sugar and salt in the mixture thoroughly. Add corn syrup last. This recipe is designed for bubble competitions where size and longevity matter most. The salt adds crystalline structure that reinforces the bubble film, while the corn syrup provides exceptional flexibility.
The Eco-Friendly Version
If you prefer a more natural approach, this recipe uses plant-based ingredients:
Ingredients:
- 1 cup water
- 2 tablespoons castile soap (plant-based)
- 1 tablespoon honey
- ½ teaspoon baking soda
Method:
Combine water and castile soap gently. Dissolve honey in warm water separately, then add to the mixture. Stir in baking soda carefully (it will fizz slightly). This creates a gentler formula that’s completely biodegradable and safe for sensitive skin.
Troubleshooting Common Problems
Even with the best recipe, sometimes things don’t work as expected. Here’s how to diagnose and fix common issues.
Bubbles Pop Immediately
Likely causes:
- Too much water relative to soap
- Solution is too fresh (needs to sit)
- Water temperature is too warm
- Not enough sugar or stabilizers
Solution: Add more soap gradually, let the mixture rest for 30-60 minutes, and ensure you’re using cool water. If using the basic recipe, increase sugar to 1.5 tablespoons.
Excessive Foam
Likely causes:
- Stirring too vigorously
- Using antibacterial soap
- Too much soap in the mixture
Solution: Stir gently using a circular motion rather than vigorous mixing. Switch to regular dish soap if necessary. Measure your soap carefully—more isn’t always better.
Greasy Residue on Hands
Likely causes:
- Using hand soap instead of dish soap
- Solution concentration is too high
Solution: Use dedicated dish soap formulated for cutting grease. If the residue persists, dilute your solution with slightly more water.
Bubbles Form But Won’t Float
Likely causes:
- Solution is too thick
- Wand is too small or wrong shape
- You’re blowing too hard
Solution: Add more water to reduce viscosity. Experiment with different wand sizes. Blow gently and steadily rather than with force.
Creating the Perfect Bubble Wands
Your solution is only as good as your wand. While store-bought wands work adequately, homemade versions often perform better and add another creative element to this project.
Classic Wire Loop Wands
The simplest option: bend a piece of wire (coat hanger wire works perfectly) into a loop roughly 1-2 inches in diameter. Attach it to a stick or dowel using tape or by wrapping the wire around the stick. The loop should be smooth and even—any bumps or sharp spots will disrupt bubble formation.
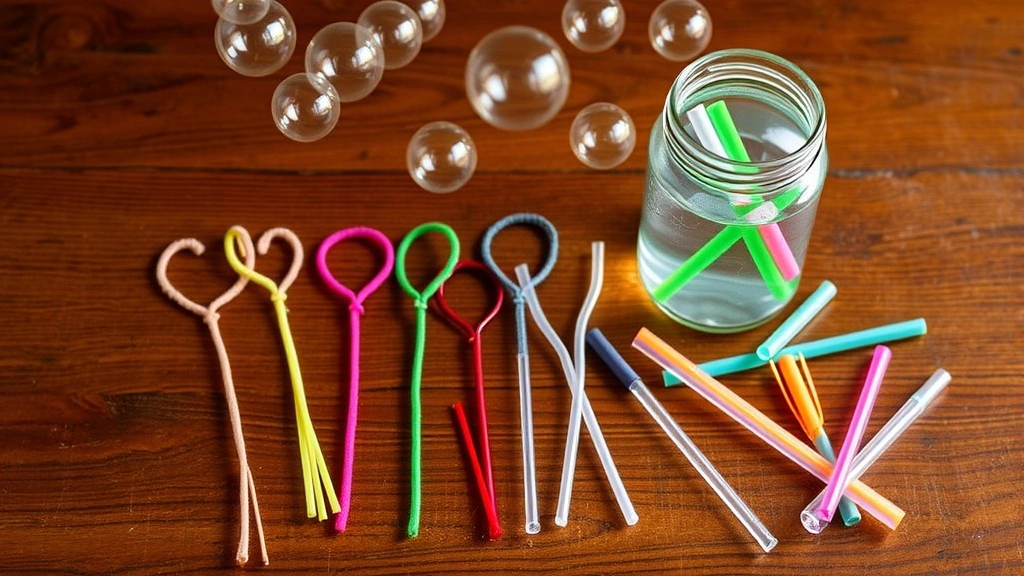
Bubble Wand from Pipe Cleaners
Twist pipe cleaners into various shapes—circles, squares, triangles. These are fantastic because they’re already fuzzy, which helps hold the solution. Kids especially enjoy making their own designs, making this a perfect companion activity.
DIY Bubble Blower from Straws
Bundle several drinking straws together and secure them with rubber bands. Flatten the bottom edges slightly with scissors to create multiple small openings. This produces clusters of bubbles simultaneously—visually spectacular and surprisingly effective.
The Bubble Wand Hack
Cut the bottom off a plastic bottle and use the mouth opening as your wand. It produces impressively large bubbles and is virtually indestructible. You can even create multiple sizes by using different bottle types.
Storage and Shelf Life
Proper storage extends your bubble solution’s life and maintains its effectiveness.
Short-Term Storage
Keep your bubble solution in sealed containers at room temperature. Glass jars work better than plastic because they don’t absorb soap residue over time. In these conditions, your solution remains usable for 2-3 weeks.
Long-Term Storage
For extended storage, refrigerate your bubble solution. The cold slows bacterial growth and prevents the soap from degrading. Refrigerated solution can last 2-3 months. Simply let it reach room temperature before using.
Signs Your Solution Has Gone Bad
Discard your solution if it develops an off smell, shows visible mold, or becomes unusually cloudy. Separated layers (oil on top, water on bottom) can be remixed and are still usable, but bacterial growth is a dealbreaker.
Pro Storage Tip
Make large batches and freeze portions in ice cube trays. When you want fresh solution, thaw what you need. This works particularly well if you’re the type of person who also enjoys making other household items—if you’re experienced with making self-rising flour or other DIY creations, batch preparation will feel natural.
Frequently Asked Questions
Can I use hand soap instead of dish soap?
Technically yes, but it won’t perform as well. Hand soap is formulated differently and typically produces weaker bubble films. Dish soap is specifically designed for cutting through grease, which makes it ideal for bubble formation. Stick with dish soap for best results.
Does the type of water matter?
Regular tap water works fine. Distilled water produces marginally better results in some cases because it lacks minerals, but the difference is minimal for casual bubble-blowing. If you’re competing or creating giant bubbles, distilled water might give you a slight edge.
Why do my bubbles pop when they touch anything?
This usually means your solution needs more stabilizers (sugar, corn syrup) or more time to rest before use. Bubble films strengthen over time as the solution sits. Also ensure you’re using a proper dish soap—antibacterial varieties won’t work well.
Can I make bubble solution without sugar?
Yes, but your bubbles won’t last as long. Sugar isn’t strictly necessary, but it dramatically improves performance. If you’re out of sugar, corn syrup works as a substitute, though you’ll need slightly less (around ½ tablespoon).
Is homemade bubble solution safe for young children?
Yes, when made with standard ingredients. The solution is non-toxic, though it’s not meant for ingestion. Always supervise young children to ensure they don’t drink it. If you want to be extra cautious, use the eco-friendly version with castile soap and honey.
How can I make bigger bubbles?
Use the premium formula with corn syrup and baking powder. Create larger wands using wire bent into bigger loops or use the bottom of larger bottles. Blow gently and steadily rather than forcefully. Environment matters too—calm days without wind produce better results.
Why is my solution foamy?
You’re likely stirring too vigorously. Mix gently using circular motions. Also verify you’re using regular dish soap, not antibacterial varieties which tend to create more foam. If foam appears on top, let it settle or skim it off before using.
Can I add food coloring to my bubble solution?
Yes! Food coloring won’t affect bubble performance and creates visually stunning results. Use just a few drops—too much can stain hands and clothing. The bubbles will be slightly tinted, creating an iridescent, colored effect.
How long should I let the solution sit before using?
At least 30 minutes, though 1-2 hours is ideal. This resting period allows the soap molecules to fully arrange themselves into stable films. If you’re impatient, you’ll notice bubbles pop more easily. Overnight is perfect if you’re planning a bubble session the next day.
What’s the best dish soap brand for bubbles?
Dawn is widely considered the best option, though any standard dish soap works reasonably well. Avoid ultra-concentrated formulas or antibacterial varieties. The goal is simple, straightforward dish soap designed for general cleaning.
Making bubble solution connects you to a timeless activity that’s brought joy to generations. Whether you’re creating simple bubbles for a lazy afternoon or crafting competition-grade formulas, the fundamental principle remains the same: quality ingredients, proper technique, and a little patience produce spectacular results. Now you’re equipped with the knowledge to create bubble solutions that rival anything commercially available. Get out there and start bubbling!
For additional inspiration on DIY projects and creative activities, explore how to make a bow for gift-wrapping or other decorative purposes. If you’re interested in other household creation projects, you might also enjoy learning how to make an envelope from scratch or even attempting more adventurous recipes like making jello shots for adult gatherings.
External Resources for Further Learning:
For more detailed bubble science, check out This Old House’s DIY guides for general household projects. Family Handyman offers excellent step-by-step instructions for various home improvement and craft projects. Home Depot’s project guides include materials selection advice that applies to DIY solutions. For scientific understanding of bubble dynamics, consult The Science of Bubbles resource center, and for specific soap product information, manufacturer instructions from Dawn’s official website provide technical details about their formulations.
Related Posts

How Long to Boil Lobster Tails: Cooking Guide

How Long to Fly from New York to London? Travel Times
