
How to Make a Paper Crane: Step-by-Step Guide
How to Make a Paper Crane: Step-by-Step Guide
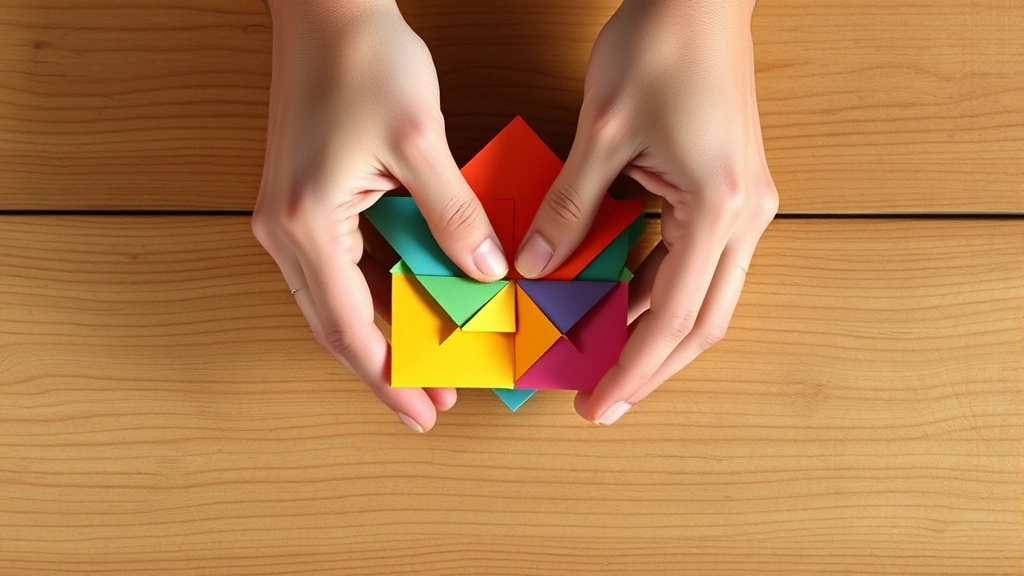
There’s something almost magical about transforming a single sheet of paper into an elegant paper crane. This classic origami project has captivated people across cultures for centuries, and for good reason—it requires nothing but patience, precision, and a willingness to fold. Whether you’re looking for a meditative craft activity, a meaningful gift, or simply a way to impress friends with your newfound skills, mastering the paper crane is an incredibly rewarding endeavor.
The beauty of paper crane folding lies in its accessibility. You don’t need expensive materials, specialized tools, or years of training. What you do need is a square piece of paper, steady hands, and the ability to follow a sequence of folds. The process teaches valuable lessons about patience and attention to detail—skills that translate beautifully into other areas of life, much like learning precision techniques in other crafts.
In this comprehensive guide, we’ll walk you through every step of creating a perfect paper crane, from selecting your materials to executing those final delicate folds. By the end, you’ll not only have a beautiful origami crane but also the knowledge to teach others and create endless variations.
Materials You’ll Need
The wonderful thing about origami is its minimalist approach to materials. To make a paper crane, you’ll need surprisingly little. First and foremost, you need paper—specifically, a square sheet. Most people start with standard origami paper, which typically measures 6 by 6 inches, though you can work with larger or smaller squares depending on your preference and skill level.
Beyond paper, that’s genuinely it. You don’t need scissors, glue, tape, or any special tools. Your hands are your only instrument. However, having a few optional items can enhance your experience. A bone folder (a smooth, flat tool used for creasing) can help create sharper, more defined folds, making your crane look more polished. Some crafters also keep a ruler nearby for reference, though it’s not necessary. If you’re interested in exploring other paper-based crafts, you might enjoy learning how to make an envelope or discovering how to fold a pocket square, which share similar precision-folding techniques.
The beauty of this project is that it’s incredibly budget-friendly and environmentally conscious. You can use recycled paper, newspaper, magazine pages, or any decorative paper you have lying around. Many people find that the constraint of working with whatever paper is available actually sparks creativity.
Choosing the Right Paper
Not all paper is created equal when it comes to origami. The ideal paper for crane folding should be thin enough to fold multiple times without becoming too bulky, yet strong enough to maintain crisp creases without tearing. Traditional origami paper, often made from washi or similar materials, is specifically designed for this purpose.
If you’re using standard printer paper, you’ll find it works reasonably well, though it may be slightly stiffer than traditional origami paper. Avoid paper that’s too thick, like cardstock, as it becomes difficult to fold after several layers accumulate. Similarly, tissue paper is too delicate and will tear easily during the folding process.
Consider the aesthetic appeal of your finished crane. Solid colors create elegant, minimalist pieces, while patterned or gradient papers can add visual interest. Some crafters prefer metallic or iridescent papers for a more dramatic effect. The color you choose can convey different meanings—white symbolizes peace, red represents good fortune, and gold suggests prosperity in various cultures.

Understanding Basic Folds
Before diving into the full crane, it’s helpful to understand the fundamental folds used in origami. These building blocks appear repeatedly throughout the process, so mastering them early will make the entire project flow more smoothly.
The Valley Fold: This is the most basic fold in origami. You fold the paper toward you, creating a valley shape. The crease runs underneath the paper, and the two layers of paper form a V-shape when viewed from the side.
The Mountain Fold: The opposite of a valley fold, the mountain fold pushes the paper away from you. The crease runs on top of the paper, creating an inverted V-shape or mountain peak when viewed from the side.
The Diagonal Fold: As the name suggests, you fold the paper along a diagonal line, typically bringing one corner to meet another corner or a specific point on the paper.
The Reverse Fold: This more advanced technique involves folding a section of paper and then reversing the fold direction. It’s used to create the crane’s neck and beak, giving it definition and personality.
Understanding these folds conceptually helps you anticipate what’s coming next and understand the “why” behind each step. This knowledge transforms the process from rote memorization into intuitive understanding. It’s similar to learning precision techniques in other crafts—like understanding the mechanics behind how to make a bow, where understanding the underlying structure makes execution easier.
Step-by-Step Instructions
Step 1: Start with a Perfect Square
Begin with your square paper positioned with one corner pointing toward you. If using standard rectangular paper, fold one corner to the opposite edge to create a triangle, then cut off the excess rectangle. This ensures you have a true square to work with.
Step 2: Create the First Crease
Fold your square diagonally in half by bringing the top corner down to meet the bottom corner. Crease firmly, then unfold. Repeat with the other diagonal direction (bringing the left corner to meet the right corner). These two creases form an X across your paper and serve as reference guides for subsequent folds.
Step 3: Form the Preliminary Base
Fold all four corners of your square to meet at the center point where your diagonal creases intersect. You should now have a smaller square with four triangular flaps. Crease these folds firmly.
Step 4: Repeat the Process
Fold all four corners of this new square to the center again. You’re creating layers and reducing the overall size of your paper. Crease thoroughly. This repetition is essential for creating the multiple layers that give your crane its structural integrity.
Step 5: One More Fold to the Center
Fold all four corners to the center one final time. You now have a small square with a pattern of triangular sections visible on top. This is called the preliminary base in origami terminology.
Step 6: Flip and Fold Again
Carefully flip your entire folded paper over. Fold all four corners to the center once more. This creates additional layers and begins to define the structure of your crane. The paper should feel quite stiff at this point, which is exactly what you want.
Step 7: Create the Wings and Body
Flip the paper over again. This time, instead of folding corners to the center, you’re going to fold the entire square in half diagonally. Bring the top corner down to meet the bottom corner, creasing firmly along the center. You should now have a triangle shape.
Step 8: Form the Neck
This is where the crane begins to take recognizable shape. Look at your triangle—you’ll see small pockets or flaps on the sides. Gently pull one of these flaps out and up, creating what will become the crane’s neck. Use a reverse fold technique to shape this section. The key is to be gentle; you’re not tearing the paper, just repositioning the layers.
Step 9: Create the Head and Beak
At the top of the neck you just created, you’ll see another small flap. This becomes the head. Using another reverse fold, fold this section down slightly to create the beak. The angle and size of this fold determines the crane’s expression and character.
Step 10: Shape the Wings
Now for the most visually satisfying part—bringing out the wings. Holding the crane’s body gently, carefully pull the top layer of each wing outward and slightly downward. Move slowly and deliberately; rushing this step can tear the paper or create uneven wings. The wings should extend perpendicular to the body, creating a balanced, three-dimensional appearance.
Step 11: Final Adjustments
Once the wings are extended, you can make subtle adjustments to perfect your crane’s appearance. Gently curve the wings slightly upward for a more dynamic look, or adjust the angle of the neck and head for personality. Some people like to create a slight curve in the tail section as well.
Common Mistakes and Troubleshooting
Problem: Paper Tearing During Folding
This typically happens when the paper is too thin or when you’re applying too much pressure too quickly. Solution: Use slightly thicker paper, fold more slowly, and ensure your creases are precise before committing fully to each fold. If you notice the paper starting to tear, stop and gently unfold to the previous step.
Problem: Creases Aren’t Sharp or Defined
Dull creases make subsequent folds less accurate and the final crane less impressive. Solution: Take extra time to crease each fold firmly. Run your fingernail or a bone folder along each crease, pressing down with consistent pressure. This effort in the early stages pays dividends later.
Problem: Wings Won’t Stay Extended
Sometimes wings collapse or fold back toward the body. Solution: This usually means the paper has too much tension or the wings weren’t pulled out far enough. Gently re-extend the wings and hold them in position for a moment, allowing the paper to “remember” its new shape. You can also slightly crease the wing base to help them maintain their position.
Problem: Uneven or Asymmetrical Crane
One wing is larger than the other, or the head is off-center. Solution: This often results from uneven folding earlier in the process. Take your time with the foundational folds, ensuring each corner aligns perfectly with the center point. If your finished crane is asymmetrical, you can make minor adjustments by gently manipulating the wings and body.
Creative Variations
Once you’ve mastered the basic paper crane, you can explore numerous creative variations that build on this foundation. Different paper colors and patterns create entirely different moods—try making a series of cranes in a gradient of colors for a stunning visual effect.
Some crafters enjoy creating jumbo cranes using much larger paper (up to 24 inches square), which requires adjusted techniques and creates impressive decorative pieces. Others explore miniature cranes, folding tiny squares of paper to create delicate, intricate sculptures.
You can also experiment with decorated cranes by adding details after folding. Draw eyes with a fine marker, add metallic accents with paint pens, or attach small beads as embellishments. If you enjoy working with precision and detail, you might also appreciate learning how to tie a bow with a tie, which requires similar attention to fold placement and symmetry.
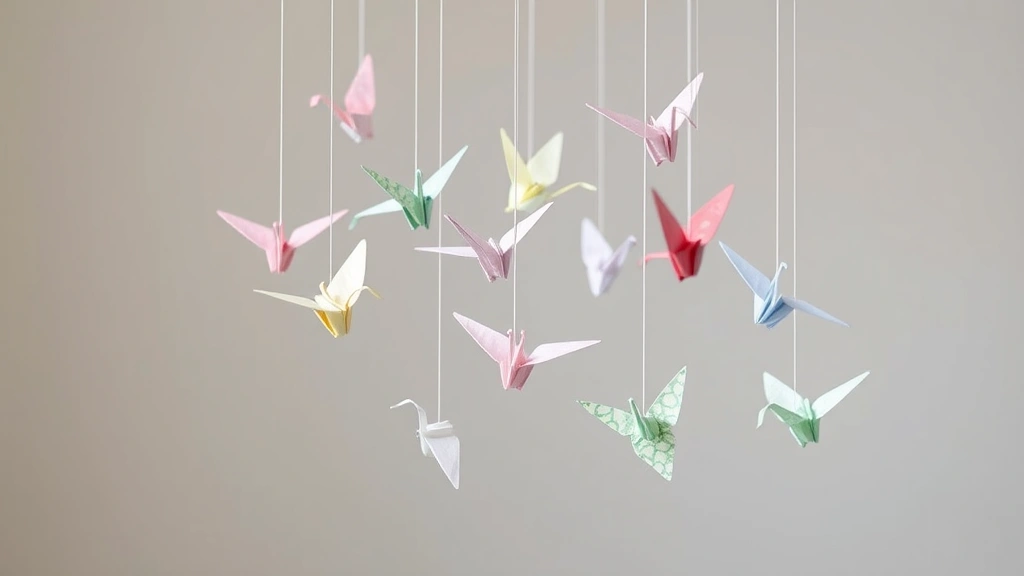
Another popular variation involves creating crane garlands by stringing multiple cranes together with thread or fishing line. This creates a dynamic mobile or decorative element that catches light beautifully. Some people create thousand-crane strings, a tradition rooted in Japanese culture where completing 1,000 cranes is believed to grant a wish.
Display and Gifting Ideas
Your paper cranes deserve to be displayed beautifully. Consider creating a floating mobile by suspending cranes from a wooden branch or wire frame at varying heights. This creates depth and visual interest, especially when morning light passes through the paper.
A shadow box display is another elegant option. Arrange several cranes in a framed shadow box with complementary paper or fabric backing. This protects the cranes from dust while creating an impressive wall art piece.
For gifting, consider presenting a single crane with a handwritten note explaining its significance. In many cultures, the crane symbolizes longevity, peace, and good fortune, making it a meaningful gift for someone going through a transition or celebrating a milestone. A small bouquet of cranes in a vase creates a unique, lasting alternative to fresh flowers.
You can also create a crane garland strung together with decorative thread, perfect for adorning a bedroom, office, or special event space. Some people enjoy making seasonal variations—red and gold cranes for the holidays, pastels for spring, or jewel tones for autumn.
Frequently Asked Questions
How long does it take to make a paper crane?
Once you’ve practiced a few times, you can typically complete a paper crane in 5-10 minutes. Beginners might take 15-20 minutes for their first few attempts. The time investment is part of the meditative appeal—it’s a mindful activity that encourages you to slow down and focus.
What’s the significance of paper cranes in Japanese culture?
In Japanese tradition, the crane is a symbol of longevity and good fortune. The practice of folding 1,000 cranes (called senbazuru) is believed to grant a wish. This tradition gained international recognition through the story of Sadako Sasaki, a young girl who folded cranes while battling leukemia after the atomic bombing of Hiroshima.
Can I use any type of paper?
While you can technically use any paper, origami-specific paper is ideal because it’s thin enough to fold multiple times without bulk, yet strong enough to hold creases. Standard printer paper works well for beginners, but avoid cardstock and tissue paper. For more information on working with different materials, check out resources on how to make slime without glue, which explores creative material substitutions.
Is there a right or wrong way to make a paper crane?
The traditional method described here is the most common approach, but origami is ultimately a creative practice. If your crane looks different but still resembles a crane and makes you happy, you’ve succeeded. That said, following the steps precisely does result in a more balanced, elegant final product.
How do I prevent my paper crane from unfolding?
Ensure all your creases are sharp and well-defined, especially in the early stages. Handle your finished crane gently, and store it in a protected area away from moisture and excessive handling. If you’re concerned about durability, you can very lightly spray your finished crane with clear acrylic spray, though this changes the paper’s texture slightly.
Can children make paper cranes?
Absolutely! Paper cranes are an excellent craft for children, developing fine motor skills and patience. Younger children (ages 5-7) might need assistance, while older children (8+) can typically follow the steps independently. It’s a wonderful screen-free activity that engages creativity and focus.
What should I do with my finished cranes?
Display them, gift them, or create larger installations. Many people enjoy making multiple cranes and creating themed arrangements. Some donate handmade cranes to hospitals or care facilities to brighten spaces and bring comfort to others.
Related Posts

How Long to Boil Lobster Tails: Cooking Guide

How Long to Fly from New York to London? Travel Times
