
Master Homemade Milk Butter for Deliciously Rich Recipes
Making homemade milk butter is one of the most rewarding culinary skills you can master. This traditional technique transforms simple milk into a rich, creamy butter that elevates any recipe. Whether you’re looking to create artisanal spreads for fresh bread or enhance your baking with superior flavor, learning how to make milk butter opens up a world of culinary possibilities.
The process of churning milk into butter has been practiced for thousands of years, and modern home cooks can easily recreate this ancient art in their own kitchens. With just a few simple ingredients and basic equipment, you’ll discover that homemade butter offers superior taste, texture, and quality compared to store-bought alternatives. The satisfaction of creating your own dairy products from scratch is unmatched, and the control over ingredients ensures you know exactly what goes into your food.
Understanding Milk Butter Fundamentals
Milk butter is created through the mechanical agitation of cream, which causes fat globules to clump together and separate from the liquid buttermilk. The fat content in milk is crucial for successful butter production, with heavy cream containing 35-40% fat being ideal for the churning process. Understanding this scientific foundation helps ensure consistent results every time you make butter.
The quality of your starting milk directly impacts the final product’s flavor and texture. Fresh, high-quality milk from grass-fed cows produces butter with superior taste and nutritional benefits. The cream’s temperature also plays a vital role, as cream that’s too warm or too cold won’t churn properly. According to the United States Department of Agriculture, proper temperature control is essential for food safety during dairy processing.
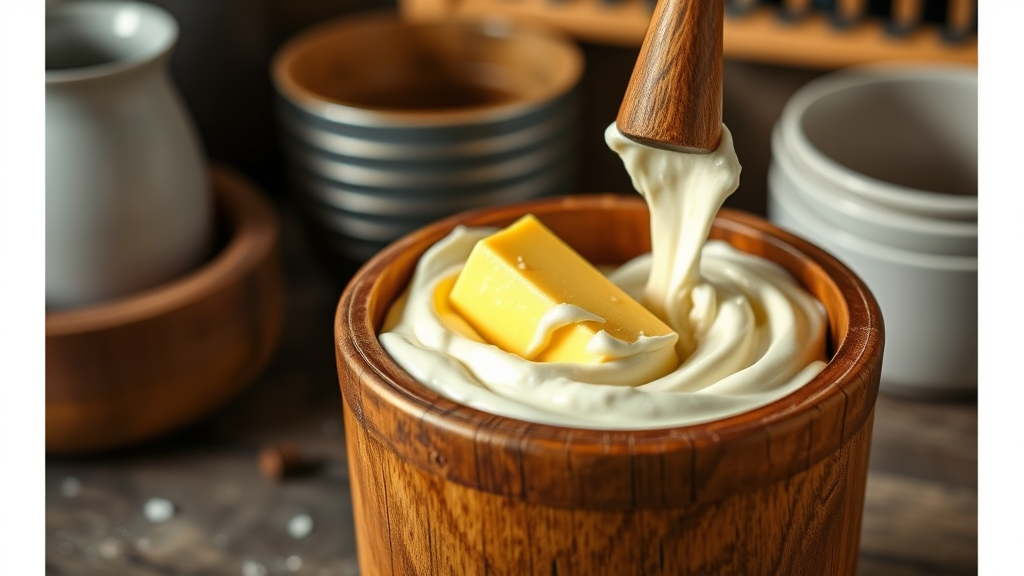
Traditional butter-making methods involved hand-churning in wooden churns, but modern techniques allow for various approaches using common kitchen equipment. The fundamental principle remains the same: mechanical agitation breaks down the fat globule membranes, allowing the fat to coalesce into butter while releasing the liquid buttermilk.
Essential Equipment and Ingredients
Success in making homemade milk butter starts with having the right tools and ingredients. The most critical component is high-quality heavy cream with at least 35% fat content. Avoid ultra-pasteurized cream, as it doesn’t churn well due to the high-heat treatment that alters the protein structure.
For equipment, you have several options depending on your preference and available tools:
- Stand Mixer: The most efficient method for home butter making, using the whisk attachment
- Food Processor: Works well for smaller batches and provides good control over the process
- Hand Mixer: Requires more time but gives you excellent control over consistency
- Mason Jar: Perfect for small batches and a fun hands-on approach
- Traditional Churn: For those seeking an authentic experience
Additional essential items include a fine-mesh strainer, clean kitchen towels, a large bowl for catching buttermilk, and ice-cold water for washing the finished butter. Salt is optional but recommended for flavor enhancement and preservation. Just like when learning how to make heavy cream, having the right ingredients and equipment makes all the difference in achieving professional results.
Step-by-Step Butter Making Process
Begin by ensuring your heavy cream is at room temperature, around 65-70°F (18-21°C). Pour one pint of heavy cream into your chosen mixing vessel. If using a stand mixer, attach the whisk and start on medium speed. The process typically takes 8-15 minutes, progressing through several distinct stages.
First, the cream will thicken into whipped cream peaks. Continue mixing past this stage until you notice the cream beginning to look grainy and yellow clumps forming. This is the butter beginning to separate from the buttermilk. You’ll hear the sound change as the mixture becomes less smooth.
Once separation occurs, immediately stop mixing and strain the mixture through a fine-mesh strainer to separate the butter from the buttermilk. Save the buttermilk for other culinary uses like pancakes or biscuits. The butter solids should be gathered and pressed gently to remove excess liquid.
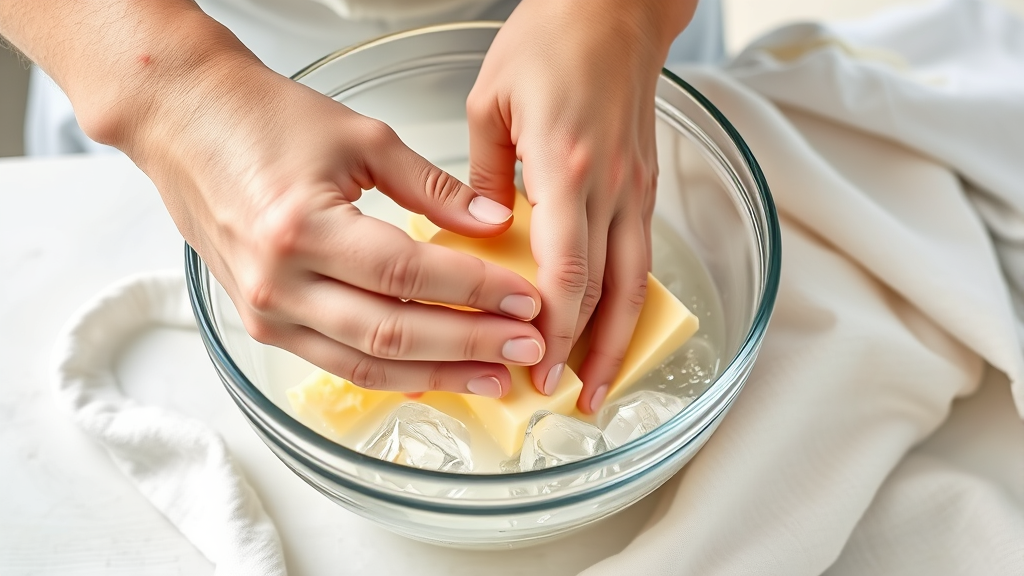
The crucial washing step involves placing the butter in ice-cold water and gently pressing and kneading it to remove all remaining buttermilk. This step is essential for preventing rancidity and ensuring longer storage life. Repeat this washing process 2-3 times until the water runs clear.
Troubleshooting Common Issues
Several common problems can arise during butter making, but most are easily resolved with proper technique adjustments. If your cream isn’t churning after 20 minutes, the temperature might be incorrect. Cream that’s too cold won’t separate properly, while cream that’s too warm may not form proper butter.
Over-churning can result in a grainy, tough texture. Stop the process as soon as you see clear separation between butter and buttermilk. If your butter tastes too salty, reduce the salt amount in future batches or ensure thorough washing to remove excess salt.
Incomplete washing leads to shortened storage life and off-flavors. The water should run completely clear during the final wash. If your butter appears too soft, it may need additional chilling time or the cream fat content might be too low.
Creating Delicious Flavor Variations
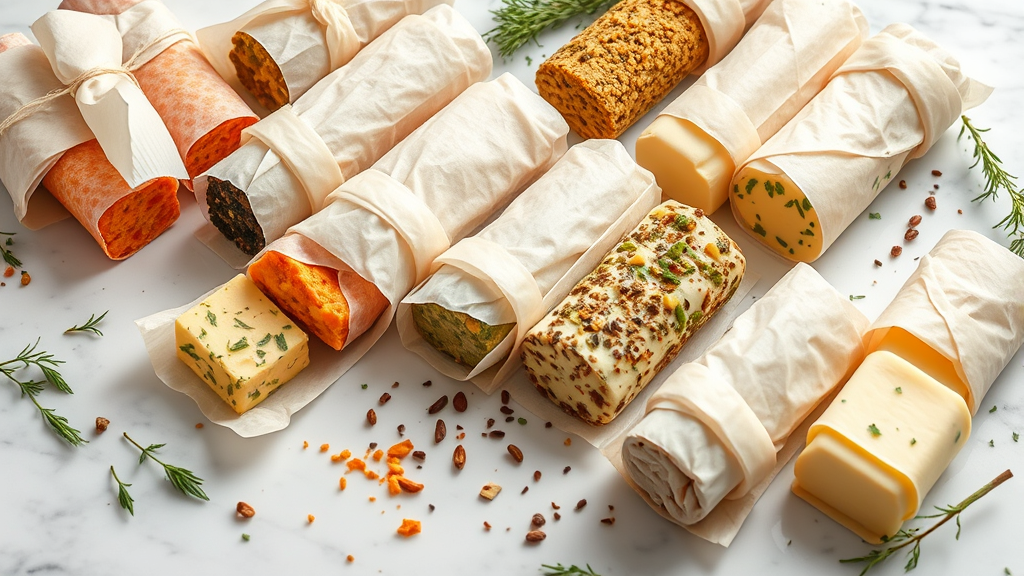
Once you’ve mastered basic butter making, experimenting with flavors opens endless culinary possibilities. Herb butters are particularly popular, incorporating fresh herbs like rosemary, thyme, or chives. Similar to creating garlic butter, these flavored varieties enhance everything from vegetables to bread.
Sweet variations include honey butter, cinnamon butter, or maple butter, perfect for breakfast breads and desserts. For savory options, consider adding roasted garlic, sun-dried tomatoes, or cracked black pepper. The key is adding flavorings after the butter has been washed and before the final shaping.
Compound butters can be formed into logs using parchment paper and chilled until firm. These can be sliced as needed for cooking or serving. According to university extension programs, proper flavor integration requires gentle folding to avoid overworking the butter.
Proper Storage and Preservation Methods
Proper storage is crucial for maintaining your homemade butter’s quality and extending its shelf life. Unsalted butter should be used within one week when stored in the refrigerator, while salted butter can last up to two weeks. For longer storage, butter freezes excellently for up to six months.
Wrap butter tightly in parchment paper or aluminum foil to prevent absorption of other flavors and protect from light exposure. Store in the coldest part of your refrigerator, typically the back of the main compartment. Avoid storing butter in the door where temperature fluctuations occur.
For freezing, divide butter into smaller portions before wrapping to make thawing more convenient. Label with the date and any flavor additions. Frozen butter should be thawed slowly in the refrigerator to maintain texture and prevent separation.
Culinary Applications and Recipe Ideas
Homemade milk butter excels in numerous culinary applications, from simple spreading to complex baking projects. The superior flavor and texture make it ideal for pastries, where butter quality directly impacts the final result. When baking, the fresh taste enhances everything from croissants to cookies.
For cooking applications, homemade butter provides excellent flavor for sautéing vegetables, finishing sauces, or creating pan sauces for meats. The control over salt content allows for precise seasoning in recipes. Just as homemade sour cream elevates dishes, fresh butter transforms ordinary recipes into extraordinary culinary experiences.
Baking applications benefit tremendously from fresh butter, particularly in recipes requiring self-rising flour or when creating frostings with homemade powdered sugar. The fresh taste and optimal fat content contribute to better texture and flavor development.
Professional chefs often prefer homemade butter for finishing dishes, as it adds richness without artificial flavors or preservatives. The National Institutes of Health notes that homemade dairy products often contain beneficial probiotics and enzymes that may be reduced in commercial processing.
Frequently Asked Questions
How long does it take to make butter from milk?
The actual churning process takes 8-15 minutes using a stand mixer, food processor, or hand mixer. However, the complete process including washing and shaping the butter typically requires 30-45 minutes total. Hand-churning methods may take longer, up to 20-30 minutes for the churning alone.
Can I use any type of milk to make butter?
You need heavy cream with at least 35% fat content to successfully make butter. Regular milk doesn’t contain enough fat. Avoid ultra-pasteurized cream as it doesn’t churn properly. Organic, grass-fed heavy cream produces the best flavor and nutritional benefits.
Why isn’t my cream turning into butter?
Common reasons include incorrect temperature (cream should be 65-70°F), using ultra-pasteurized cream, insufficient fat content, or not mixing long enough. Ensure your cream is fresh and has been properly stored. Sometimes extending the mixing time by 5-10 minutes resolves the issue.
How should I store homemade butter?
Store homemade butter wrapped tightly in parchment paper or foil in the refrigerator for up to one week (unsalted) or two weeks (salted). For longer storage, freeze for up to six months. Always keep butter away from strong-smelling foods as it easily absorbs odors.
What can I do with the leftover buttermilk?
Fresh buttermilk is excellent for baking pancakes, biscuits, muffins, or bread. It can be used in marinades for tenderizing meat or as a base for salad dressings. Buttermilk also works well in smoothies and can be frozen for later use in cooking applications.
Is homemade butter healthier than store-bought?
Homemade butter often contains more beneficial nutrients and natural enzymes because it’s minimally processed. You control all ingredients, avoiding preservatives and artificial additives. However, the basic nutritional profile remains similar to high-quality commercial butter. The FDA regulates commercial butter standards, but homemade versions offer ingredient transparency.
Can I make butter without salt?
Absolutely! Unsalted butter is perfectly fine and preferred for many baking applications where you want to control sodium content precisely. Salt primarily serves as a flavor enhancer and preservative, extending shelf life. Unsalted butter should be used more quickly than salted versions.
Related Posts

How Long to Boil Lobster Tails: Cooking Guide

How Long to Fly from New York to London? Travel Times
