
Master the Art of Perfect Brown Gravy Every Time
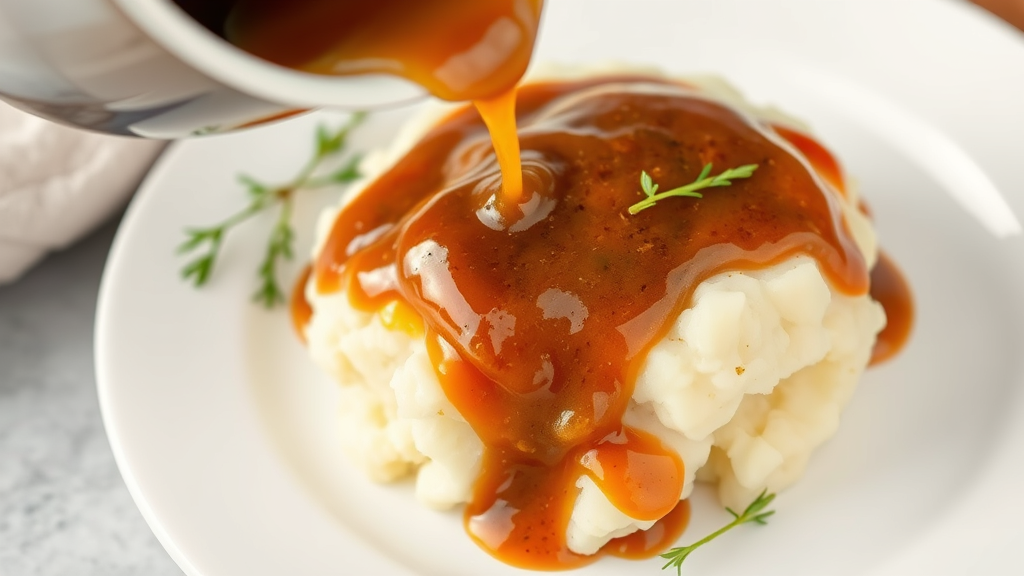
Brown gravy is the cornerstone of countless comfort food dishes, transforming simple meals into memorable dining experiences. Whether you’re preparing a Sunday roast, smothering mashed potatoes, or enhancing your favorite protein, mastering the art of brown gravy is an essential culinary skill that every home cook should possess.
The perfect brown gravy combines rich, savory flavors with a silky-smooth texture that complements rather than overpowers your dishes. While many home cooks rely on store-bought packets or jarred gravies, creating homemade brown gravy from scratch delivers superior taste and allows complete control over ingredients and consistency. This comprehensive guide will walk you through every aspect of brown gravy preparation, from understanding the fundamental techniques to troubleshooting common problems.
Understanding Brown Gravy Fundamentals
Brown gravy represents a classic sauce-making technique that relies on the marriage of fat, flour, and liquid to create a thickened, flavorful accompaniment. Unlike white or cream gravies, brown gravy derives its distinctive color and depth from browning the flour component, creating complex Maillard reactions that develop rich, nutty flavors.
The foundation of exceptional brown gravy lies in understanding the science behind emulsification and thickening. When flour proteins and starches are heated in fat, they form a paste-like mixture called a roux. This roux serves as the thickening agent that transforms thin liquids into luxuriously smooth gravy. The browning process not only affects color but also reduces the flour’s thickening power slightly, requiring careful balance to achieve the desired consistency.
Traditional brown gravy often utilizes pan drippings from roasted meats, which provide concentrated flavors and natural fats. However, excellent brown gravy can be created using alternative fat sources and flavor enhancers when pan drippings aren’t available. The key is building layers of flavor through proper technique and seasoning.
Essential Ingredients and Equipment
Creating perfect brown gravy requires just a few high-quality ingredients and basic kitchen equipment. The simplicity of the ingredient list makes technique and timing crucial for success.
Core Ingredients
- Fat: Butter, pan drippings, vegetable oil, or bacon fat (2-4 tablespoons)
- Flour: All-purpose flour works best (2-4 tablespoons)
- Liquid: Beef or chicken stock, vegetable broth, or milk (1-2 cups)
- Seasonings: Salt, black pepper, and optional herbs or spices
Optional Flavor Enhancers
- Worcestershire sauce for umami depth
- Soy sauce for additional saltiness and color
- Fresh herbs like thyme, rosemary, or sage
- Onion or garlic powder for aromatic complexity
- Kitchen Bouquet or browning sauce for color enhancement
Essential Equipment
- Heavy-bottomed saucepan or skillet
- Wire whisk for smooth mixing
- Measuring cups and spoons
- Fine-mesh strainer (optional for ultra-smooth texture)
Creating the Perfect Roux Foundation
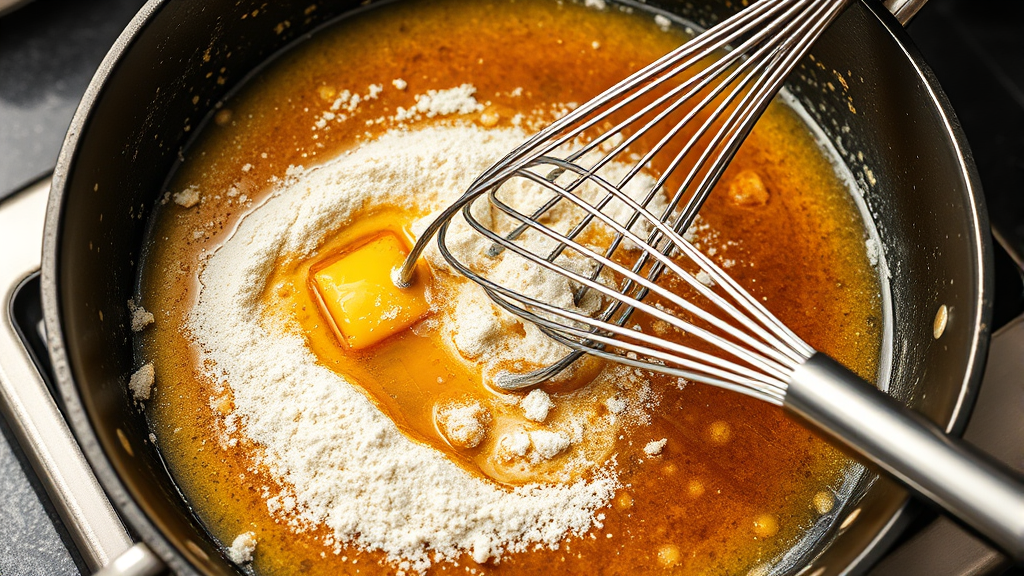
The roux forms the structural backbone of brown gravy, and mastering this technique is essential for consistent results. A proper brown roux requires patience and attention to prevent burning while achieving the desired color and flavor development.
Begin by heating your chosen fat in a heavy-bottomed pan over medium heat. If using pan drippings, strain them to remove any burnt bits that could create bitter flavors. Once the fat is warm, gradually whisk in the flour, creating a smooth paste without lumps. This initial mixing is crucial for preventing flour clumps that can ruin the final texture.
Continue cooking the roux while whisking constantly, allowing the flour to brown gradually. The color progression moves from pale blonde to golden brown to deep caramel. For brown gravy, aim for a medium to dark brown color, which typically takes 5-8 minutes of constant stirring. The roux should smell nutty and toasted when properly developed.
Temperature control is critical during roux preparation. Too high heat will burn the flour before proper browning occurs, while insufficient heat won’t develop the necessary flavors. If you notice any burning or bitter smells, discard the roux and start fresh. A properly made brown roux will have a rich, complex aroma reminiscent of toasted nuts.
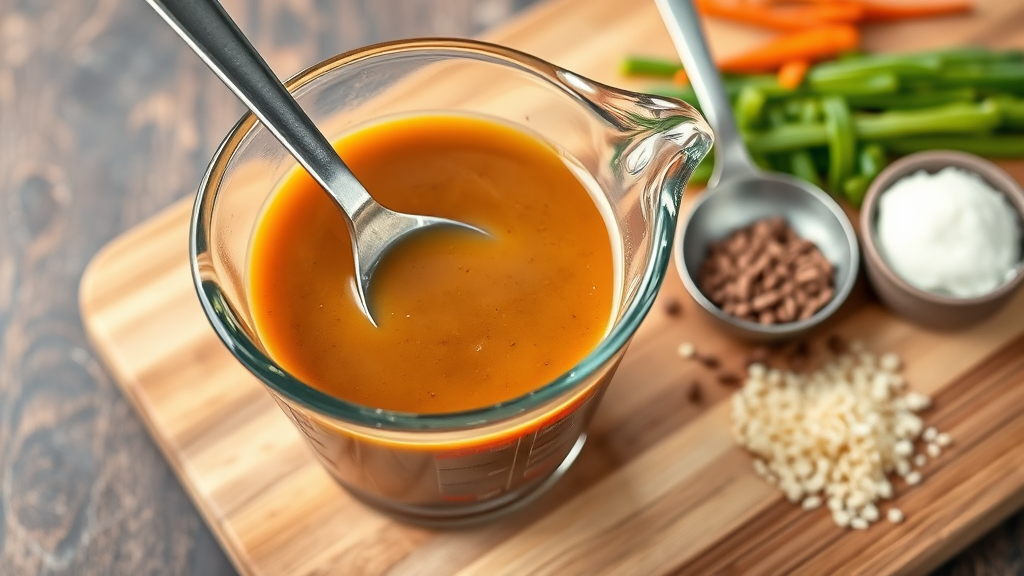
Liquid Incorporation Techniques
Successfully incorporating liquid into the roux without creating lumps requires proper technique and gradual addition. The temperature differential between the hot roux and liquid determines the approach needed for smooth integration.
For hot liquids, such as warm stock or broth, add them gradually while whisking continuously. Begin with small amounts, creating a thick paste that gradually thins as more liquid is incorporated. This method prevents the formation of flour lumps and ensures even distribution throughout the gravy.
When using cold or room temperature liquids, the process differs slightly. Remove the roux from heat and allow it to cool for a minute before adding liquid. Cold liquid into hot roux can cause violent bubbling and splatter, creating safety hazards and potential lumps. Gradual temperature adjustment prevents these issues while maintaining smooth texture.
The USDA recommends bringing gravies to a rolling boil to ensure food safety, particularly when using meat drippings. After liquid incorporation, increase heat and bring the gravy to a full boil while whisking constantly. This step not only ensures safety but also activates the flour’s full thickening potential.
Flavoring and Seasoning Strategies
Proper seasoning transforms basic brown gravy into an extraordinary sauce that enhances every dish it accompanies. The timing of seasoning additions affects both flavor development and final taste balance.
Salt should be added gradually throughout the cooking process, allowing you to taste and adjust as the gravy develops. Remember that reduction concentrates flavors, so what tastes properly seasoned initially may become overly salty as the gravy thickens. Start with less salt than you think necessary and adjust near the end of cooking.
Black pepper provides the classic flavor profile associated with brown gravy. Freshly ground black pepper offers superior flavor compared to pre-ground varieties. Add pepper toward the end of cooking to preserve its aromatic qualities and prevent bitter notes that can develop from prolonged heating.
When preparing brown gravy to accompany dishes like shredded chicken or white rice, consider the overall flavor profile of your meal. Rich gravies pair beautifully with simple starches, while lighter gravies complement more complex proteins.
Troubleshooting Common Issues
Even experienced cooks encounter challenges when making brown gravy. Understanding common problems and their solutions helps ensure consistent success every time you prepare this essential sauce.
Lumpy Gravy Solutions
Lumps typically result from inadequate whisking during liquid incorporation or adding liquid too quickly. If lumps form, continue whisking vigorously while the gravy cooks. Most small lumps will dissolve with persistent whisking and heat. For stubborn lumps, strain the gravy through a fine-mesh sieve or use an immersion blender for emergency smoothing.
Thin Gravy Corrections
Thin gravy often indicates insufficient cooking time or inadequate flour ratio. Continue simmering the gravy while whisking to allow evaporation and thickening. For faster results, create a slurry by mixing equal parts flour and cold water, then whisk this mixture into the simmering gravy. Allow several minutes for the flour to cook and thicken properly.
Overly Thick Gravy Remedies
Thick gravy can be thinned with additional warm liquid. Stock, broth, or even warm water can restore proper consistency. Add liquid gradually while whisking to prevent over-thinning. Remember that gravy continues to thicken as it cools, so aim for a slightly thinner consistency than desired for serving.
Flavor Imbalance Corrections
Bland gravy benefits from additional seasoning, acid, or umami enhancers. A splash of Worcestershire sauce, soy sauce, or even a small amount of vinegar can brighten flavors significantly. According to NIH research, umami flavors enhance overall taste perception, making other flavors more pronounced.
Variations and Adaptations
Brown gravy serves as a versatile base for numerous variations that complement different dishes and dietary preferences. Understanding these adaptations expands your culinary repertoire while maintaining the fundamental techniques.
Mushroom Brown Gravy
Incorporate sautéed mushrooms for earthy depth and additional texture. Cook sliced mushrooms until golden before adding to the finished gravy, or sauté them in the pan before creating the roux. Mushroom varieties like cremini, shiitake, or porcini each contribute unique flavor profiles.
Herb-Infused Variations
Fresh or dried herbs transform basic brown gravy into sophisticated sauce. Thyme, rosemary, and sage work particularly well with brown gravy’s rich flavors. Add hardy herbs early in the cooking process to allow flavor extraction, while delicate herbs like parsley should be stirred in just before serving.
Dairy Enrichment Options
Finishing brown gravy with cream or butter creates luxurious texture and flavor. Heavy cream adds richness without significantly altering flavor, while sour cream contributes tangy complexity. Garlic butter whisked into finished gravy provides aromatic enhancement and glossy finish.
Dietary Modifications
Gluten-free brown gravy substitutes rice flour, cornstarch, or arrowroot for wheat flour. These alternatives require different handling techniques but produce excellent results. Vegan versions use plant-based fats and vegetable stocks while maintaining traditional preparation methods.
Storage and Reheating Guidelines
Proper storage and reheating techniques preserve brown gravy’s quality and ensure food safety for future meals. Understanding these practices prevents waste while maintaining optimal texture and flavor.
Fresh brown gravy should be cooled quickly and refrigerated within two hours of preparation. Store in airtight containers for up to three days in the refrigerator. For longer storage, brown gravy freezes successfully for up to three months, though slight texture changes may occur upon thawing.
When reheating refrigerated gravy, use gentle heat and frequent stirring to prevent scorching. Add small amounts of liquid if the gravy has thickened excessively during storage. Microwave reheating works for small portions but requires frequent stirring and careful temperature monitoring.
Frozen gravy should be thawed completely before reheating. The thawing process may cause separation, but gentle whisking during reheating typically restores smooth consistency. If separation persists, strain the gravy and re-emulsify using an immersion blender.
According to CDC food safety guidelines, reheated gravies should reach 165°F (74°C) internal temperature before serving to ensure safety. Use a food thermometer to verify proper heating, especially when serving to vulnerable populations.
Frequently Asked Questions
Can I make brown gravy without pan drippings?
Absolutely! While pan drippings provide excellent flavor, you can create delicious brown gravy using butter, oil, or other fats combined with quality stock or broth. The key is building flavor through proper browning of the roux and thoughtful seasoning. Consider adding Worcestershire sauce, soy sauce, or beef base to enhance the savory depth typically provided by pan drippings.
Why does my brown gravy turn out lumpy despite whisking?
Lumpy gravy typically results from adding liquid too quickly to the roux or insufficient whisking during incorporation. To prevent lumps, add liquid gradually while whisking continuously, and ensure the roux and liquid temperatures are compatible. If lumps form, continue cooking while whisking vigorously, or strain the finished gravy through a fine-mesh sieve.
How do I achieve the perfect consistency for brown gravy?
Perfect brown gravy should coat the back of a spoon but still flow smoothly. The consistency will continue to thicken slightly as it cools, so aim for a texture that’s slightly thinner than your desired final result. If the gravy becomes too thick, thin it with warm stock or broth. If it’s too thin, simmer longer to reduce, or add a flour slurry.
Can I prepare brown gravy in advance for large meals?
Yes, brown gravy can be prepared up to two days in advance and stored refrigerated. The flavors often improve with time as they meld together. When reheating, use low heat and whisk frequently, adding small amounts of liquid if needed to restore the proper consistency. This advance preparation is especially helpful for holiday meals and dinner parties.
What’s the difference between brown gravy and country gravy?
Brown gravy uses a brown roux and typically clear or brown liquids like stock or broth, resulting in a smooth, dark sauce. Country gravy (also called white or sausage gravy) uses a blonde roux and milk or cream, creating a lighter-colored, often chunky sauce. The cooking techniques are similar, but the ingredients and final appearance differ significantly.
How can I fix overly salty brown gravy?
To reduce saltiness in brown gravy, dilute it with additional unsalted liquid such as low-sodium broth, milk, or water. You can also add a small amount of sugar or acid (like lemon juice or vinegar) to balance the salt perception. In extreme cases, consider making a new batch of unsalted gravy and combining it with the salty version to achieve proper seasoning.
Is it safe to use pan drippings from different cooking methods?
Pan drippings from properly cooked meats are safe to use in gravy preparation, regardless of cooking method. However, ensure the original meat reached safe internal temperatures during cooking. Strain drippings to remove any burnt particles that could create bitter flavors, and always bring the finished gravy to a full boil to ensure food safety before serving.
Related Posts

How Long to Boil Lobster Tails: Cooking Guide

How Long to Fly from New York to London? Travel Times
